4 Easy Celebration Card Projects to Make
Celebrate any special occasion in style with these beautiful celebration card ideas. They're quick and simple to make, no matter your skill level.
All you'll need is some kraft card, touching sentiments and some black pens to create a variety of stunning cards that are sure to put a smile on your loved one's face.
You will need
Subtotal
Is $ 4.49
Out of stock
Subtotal
Is $ 5.49
Out of stock
Subtotal
Is $ 13.00
Out of stock
Subtotal
Is $ 3.49
Subtotal
Is $ 4.49
Subtotal
Is $ 6.49
Subtotal
Is $ 1.49
Out of stock
Subtotal
Is $ 2.49 , was $ 5.49
Out of stock
Subtotal
Is $ 8.49
Out of stock
Subtotal
Is $ 4.49
Subtotal
Is $ 6.49
Subtotal
Is $ 7.49
Subtotal
Is $ 4.49
Out of stock
Subtotal
Is $ 4.49
Out of stock
Subtotal
Is N/A
Out of stock
Subtotal
Is $ 8.49
Subtotal
Is $ 3.49
Out of stock
Subtotal
Is $ 4.49
Subtotal
Is $ 4.49
Subtotal
Is $ 13.00
Out of stock
Subtotal
Is $ 4.49
Out of stock
Subtotal
Is $ 4.49
Subtotal
Is $ 5.49
Subtotal
Is N/A
Out of stock
You will also need
*A paper trimmer
*Foam pads
*A glue stick
How to make
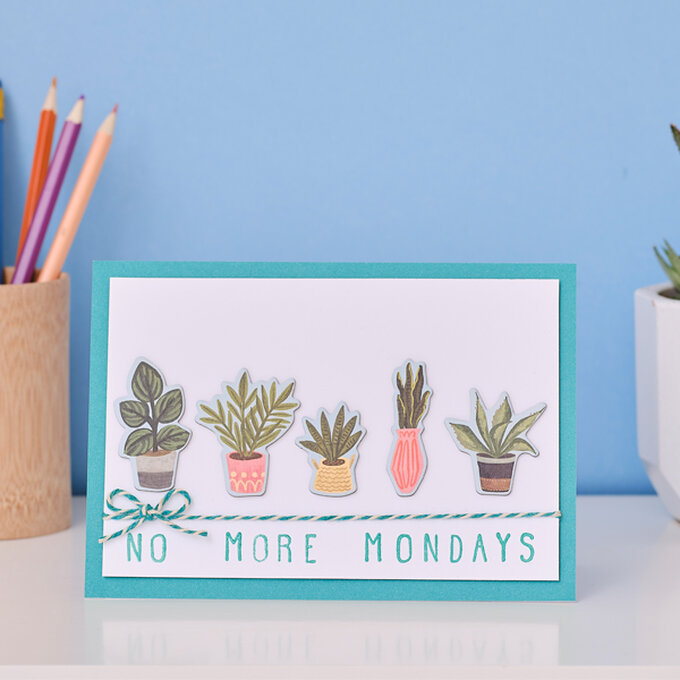
Step 1: Cover a 5x7” white card with green paper.
Trim the white card to 16.5x11cm, then draw a faint pencil line 0.5cm up from the bottom.
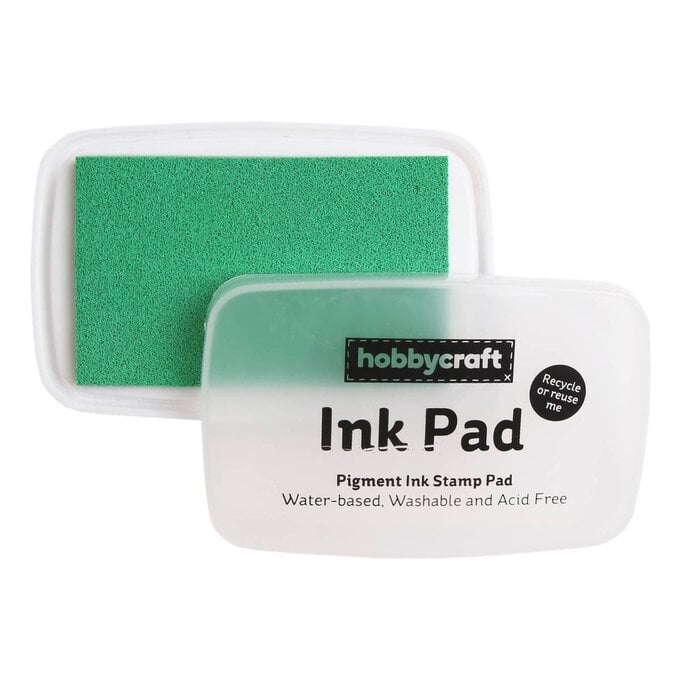
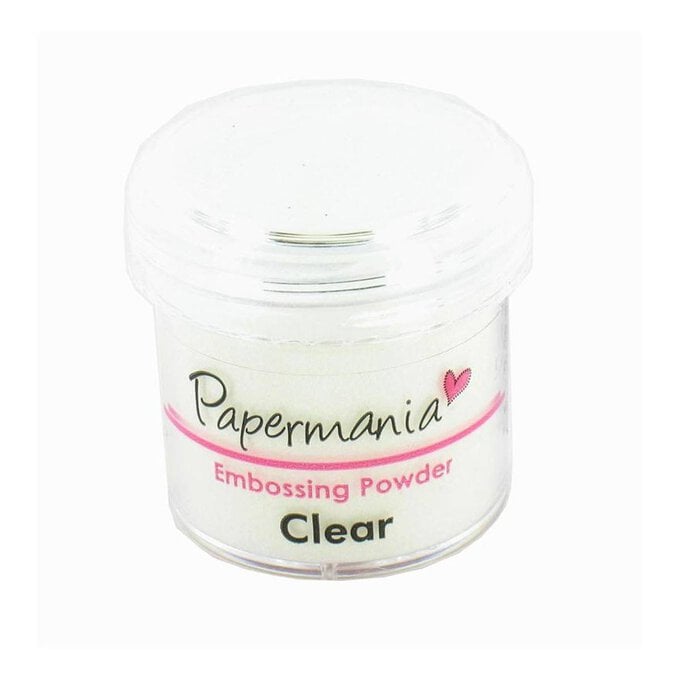
Step2: Stamp a sentiment across the pencil line with a green ink pad, then cover it with clear embossing powder.
Tap off any excess, then melt with a heat tool.
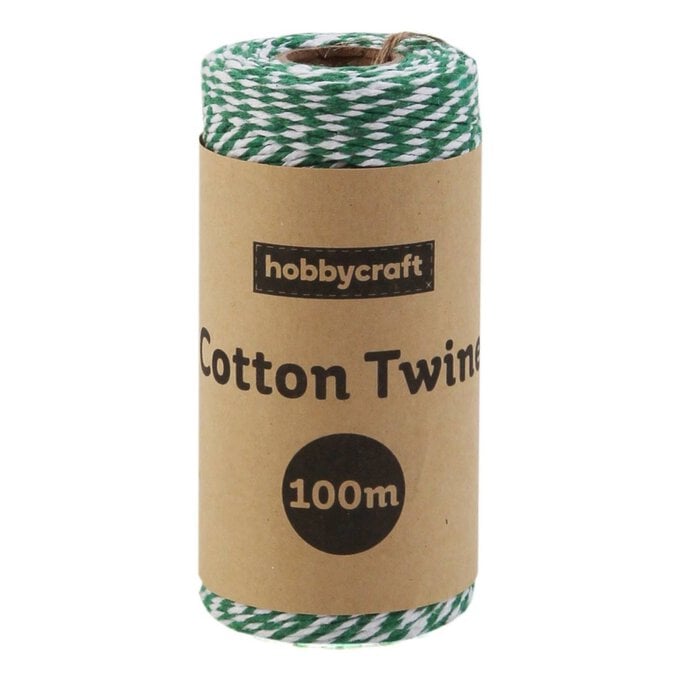
Step 3: Rub out the pencil markings, then wrap twine above the sentiment, securing it at the back.
Attach to the card front with foam pads.
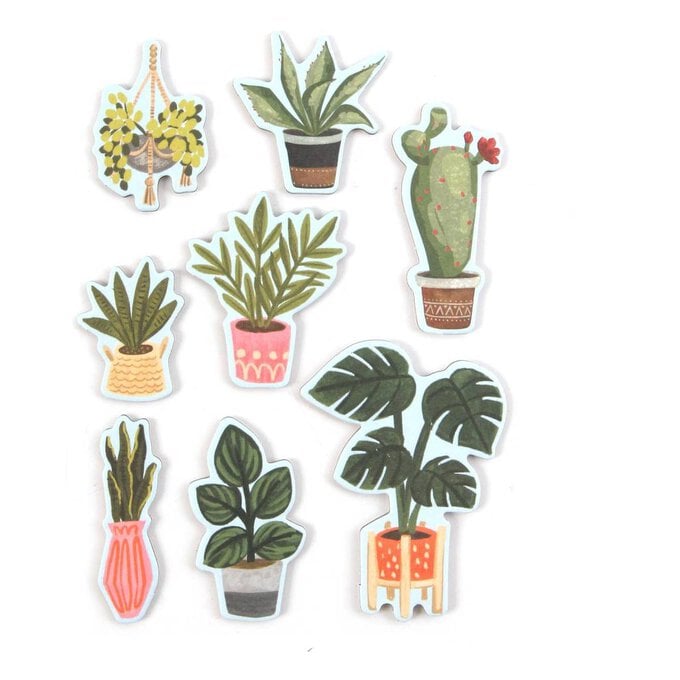
Step 4: To Finish, attach five plant chipboard stickers above the twine then add a twine bow on the left-hand side.
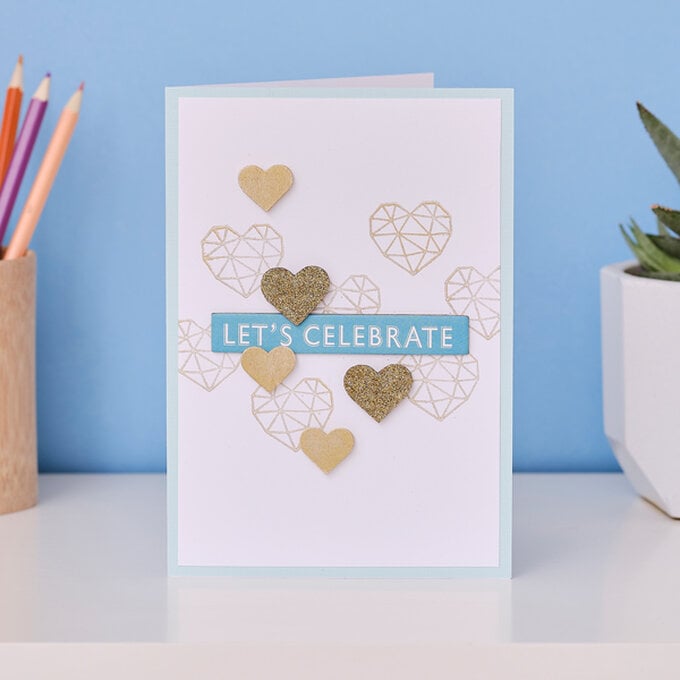
Step 1: Cover a 5x7” white card with pale green linen paper.
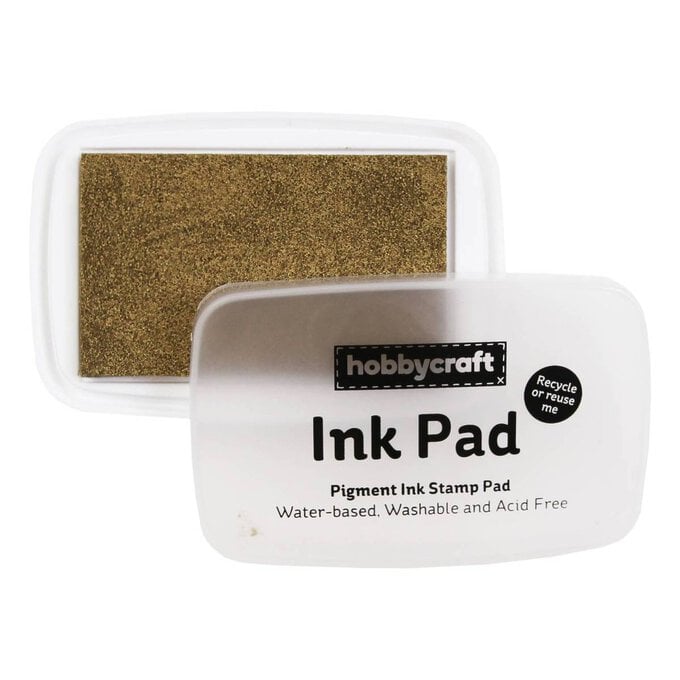
Step 2: Trim the white card to 11.5x17cm, then stamp seven geometric hearts across the centre of the card with a gold ink pad. Adhere to the card front.
Step 3: Next, attach a sentiment chipboard sticker across the centre then attach two gold glitter wooden hearts.
Step 4: Apply gold ink to three small wooden hearts, then attach them across the design.
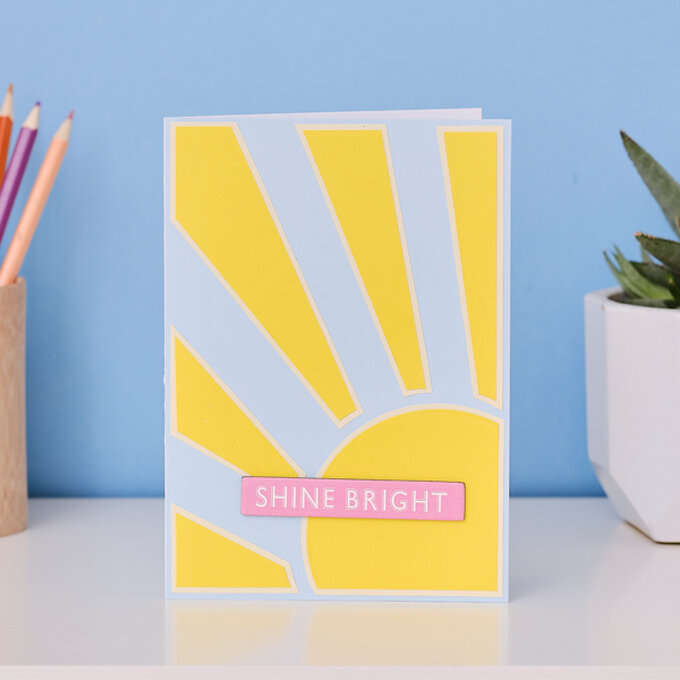
Step 1: Cover the front of a 5x7” white card with pale blue card. Trim your pale yellow card to 12x17.3cm, and your bright yellow paper to 11.5x16.8cm.
Step 2: Die-cut part of a circle out of the bottom-right corner of the bright yellow paper, then draw lines from the circle to create rays of sunshine.
Step 3: Adhere the rays and the die-cut circle to the pale yellow card, making sure there is a border of pale yellow around each piece.
Step 4: Cut out the rays and the die-cut circle leaving a small pale yellow border around each piece.
Step 5: Adhere the pieces to the card front, then attach a chipboard sentiment sticker.
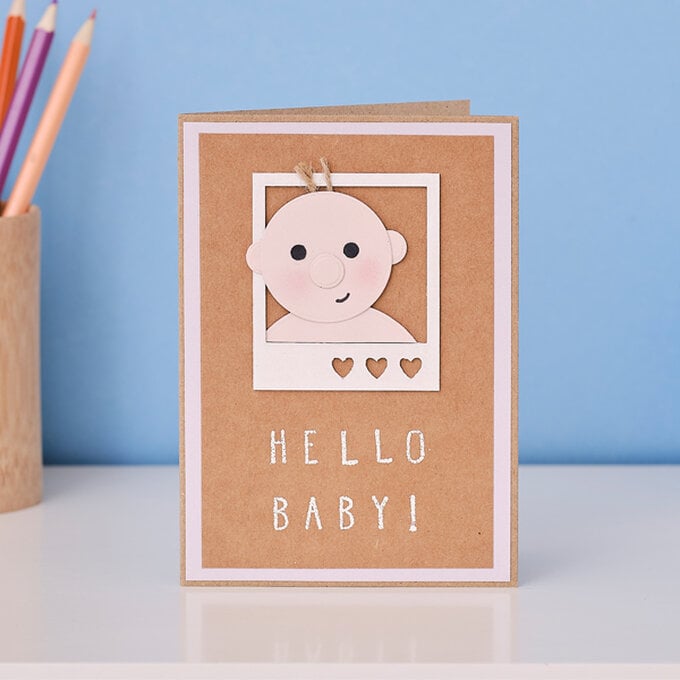
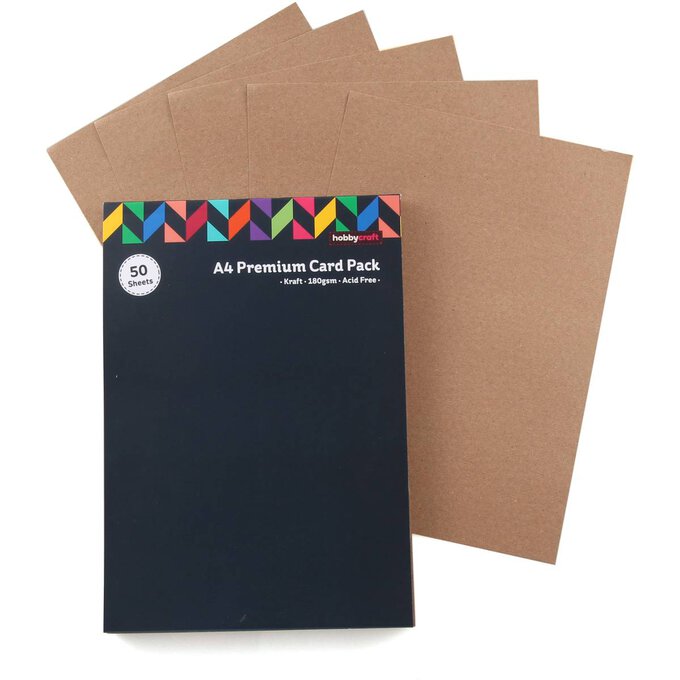
Step 1: Cover the front of an A6 Kraft card with pastel card trimmed slightly smaller.
Trim the Kraft card to 9x13cm.
Step 2: Stamp a sentiment as shown towards the bottom of the Kraft card through the use of a white ink pad.
Sprinkle with white embossing powder, and tap off the excess then melt with a heat tool.
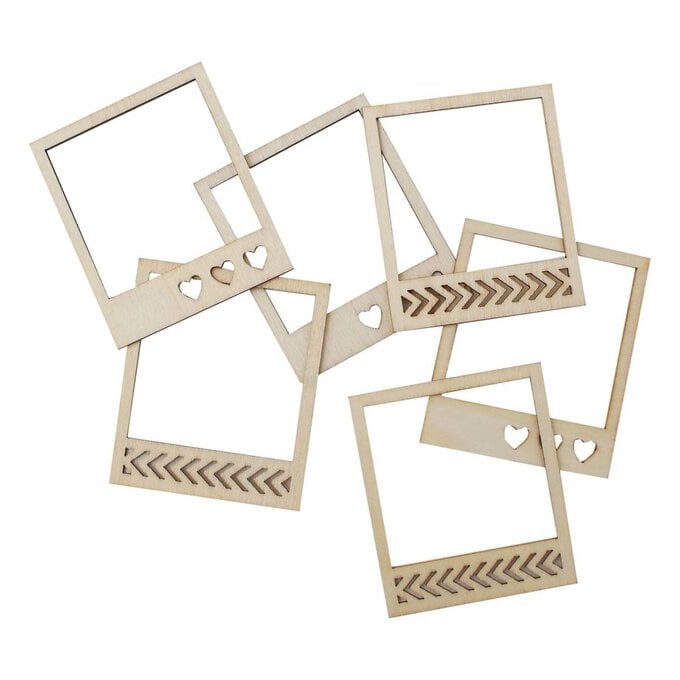
Step 3: Adhere the Kraft card to the card front. Paint a wooden frame with white acrylic paint, and once dry adhere above the sentiment.
Step 4: Die-cut a 5.5cm circle, a 4cm circle and three 1cm circles in pale peach or pink card.
Step 5: Apply a little pink ink to each side of the 4cm circle, then adhere two 1cm circles behind each side to create ears.
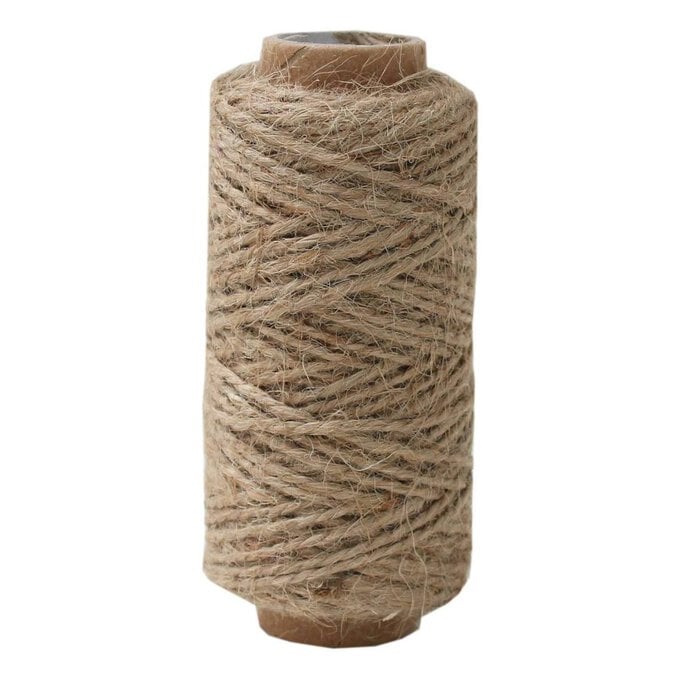
Step 6: Fold a small length of jute in half, then adhere to the back of the circle to create hair. Attach the other 1cm circle with a foam pad to create a nose, then punch out small circles in black card for eyes.
Finally draw on a small mouth.
Step 7: Adhere the 5.5cm circle to the bottom of the head to create the body. Trim away the excess to fit in the frame then attach in the frame with foam pads
