6 Easy Ways to Decorate Pumpkins
Get crafty with a pumpkin that won't grow mouldy this year - the Hobbycraft mache pumpkins are ideal makes for Halloween that can used again and again! If you're struggling for ways to decorate yours, we've got six fab ideas to give you a little bit of inspiration for an out-of-the-ordinary pumpkin...
Made with thanks by Debbie Thorne
You will need
Subtotal
Is $ 5.49
Subtotal
Is $ 5.49
Subtotal
Is $ 1.49
Out of stock
Subtotal
Is $ 1.49
Out of stock
Subtotal
Is $ 4.49
Subtotal
Is $ 4.49
How to make
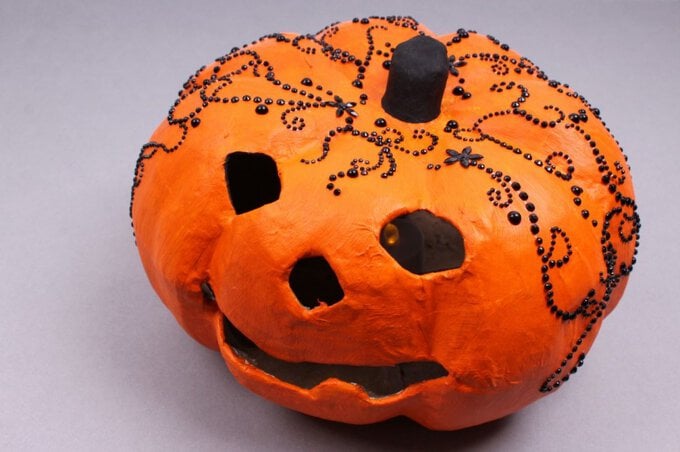
1. Paint the pumpkin orange and allow to dry.
2. Paint the stalk black.
3. Apply the self adhesive gem flourishes starting at the stalk and working down the pumpkin.
4. Fill any gaps with individual gems.
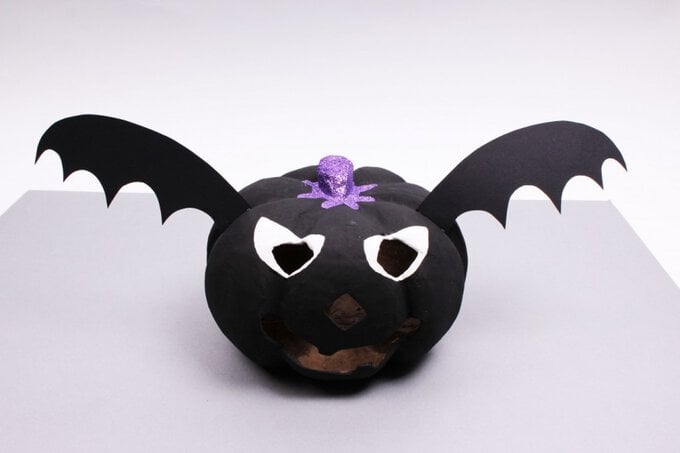
1. Paint the pumpkin black and allow to dry.
2. Use the white paint to add eye shapes.
3. Cut two wing shapes from the black card and stick to the pumpkin sides using a glue gun or double sided tape.
4. Paint PVA glue onto the stem ad shake on some purple glitter to cover.
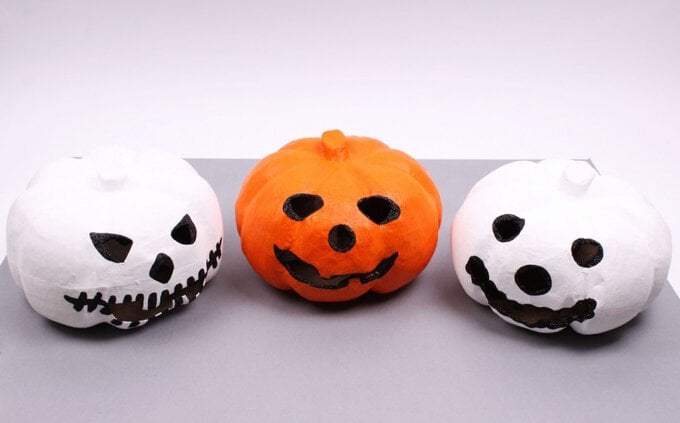
1. Paint the pumpkin one solid colour and allow to dry.
2. Use a contrasting paint to add feature shapes: larger eyes, scars, teeth etc.
3. Once the paint is dry, add glitter on top of the black painted features.
1. Paint the pumpkin and allow to dry.
2. Add lengths of ribbon from the stalk to the base, securing with the glue gun. Start part-way up the stalk so that the raw ends can be concealed later.
3. Cover the stalk (and the raw ends of the ribbons) by wrapping with a length of ribbon.
4. Make a large bow from the black ric rac and glue to the stalk to finish.
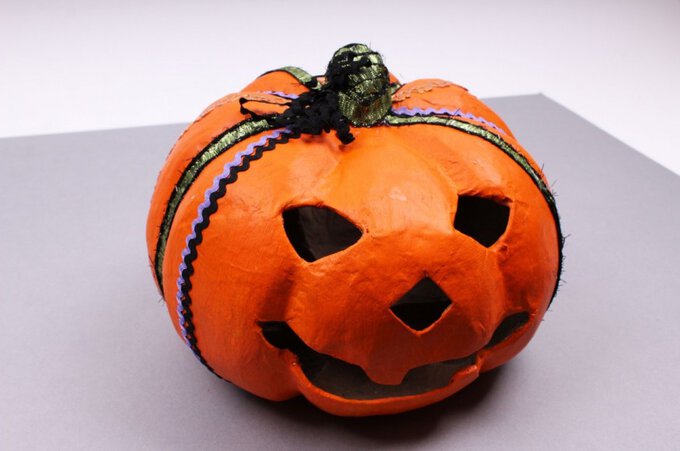
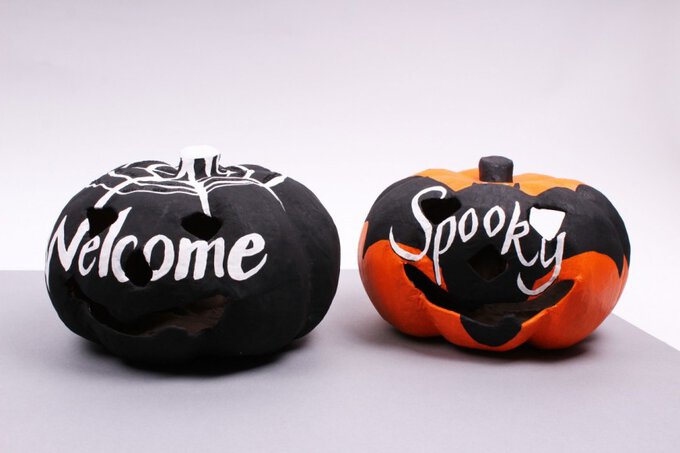
1. Paint the pumpkin a solid colour and allow to dry.
2. Add your choice of design (bat or cobweb).
3. Paint your text across the pumpkin's face.
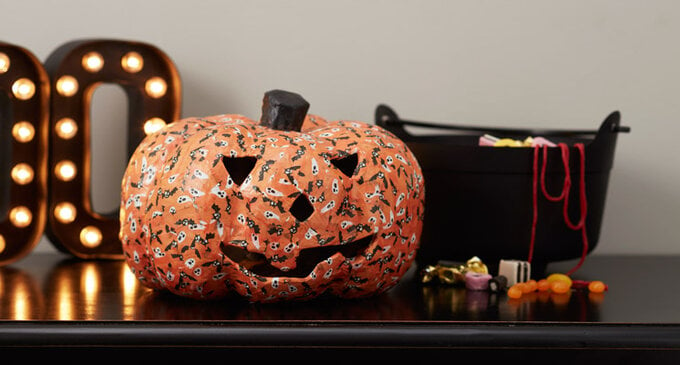
1. Cut or rip up your paper into small pieces.
2. Apply a small section of glue to your mache pumpkin, then apply a piece of paper on top. Brush more glue over the top.
3. Continue as above until your whole pumpkin is covered – don't worry if you overlap the papers.
