How to Make an Easter Egg Pinata
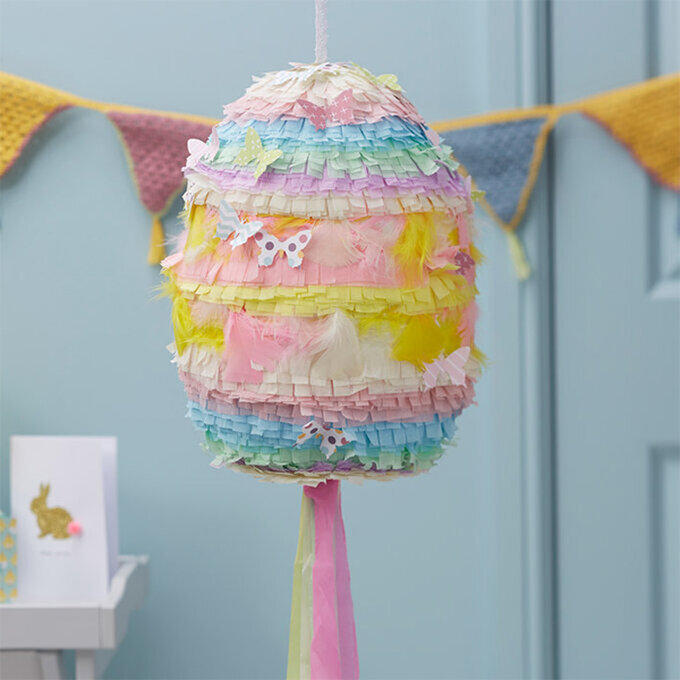
Have an egg-citing time at your party this Easter with this cracking egg pinata! Perfect for both the kids and adults, who can say no to a giant explosion of sweets galore?
Follow our step-by-step tutorial to create this easy party staple.
You will need
Subtotal
Is $ 7.49 , was $ 10.00
Subtotal
Is $ 4.49 , was $ 7.49
Out of stock
Subtotal
Is $ 8.49
Out of stock
Subtotal
Is $ 3.49
Out of stock
Subtotal
Is $ 1.49 , was $ 3.49
Out of stock
Subtotal
Is $ 1.49 , was $ 3.49
Subtotal
Is $ 7.49
Subtotal
Is $ 2.49 , was $ 5.49
Out of stock
Subtotal
Is $ 2.49 , was $ 5.49
Out of stock
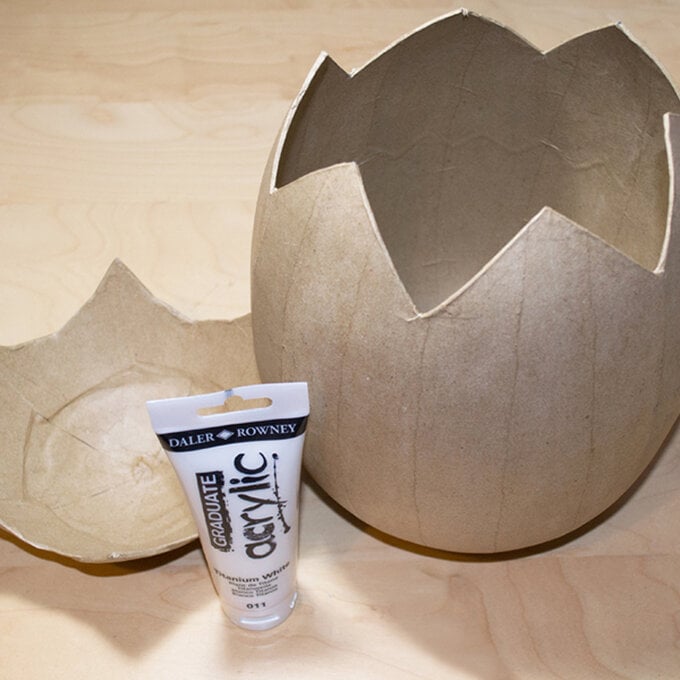
For your egg pinata, you will need to prep it ready for decorating by using white acrylic paint. Paint both the inside and outside of the egg and leave to dry.
Once this first layer of paint has properly dried, re-apply another layer and leave to dry again.
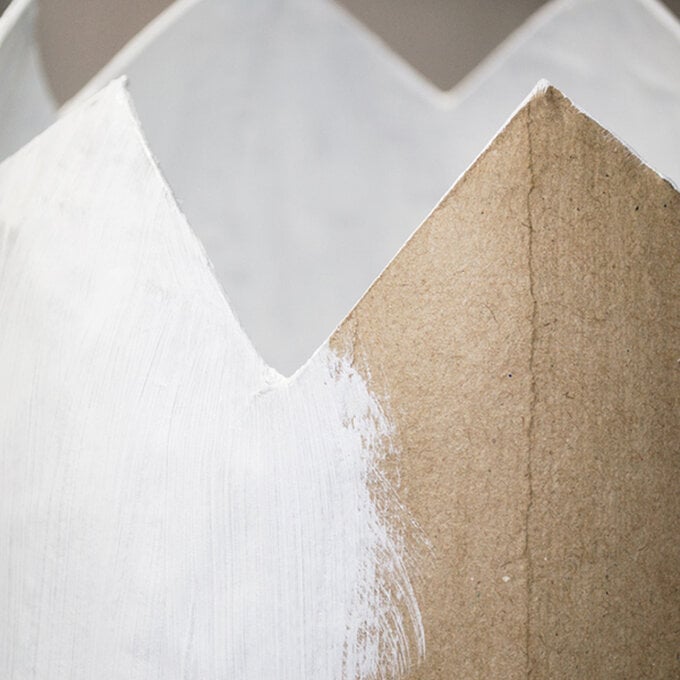
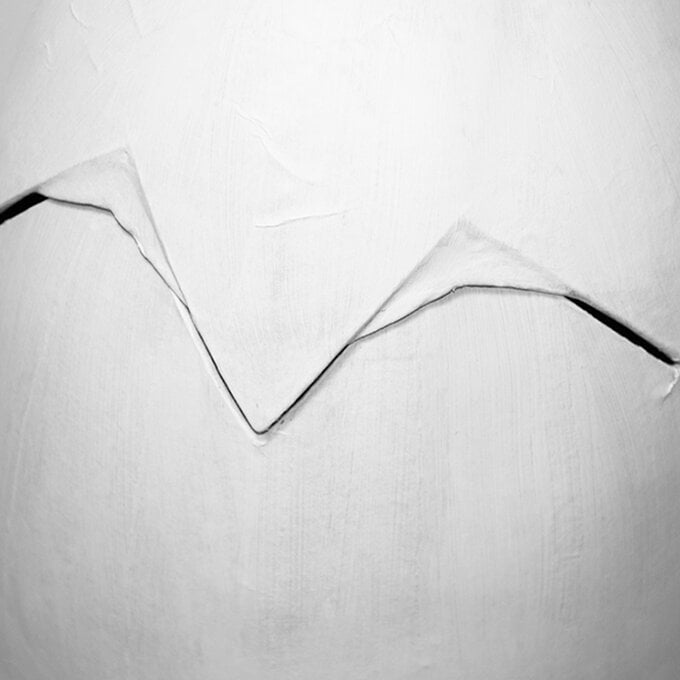
Painting your first layer of paint on the inside of the egg and leave to dry for a short while. Once this has properly dried, re-apply another layer.
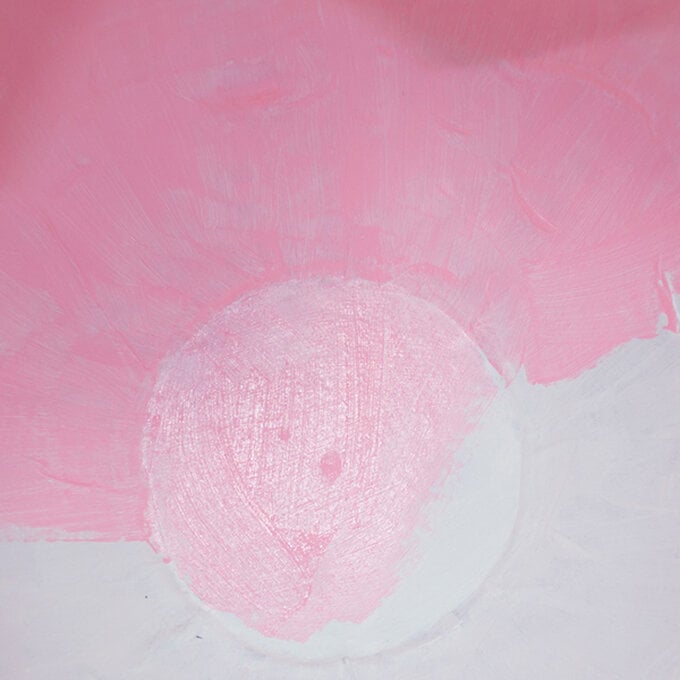
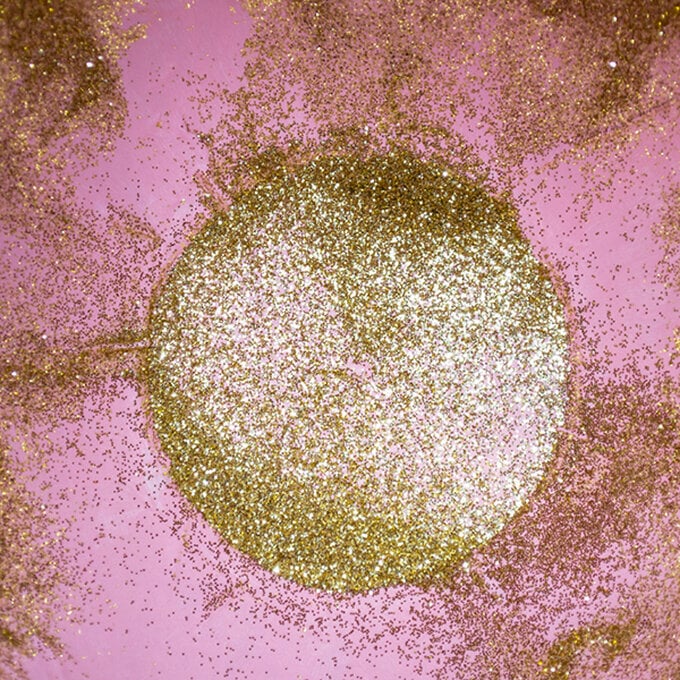
Once this has dried, you can apply your glue and glitter!
Now time to fill your egg to the brim with sweets (we would recommend using sweets that come in a packaging)!
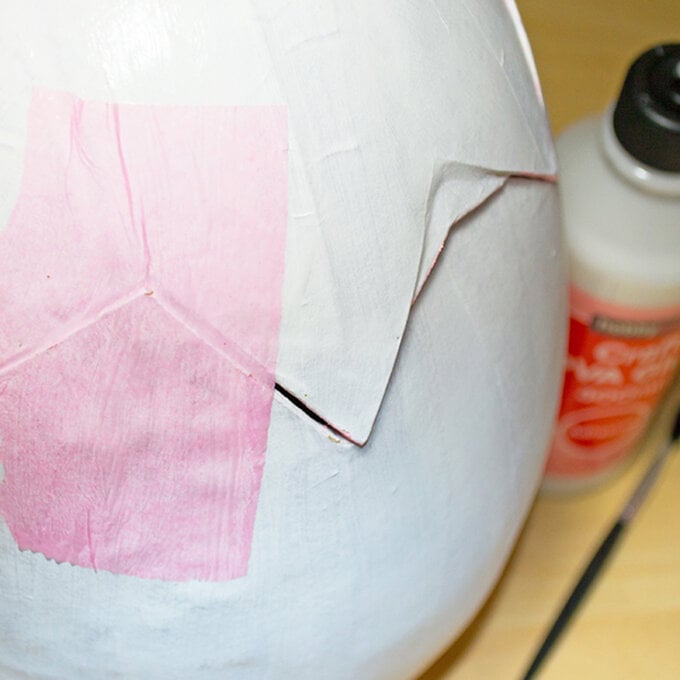
To seal your egg, rip the tissue paper into large pieces, big enough to the cover the crack on your egg. Use one or two layers of tissue paper to do this and then leave to dry.
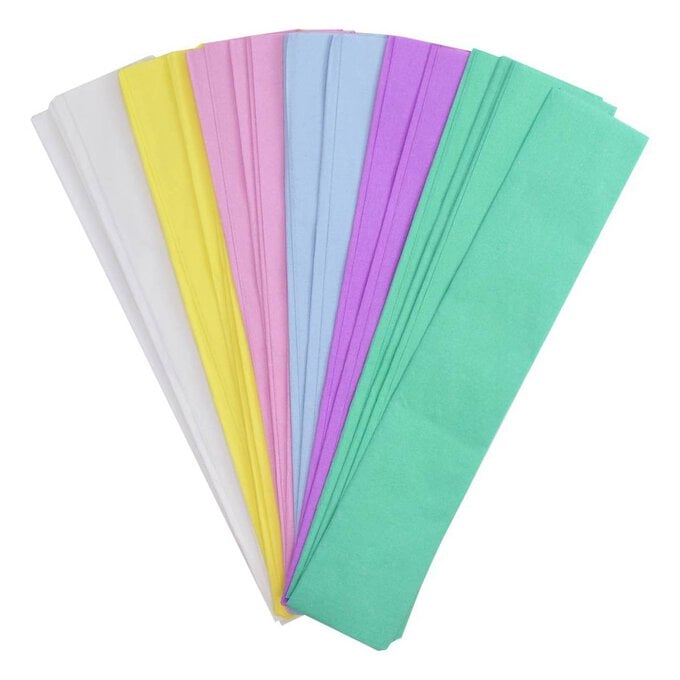
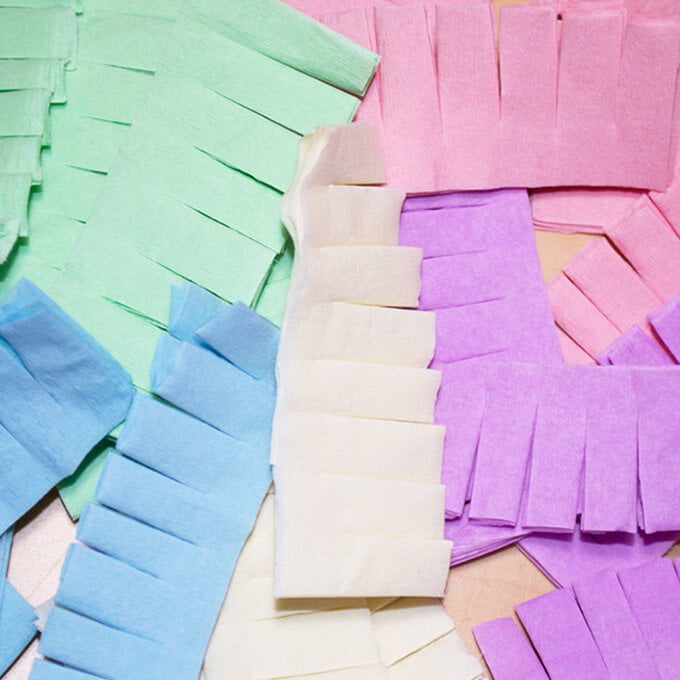
To create the fringing, keep the crepe/tissue paper folded together and cut them into strips.
Cut little snips along the strip and then unfold the paper.
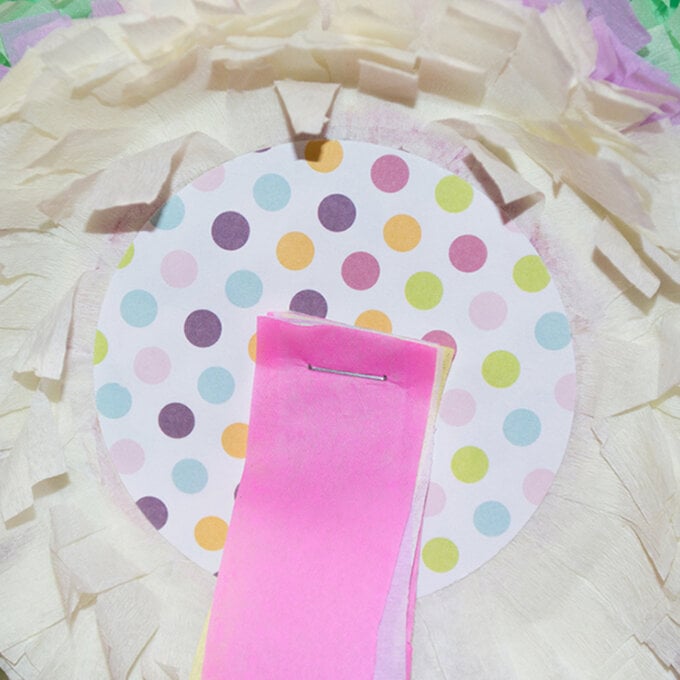
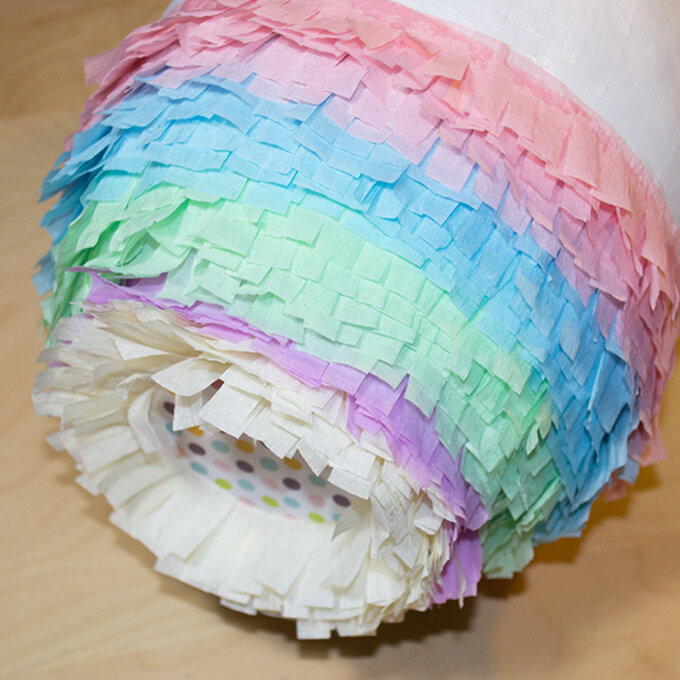
Begin by cutting out a circle for the base of the pinata using some of your chosen patterned paper, then stick this to the base.
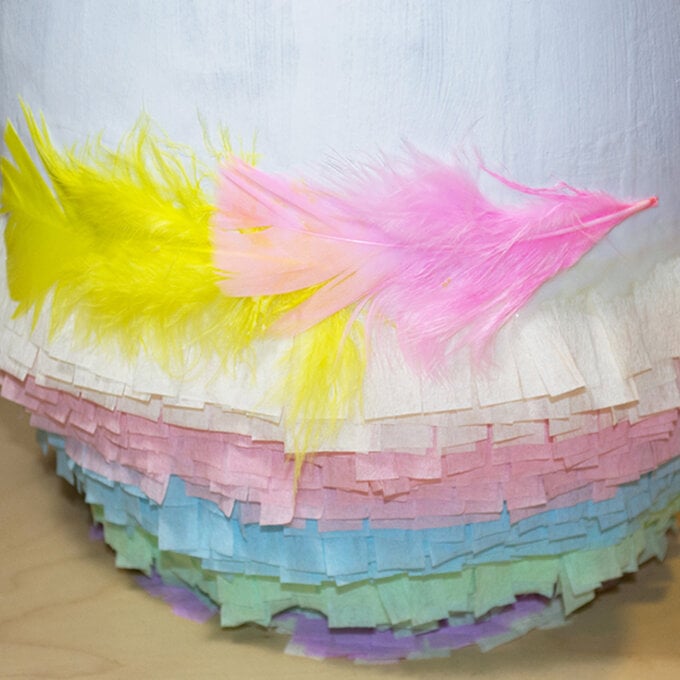
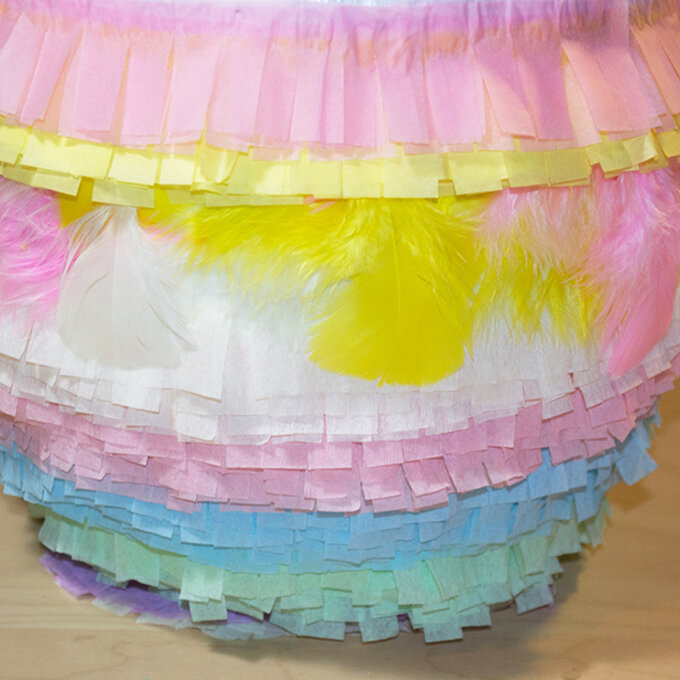
To create stripes on your pinata, keep working in rounds; changing your colour every time you have done five – six rounds of fringing.
Tip: Start at the bottom of the pinata and work your way up, that way all the fringing will lay neatly on top of one another.
To add some variation to your pinata, glue some feathers onto it in the same way you have already been doing with the crepe/tissue paper.
Not only will this add a bit more colour, but it will also add texture as well as keep with the theme of Easter!
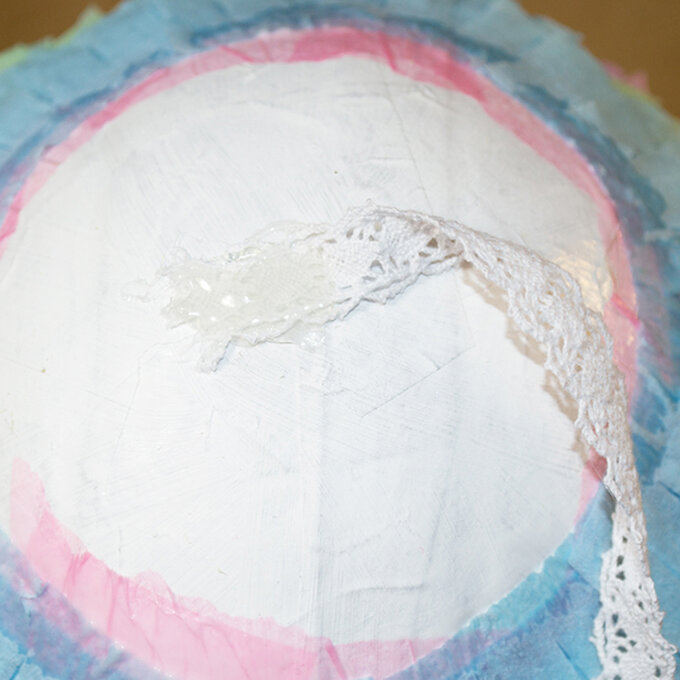
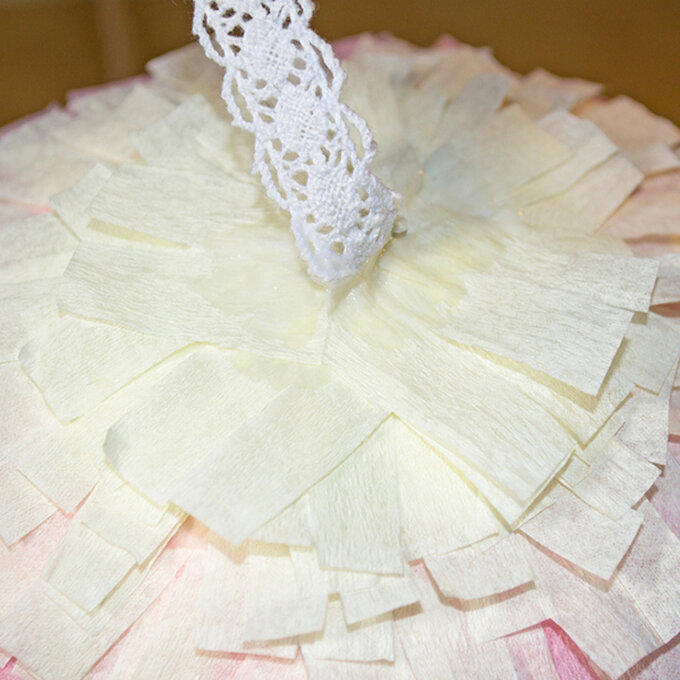
When you have got to the top of your egg, you will need to glue your ribbon in place before you can add anymore crepe/tissue paper.
Use a hot glue gun to secure your ribbon in place, make sure to use plenty of it to secure it. Depending on where you are going to hang your pinata, make sure that the ribbon is between one to two metres long.
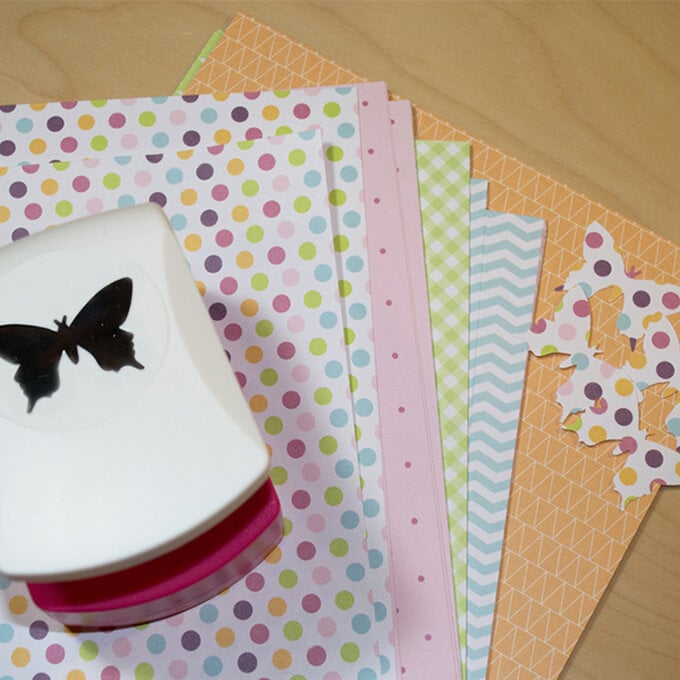
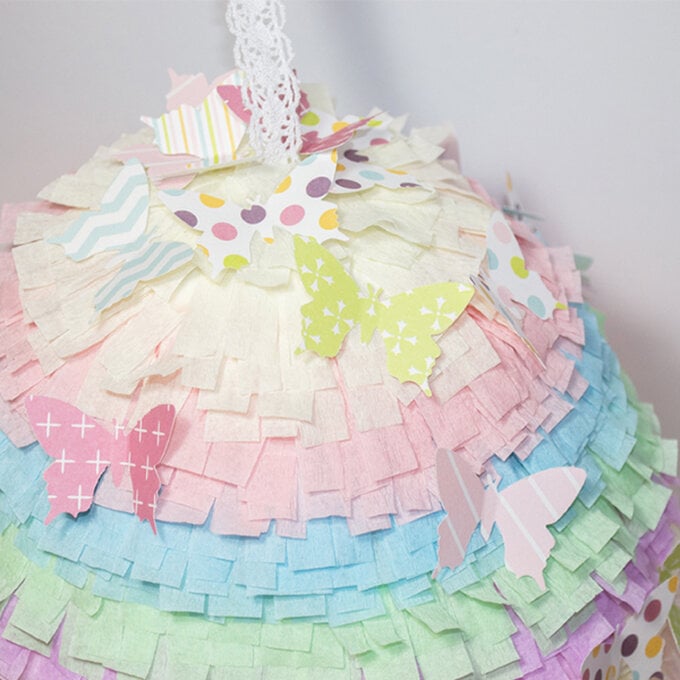
You could decorate the outside of your pinata further by using different embellishments related to springtime and Easter. For this pinata, paper butterflies were used.
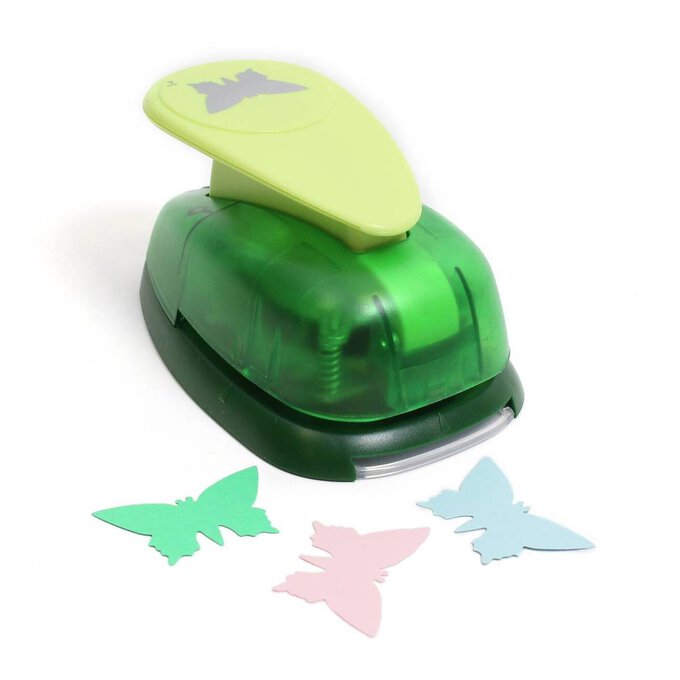
To create paper butterflies, use a large butterfly punch and your chosen patterned paper. Use a hot glue gun to stick these in place all over the pinata.
To add tassels to the bottom of the pinata, cut lots of long strips, gather them together and staple. Simply add a piece of double sided tape to the back and stick to the base of the pinata.
Leave your pinata overnight to completely dry due to the amount of layers of glue you have just been using. This will help to ensure that everything is properly glued and secured.
