How to Make a Paper Plate Dinosaur
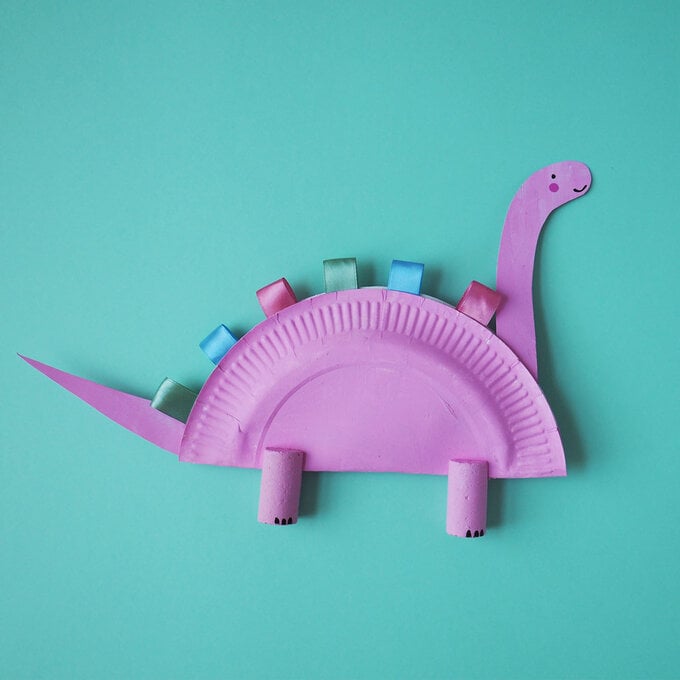
Are your little ones obsessed with dinosaurs? We've got the perfect prehistoric craft for you! Create this fun paper plate dinosaur using a few craft essentials you may already have at home. This unique, colourful kids' craft idea is certain to inspire their imaginations.
Project and instructions by Emily Dawe.
Discover more kids' craft ideas here;
You will need
Subtotal
Is $ 3.49 , was $ 4.49
Subtotal
Is $ 6.49
Subtotal
Is $ 1.49
Subtotal
Is $ 3.49
Subtotal
Is $ 3.49
Subtotal
Is $ 3.49
Subtotal
Is $ 3.49
Subtotal
Is $ 1.49
You will also need:
*Scissors
*A black pen
*Glue
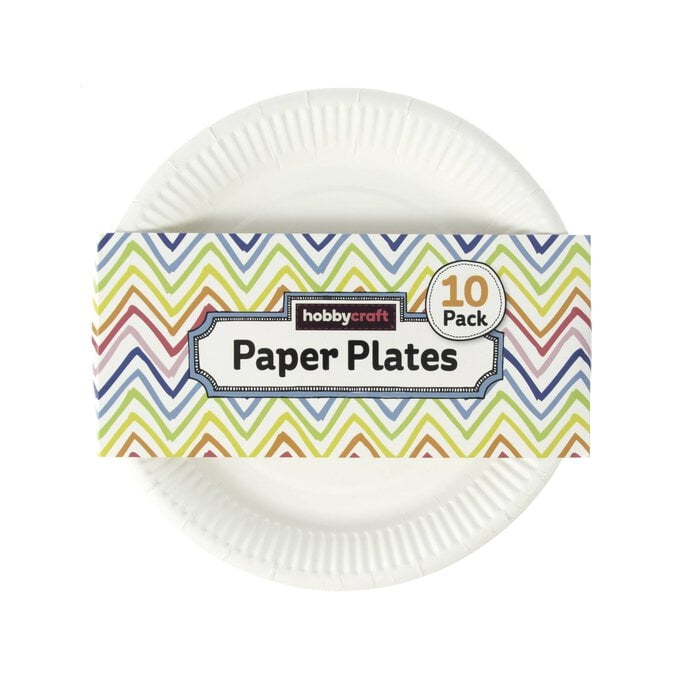
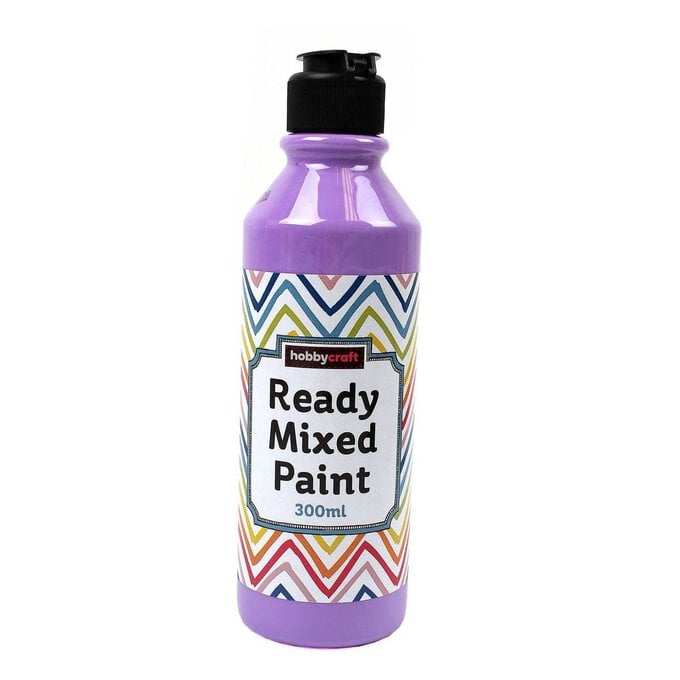
Cover your work surface with paper, then place your paper plate upside down. Squeeze out some of the pink paint then use a brush to paint all of the paper plate.
Take a piece of white card and paint this pink too.
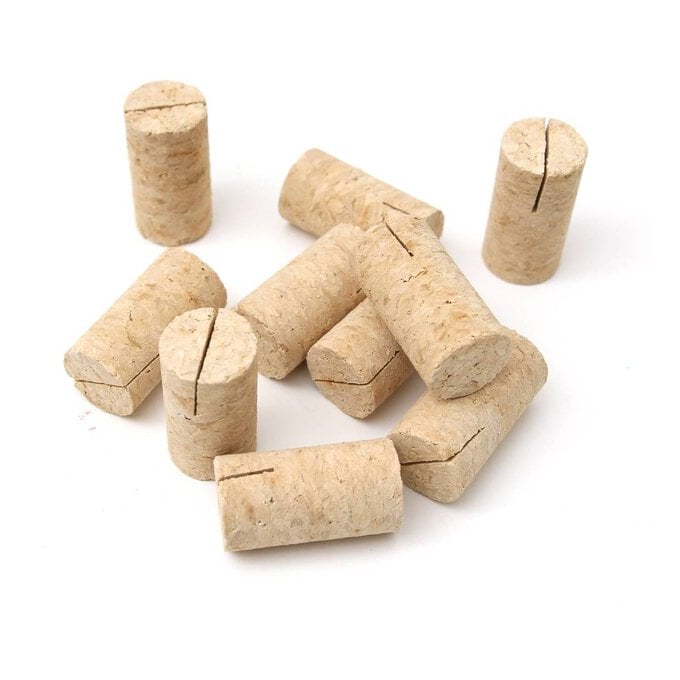
Then paint two corks in the same shade of pink. Put everything to one side to dry
Cut a 10cm length of some green ribbon, then use this as a guide to cut some more from blue and pink ribbon
Take a piece of ribbon, fold it in half and use some sticky tape to hold it in place. Continue folding and sticking all the ribbons in this way.
Take your painted piece of card and draw on the long neck and head of a dinosaur, and her tail too. Then cut them out, trimming off any excess where you see pencil.
Take your paper plate and fold it in half, so the painted side is on the outside.
Position the pieces of ribbon along one side and stick in place with some sticky tape.
Punch out a circle from a piece of pink card to make the dinosaur's cheek. Then add a tiny dot of glue to the back and carefully position the cheek on the dinosaur's head.
Use a black pen to draw an eye and a smiley mouth.
Pop some paper back down on your work surface, then paint the back of the dinosaur's neck and tail.
Once dry, you can create another face by punching out a circle from pink card for a cheek and drawing on the eye and smile on this side.
Place the neck and tail just inside the folded paper plate. When you are happy with their position, use sticky tape to hold them in place.
Apply some glue around the inside edge of the paper plate, then hold the two sides together until they have fully stuck
Take your two painted corks - you will either need to get an adult to make a slit in each, or we used place card holder corks which have the slits in them already.
Push the folded edge of the paper plate into the cork, you may have to widen the slit with a pair of scissors - again, ask an adult to help you here.
Finally draw on some little toes using a black pen.
