Cricut: How to Make an Iron-On Vinyl €˜Home Fest€™ T-Shirt
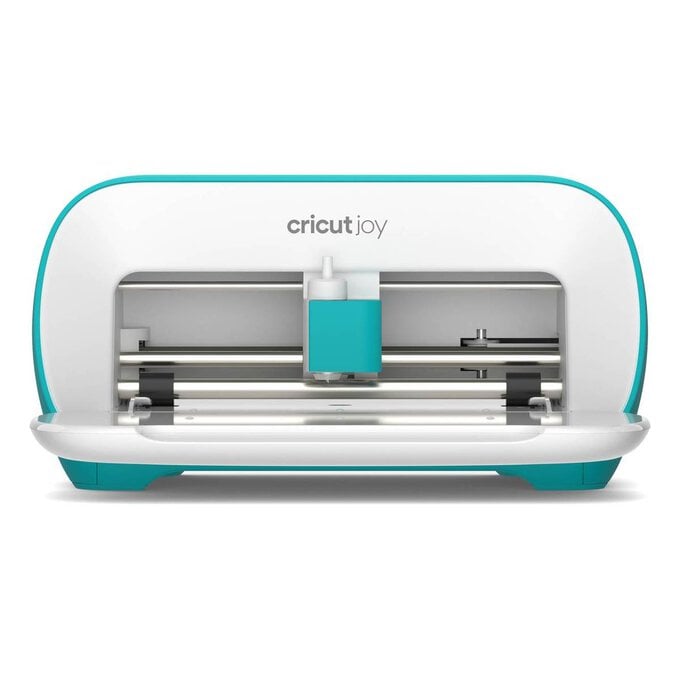
Our social calendars might have changed, but that doesn't mean we can't still have fun! Host a socially distanced stay-at-home festival this summer and celebrate in style with this statement 'Home-Fest' tee, created using iron-on vinyl and the Cricut Joy.
We've used the Cricut Joy for this project, but it can also be created using the Cricut Maker and Explore Air 2 machines.
Project and instructions by Paige Joanna (@paigejoannaa).
Please note: This project contains paid-for content from Cricut's Design Space app. Screen reference images are taken from the iOS version of Design Space.
You will need
Subtotal
Is $ 215.00
Subtotal
Is $ 25.00
Subtotal
Is $ 182.00
Subtotal
Is $ 13.00
Subtotal
Is $ 38.00
Subtotal
Is $ 19.00

Subtotal
Is $ 16.00
Subtotal
Is $ 2.49
Subtotal
Is $ 4.49
Subtotal
Is $ 2.49
Subtotal
Is $ 2.49
Subtotal
Is $ 2.49
Subtotal
Is $ 17.00
How to make
You will also need:
* You will also need the Cricut Design Space app installed on a laptop, PC, tablet or mobile device.
* White t-shirt
* Pom-pom trim (optional)
Open Cricut Design Space and use the text tool to create your "Home Fest" design.
Resize the text so that it's big enough to fit on your t-shirt and change the letters to your chosen colours. You may need to "ungroup to letters" to do this.
Then click "Make it".

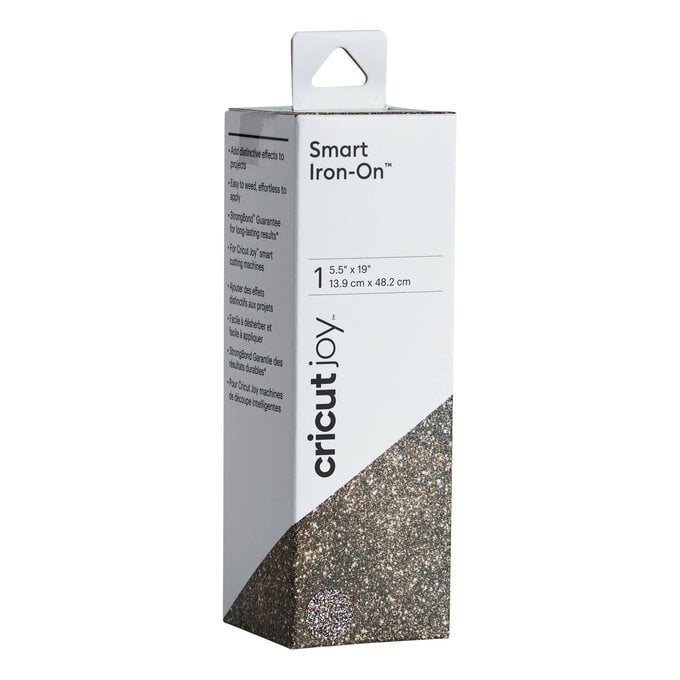
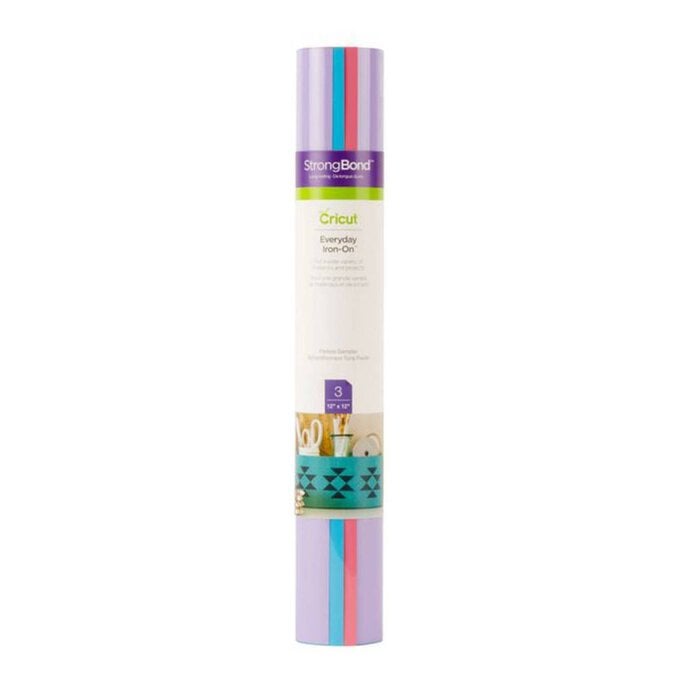
Select your material. If you're using smart iron-on, you can load this straight into the machine. If you're using everyday iron-on, you'll need use a Cricut mat and load it so that the shiny side is facing down on your mat.
Follow the on-screen instructions to cut out each of your layers.
Top tip: Don't forget to mirror your design before you cut to ensure your design reads left-to-right once it's been transferred.


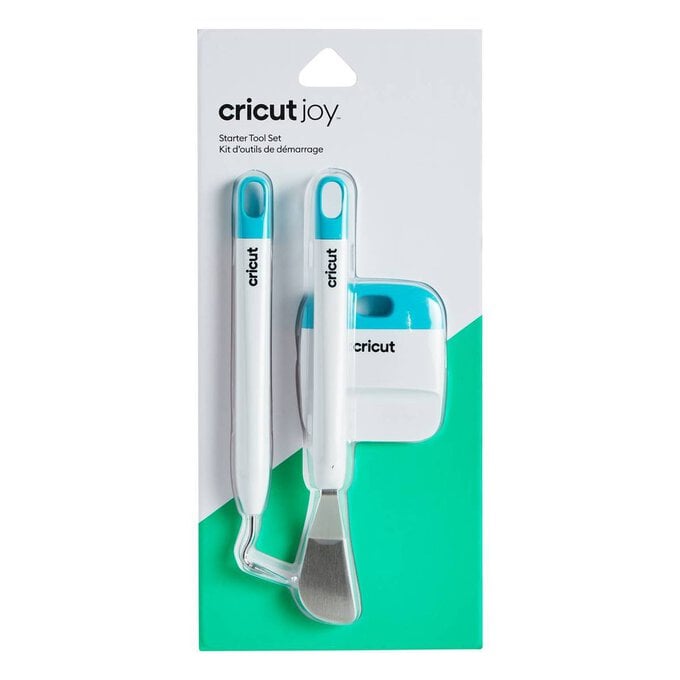
Once your text is cut, use your weeding tool to remove the negatives (the pieces you don't need) from your design so you're left with just the text.

Using a measuring tape or ruler, find the centre point for your t-shirt and place down your design so that the cover sheet (the shiny side) is facing up.

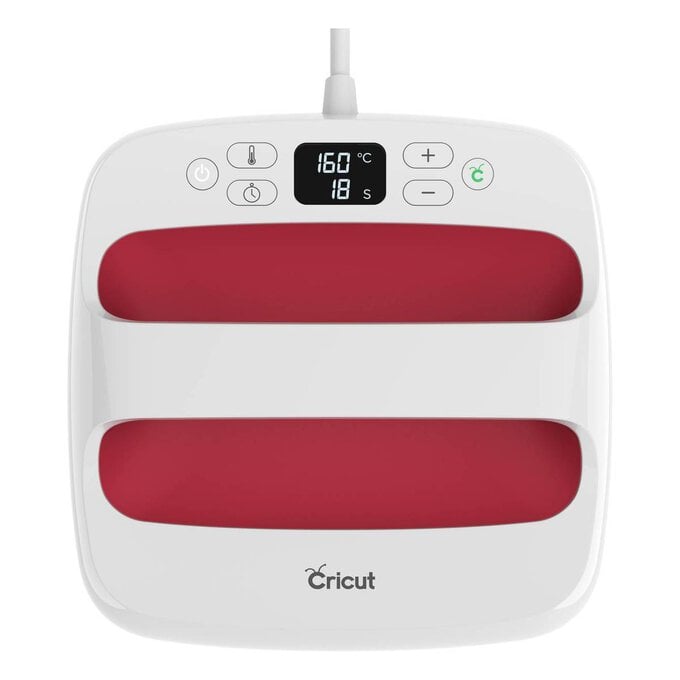
Set your Cricut EasyPress to the correct temperature. You can find the correct heat and pressing instructions by using the online Cricut Heat Guide: https://cricut.com/en_us/heatguide
Once the EasyPress has heated up, the "C'"will turn green. You're then ready to start pressing your design.

If you'd like to create a crop style t-shirt then you can cut off the bottom section. Use dressmaker pins to help guide where you need to cut.

For extra embellishment, grab your pom-pom trim and cut off a length to wrap around your sleeve.
Roll up the sleeves and sew the trim along the newly created seam.


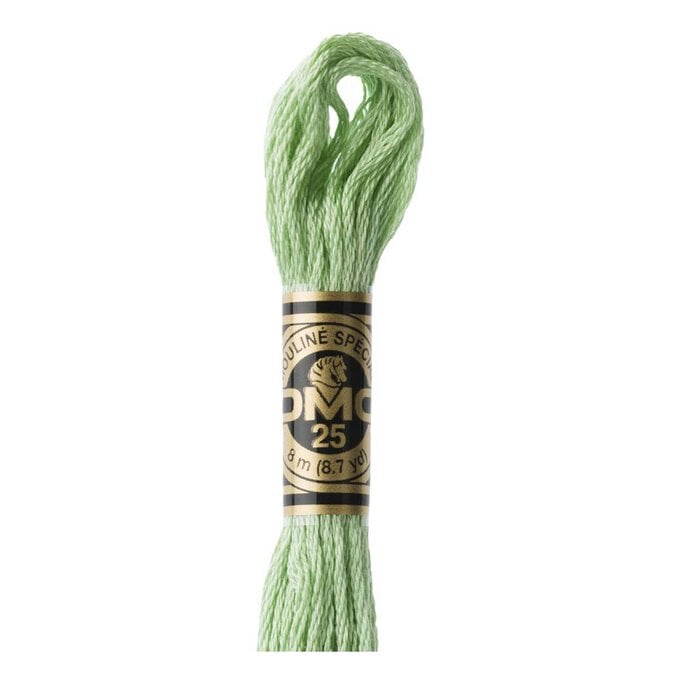
Finish off the t-shirt with some colourful tassels attached to the bottom hem.
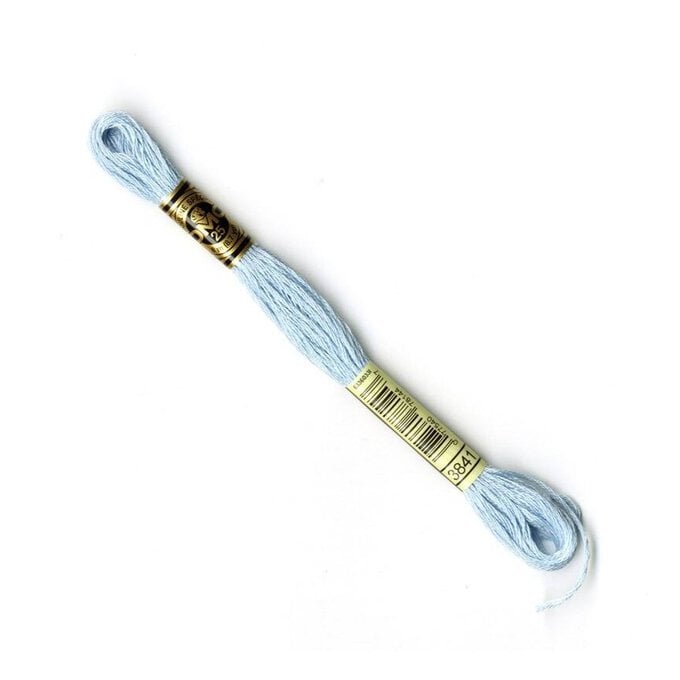
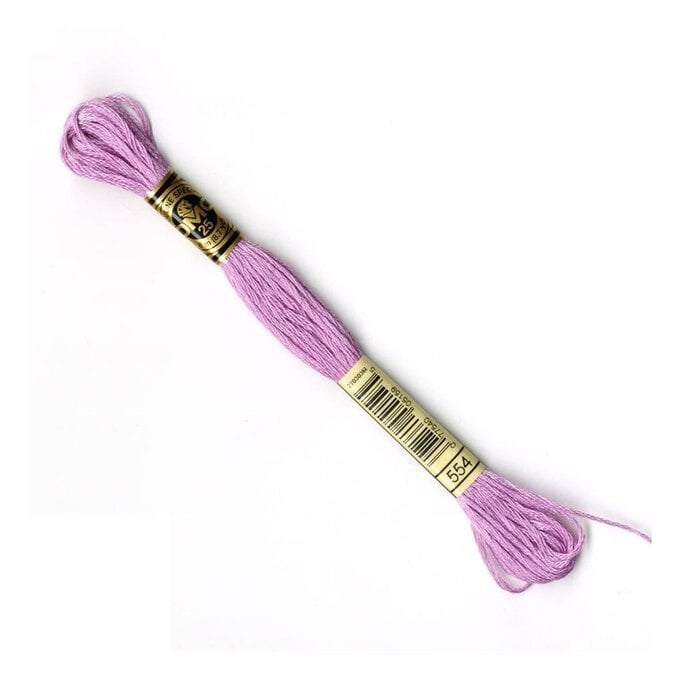
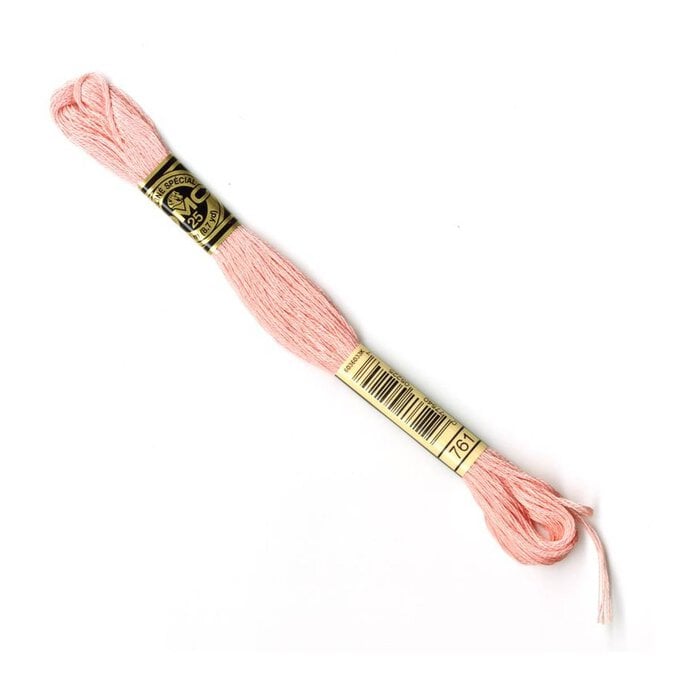
To make them, wrap some embroidery thread around a piece of card roughly 10-15 times.
Cut a second piece of thread and tie a knot around the loops you've just made.
Pull the loops off the card and tie another knot about 1cm from the knot you've previously just made.
Cut the bottom of the loops to make the fringed tassels, then sew onto the bottom of your t-shirt.


Ta-dah! You're now Home Fest ready.


Related Products
.jpg?sw=680&q=85)

Is $ 10.00 , was $ 20.00


Is $ 10.00 , was $ 20.00


