How to Embroider a Shirt
Embroidery adds a personal touch to any piece of clothing. Learn how to create beautiful floral embroidery so you can upcycle an old shirt or decorate one you've made from scratch!
Give your shirt a new lease of life with this step-by-step guide. Why not use your new embroidery technique on other garments and accessories in your wardrobe?
Project and instructions by Katherine Lucy Creates
You will need
Subtotal
Is $ 4.49
Subtotal
Is $ 2.49
Subtotal
Is $ 2.49
Subtotal
Is $ 6.49
Subtotal
Is $ 18.00
Subtotal
Is $ 12.00 , was $ 24.00
Out of stock
* A shirt
* A heat erasable fabric pen
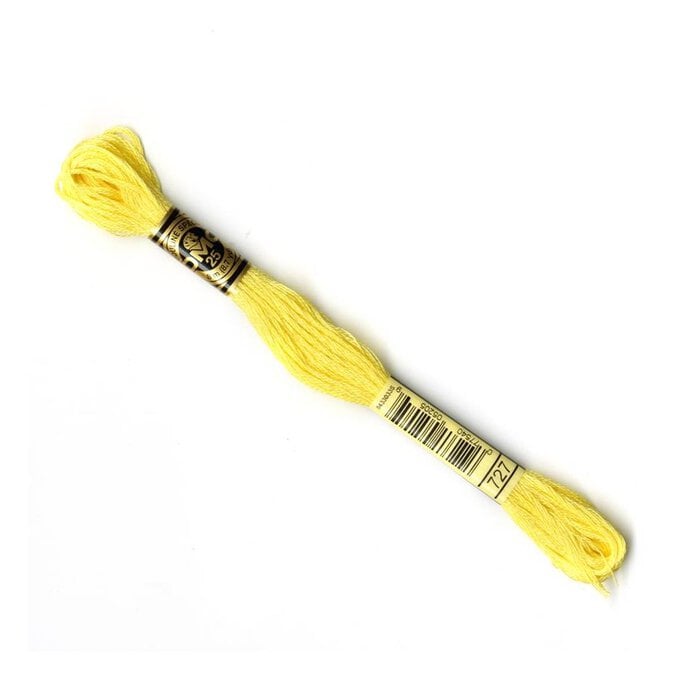
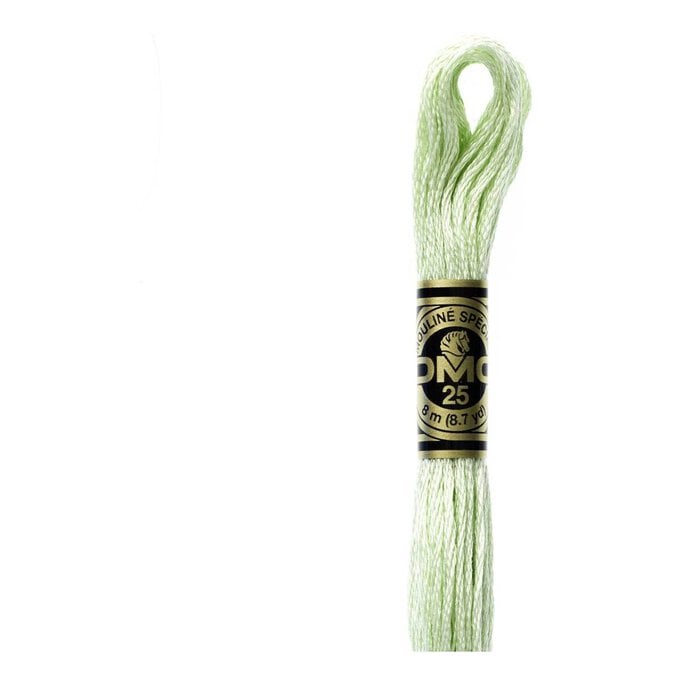
* DMC Black Mouline Special 25 Cotton Thread 8m (310)
* DMC Green Mouline Special 25 Cotton Thread 8m (164)
* DMC Green Mouline Special 25 Cotton Thread 8m (503)
* DMC Pink Mouline Special 25 Cotton Thread 8m (353)
* DMC Pink Mouline Special 25 Cotton Thread 8m (151)
* DMC Blue Mouline Special 25 Cotton Thread 8m (3755)
* DMC Blue Mouline Special 25 Cotton Thread 8m (156)
* DMC Cream Mouline Special 25 Cotton Thread 8m (3825)
* Embroidery Scissors
* Fabric Scissors


Use the template and a heat erasable fabric pen to trace the design onto each side of the shirt and the collar.
Top Tip: Use a good light source for this like a lightbox or a window.


Once the design is fully traced, pick out your thread colours. For the design pictured in this project we have used:
* Bee: 310 and 727
* Foliage: 369, 164 and 503
* Flowers and bee trail: 353, 151, 3755, 156 and 3825

You should be able to stitch the collars of the shirt without a hoop as they are double layered and interfaced.
Start the bee by adding a running stitch for the bee trail, use two strands of thread for this. Then, satin stitch the yellow parts of the bee, use three strands of embroidery thread.
Next, using three strands of thread again, satin stitch the black parts of the bee.
Finally, complete the bee by using 1 strand of black embroidery thread to outline the wings with back stitch and stitch the antennae.


Moving on to the other collar, start by adding four French knots to the centre of the flower, use two strands of embroidery thread for this. Then, using two strands again, satin stitch the petals.


Next, using two strands of thread, back stitch the stem and satin stitch the leaves. Satin stitch the petals too.


For the smaller flowers, satin stitch the petals using two strands of thread.
Then add the French Knots to the middle, again using two strands of thread.


Stitch the bee as before.
Stitch the last piece of foliage using stem stitch and fish bone stitch again.
Repeat for the other side of the shirt.


Remove the shirt from the hoop and remove the pen marks using an iron.
Press the shirt fully if needed.


Related Products
.jpg?sw=680&q=85)