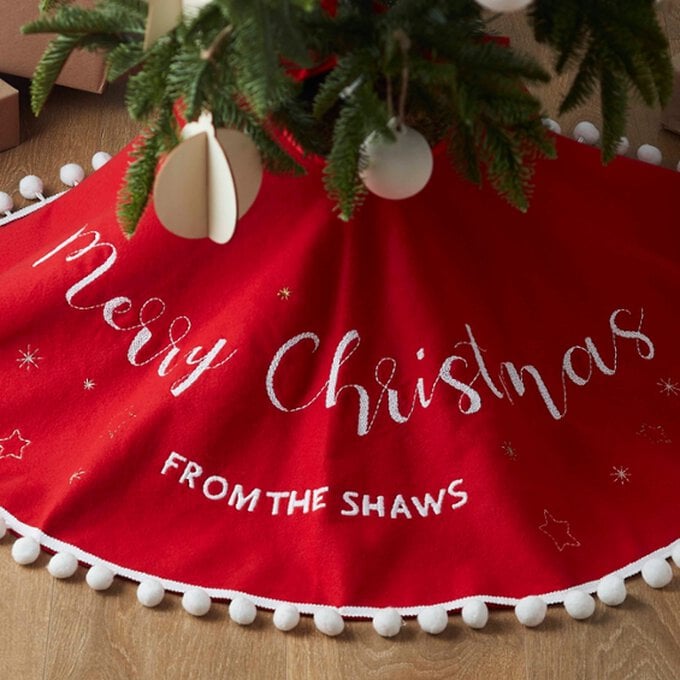
How to Make a Personalised Tree Skirt
Level
Intermediate
Time
1/2 day
Budget
10 - 30
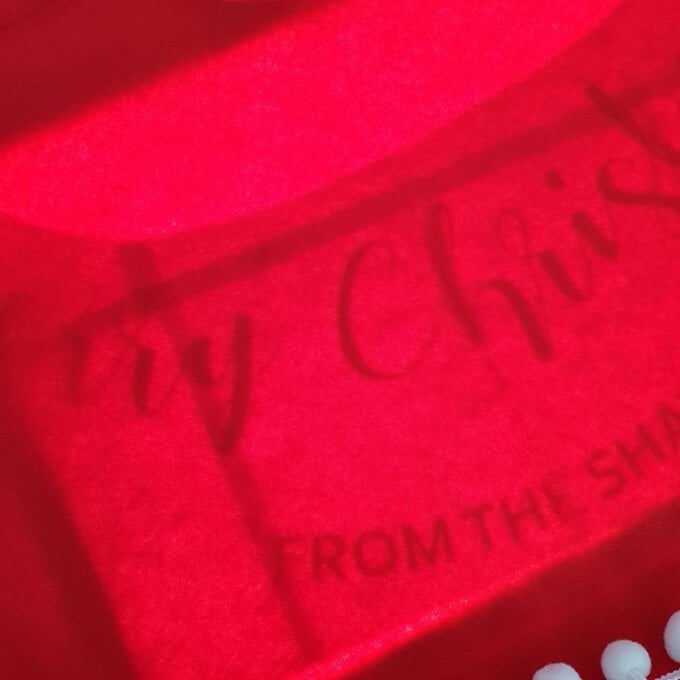
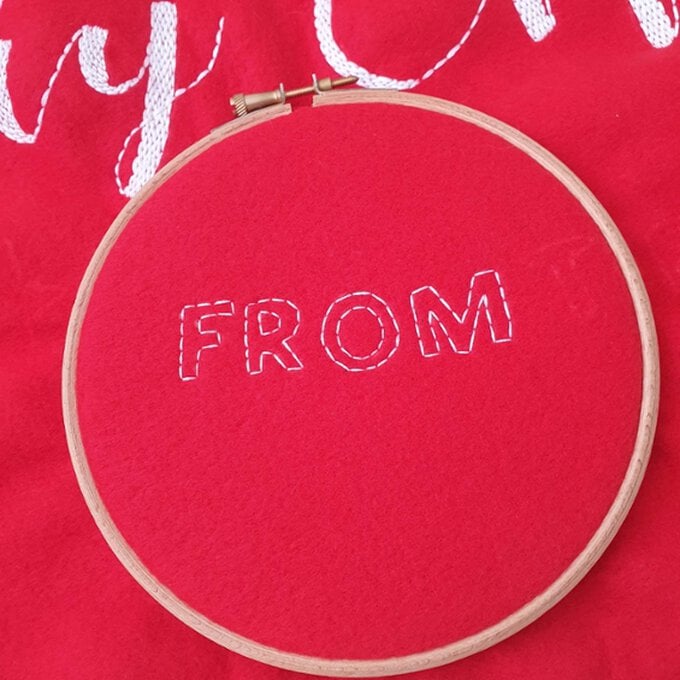
Show off your embroidery skills with this large-scale embroidery design and create a stunning piece to go around your Christmas tree!
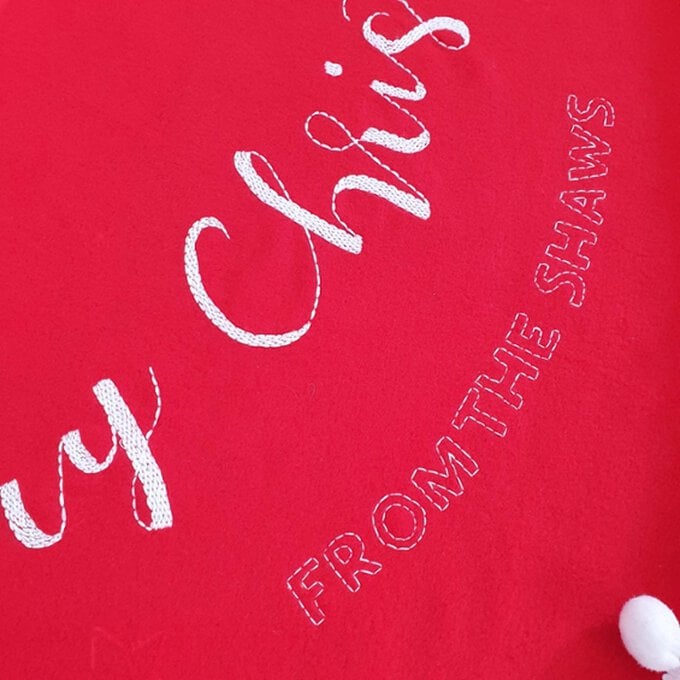
Using a FREE downloadable template, this tree skirt design is ready to be personalised with your surname and displayed with pride in your home!
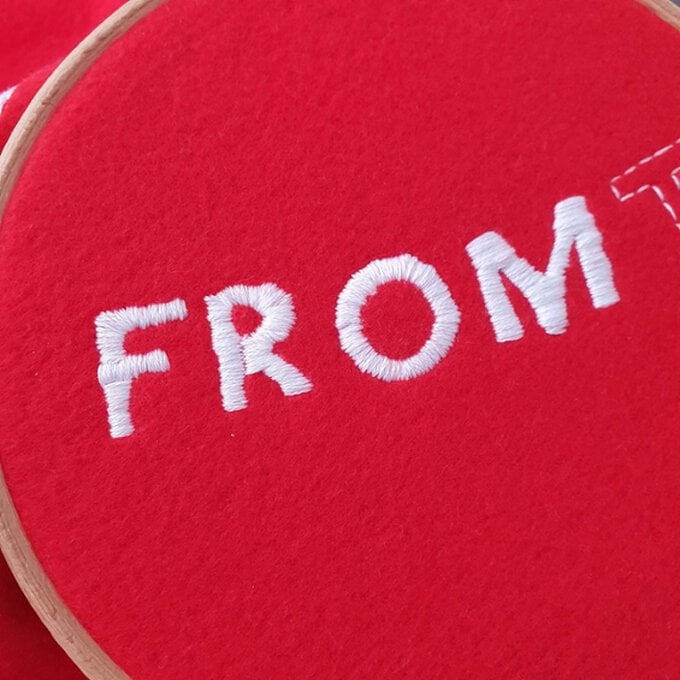
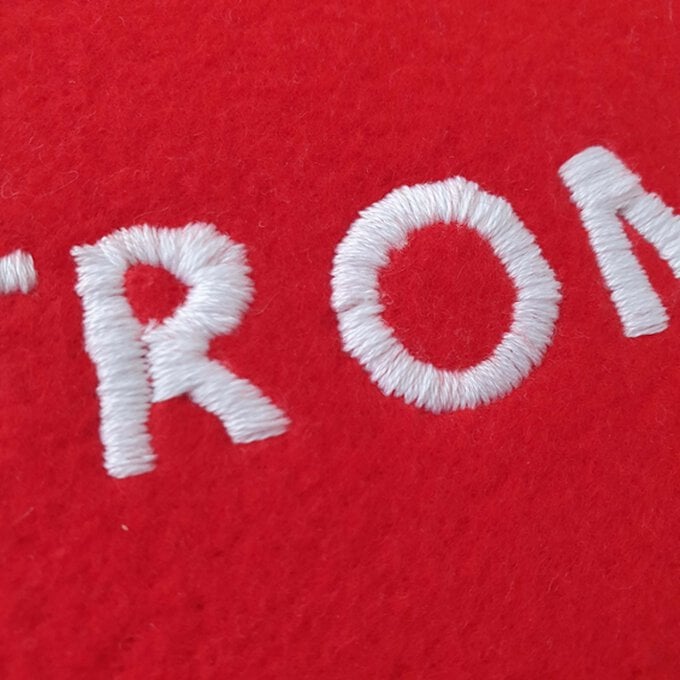
Perfect for intermediate level embroiderers, this project is ideal to show off your favourite embroidery stitches and will look beautiful amongst your collection of hand embroidered Christmas decorations.
You will need
Quantity:
1
Subtotal
Is $ 4.49
Quantity:
1
Subtotal
Is $ 6.49
Quantity:
1
Subtotal
Is $ 9.49
Quantity:
1
Subtotal
Is $ 8.49
Quantity:
1
Subtotal
Is $ 100.00
Quantity:
1
Subtotal
Is $ 3.49
Quantity:
1
Subtotal
Is $ 2.49
Quantity:
1
Subtotal
Is $ 2.49

Quantity:
6
Subtotal
Is $14.94
Total:
£0.00
You will also need:
- FREE downloadable Christmas tree skirt template
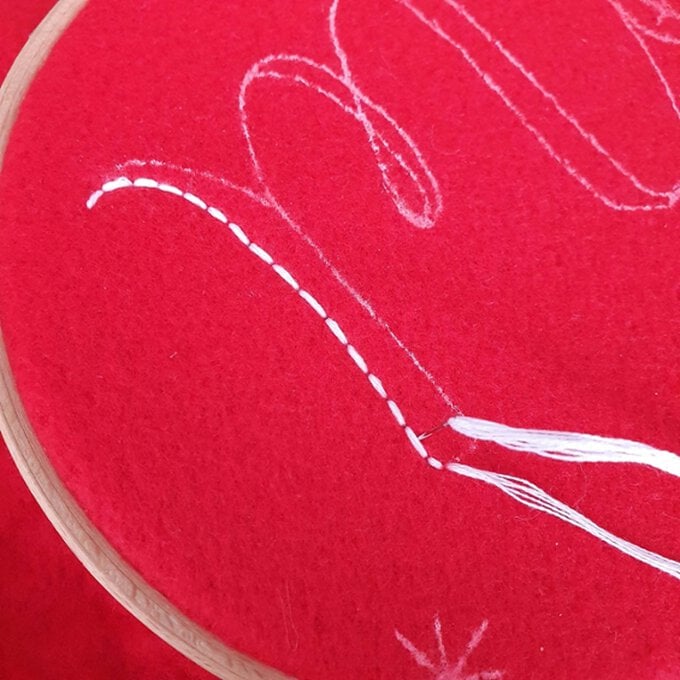
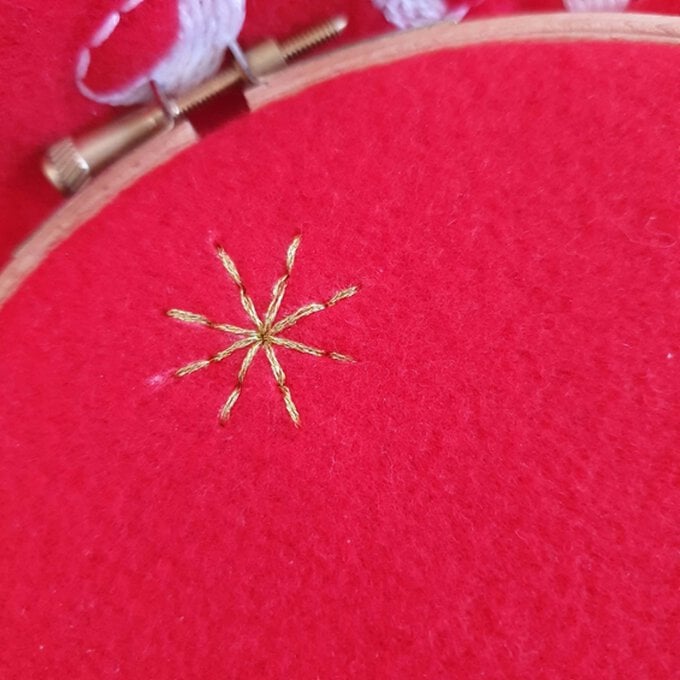
Step 1
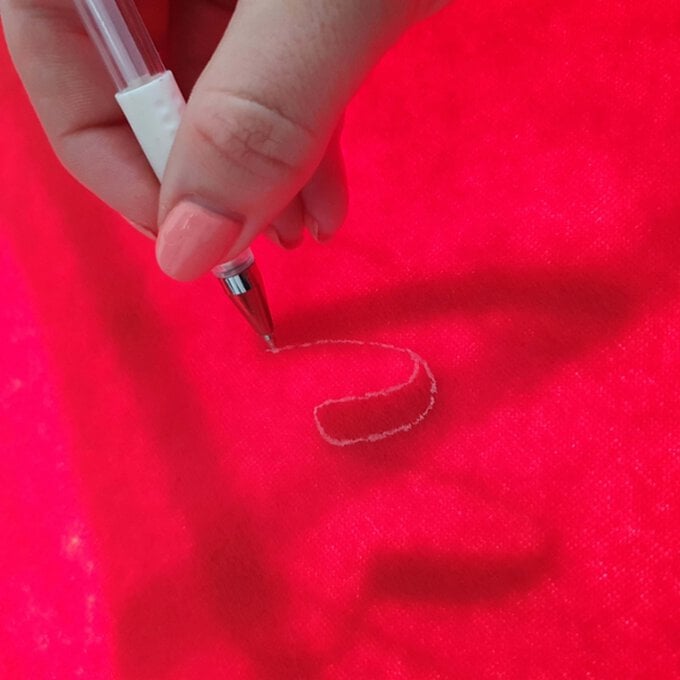

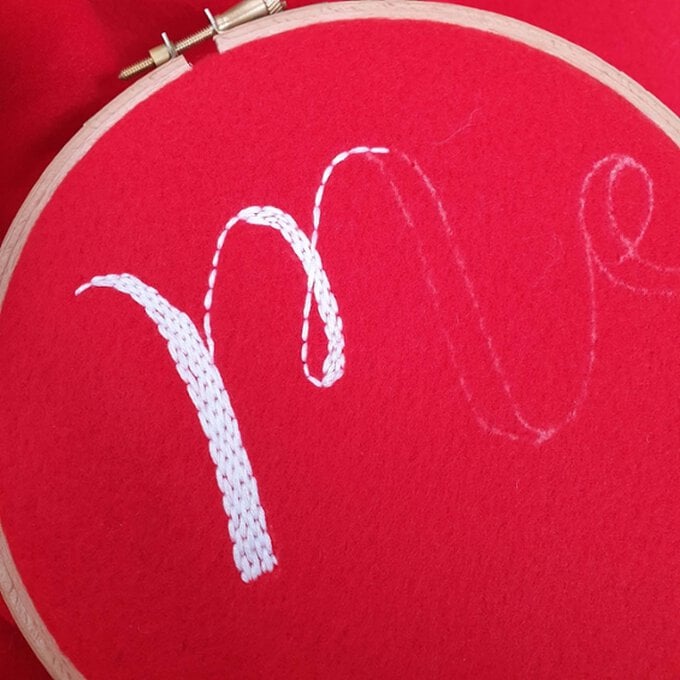
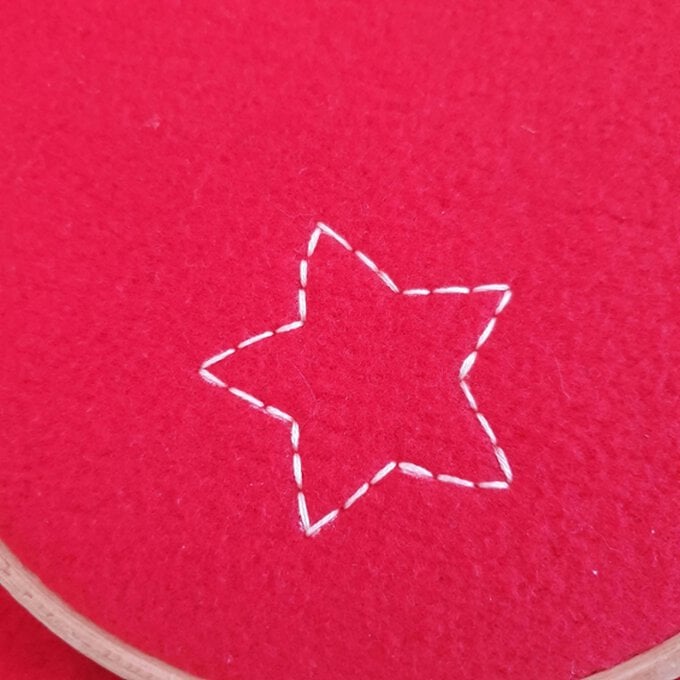
Step 2
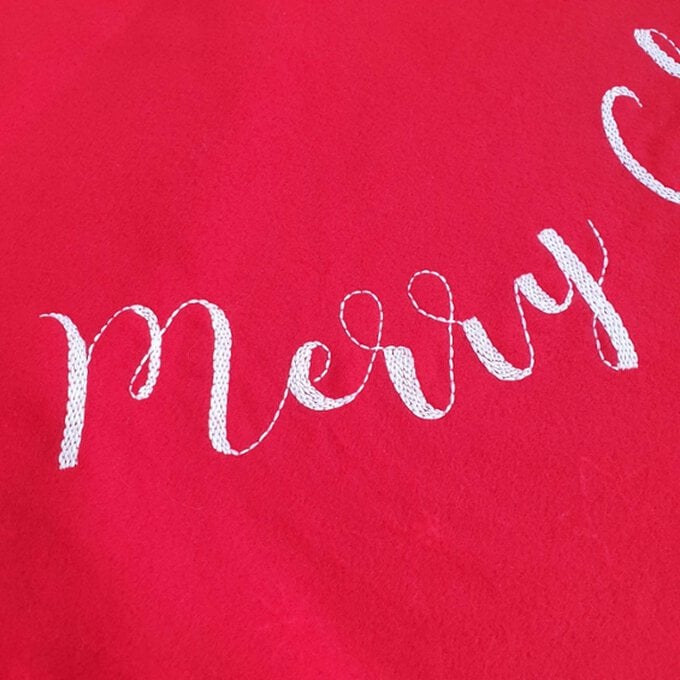

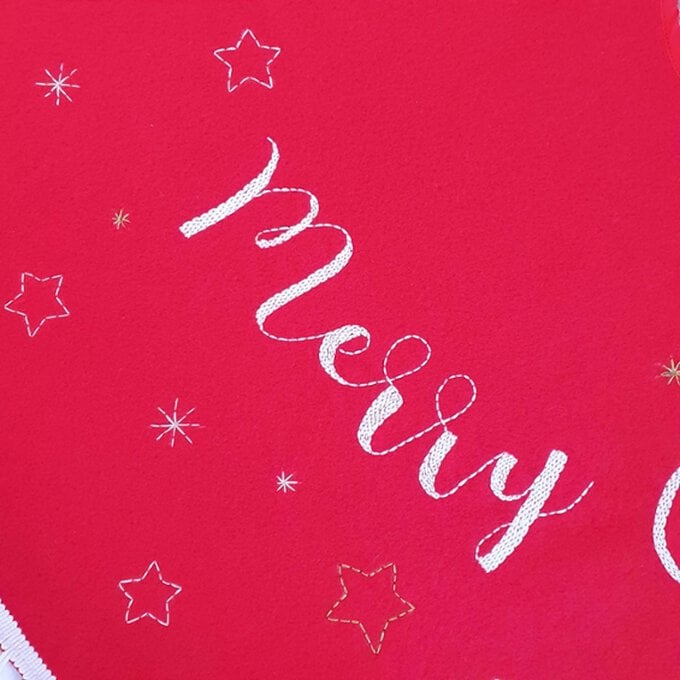
Step 3
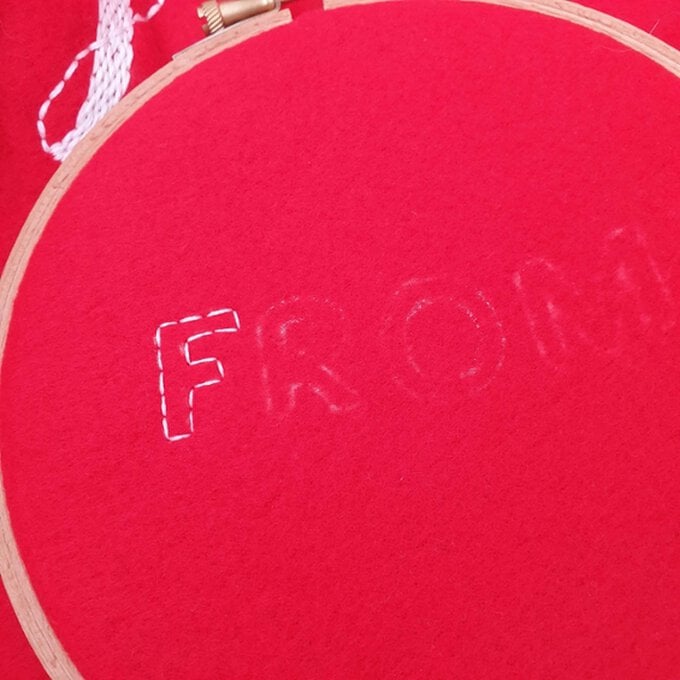
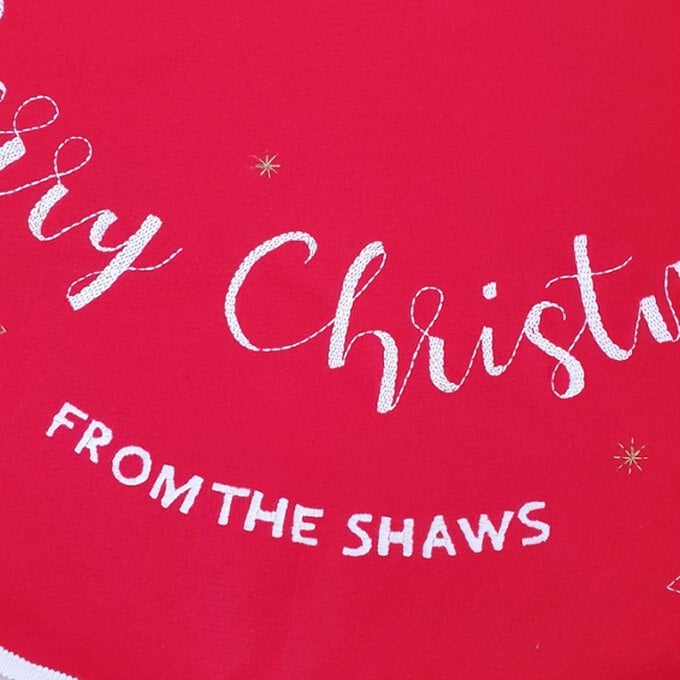
Step 4

Step 5
Step 6
Related Products
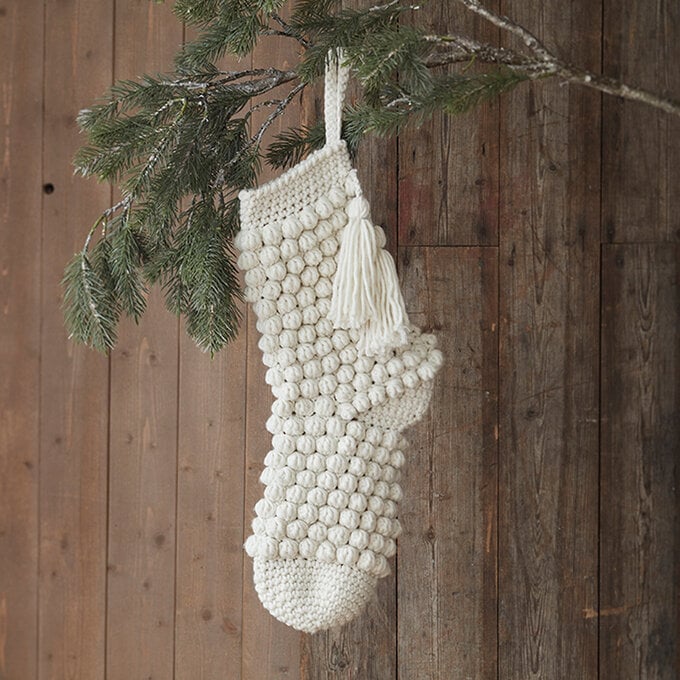
How to Make a Bobble Christmas Stocking
This crochet corgi is the perfect royal addition to your amigurumi collection! With a removable gown, this adorable animal will be loved by children and adults alike. Celebrate the most festive time of the year with your Tiny Friends. Hook ...
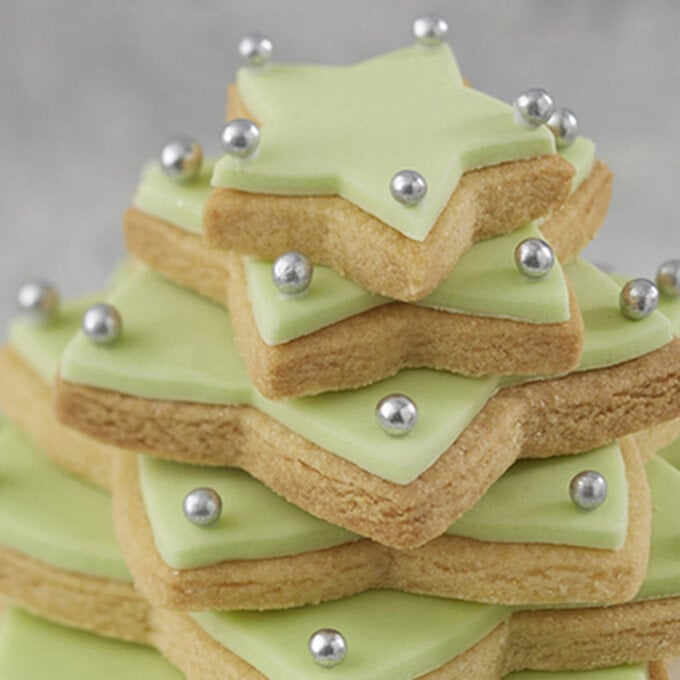
How to Make a Star Biscuit Christmas Tree
Spark off the festive excitement with this beautiful Artificial Fir Christmas Wreath!No Christmas is complete without a stunning wreath! This reusable accessory is wonderful for popping onto your front door, wall, table and more! Add a variety of decorations, such as ...
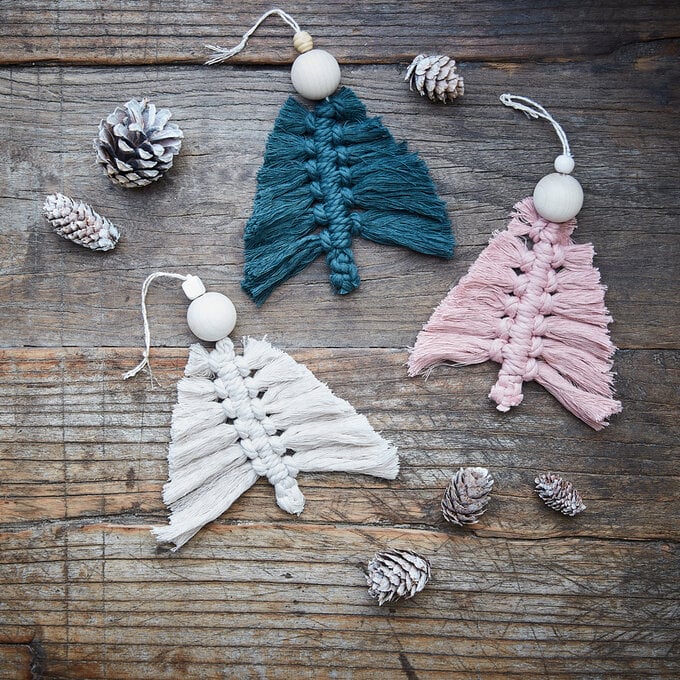
How to Make Macrame Christmas Trees
This is a FREE pattern that you can click on to print it out here.FREE Christmas Stocking Pattern.Brand: HobbycraftYarn: WI Premium Acrylic Yarn in Cream and RedBalls of Yarn: FourNeedle size: 9 mm Knitting Needles and Cable NeedlesFREE PATTERN Christmas ...
How to Quilt a Christmas Stocking
Project and instructions by Hobbycraft Artisan: Suzanne Springall Find out more. Create a beautiful embroidery piece inspired by Black History Month, designed by Shikira from Kreative Pursuit Crafts. Capturing a multicultural collection of faces, the embroidery hoop design is the ...
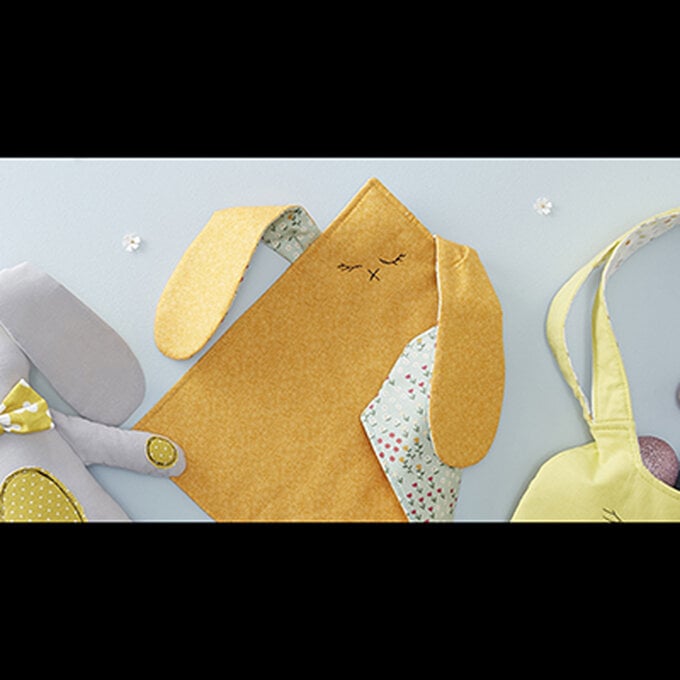
How to Sew a Bunny Comforter
Some dragons are fierce and ferocious, others protect their hoards of gold deep underground. But Dempsey the Dragon just loves to share! He's the friendliest fellow you have ever met. Now don't get him wrong; he has piles of treasure ...
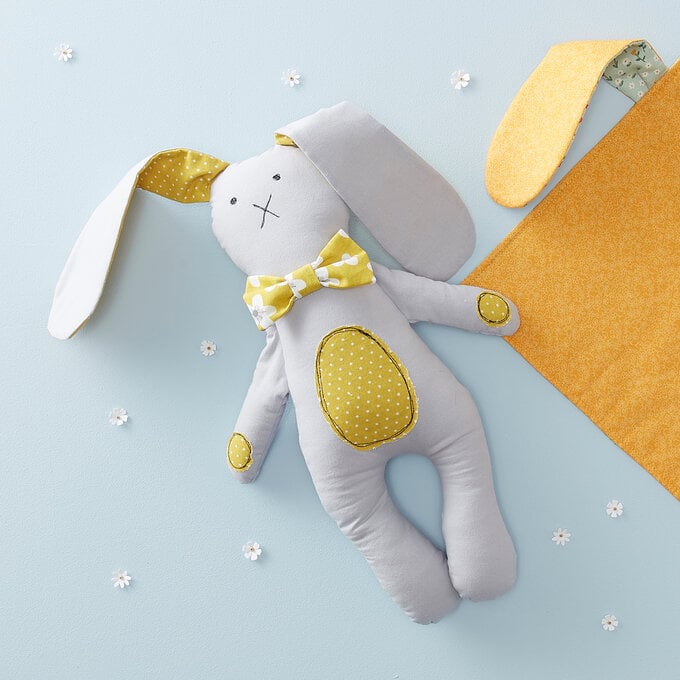
How to Sew a Bunny Toy
Project by Hobbycraft Artisan: Gisela Narten Find out more. Fat quarters are great for sewing smaller projects, providing a more manageable amount of fabric in a variety of beautiful patterns. At Hobbycraft we sell many packs of fat quarters, lots ...

