How to Sew Embroidery Wall Hangings
Fill your living space with these bright, summer themed embroidery wall hangings designed by our haberdashery expert, Kathi Smith. Follow along with the below tutorials by using the downloadable text templates, and learn how easy it is to create professional-looking embroidered lettering on a modern hanging banner.
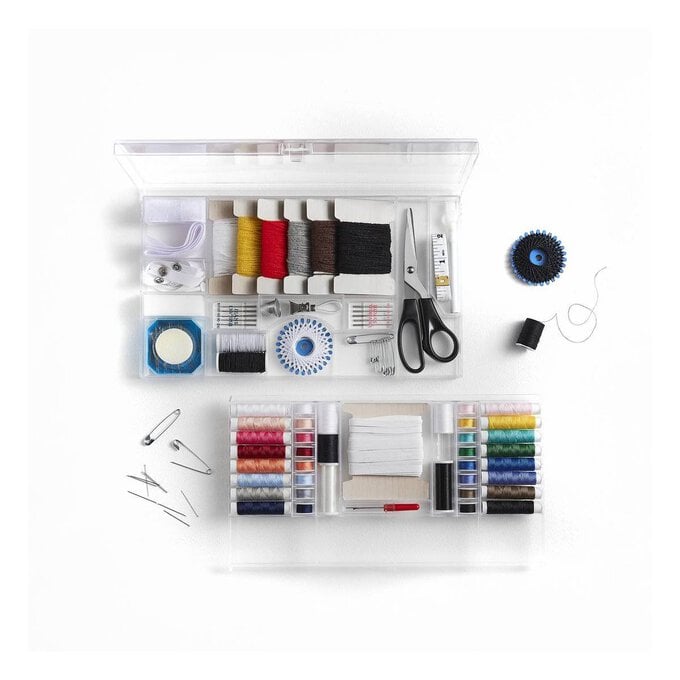
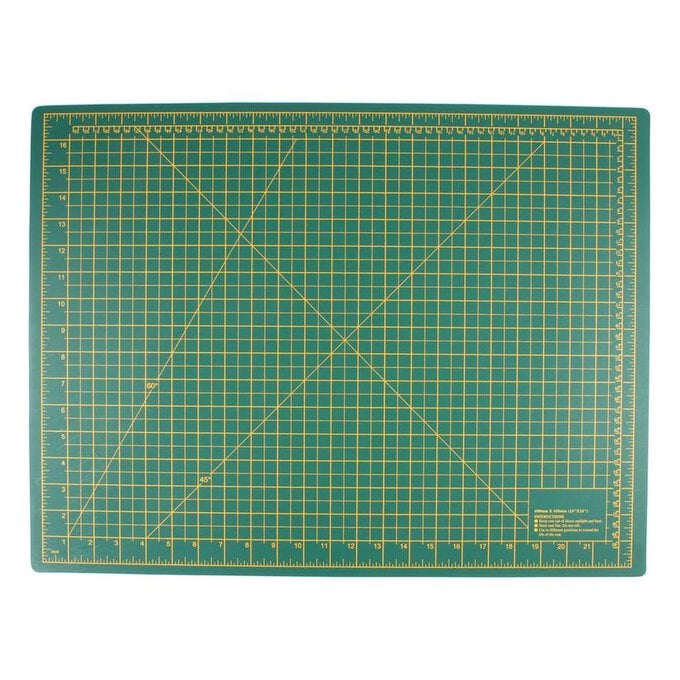
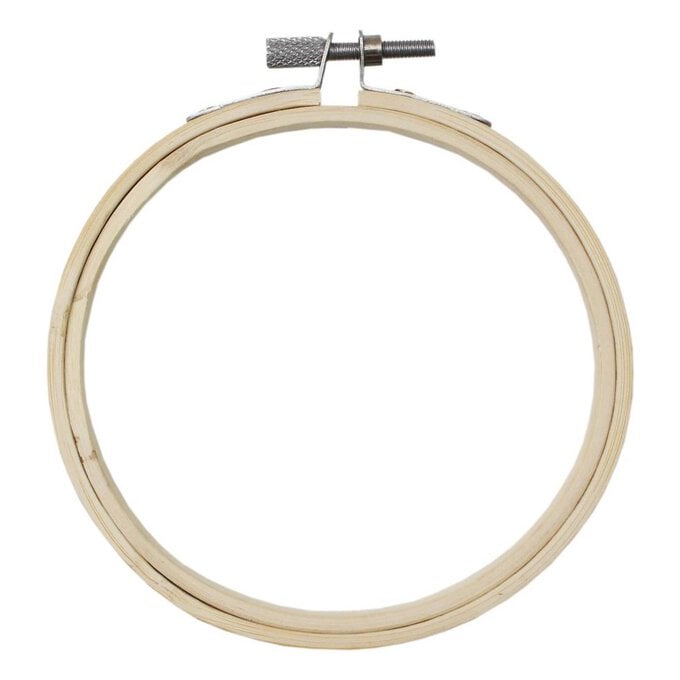
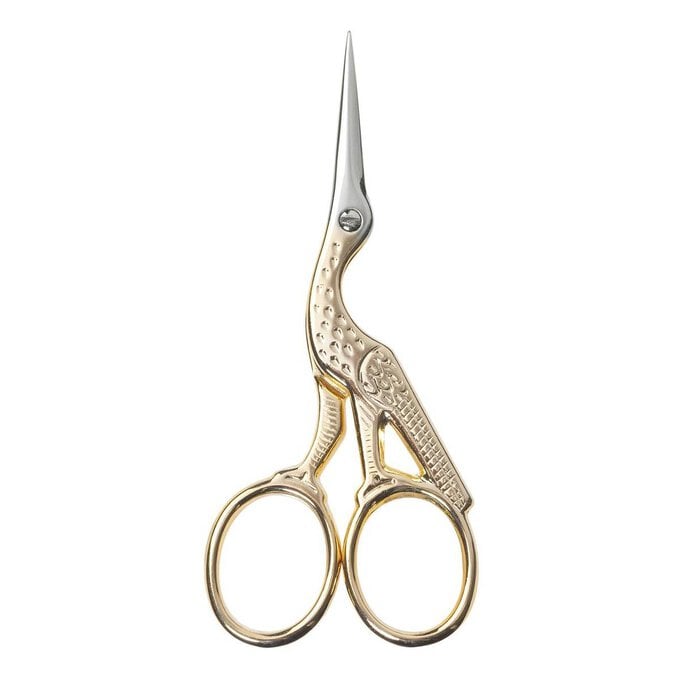
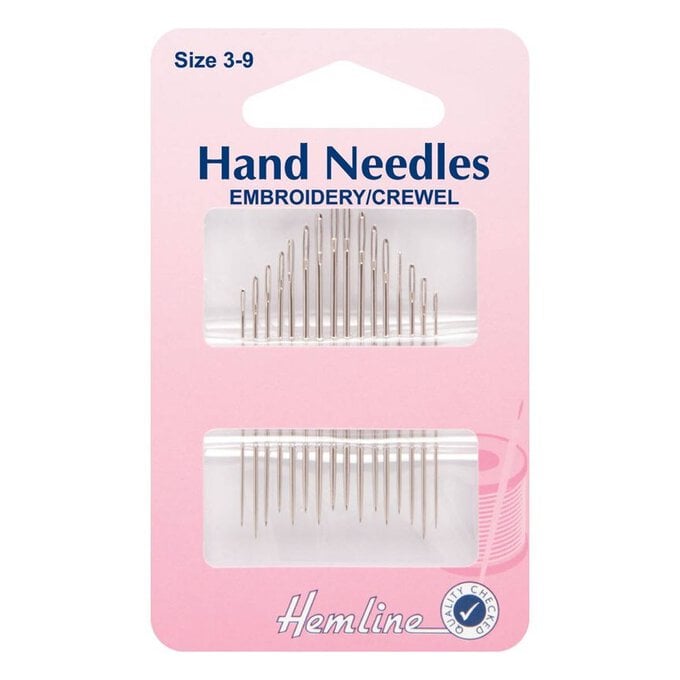
You will need
Subtotal
Is $ 121.00
Subtotal
Is $ 24.00
Subtotal
Is $ 25.00
Subtotal
Is $ 27.00
Subtotal
Is $ 20.00
Subtotal
Is $ 5.49
Subtotal
Is $ 13.00
Subtotal
Is $ 4.49
Subtotal
Is $ 2.49
Subtotal
Is $ 2.49
Subtotal
Is $ 2.49
Subtotal
Is $ 2.49
Subtotal
Is $ 2.49
Subtotal
Is $ 100.00

Subtotal
Is $ 9.49
Subtotal
Is $ 6.49
How to make
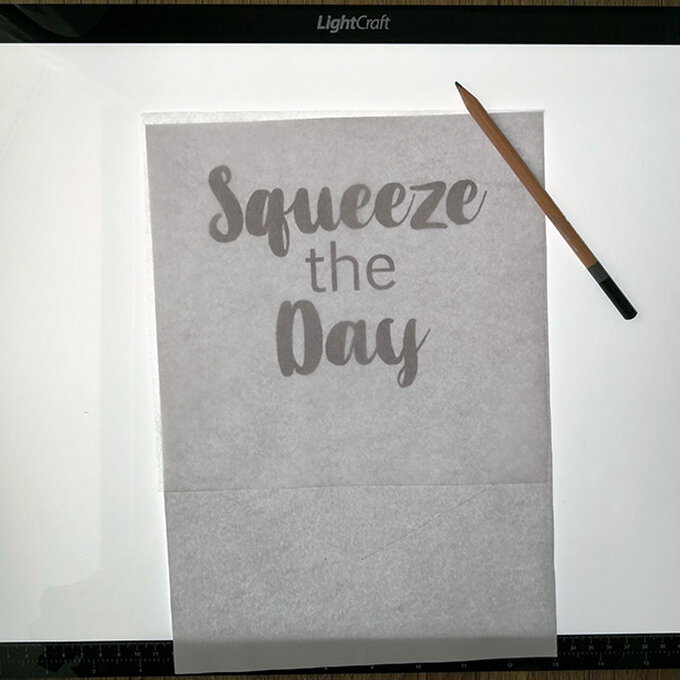
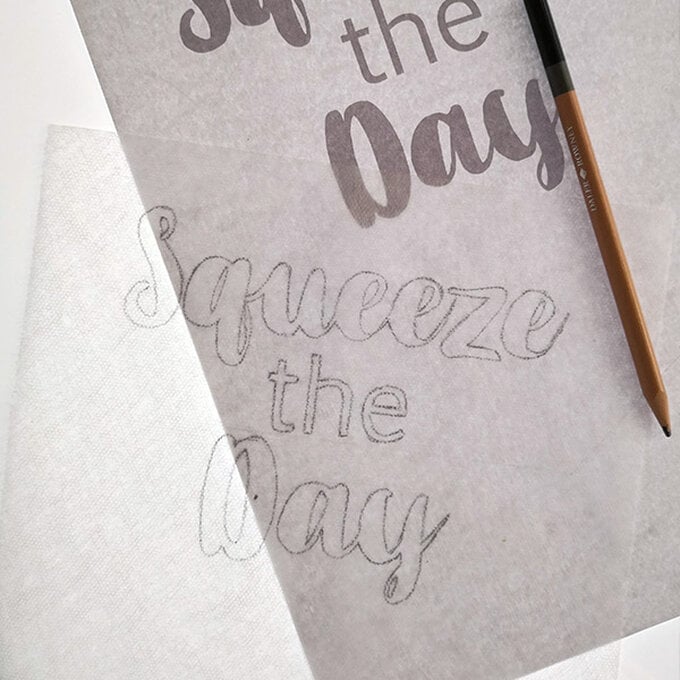
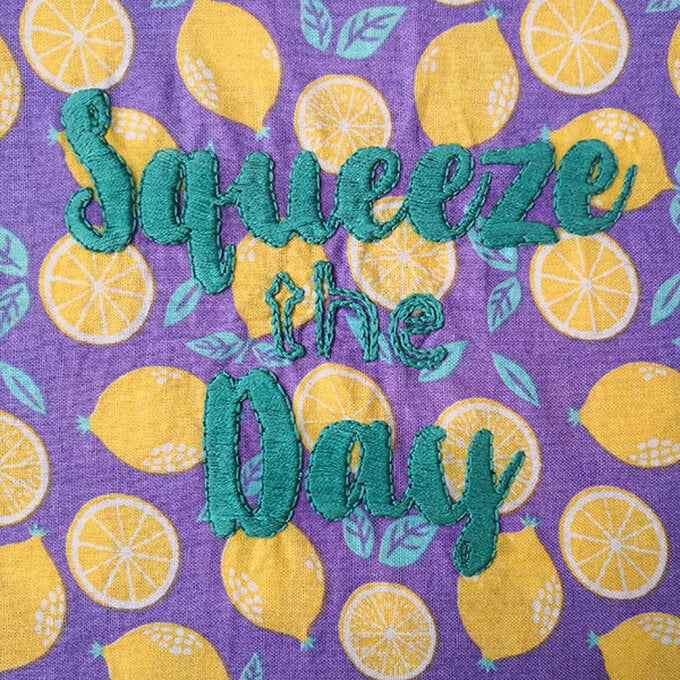
1. Download and print the 'Squeeze the Day' embroidery template. If you are using a fabric stabiliser, transfer the design onto this using a lightbox. If you are not using the stabiliser, carefully transfer the design directly onto the fabric using a fabric pencil or pen.
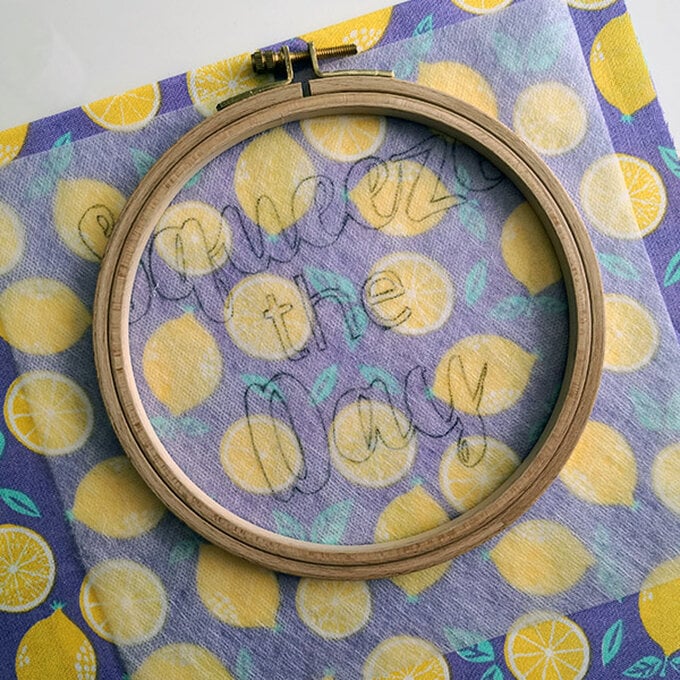
2. Place the design into an embroidery hoop.
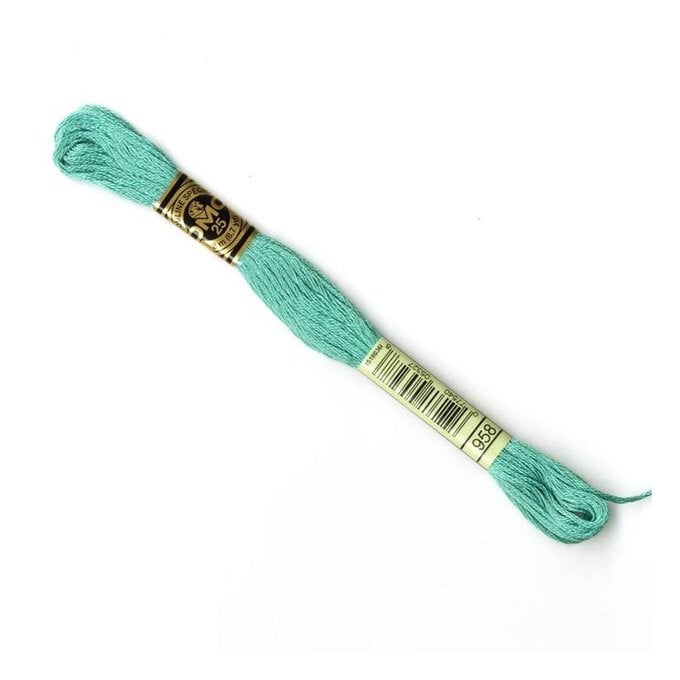
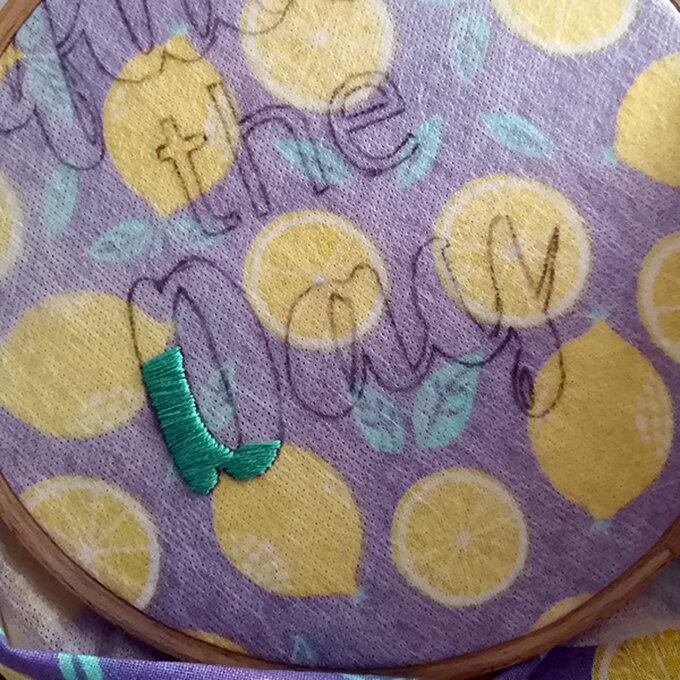
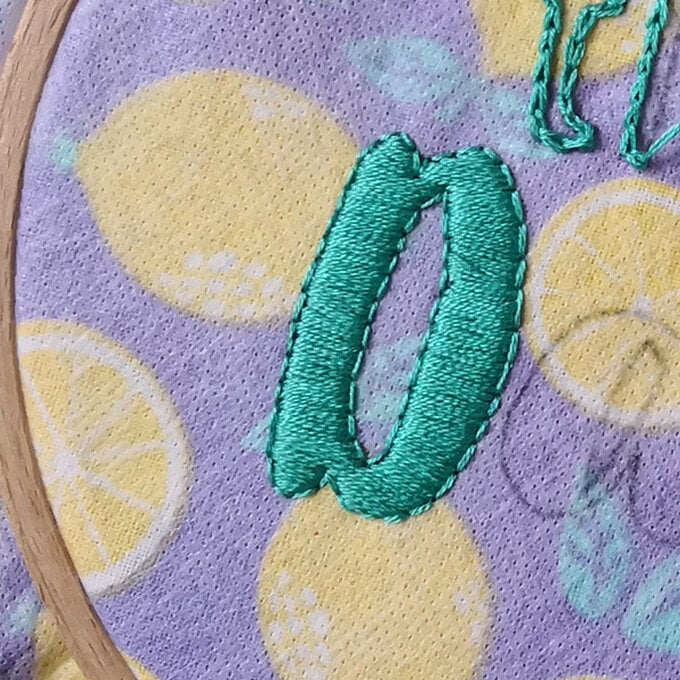
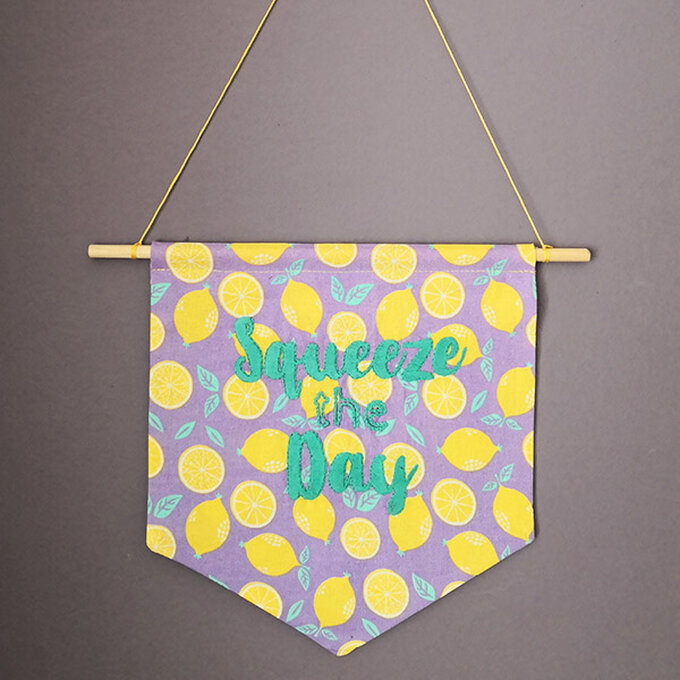
3. Start the design by filling the lettering of 'Day' and 'Squeeze'. Fill with a satin stitch using 4 strands of green thread, colour code 958.
4. Complete each letter by adding a back stitch outline, use two strands for this.
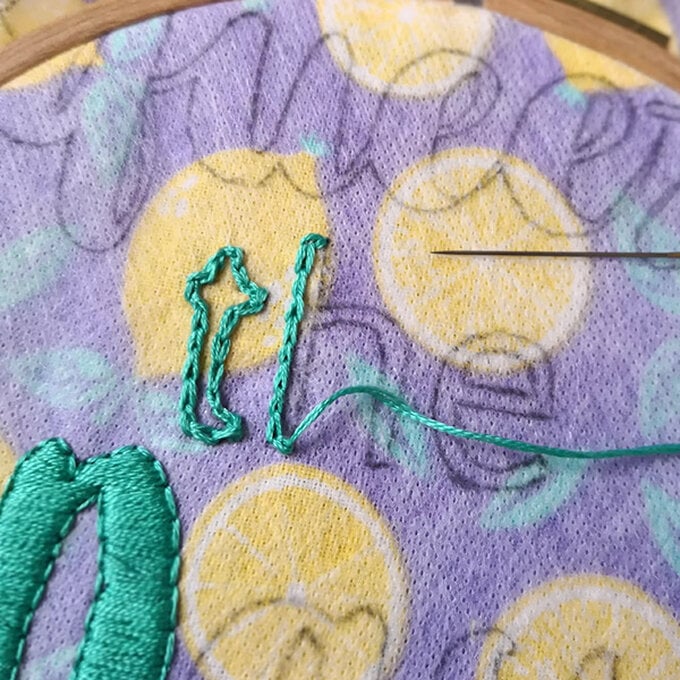
5. Chain stitch around the 'the' using 4 strands again.
6. Once you have completed the design, carefully wash away the fabric stabiliser and press with an iron. (Go straight to pressing if you are not using msgic paper).
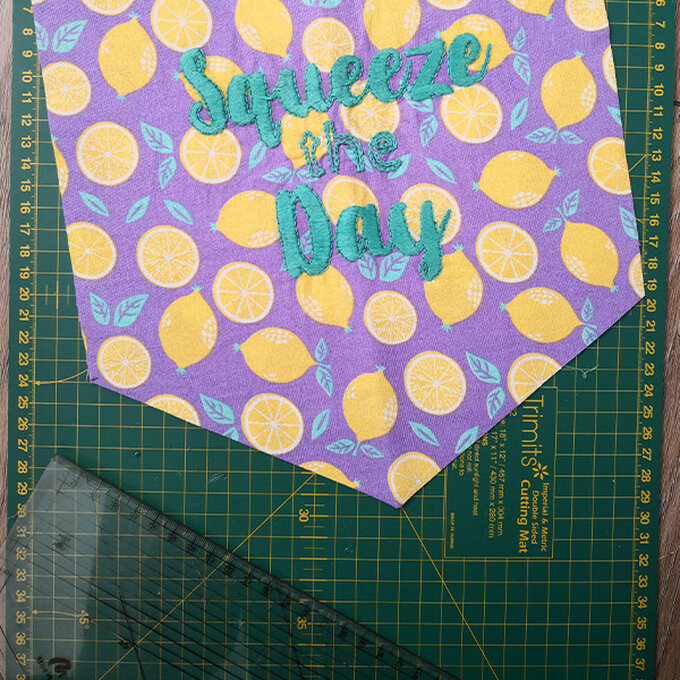
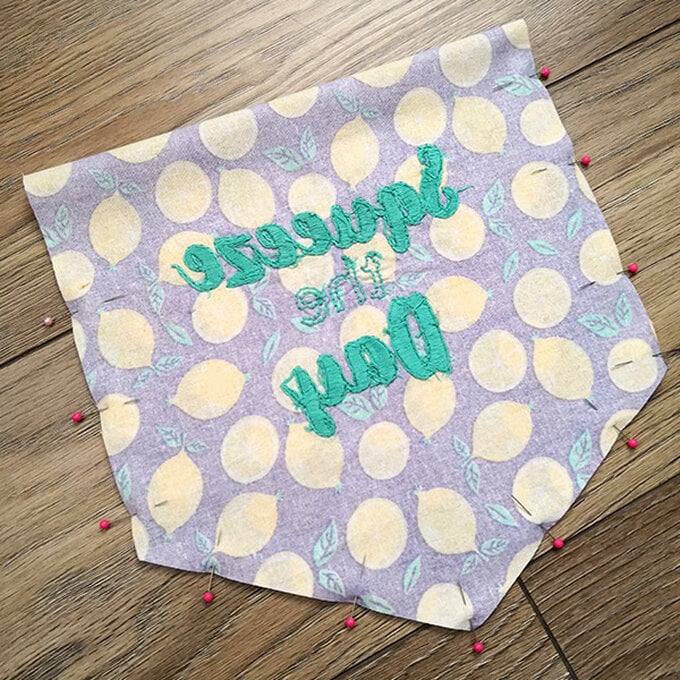
7. Fold the fat quarter in half and press with the iron. Cut a 26cm x 27cm rectangle from the folded fabric, with the design in the middle.
8. Fold in half and cut a 5cm angle from the bottom corner to create the flag shape.
9. Place the fabric right sides together and pin the open edges, leave a 2cm gap from the top one side and a 4cm gap the other (so that you can turn through). Sew with a 1cm seam allowance.
10. Trim the pointed corners and turn the flag through. Use a chopstick to keep the points sharp.Top stitch 2cm from the top of the flag.
11. Measure and cut the dowel rod to the size of the flag. Thread through the gap and tie a piece of yellow embroidery thread either end for the flag to hang from.


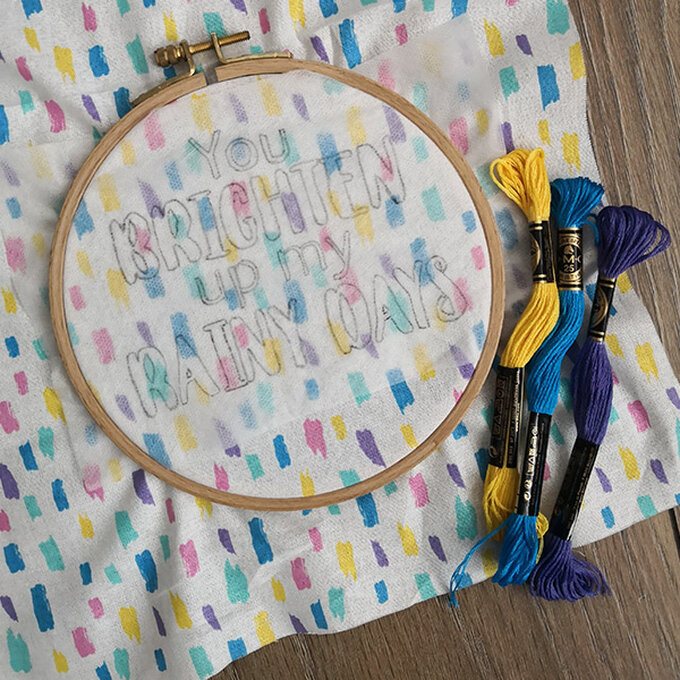
1. Download and print the 'Flowers & Rainy Days' embroidery template. If you are using a fabric stabiliser, transfer the design onto this using a lightbox. If you are not using the stabiliser, carefully transfer the design directly onto the fabric using a fabric pencil or pen. Place the design into the embroidery hoop.
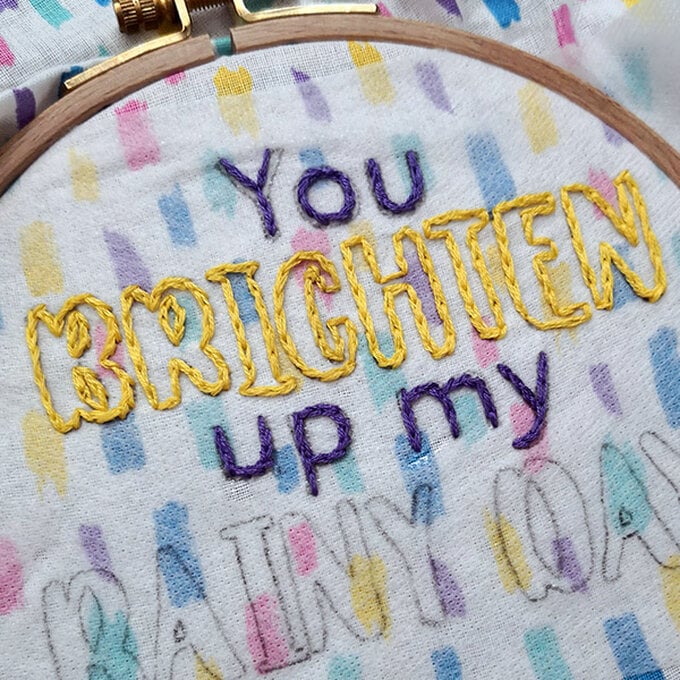
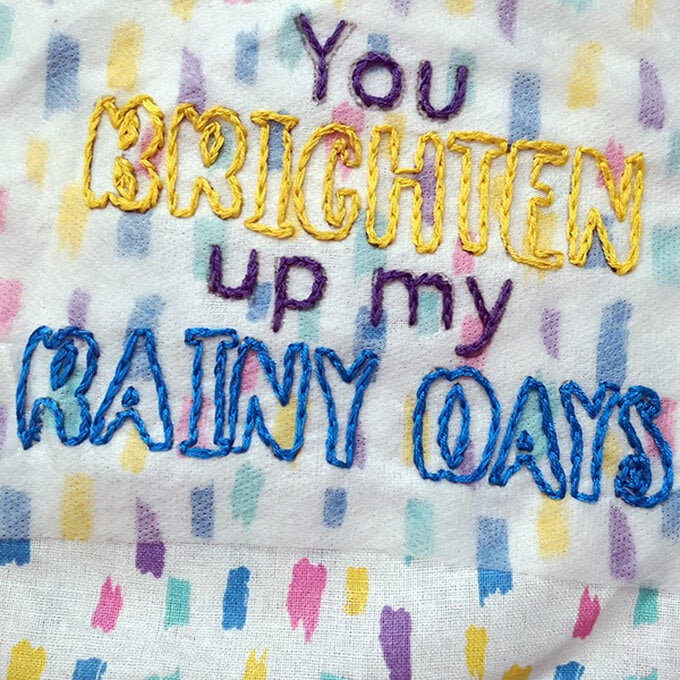
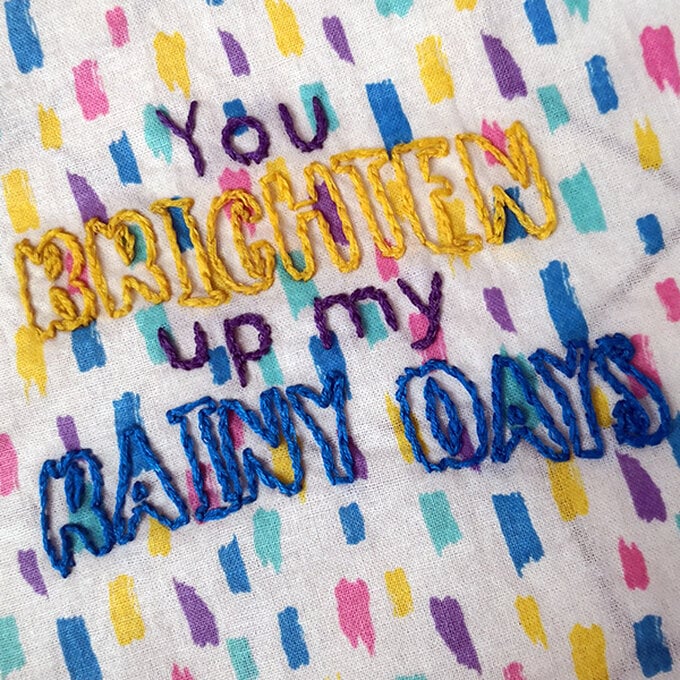
2. Start with the purple thread (colour 3746) and use all six strands. Use a chain stitch to fill the words 'You' 'up' and 'my'.
3. Use the yellow thread (colour 726) to go around the outline of the 'Brighten' with a split stitch, again using all six strands.
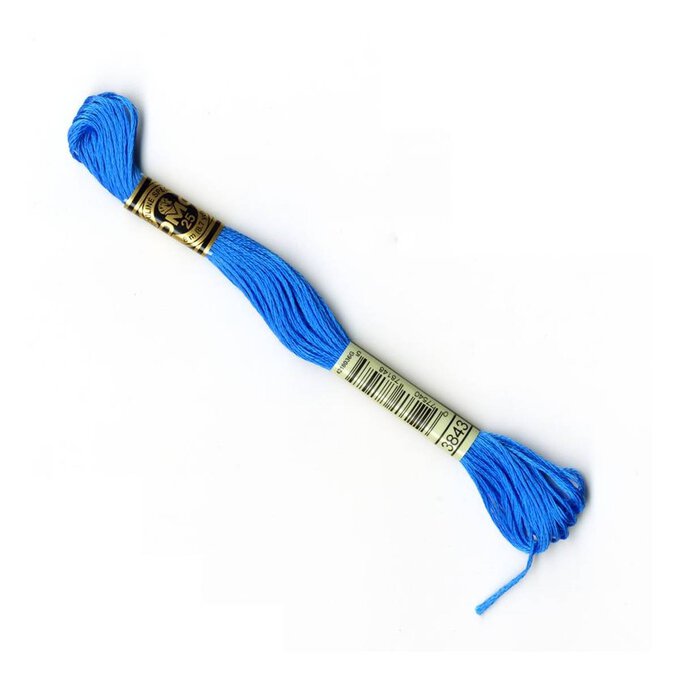
4. Do the same for 'Rainy Days' but this time using the blue thread (colour 3843).
5. Once you have completed the design, carefully wash away the fabric stabiliser and press with an iron. (Go straight to pressing if you are not using a fabric stabiliser).
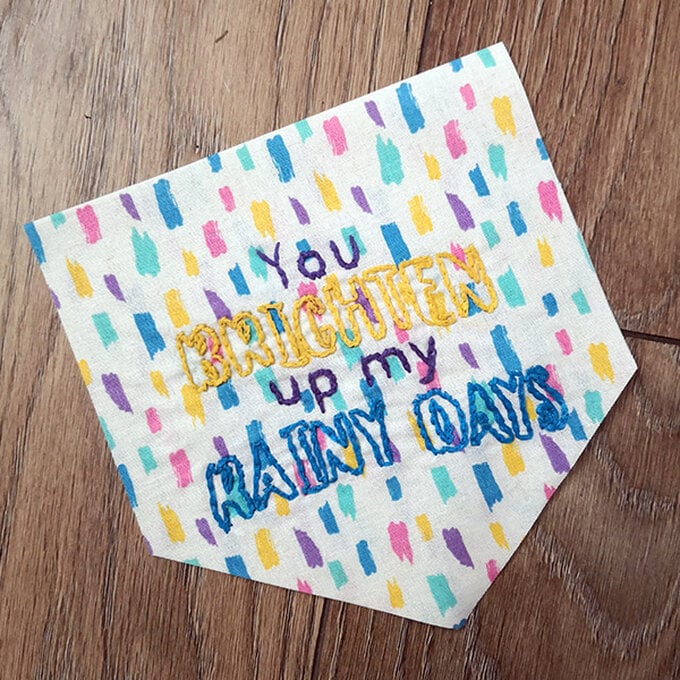
6. Fold the fat quarter in half and press with the iron. Cut a 17.5cm x 18cm rectangle from the folded fabric, with the design in the middle.
7. Fold in half and cut a 5cm angle from the bottom corner to create the flag shape.
8. Place the fabric right sides together and pin the open edges, leave a 2cm gap from the top one side and a 4cm gap the other (so that you can turn through). Sew with a 1cm seam allowance.
9. Trim the pointed corners and turn the flag through. Use a chopstick to keep the points sharp.Top stitch 2cm from the top of the flag.
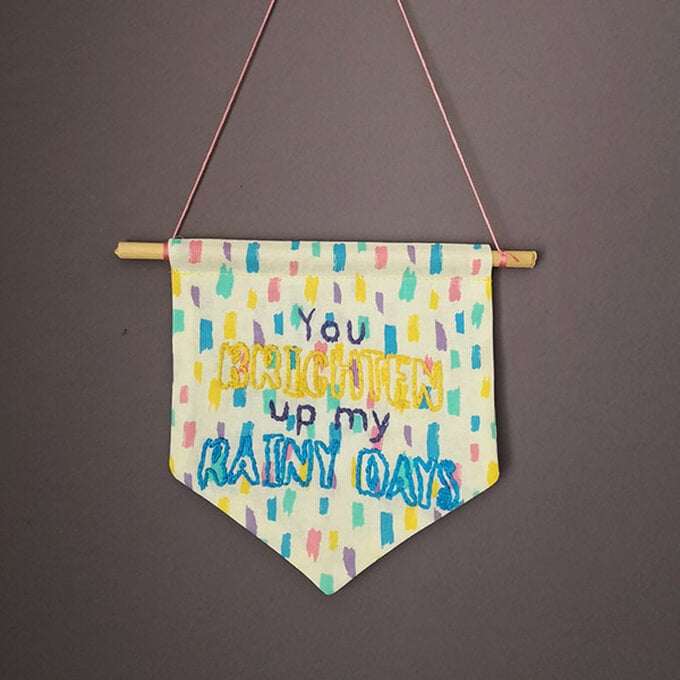
10. Measure and cut the dowel rod to the size of the flag. Thread through the gap and tie a piece of pink embroidery thread either end for the flag to hang from.

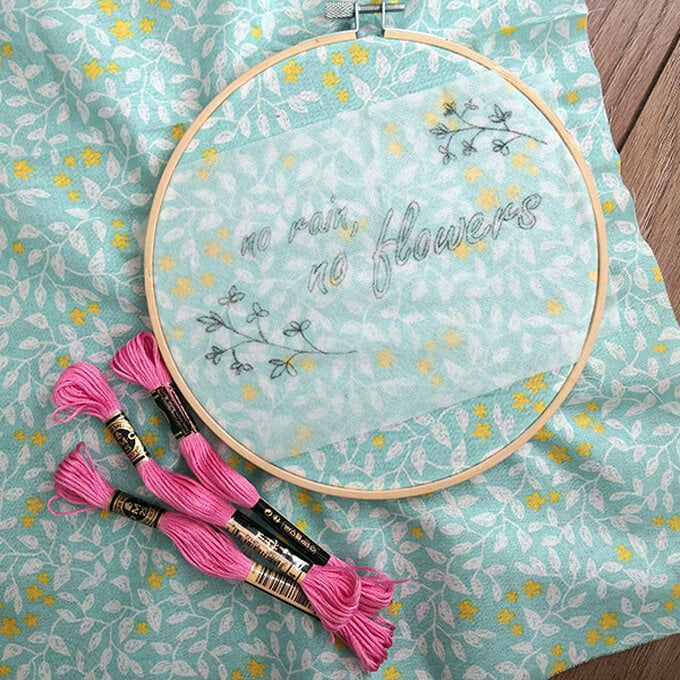
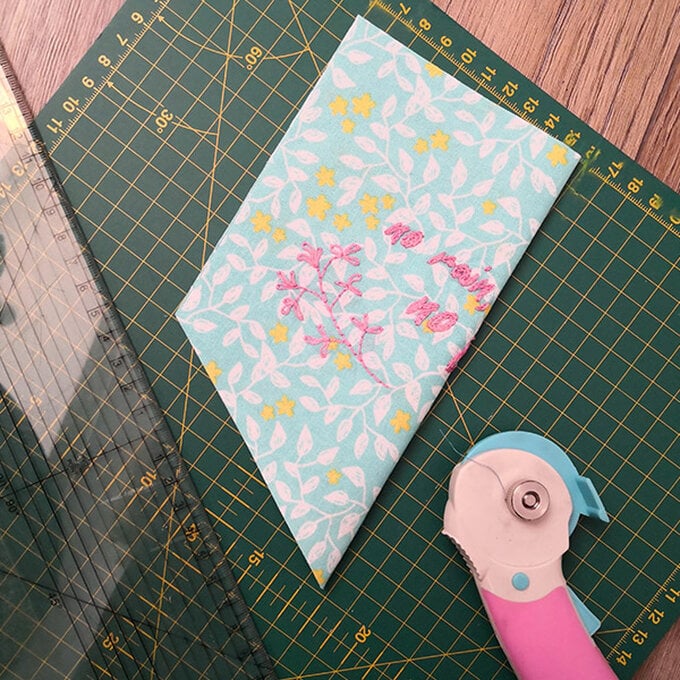
1. Download and print the 'Flowers & Rainy Days' embroidery template. If you are using magic paper, transfer the design onto this using a lightbox. If you are not using the stabiliser, carefully transfer the design directly onto the fabric using a fabric pencil or pen. Place the design into the embroidery hoop.
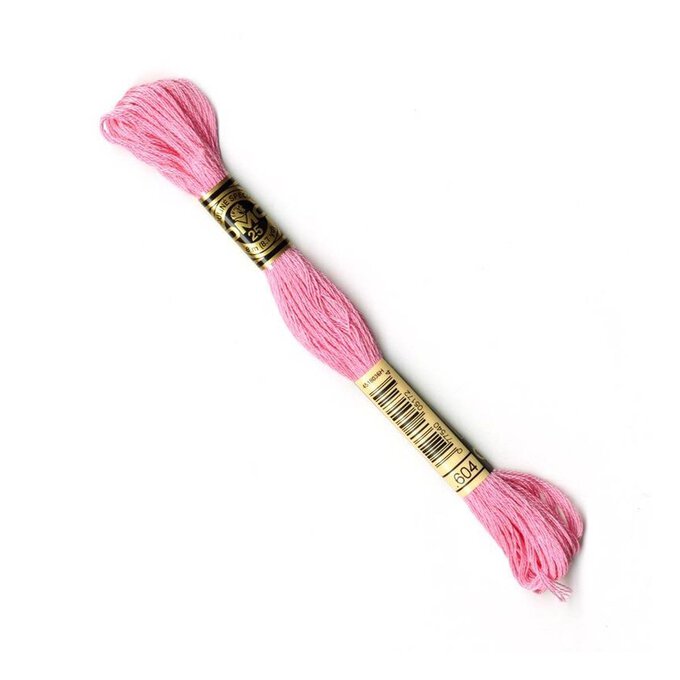
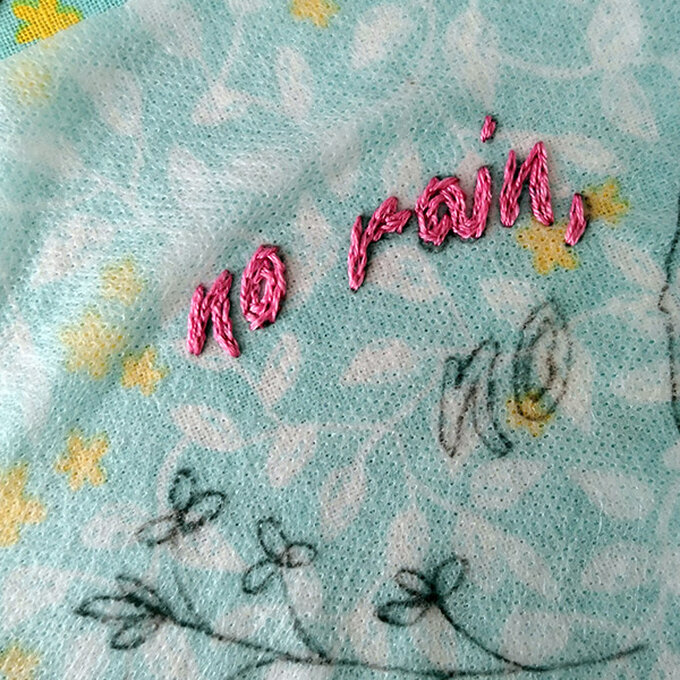
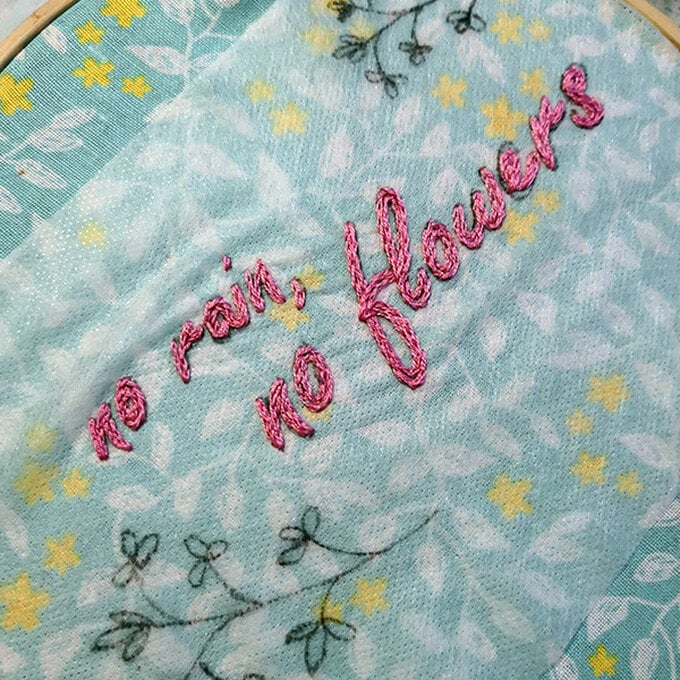
2. Using the pink thread (colour 604) and three strands, fill the lettering with split stitch.
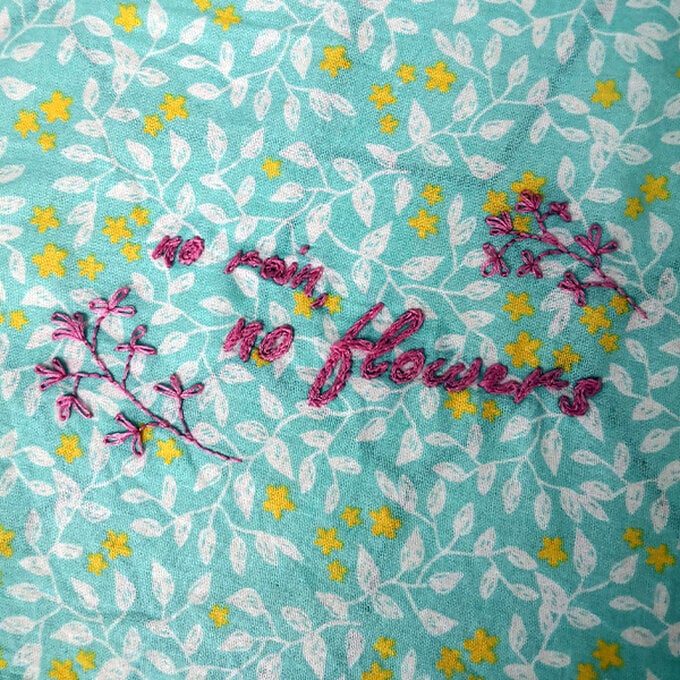
3. For the flowers, back stitch the stems using three strands. Add a lazy daisy stitch for each petal, again using three strands.
4. Once you have completed the design, carefully wash away the fabric stabiliser and press with an iron. (Go straight to pressing if you are not using a fabric stabiliser).
5. Fold the fat quarter in half and press with the iron. Cut a 20cm x 19cm rectangle from the folded fabric, with the design in the middle.
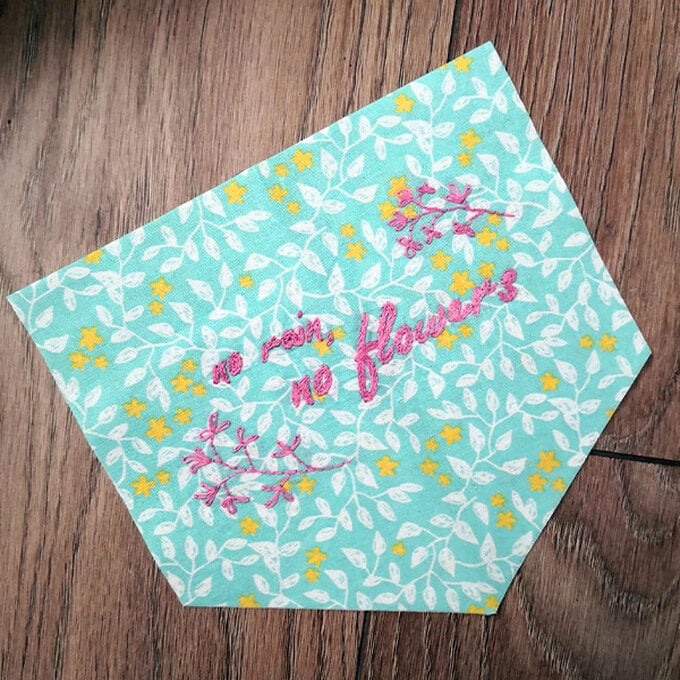
6. Fold in half and cut a 5cm angle from the bottom corner to create the flag shape.
7. Place the fabric right sides together and pin the open edges, leave a 2cm gap from the top one side and a 4cm gap the other (so that you can turn through). Sew with a 1cm seam allowance.
8. Trim the pointed corners and turn the flag through. Use a chopstick to keep the points sharp.Top stitch 2cm from the top of the flag.
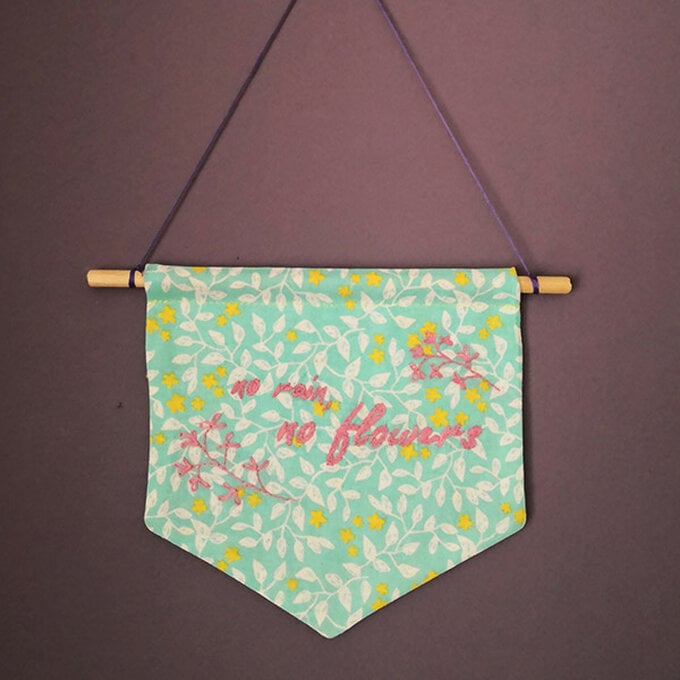
9. Measure and cut the dowel rod to the size of the flag. Thread through the gap and tie a piece of purple embroidery thread either end for the flag to hang from.
Related Products