Get Started In Soap Making
With personalised scents, colours and shapes, create your own personal spa at home with handmade soaps!
This wonderful craft will be easy to master, and your unique creations are certain to make the perfect gift for a loved one, ideal for adding to hampers.
Why not learn how to create soaps with the help of one of our workshops?
Tool Guide
Subtotal
Is $ 14.00 , was $ 18.00
Subtotal
Is $ 17.00
Subtotal
Is $ 7.49
Subtotal
Is $ 7.49
Get Started In Soap Making
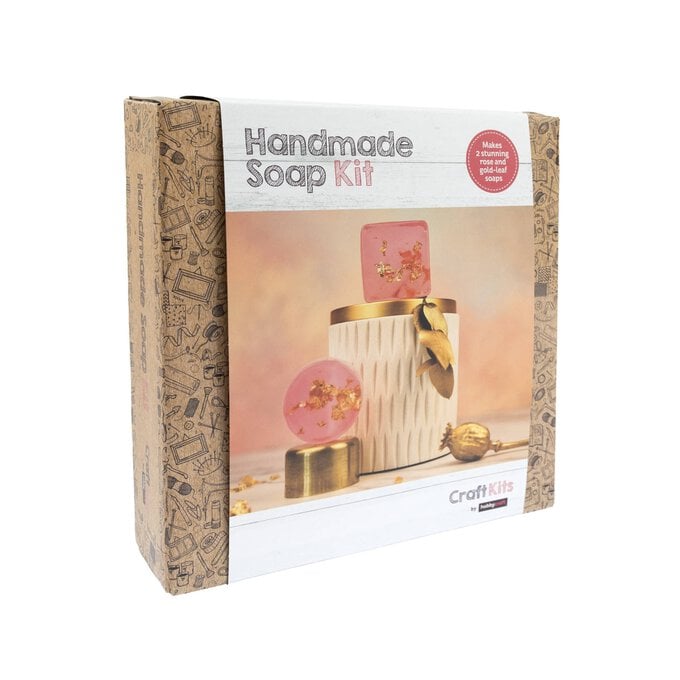
Intro to Soap Making Kit: Our intro kit features everything you’ll need to make six bars of soap with a green tea fragrance – perfect for that first project!
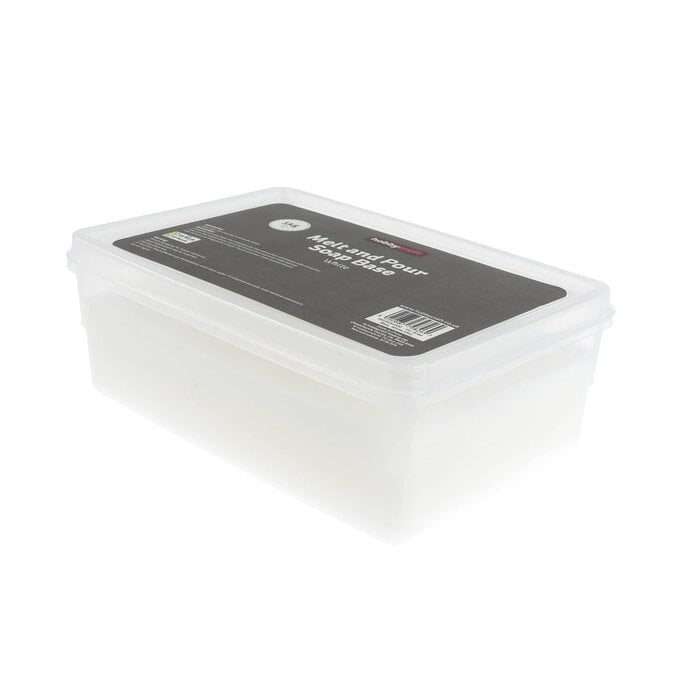
Soap Bases: Soap base is an essential for any soap making project. You’ll be able to add dyes and fragrances to the base to personalise.
Soap Moulds: Create decorative soaps in any shape you choose! Simply add soap base to your favourite mould to let it set.
Soap Fragrance: High quality, highly concentrated fragrance oil is specially formulated for use in soap making to add a pleasant aroma.
Soap Dyes: The highly concentrated colour of our soap dyes are easy to add to your soap base before you pour into moulds, transforming each soap.
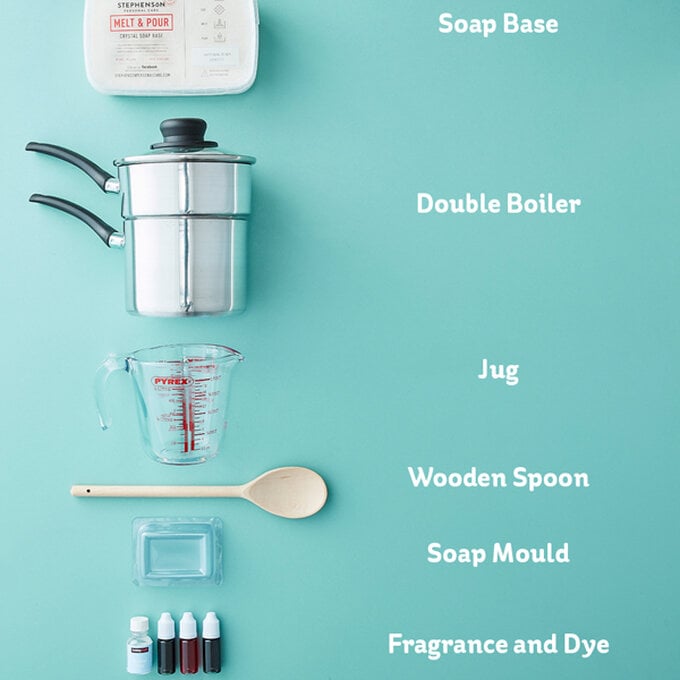
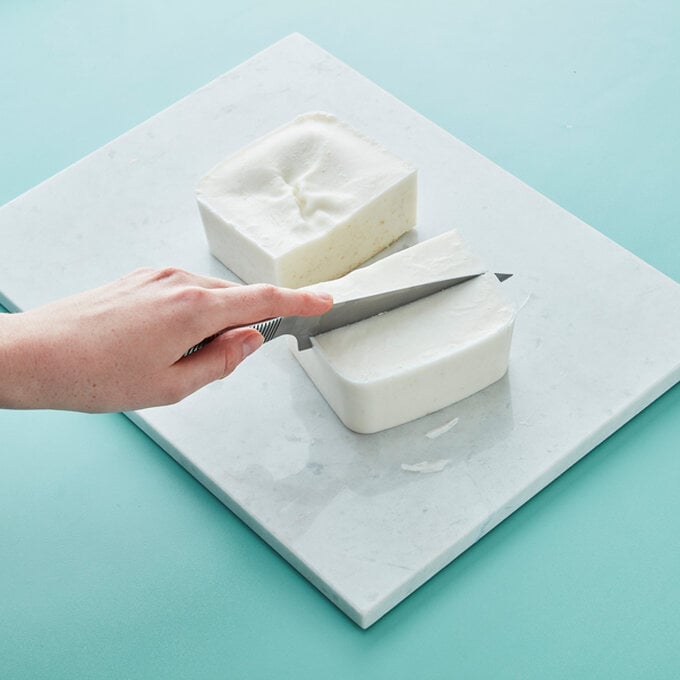
Step 1: Carefully cut the soap base into 1” square pieces. 400g will roughly make two medium-size bars of soap, although this depends on the mould used.
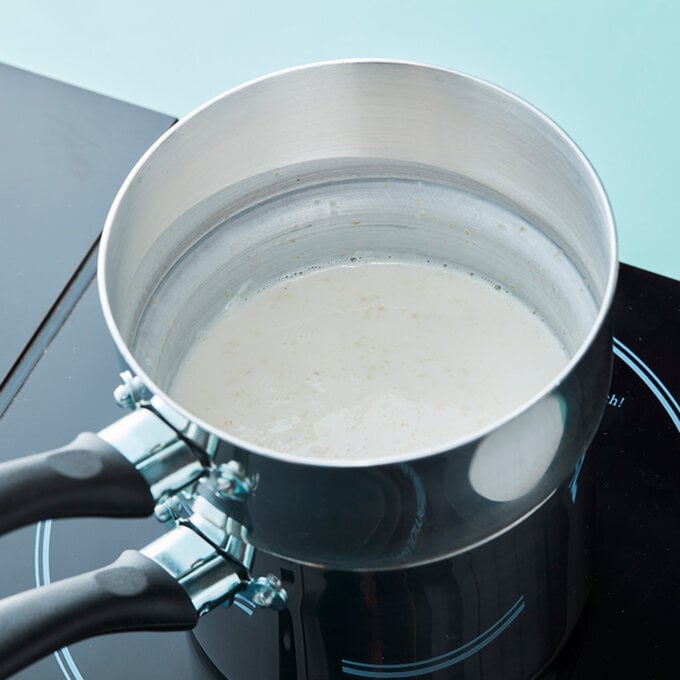
Step 2: Melt the soap base using a double boiler until the melted soap base reaches a temperature of 50-60°C, or place into a microwavable jug and melt in the microwave for two minutes and then 30-second intervals until melted. Do not overheat as this could mean that some of the moisture content from the soap is lost.
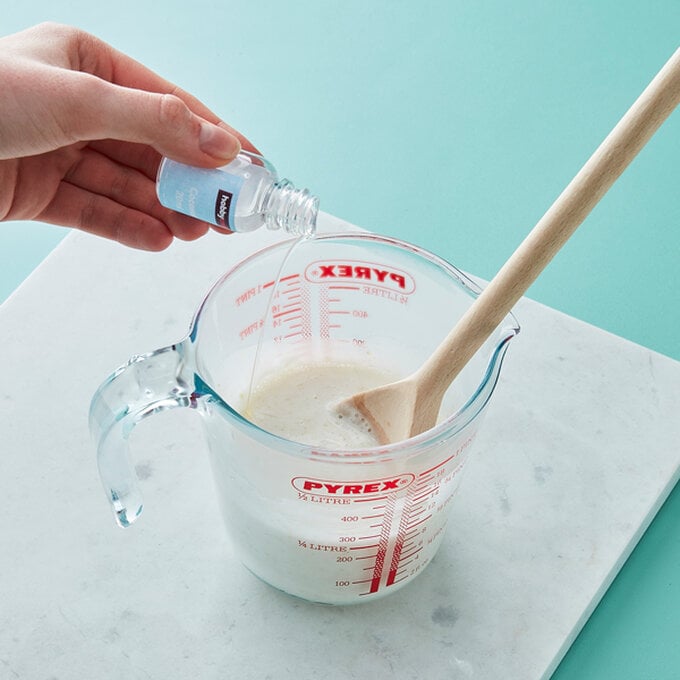
Step 3: Add in a small amount of soap fragrance – ½ tsp to 1 tsp depending on desired strength. Mix thoroughly.
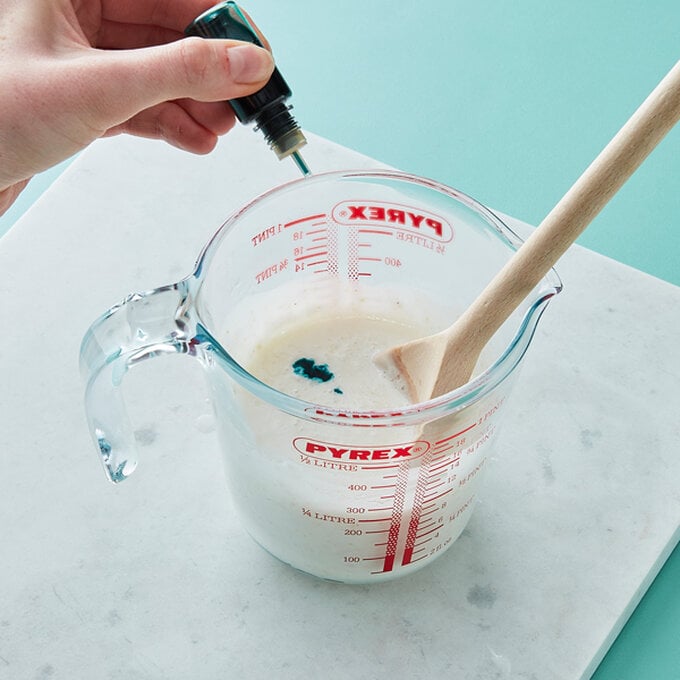
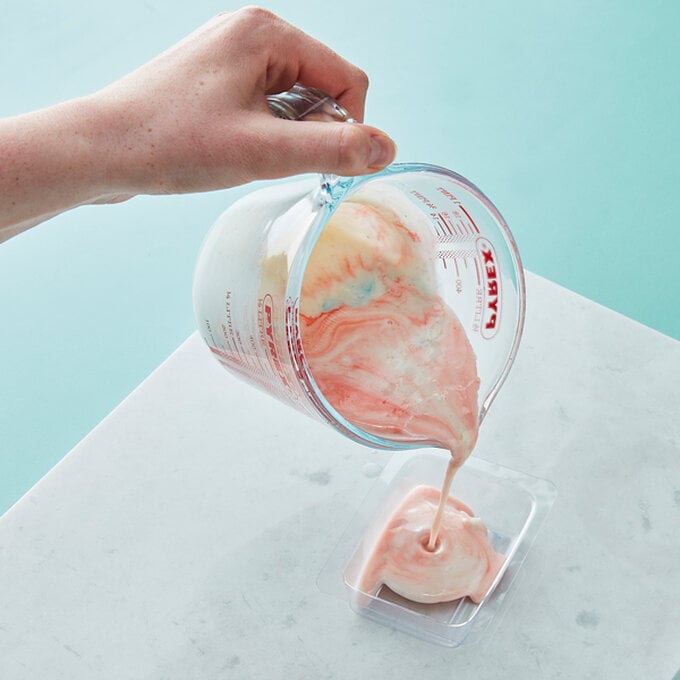
Step 4: Add in a small amount of soap dye – ¼ tsp to ½ tsp depending on desired vibrancy of colour. Mix thoroughly for an even colour distribution, or mix slightly for a more marbled effect.
Step 5: Pour the mixture into the soap and leave to set.
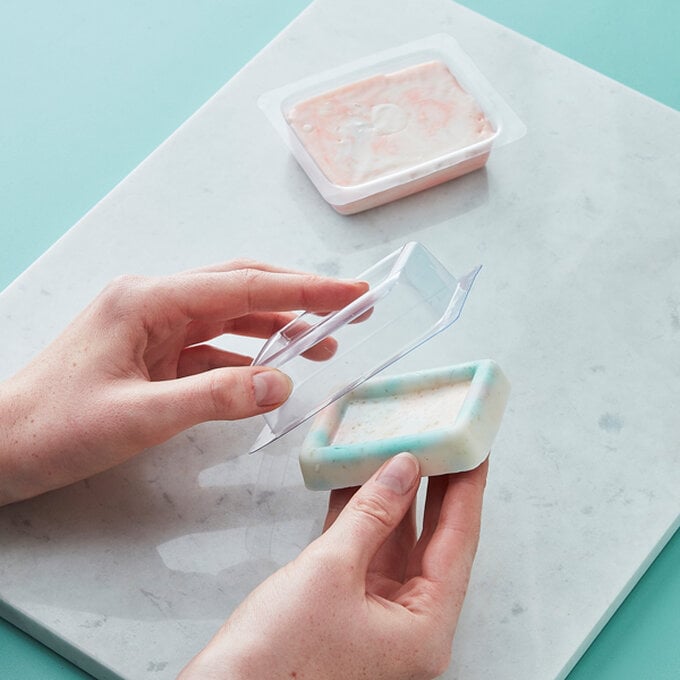
Step 6: Once cooled for at least six hours, remove the set soap from the moulds.
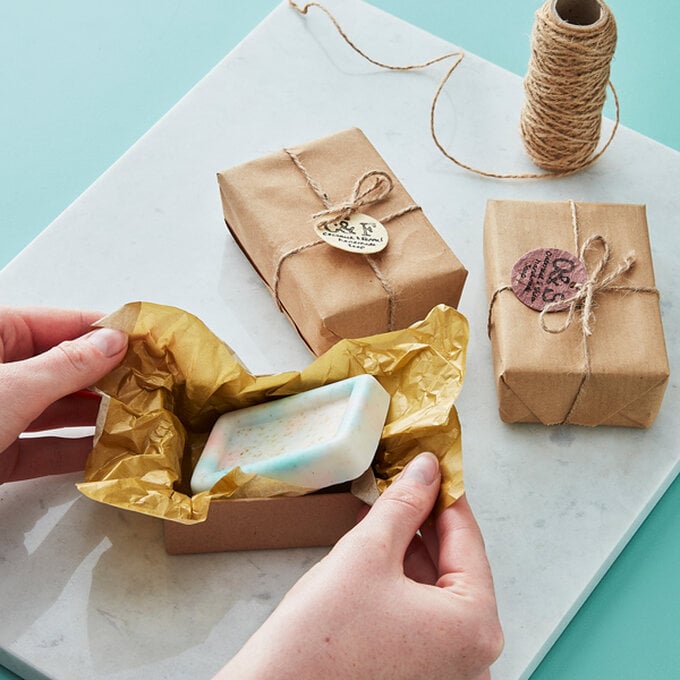
Step 7: Gift wrap your soaps using small mache boxes, tissue paper, twine and gift tags.
How to Make Floral Botanical Soap
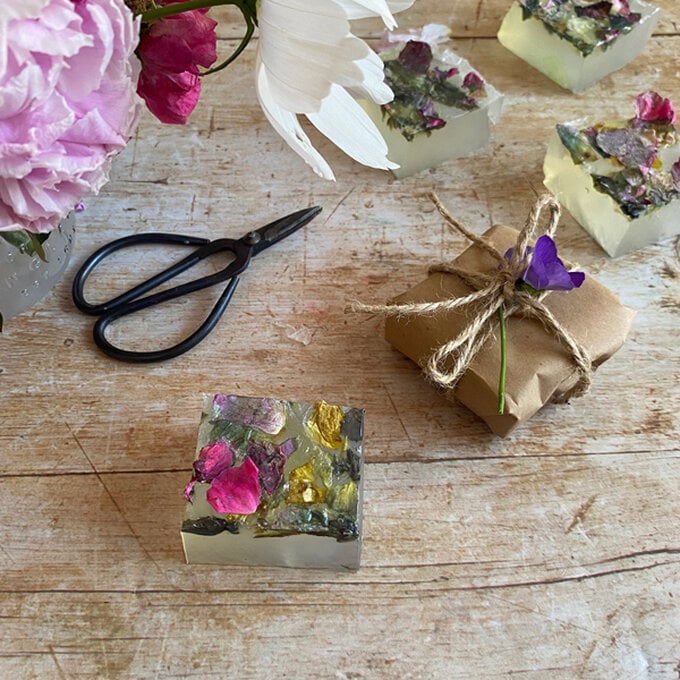
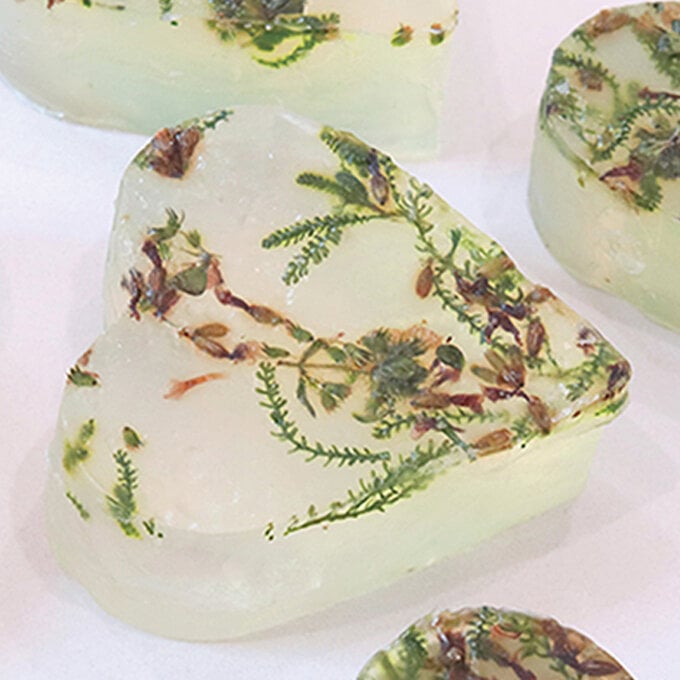
Adding dried flowers to soap will create a pretty and practical treat for your bathroom, or the perfect gift for a loved one!
Discover how easy it is to make soap at home, perfect for gifting or personal use!
These home-made scented soaps would make a lovely gift and are easier to create than you might think.
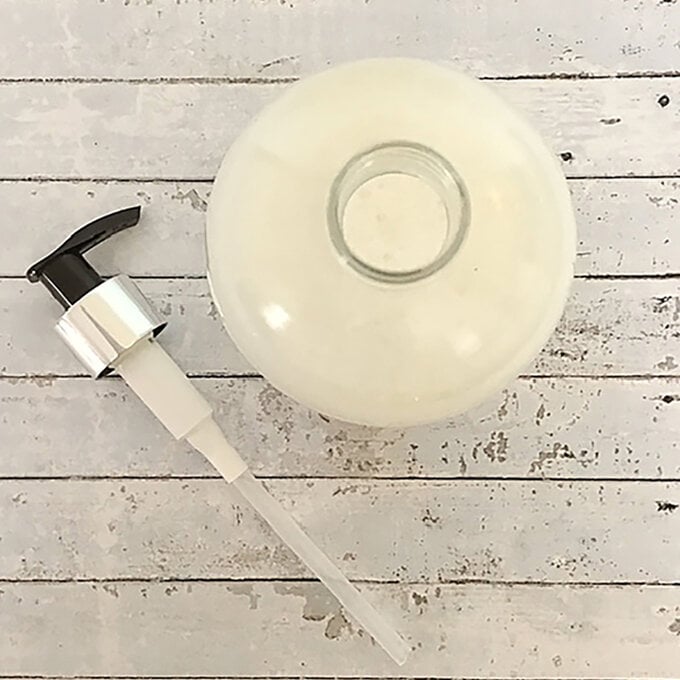
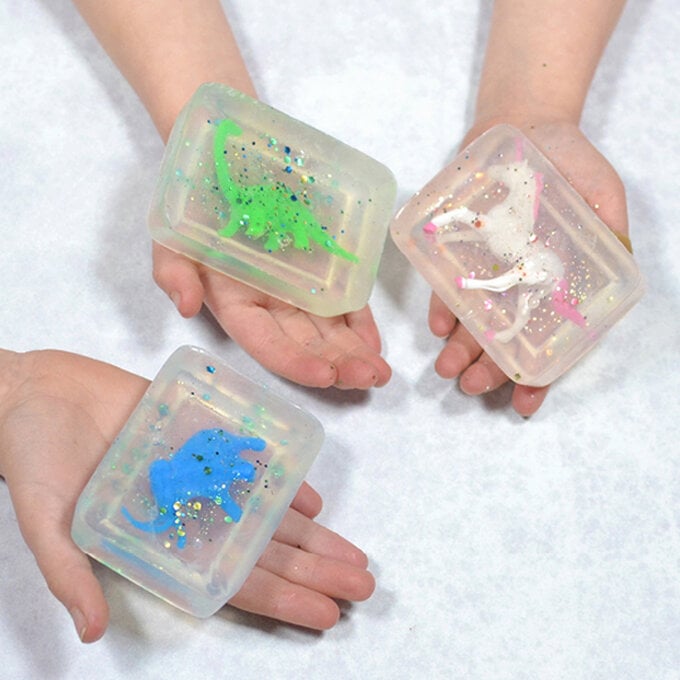
These super soaps hide a small toy and a sprinkling of biodegradable glitter inside for extra fun while washing!
Q - Are Melt and Pour soap bases easy to use?
Yes! Melt and Pour soap bases by Stephenson are ideal for a hobbyist soap maker, as they require little in the way of specialist equipment. There are lots of different bases to choose from to meet project requirements such as transparency, level of foaming, and ingredients.
Q - Do I need to let the soap base ‘cure’ once it has poured?
No – Melt and Pour soap bases have already gone through this process and are ready to use straight after setting.
Q - How should I wrap my soaps?
It’s important to wrap soap as soon as it is released from the moulds. Greaseproof paper works well, and allows the moisture of the bar to be retained. You can then wrap the soaps in more aesthetically pleasing packaging!

