Get Started In Punch Needle
Punch needle is a form of embroidery perfect for transforming the leftovers in your yarn stash into something spectacular!
Discover this simple technique and create unique wall art to brighten up your home in no time at all.
If you want to get crafting straight away, why not book onto one of our superb Punch Needle workshops?
Get started with the bundle here >
Tool Guide
Subtotal
Is $ 13.00
Subtotal
Is $ 25.00
Subtotal
Is $ 16.00
Subtotal
Is $ 11.00
Get Started In Punch Needle
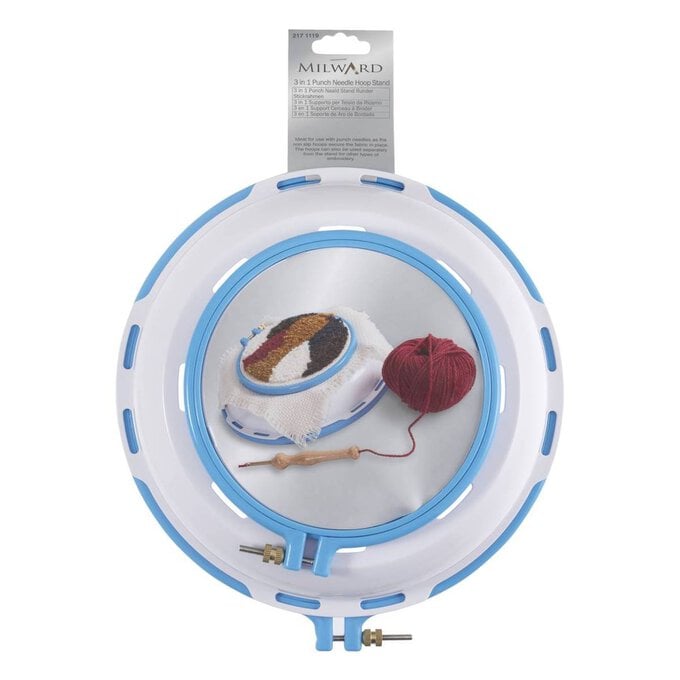
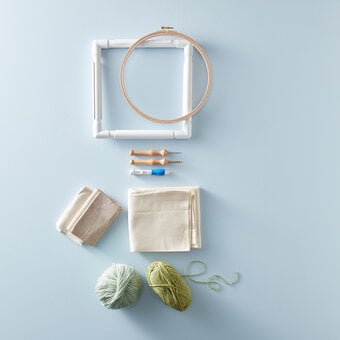
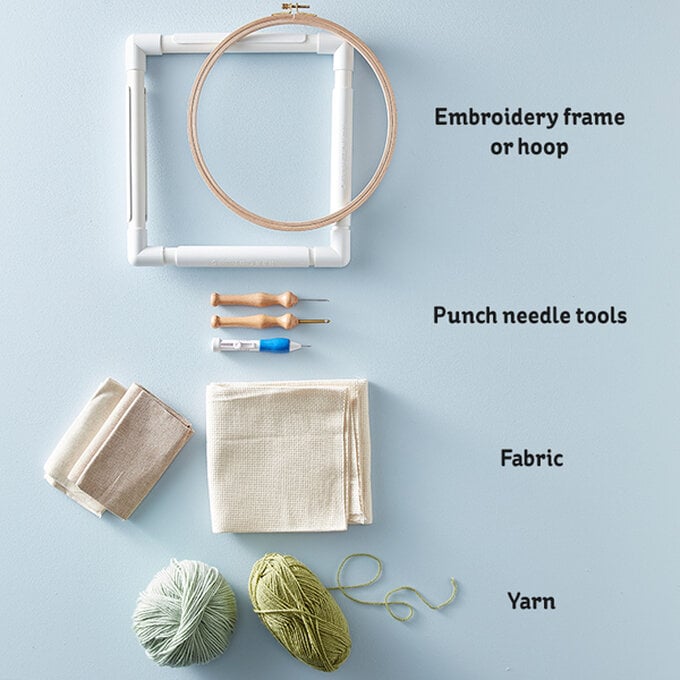
Hoops & Frames: This hoop stand is ideal for punch needle crafts as the non-slip hoops secure the fabric in place as you work on creating your loops.
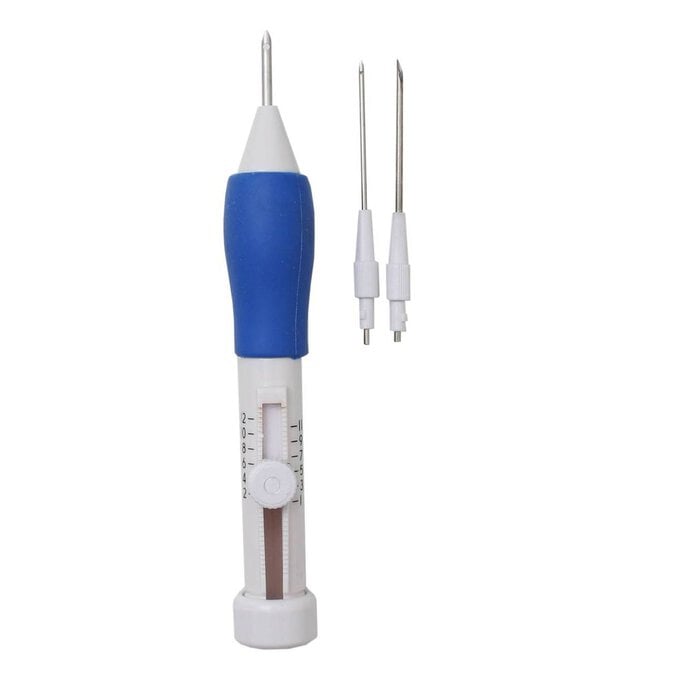
Punch Needle Tools: With a regular needle and a fine needle, you’ll be able to work with a broader range of yarns to add unique texture to designs.
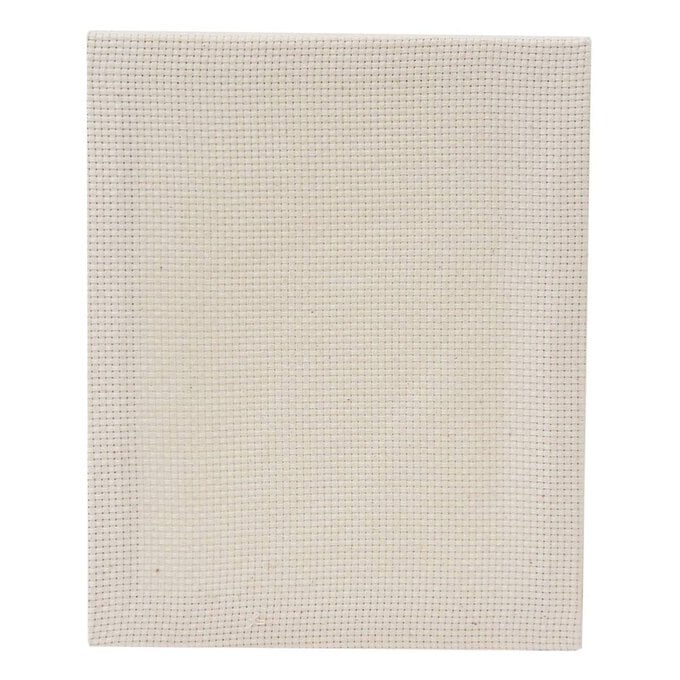
Fabric: You will need to pick a loose, even-weave fabric, such as Monks cloth.
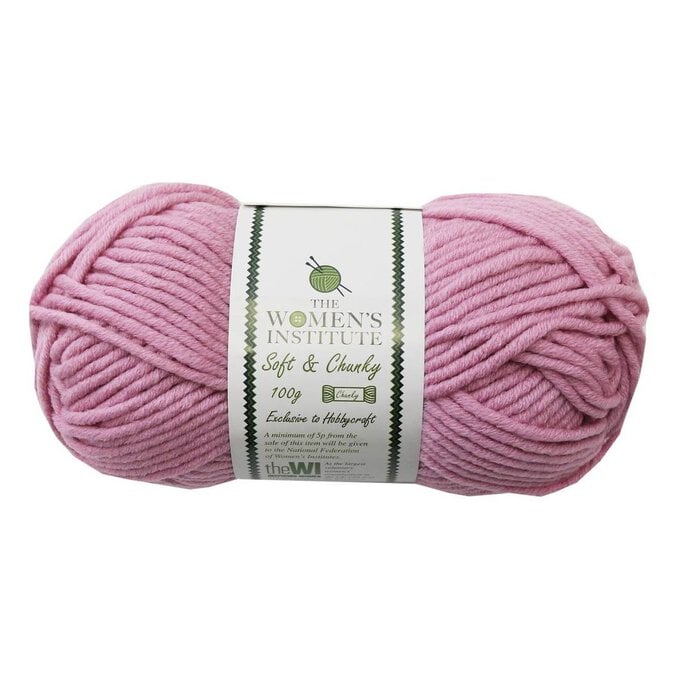
Yarn: For a successful punch needle project, it's important to choose yarn that will go smoothly through your punch needle.
Once you’ve got your punch needle set up, you’ll be all set to start using the punch technique to create any designs you choose.
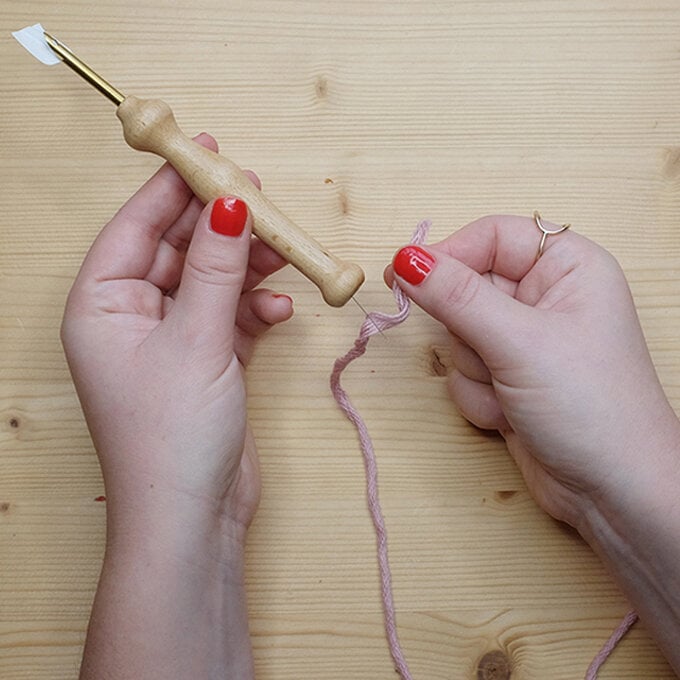
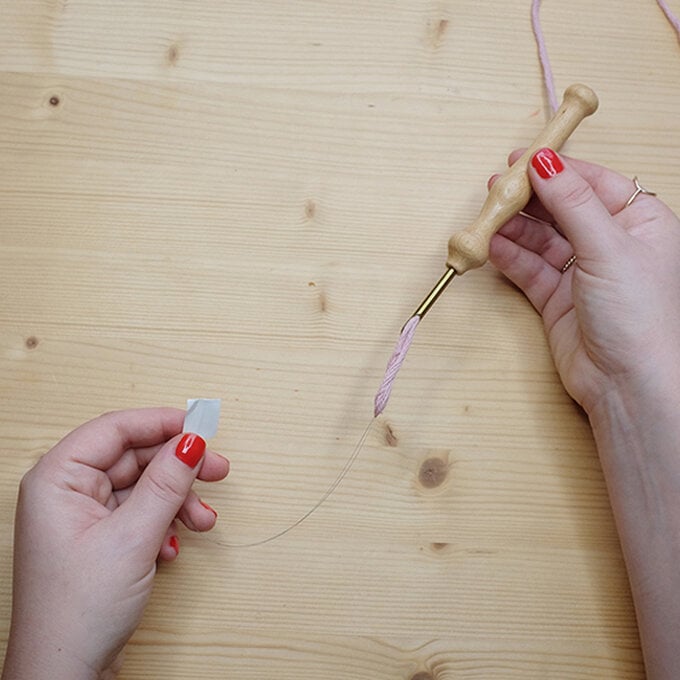
Step 1: Insert the yarn threader into the punch needle from the tip. Push it through until the metal loop pokes out the other side. Insert your wool into the metal loop.
Step 2: Pull the threader back out of the needle, the yarn will follow and the yarn tail will pop out. Remove the yarn threader.
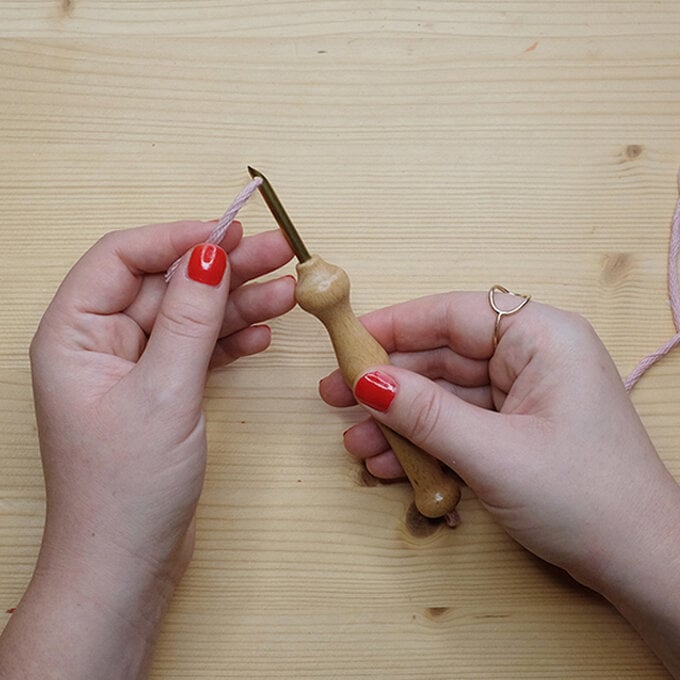
Step 3: Poke the yarn tail back through the eye at the top of the needle as shown. Pull your yarn through so you have about 10cm showing. This is a really important step and if missed the loops will not form in your work.
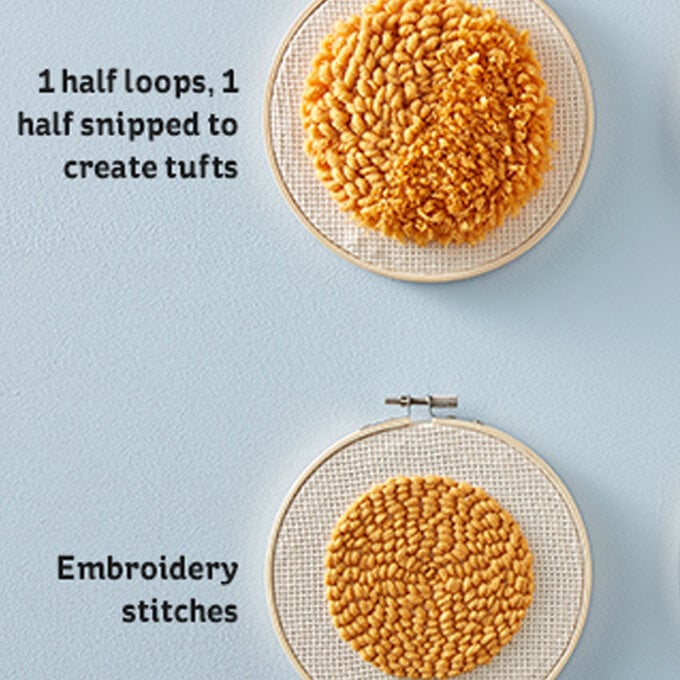
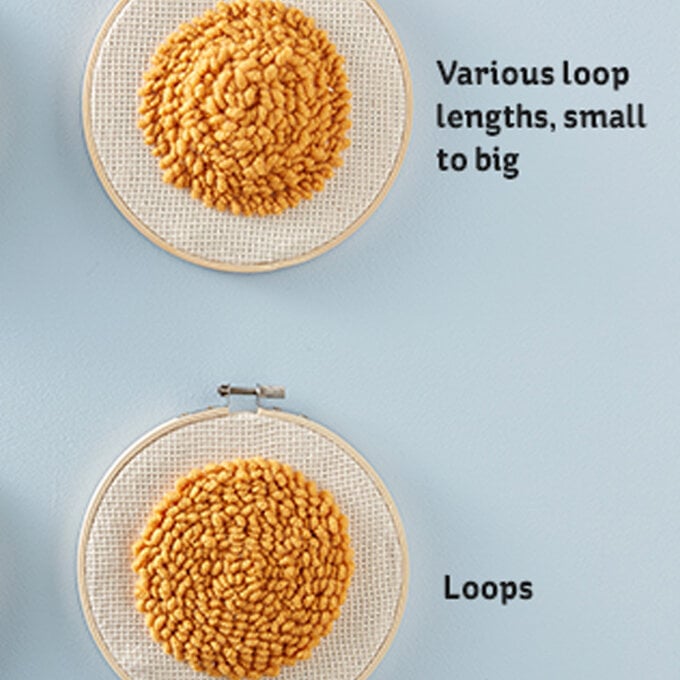
You'll be able to create a variety of textured effects with your punch needle by trying your hand at different techniques.
- 1 half loops, 1 half snipped to create tuffs
- Various loop lengths, small to big
- Embroidery stitches
- Loops
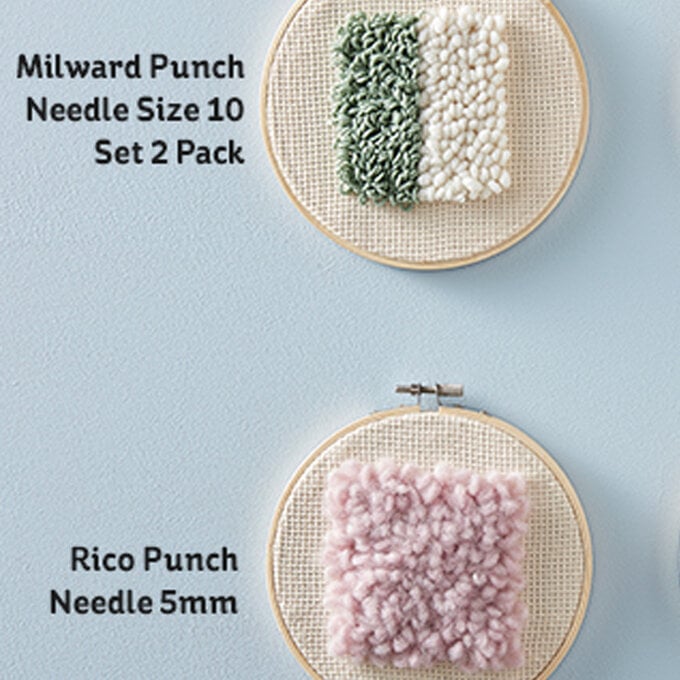
- Milward Punch Needle Size 10 Set 2 Pack
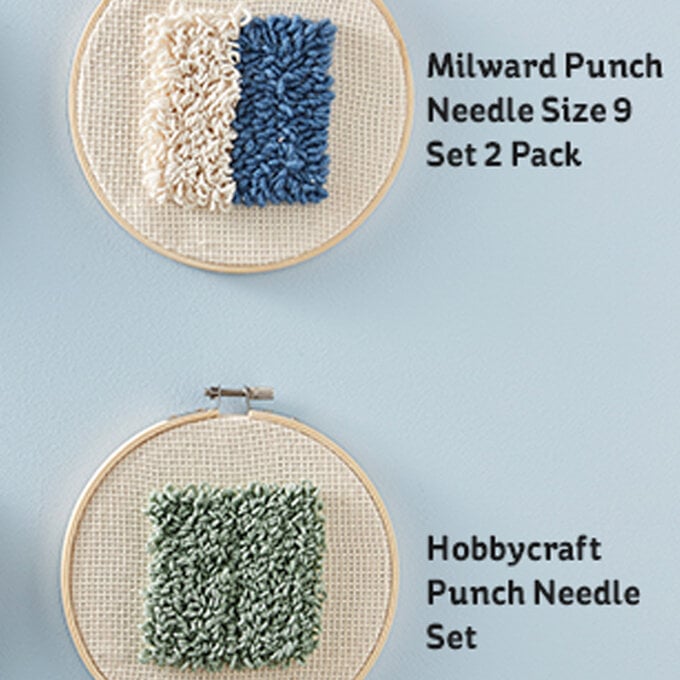
- Milward Punch Needle Size 9 Set 2 Pack
- Rico Punch Needle 5mm
- Hobbycraft Punch Needle Set
How to Make a Punch Needle Bag
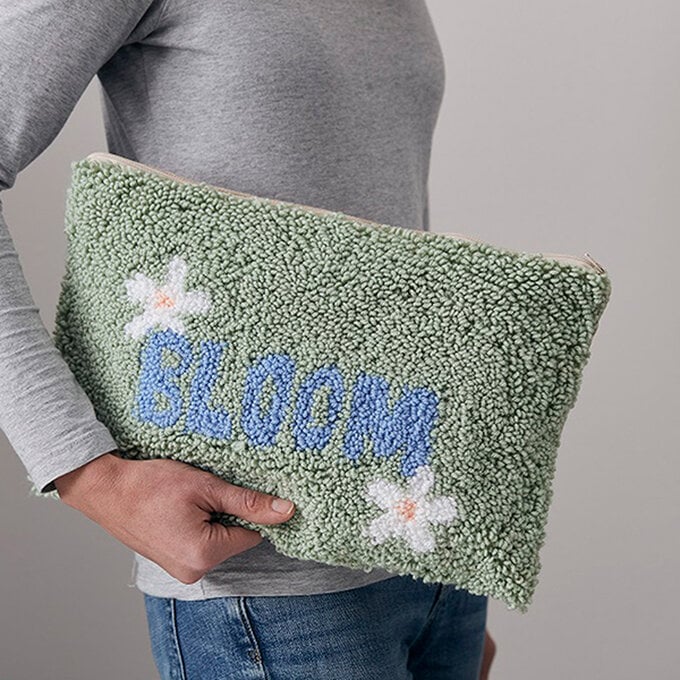
Once you've learnt how to use your punch needle tool, this clutch bag is a great project to get stuck into!
How to Make a Punch Needle Rainbow Cushion
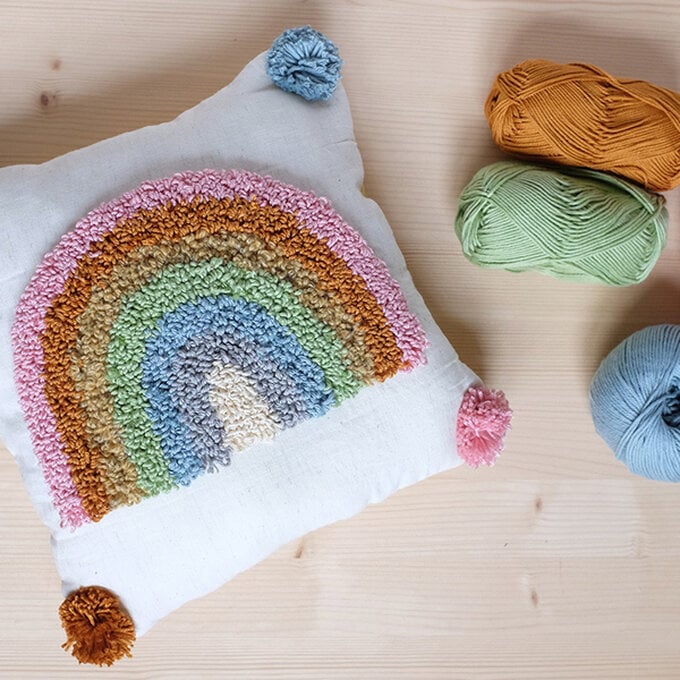
Discover this step-by-step tutorial, where we take you through how to make this punch needle rainbow cushion so that you can add a pop of colour to your home.
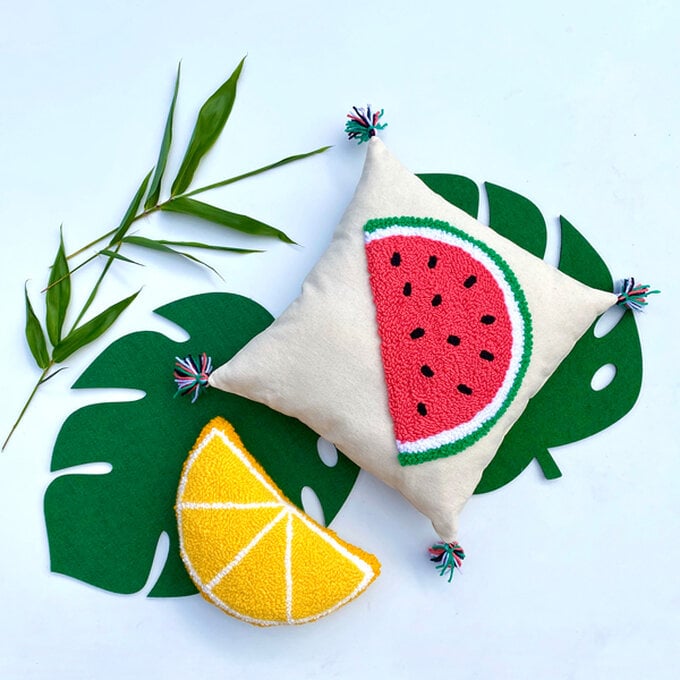
How to Make Punch Needle Fruit Cushions
Add some tropical vibes to your home with these easy to master punch needle lemon and watermelon cushions.
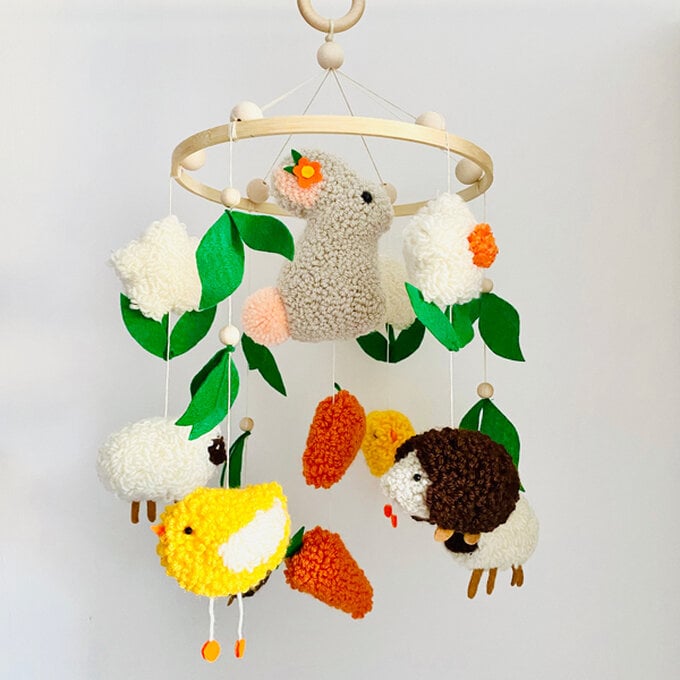
How to Make a Spring Punch Needle Children's Mobile
Add a touch of spring to your child's room with this characterful punch needle mobile.
Q - What fabrics are best to use with each punch needle?
The best fabric to use is Monks cloth, if you are not able to find this you can use either Linen or a tight weave hessian.
Q - What yarns are best to use?
The thickness of the yarn depends on the thickness of your needle, the thicker the needle the thicker the wool will need to be. If you don’t have chunky wool you can always double up your threads.
Q - My embroidery keeps coming out, what is going wrong?
There are a couple of reasons this might be happening. Your wool might be either too thick or too thin for the size needle you have. You might have not threaded your wool through the eye of the needle. Or you might have tension on your wool flowing through your needle. Try to also keep the needle as close to the fabric when you bring it out to create another stitch.
Q - What frame is the best to use for different sized projects?
You can use an embroidery hoop, a tapestry frame or a wooden frame and stretch the fabric over. You want to keep your fabric as tight as possible, so stretching the fabric around a wooden frame is ideal but you can adjust your fabric with the hoop. Embroidery hoops are ideal for smaller projects but if you are wanting to make a rug then a wooden frame would be best.
Q - Why do I have gaps in my work?
You may have gaps in your work if your embroidery stitches are too far apart. Ideally you would want your stitches to be around 4mm in length if you are using a chunky wool. Try and keep them neat and close together when you are filling in a shape.
Q - Any other tips you think a beginner would need?
- Make sure your needle opening is facing the way you are stitching
- Check that your yarn is not getting caught on anything, there should be no tension on your yarn flowing through the needle
- Make sure you are punching your needle all the way down so the wooden handle meets the fabric
- Remember to always keep your fabric taught, this will make it a lot easier. And just keep practicing and have fun!
