Skip to Content (Press Enter) Skip to Footer (Press Enter)

5 Quick and Easy Thank You Cards

Level
Beginner
Time
1 hour
Budget
10 - 30

Making thank you cards is such a lovely way to round off the festive season, not only does it provide some much-needed relaxation time but it is also a great opportunity to show people your gratitude. These ideas are all tried and tested with my own children, quick and simple to make it means you can get a great many cards done at once - we tend to make a big batch and set aside ready for whenever we need a thank you card. Despite designing these for children, I'd be quite happy to send them for myself, the joy with all these designs are that you can continue adding and embellishing to your heart's content!

Post Written by Georgia Coote

You will need

Is $ 3.49

Quantity: 1

Subtotal

Is $ 3.49

Is $ 8.49

Quantity: 1

Subtotal

Is $ 8.49

Is $ 8.49

Quantity: 1

Subtotal

Is $ 8.49

Is $ 8.49

Quantity: 1

Subtotal

Is $ 8.49

Is $ 5.49

Quantity: 1

Subtotal

Is $ 5.49

Is $ 23.00

3 for 2 on Selected Kids Gifting Lines
Quantity: 1

Subtotal

Is $ 23.00

You’ve viewed 2 of 6 products

You’ve viewed 4 of 6 products

Total:

How to make


You will also need:

Washing up liquid

Bowl or a glass

Shallow container

Bubble Printing Card

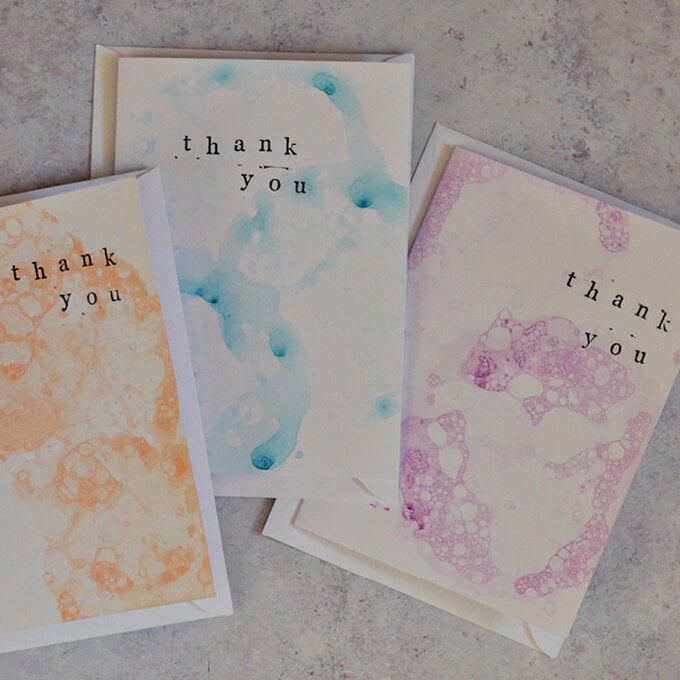
Bubble printing can be done with preschoolers and older children alike, very much a process craft, little ones will love the popping of the bubble when you print, just remember to tell them to blow and not suck!
bubble_card_final_step_4.jpg?sw=680&q=85
Step 1
Use approx 1 teaspoon of washing up liquid to 2 tablespoons of paint and then top up the mixture with water.
bubble_printing_thank_you_card_-mixture_step_2.jpg?sw=680&q=85
Step 2
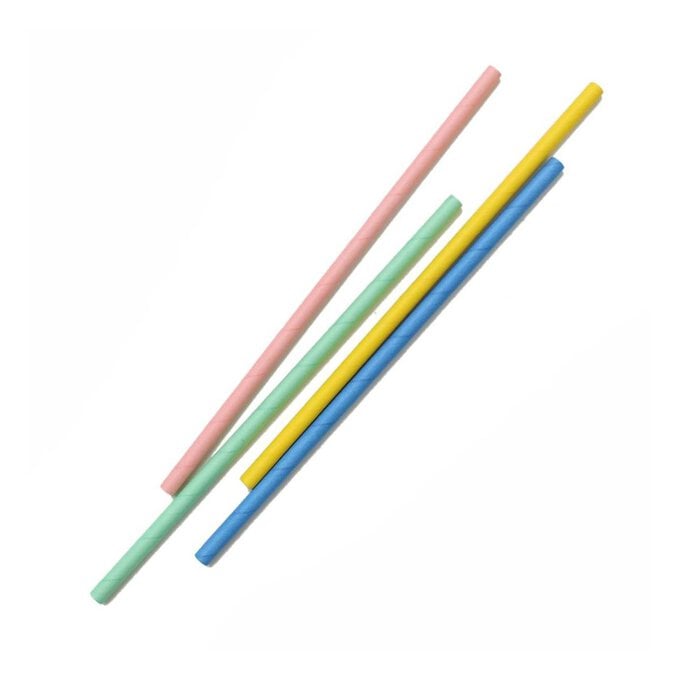
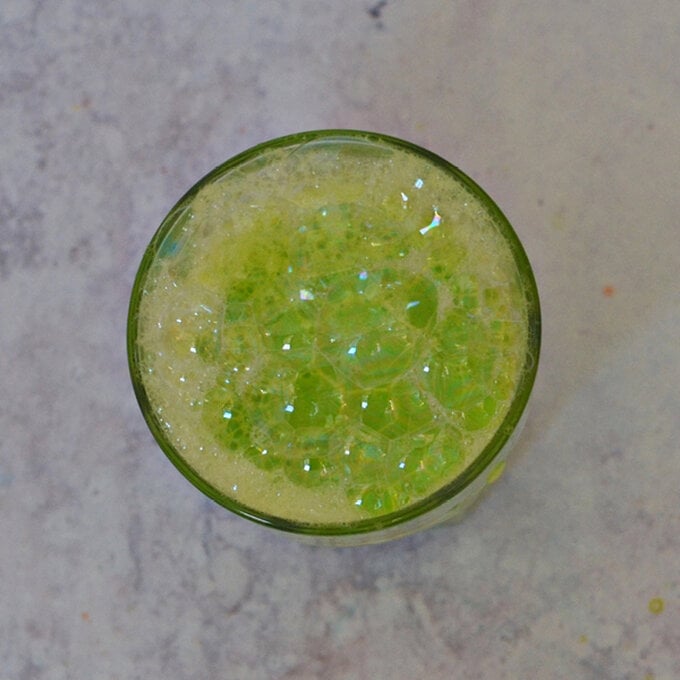
Mix the paint water and washing up liquid vigorously and then using a straw, blow bubbles to make sure the bubbles reach the top of the glass.
bubble_printing_thank_you_card_bubbles_step_3.jpg??sw=680&q=85
Step 3
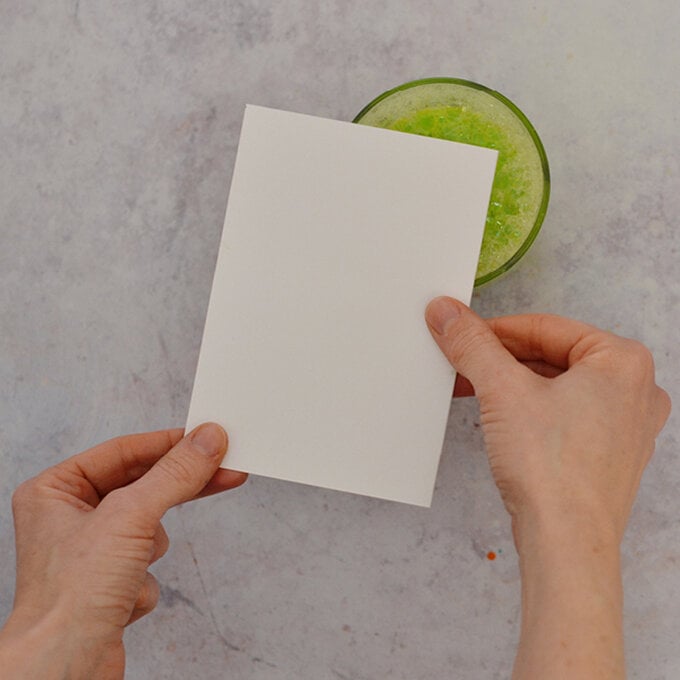
Place the card on top of the glass printing the bubbles, repeat with other areas of the card and with different colours if required. Then stamp on 'Thank you'.
bubble_printing_thank_you_card_paper_step_4.jpg?sw=680&q=85
Fingerprint Card

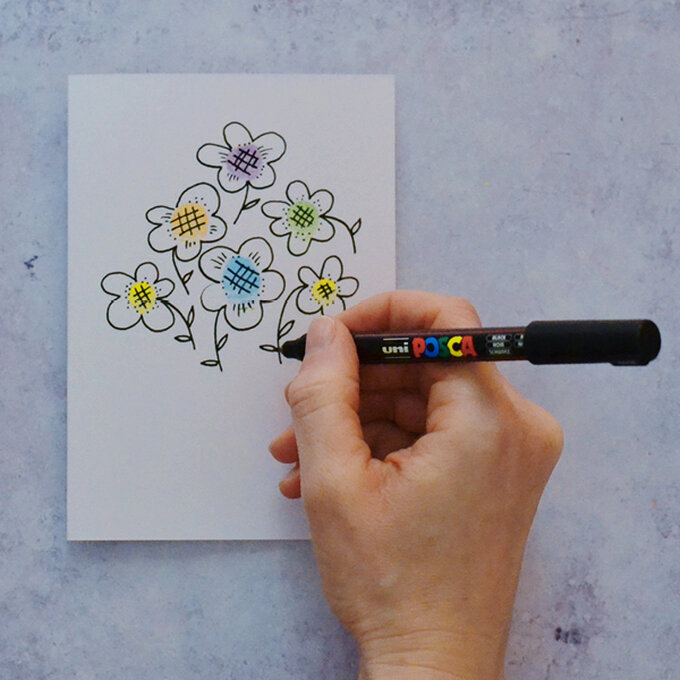
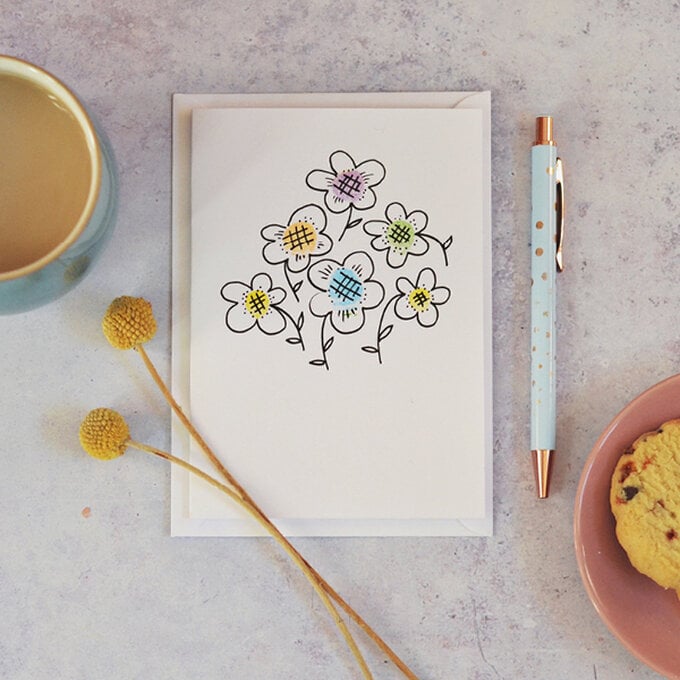
For this card a simple scene of flowers is created, however, there are so many possibilities for different motifs. For young children, fingerprints can create the base for funny faces, animals or simply patterns in themselves.
fingerprint_thank_you_cards_final-_step_2.jpg?sw=680&q=85
Step 1
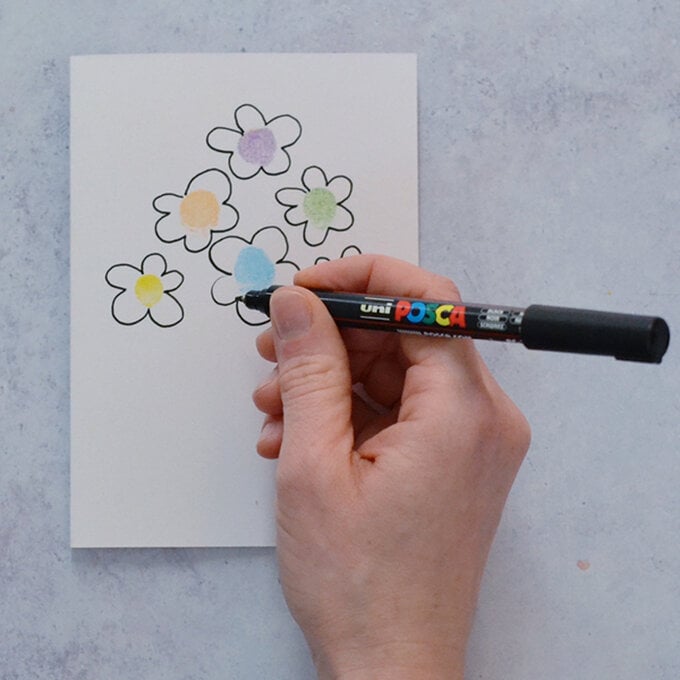
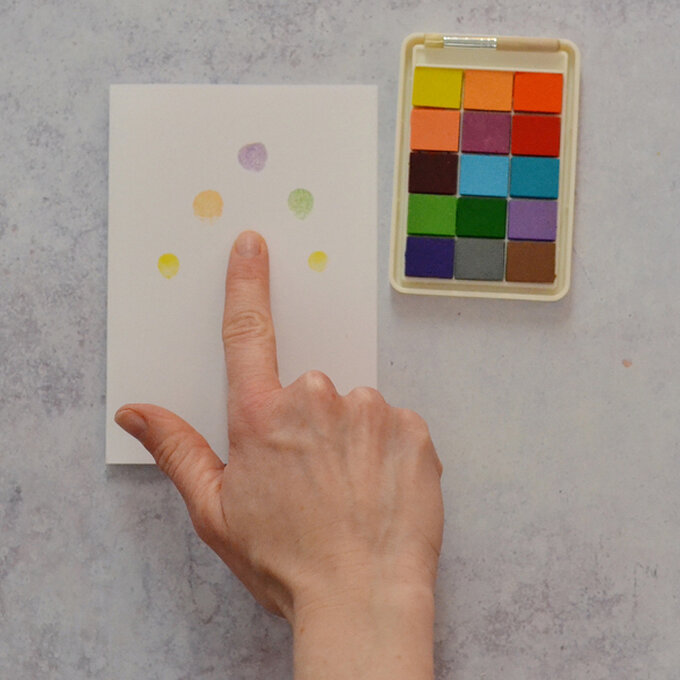
Press your finger firmly onto the colour of your choice on the ink pad and then print onto the card making a small cluster of spots. You may want to practice on a piece of scrap paper first to get the right pressure.
fingerprint_thank_you_cards_ink_pad_step_1.jpg?sw=680&q=85
Step 2
Draw a loose flower shape around the fingerprints, and continue with finer detail.
Marbled Cards

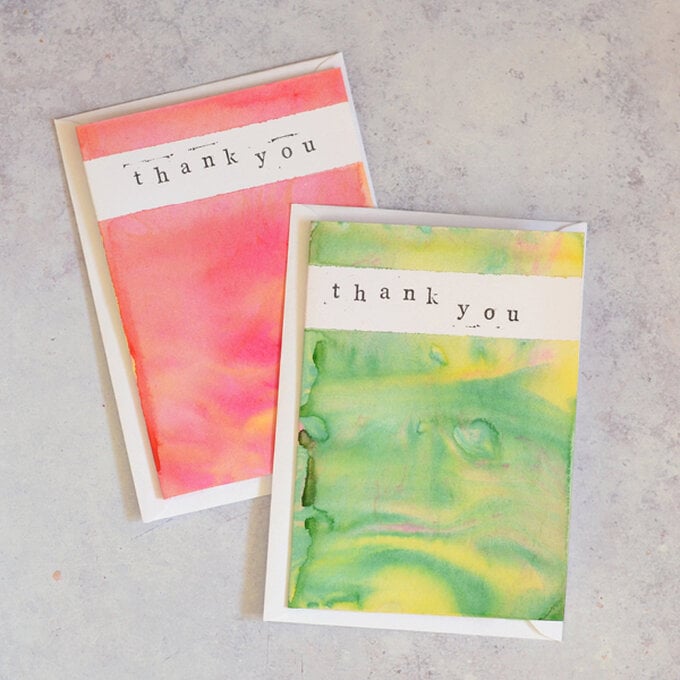
Marbling is such a beautifully mindful technique. Here I've used the inks without the setting 'size' meaning the marbling effect is very subtle, I think this works so well as a base for putting other elements on top, or simply for showing off the vibrancy of the colours in the card.
marbled_thank_you_cards_final_step_4.jpg?sw=680&q=85
Step 1
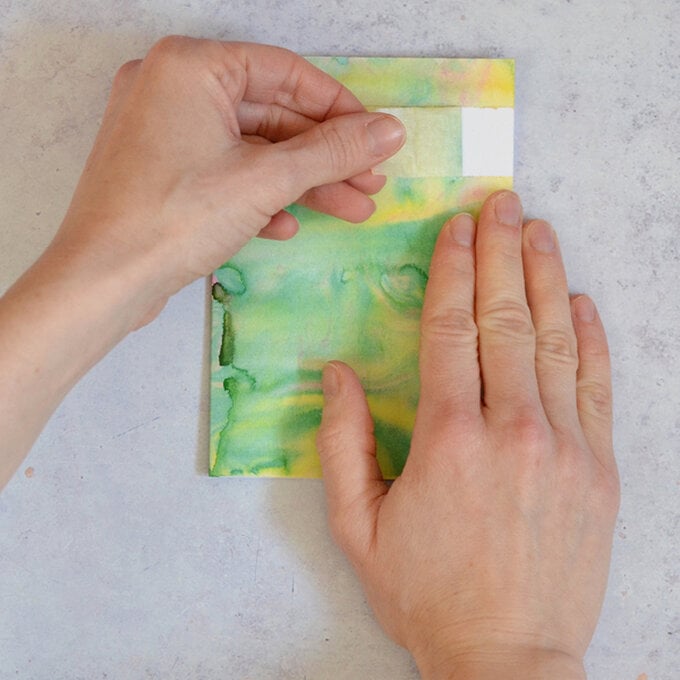
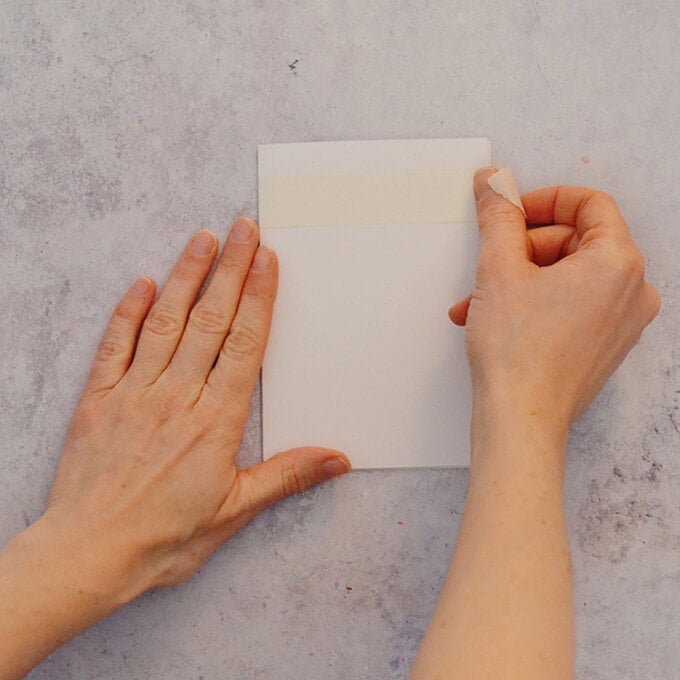
Stick on a long piece of masking tape along the top of the card leaving a 1.5cm gap at the top.
marbled_thank_you_cards_tape_step_1.jpg?sw=680&q=85
Step 2
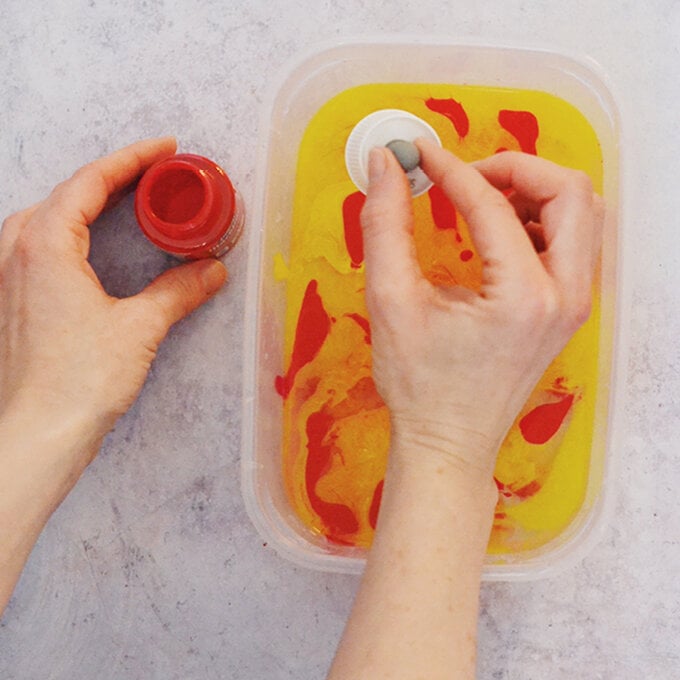
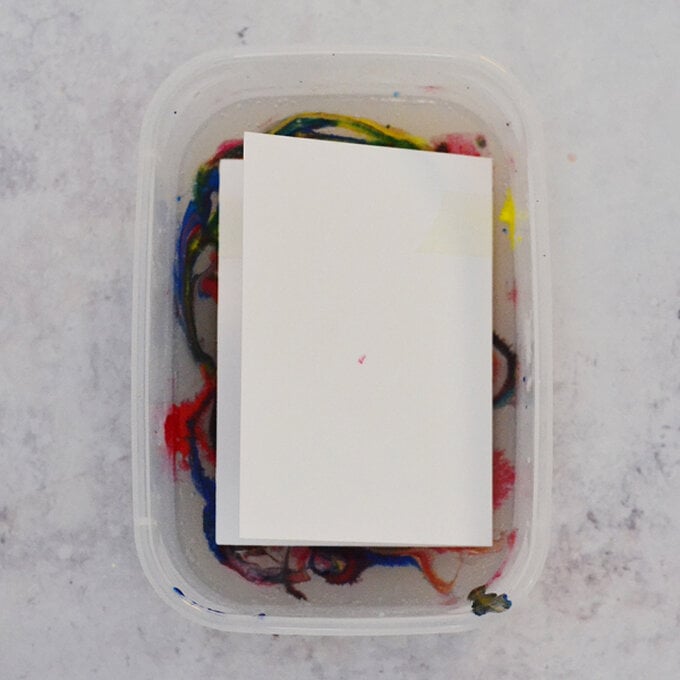
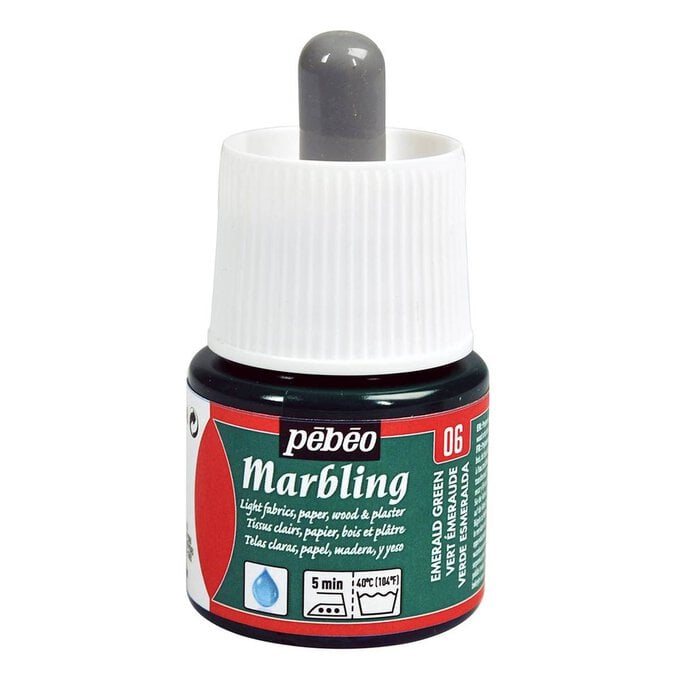
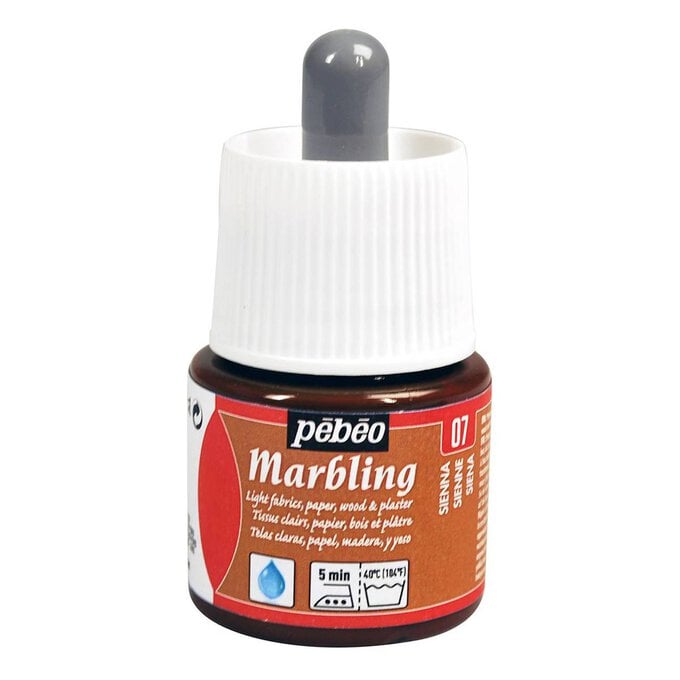
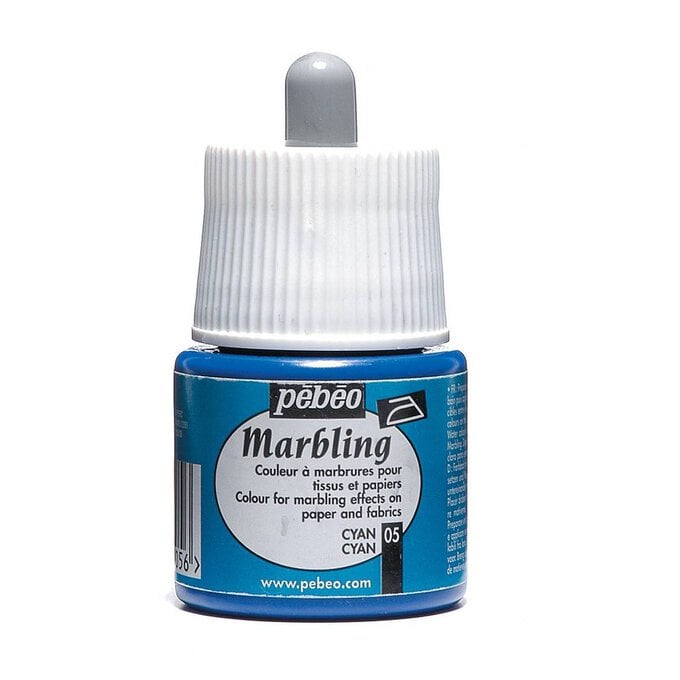
Prepare the marble bath. Pour water into the container so that it’s about three quarters of the way full. Drip in the inks you're using and stir slowly with a spoon or lolly stick.
marbled_thank_you_cards_ink_step_2.jpg?sw=680&q=85
Step 3
Carefully lie the card face down onto the marbling bath ensuring the surface gets covered and lift out. Leave to dry.
marbled_thank_you_cards_card_step_3.jpg?sw=680&q=85
Step 4
Once the card is dry peel off the masking tape and stamp on ‘thank you’.
marbled_thank_you_cards_masking_tape_step_4.jpg?sw=680&q=85
Washi Tape Card

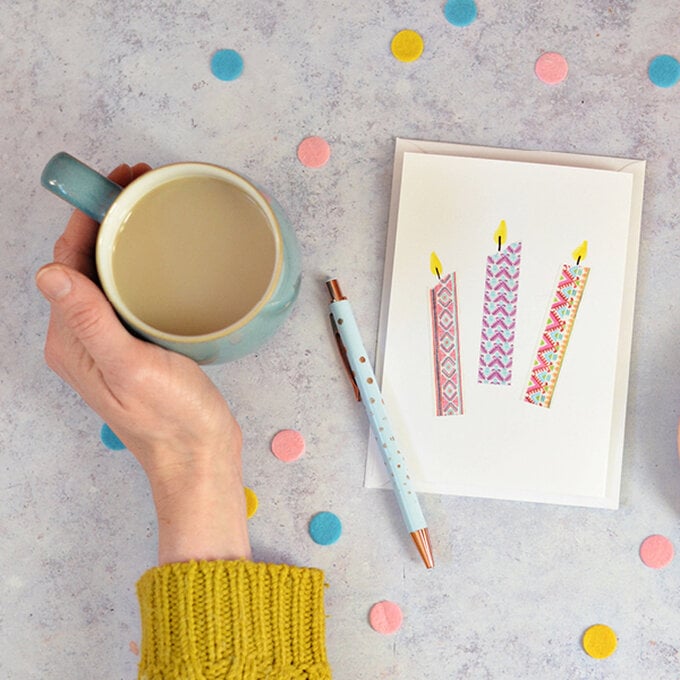
Washi tape comes is such a wide variety of colours and patterns the scope of cardmaking ideas is immense! This simple candle design is well suited to birthdays but is so effective I'd use it for any occasion.
washi_tape_thank_you_cards_final.jpg?sw=680&q=85
Step 1
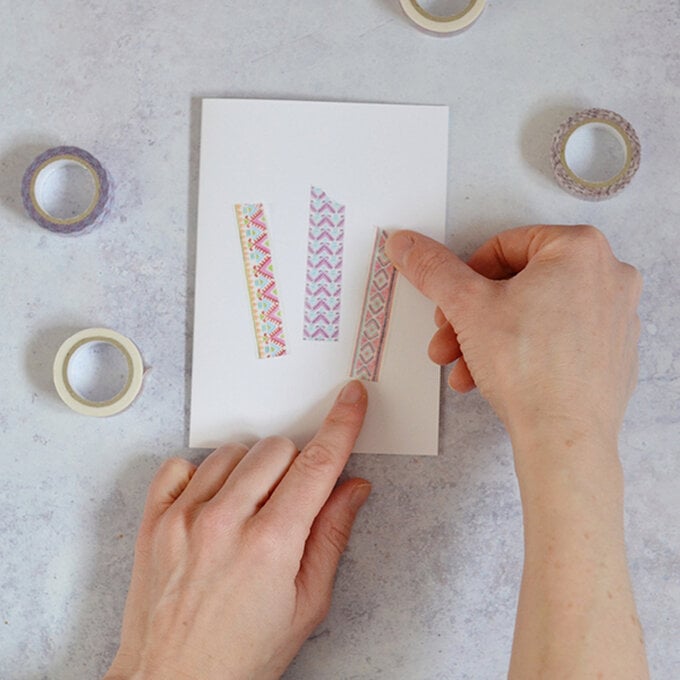
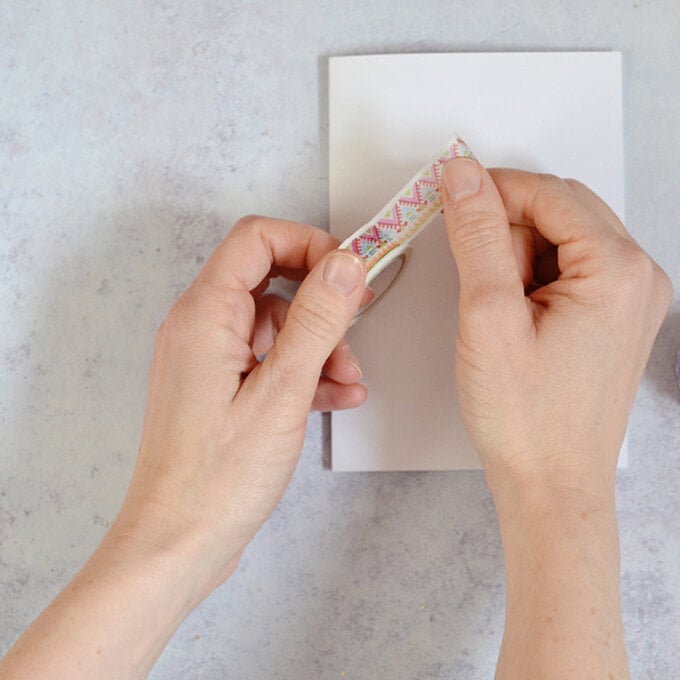
Tear off small pieces of washi tape to create the candles - if the tape tears unevenly all the better, it’ll look more candle-like!
Step 2
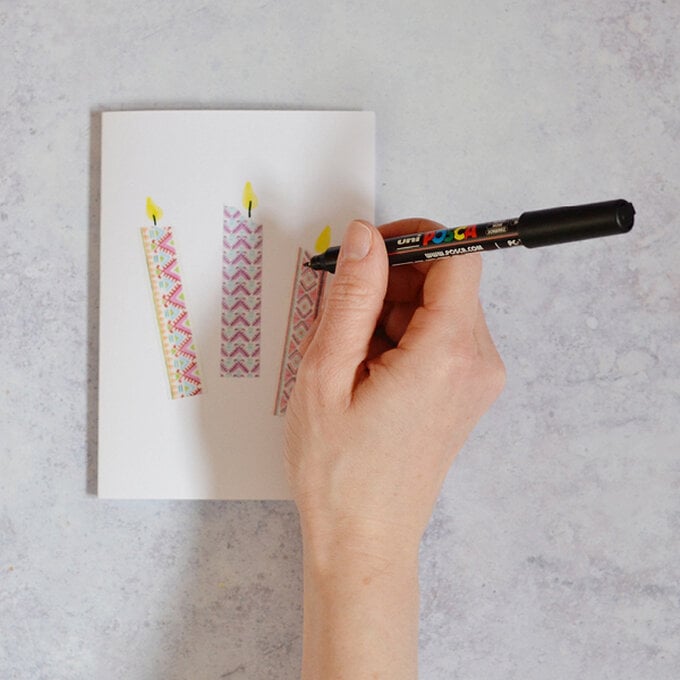
Draw on the yellow flame and wick with a pen.
washi_tape_thank_you_cards_uni_ball_step_2.jpg?sw=680&q=85
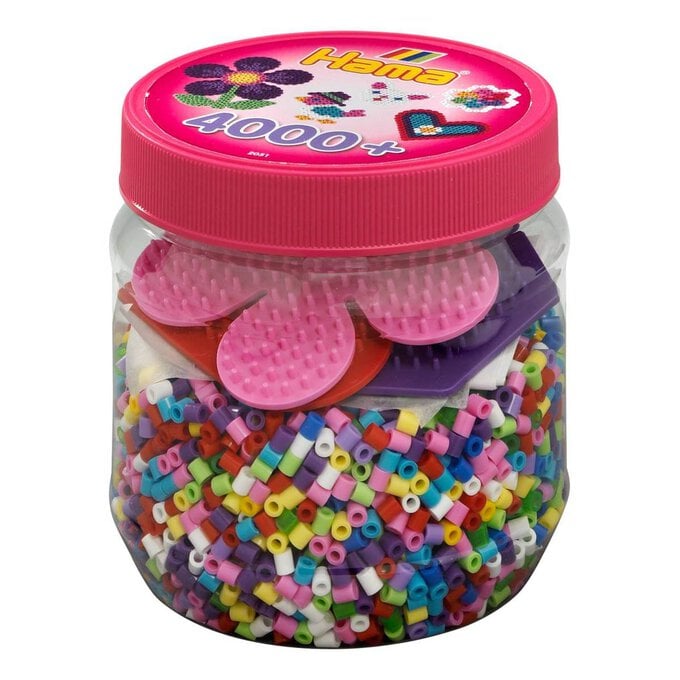
Hama Bead Card

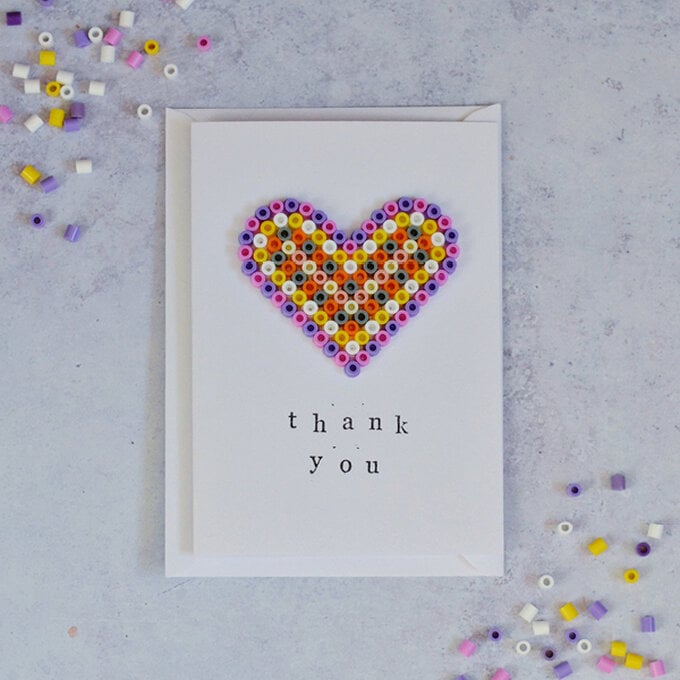
These Hama bead cards are such a great way to use up your child's many beaded masterpieces! Such a lovely therapeutic activity and fantastic for fine motor skills. Choosing colours and creating patterns is great for getting those little minds engrossed in composition.
hama_bead_thank_you_cards_final.jpg?sw=680&q=85
Step 1

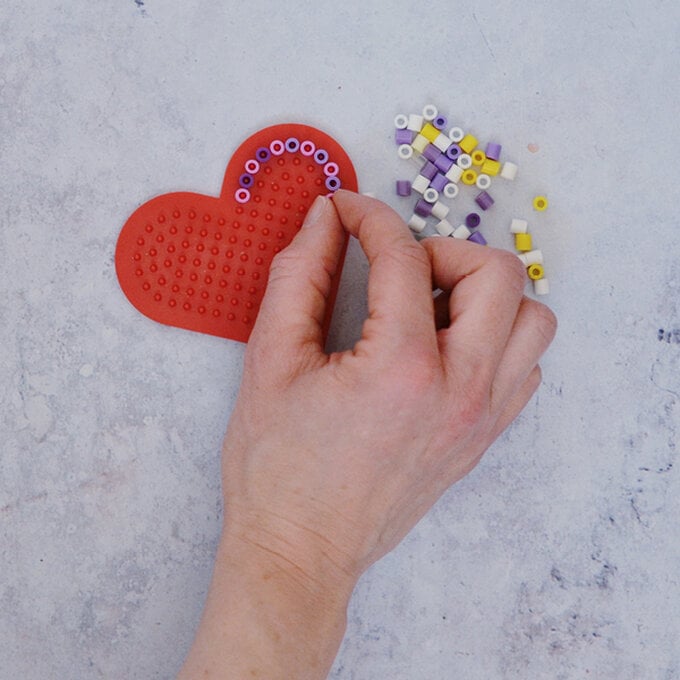
Arrange the beads onto the template and then seal with an iron according to the instructions with the Hama beads.
hama_bead_thank_you_cards_beads_step_1.jpg?sw=680&q=85
Step 2

Apply glue liberally to the back of the heart and stick to the card, this will take a while to dry.
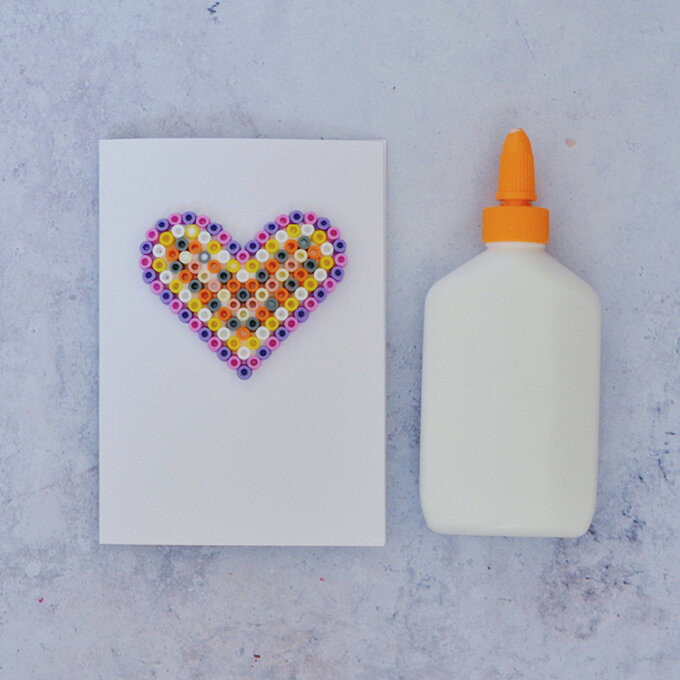
hama_bead_thank_you_cards_pva_glue_step_2.jpg?sw=680&q=85
Step 3

Stamp or write on 'thank you' to the cards.
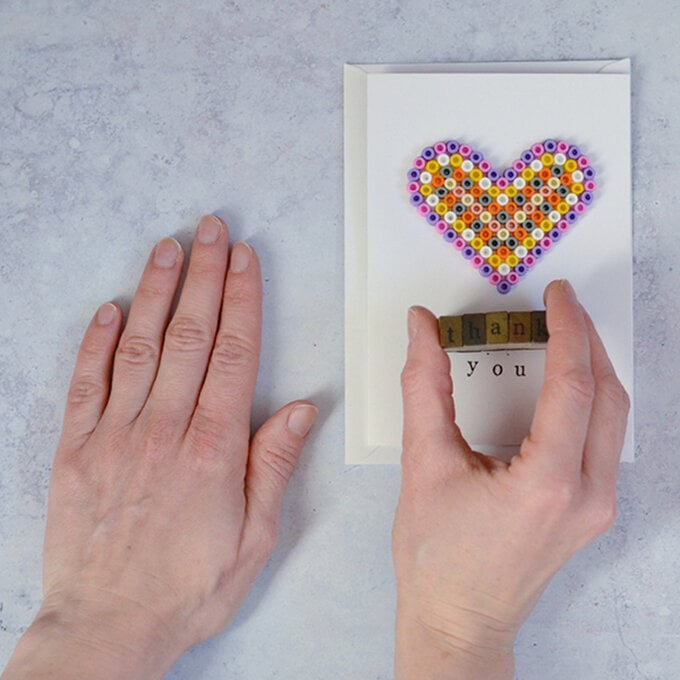
hama_bead_thank_you_cards_stamp_step_3.jpg?sw=680&q=85
  • bvseo_sdk, dw_cartridge, 18.2.0, p_sdk_3.2.0
  • CLOUD, getReviews, 6ms
  • reviews, product
  • bvseo-msg: Unsuccessful GET. status = 'ERROR', msg = 'Not Found.'; Unsuccessful GET. status = 'ERROR', msg = 'Not Found.';

Related Products

Top