Cricut: How to Make a Christmas Sign
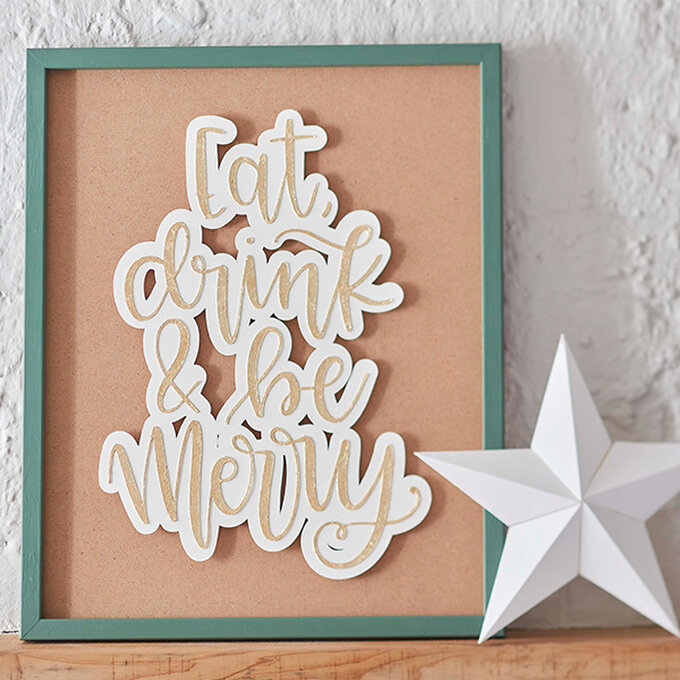
Create a beautiful Christmas sign for your home with a helping hand from your Cricut machine! Upcycle a frame you already have by giving it a new lease of life with a lick of paint, then add your foiled festive greeting to the back board.
Use the project link below to recreate our "Eat, Drink and Be Merry" design or you could even create your own bespoke design – the possibilities are limitless!
Project and instructions by Aisha Cluitt
This project contains paid-for content from Cricut's Design Space app. Screen grab reference images are taken from the desktop version of Design Space. This project was created using the Cricut Maker; however, it can also be recreated on any of the Cricut Explore machines.
You will need
Subtotal
Is $ 583.00
Subtotal
Is $ 16.00 , was $ 19.00
Subtotal
Is $ 4.49
Subtotal
Is $ 12.00
Out of stock
Subtotal
Is $ 6.49
Out of stock
Subtotal
Is $ 7.49
You Will Need
* Cricut Machine
* Cricut Standard Grip Mat
* Cricut Basic Tools
* Paintrbrushes
* Watercolour Paper
* Gold Gilding Flakes
* Glitter Glue
* Tacky Glue
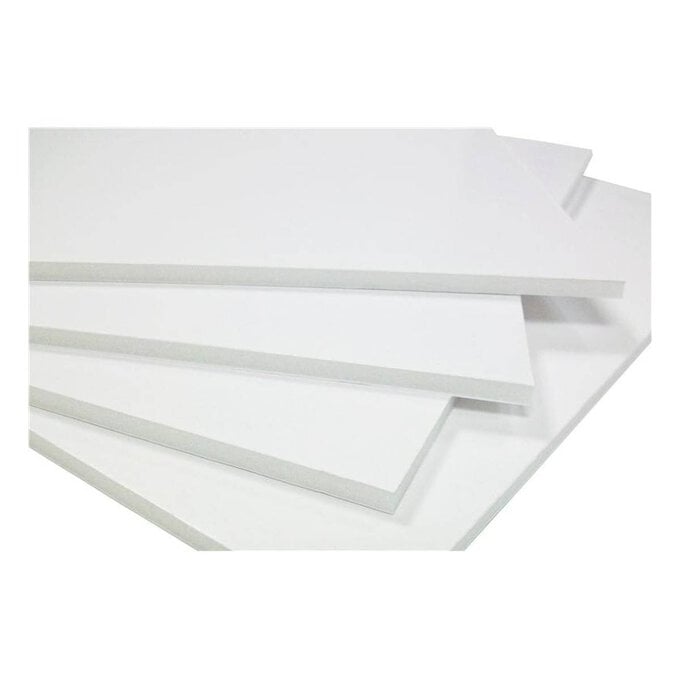
* White Foam Board
* Double Sided Tape
* Craft Paint
* Wooden Frame - we've used an A3 frame
* Cricut Design Space app installed on a PC or laptop
How to Make
Start by opening the project in the Cricut Design Space app using the project link at the top of this post, or alternatively use the link below - https://design.cricut.com/landing/project-detail/60ea167cb008370f34421a65
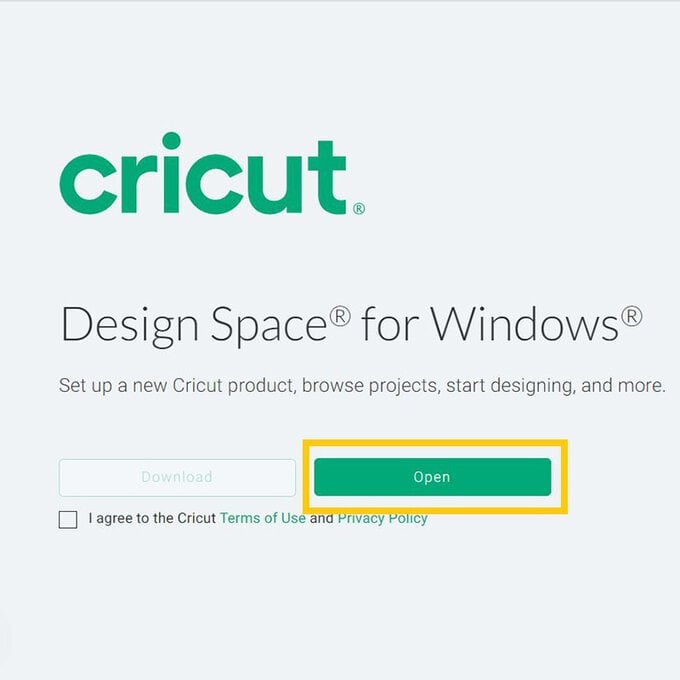
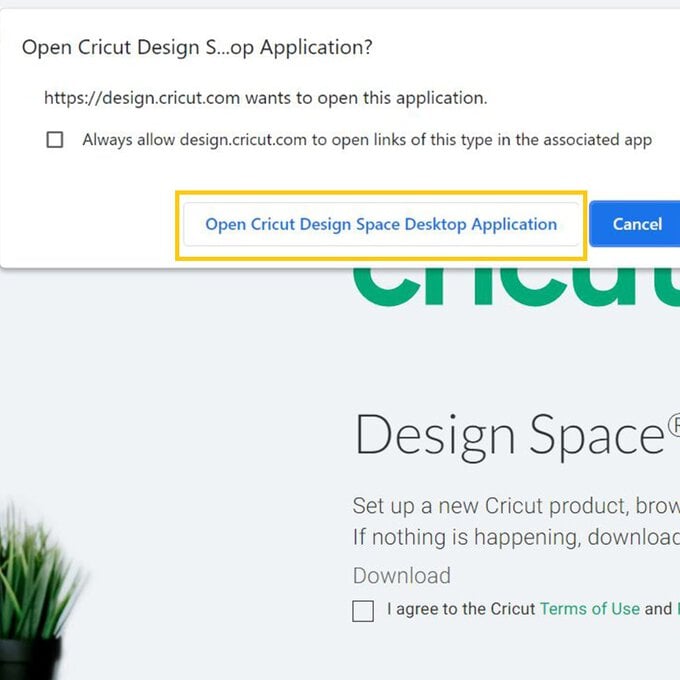
To access the project, copy and paste the link into your browser, you will be directed to a Cricut landing page, select 'Open' followed by 'Open Cricut Design Space Application'.
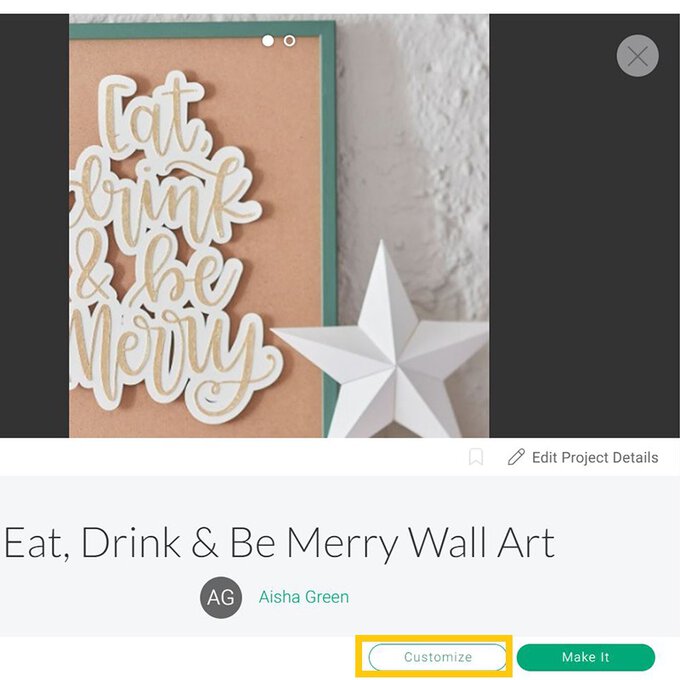
The app will open (you may be prompted to log in) and the project overview screen will appear.
Select 'Customise'.
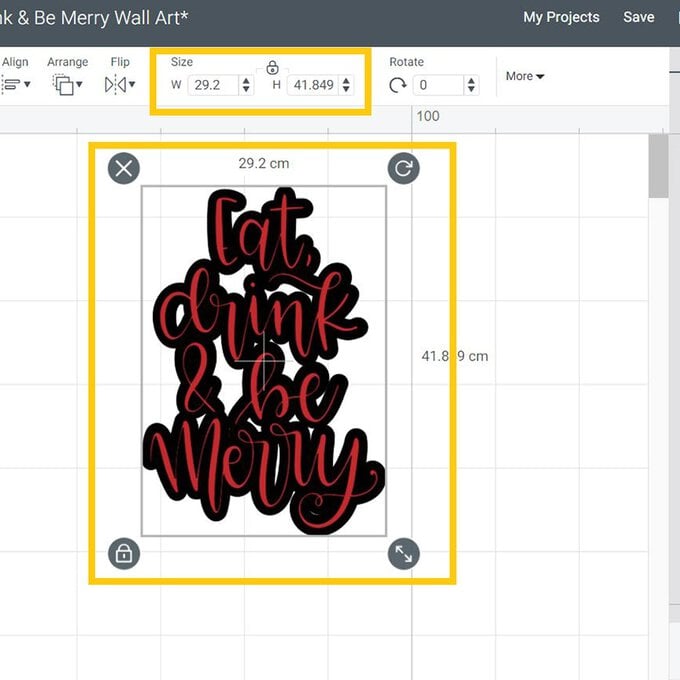
Once through to the Canvas screen, re-size the design to suit the size and shape of your frame.
Top Tip: To check the size and position of the greeting on your frame add a template to your canvas, remember to hide or delete this before going through to mat preview screen.
Once happy, select 'Make it'
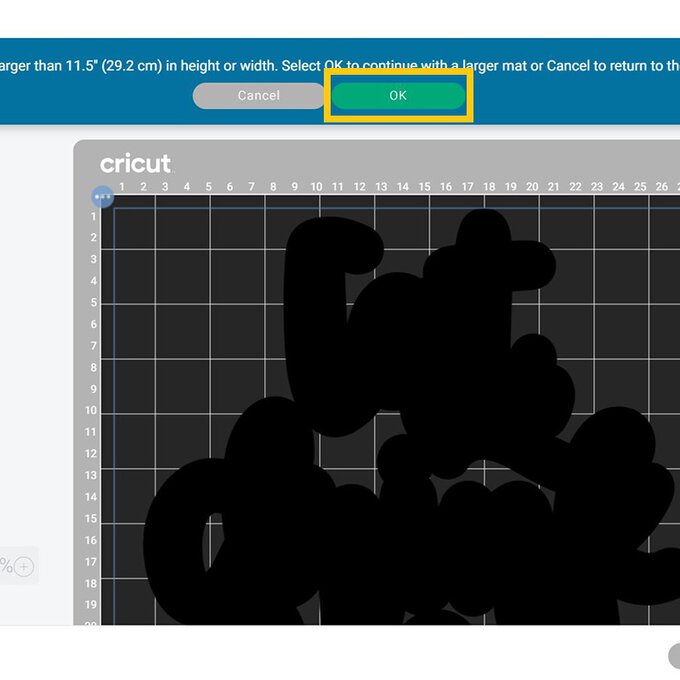
Once through to the mat preview screen a pop-up will appear on screen to advise that a larger 12 x 24" cutting mat will be needed.
Check everything is present and correct before clicking 'Continue'.
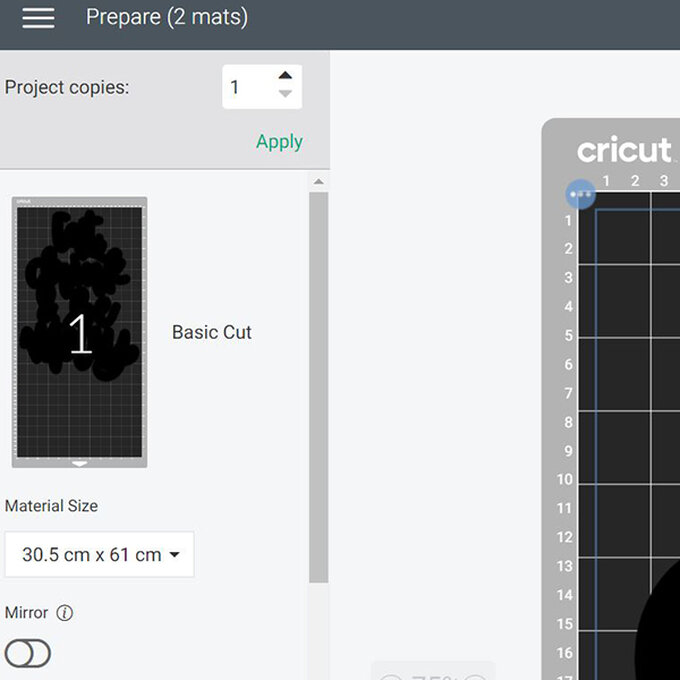
Trim the cardstock to size and secure to the cutting mat using the Scraper tool to ensure good contact between the mat and the cardstock.
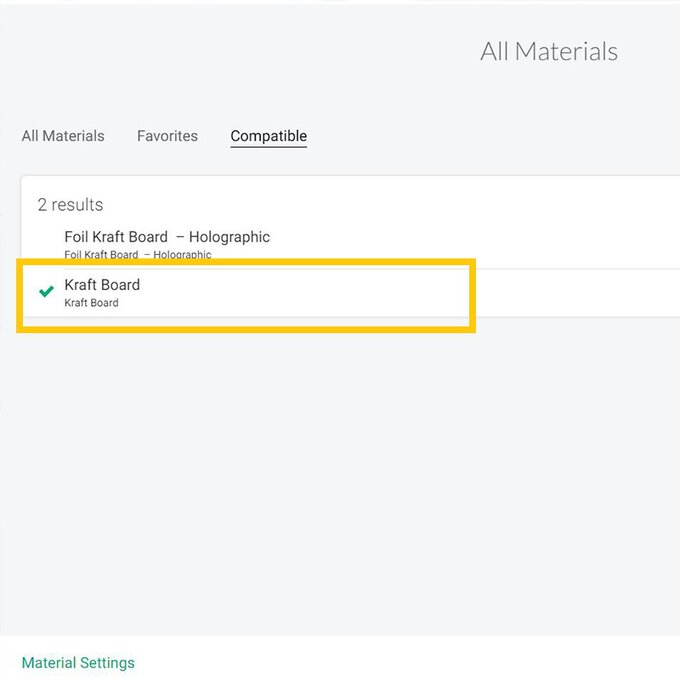
Select the 'Kraft Board' cut setting once through to the machine set up screen.
Load the mat into the machine and press the flashing icon to begin the cut.
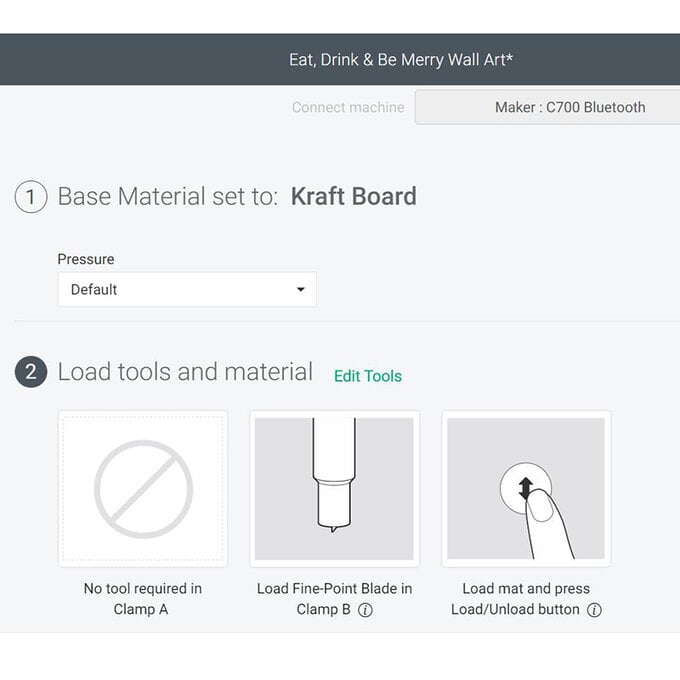
Once the cut is complete, do not unload the mat, check the Cricut machine has cut all the way through the cardstock, if it has unload the mat, if not press the go button to start another cut.
Repeat the process with the second mat, using the same white cardstock.
Carefully remove the cuts from the mat.
Pour some of the glue into a pot and using a paint brush to apply it to the first word "Eat".
Leave for approximately 30 seconds and then sprinkle gold gilding flakes over the adhesive and gently press down.
Leave for a further 30 seconds and then use a clean paint brush to remove excess flakes.
Continue working in this way until all of the greeting has been covered in gilding flakes.
Leave to dry.
Once dry, apply a second layer of gilding flakes using the same technique.
Continue working in this way until you have an even coverage over the entire greeting.
Once the greeting is dry, apply a sparing amount of tacky glue to the reverse of the greeting and secure it the second layer.
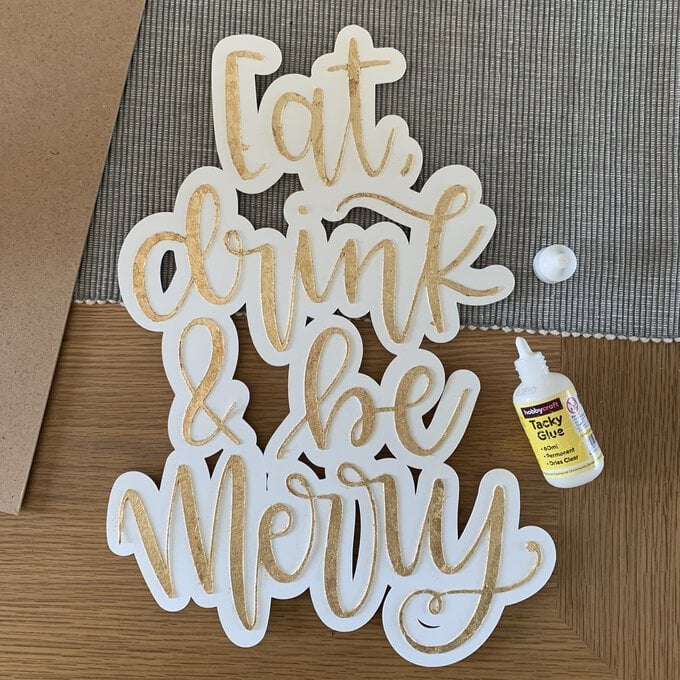
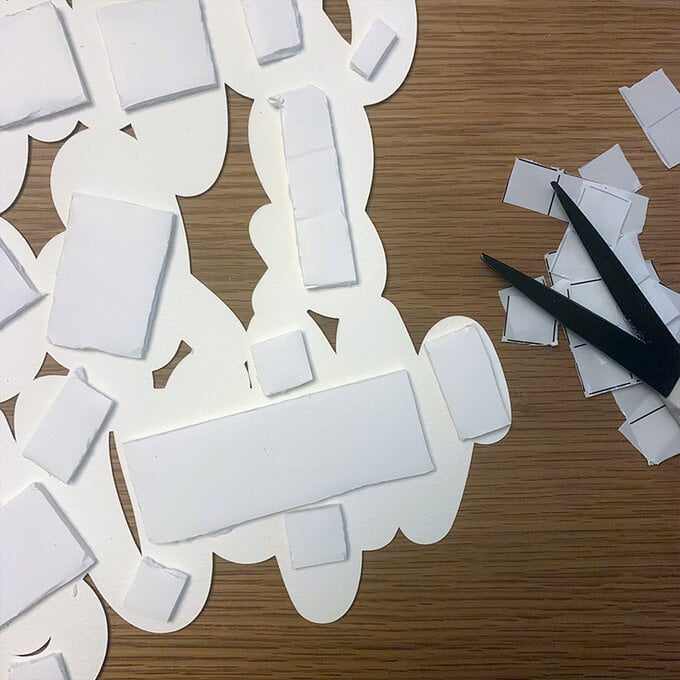
Once the greeting is secure, trim squares of foam board and apply them to the reverse of the base layer using double-sided tape.
Apply double-sided tape to the remaining face of the foam board squares but do not remove the backing paper.
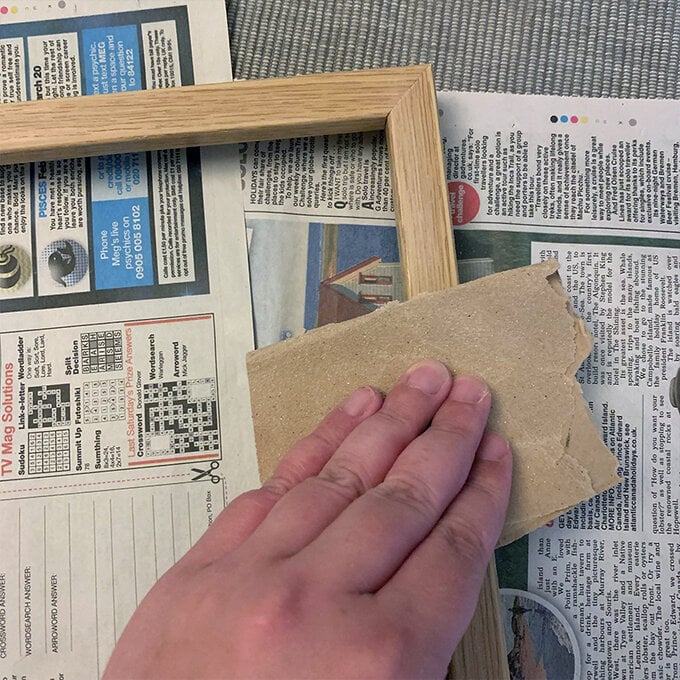
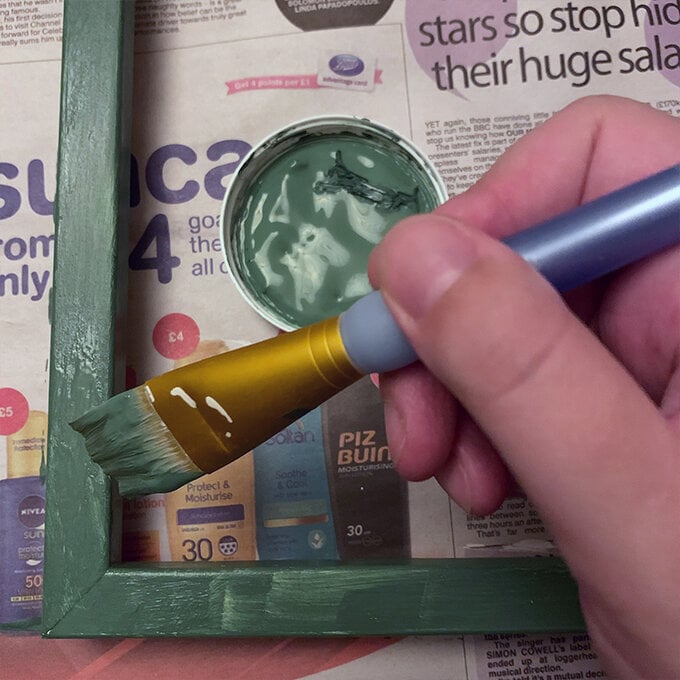
If desired paint the frame in your paint colour of choice. Start by removing the glass and backboard, then lightly sand.
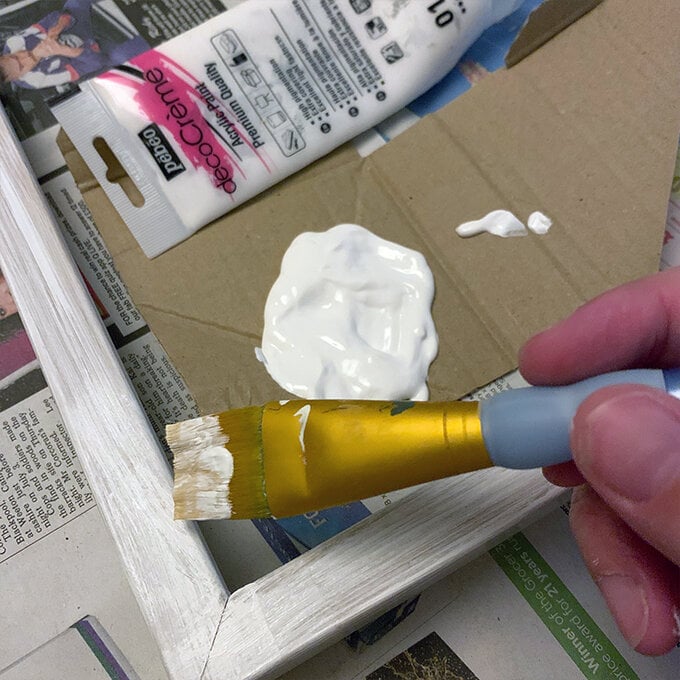
Apply a base coat of white paint, leave to dry before applyng your first coat of colour, then leave to dry before applying a second and a third if needed.
Once the frame is dry, place the backboard back into the frame.
Remove the backing paper from the foam board squares, then secure the piece to the centre of the frame backing board.
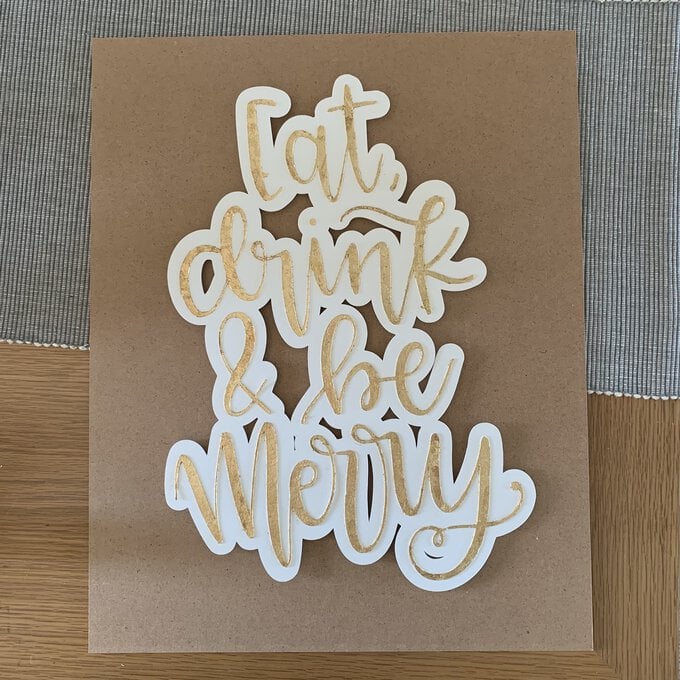
The frame is then ready to be hung in your home!
