Cricut: How to Make Happy Mail
Brighten someone's day with a little happy mail! Use your Cricut machine to craft charming stationery that'll make lovely surprise post for a friend, featuring colourful pockets, tags and ephemera.
The versatile Cricut technology makes it easy to cut, draw and score paper and card – whether you're using the Cricut Maker, Explore or the Joy machine. You'll be all set to craft an envelope filled with wonderful details, tailor-made as the perfect postal pick-me-up.
Project and instructions by Emma Jewell.
This project contains paid-for content from Cricut's Design Space app. Screen grab reference images are taken from the desktop version of Design Space.
Sticker sheet download is strictly for personal use only.
You will need
Subtotal
Is $ 11.00 , was $ 14.00
Subtotal
Is $ 60.00 , was $ 75.00
Subtotal
Is $ 657.00
How to make
To start open up this project in Cricut design Space: https://design.cricut.com/landing/project-detail/6050bc8893bbbb107c2b4653
You can use this project as a template for your own happy mail or use it as is. If you would like to, add any elements into the project and size them to fit.
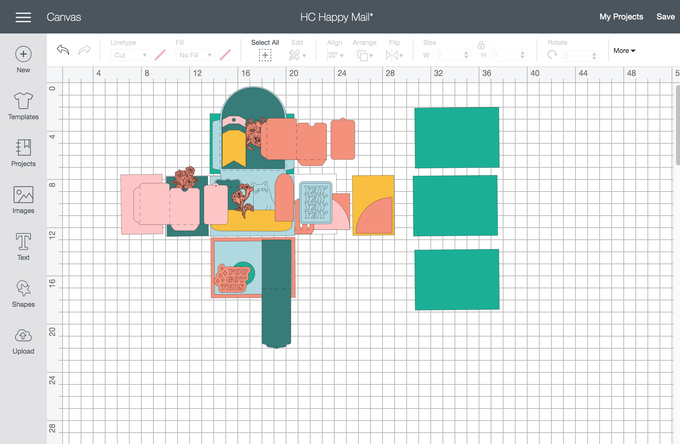
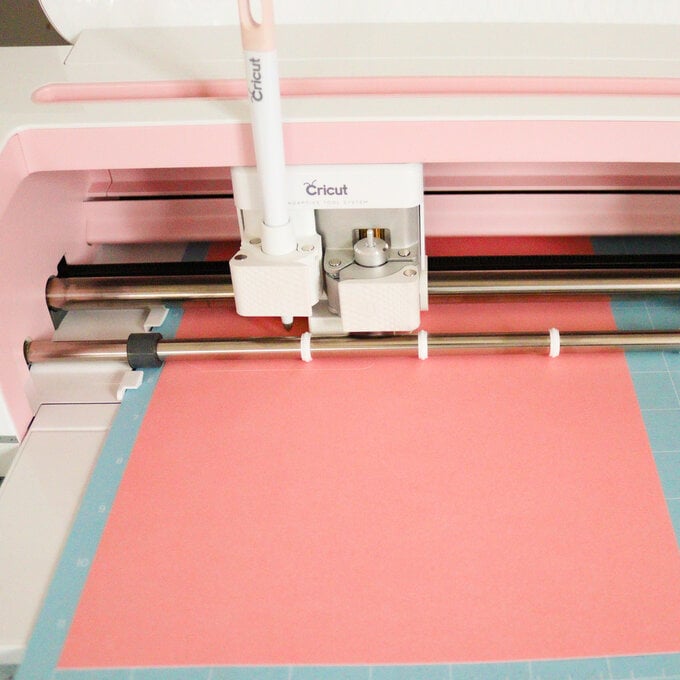
Next head to make it and prepare your card stock, following the mats laid out on the design space screen. As well as cutting, some elements need to be scored and drawn. So, make sure to have your scoring tool (this could be the scoring wheel or scoring stylus) and a cricut pen ready to insert into the machine when the design space screen prompts you to do so.
Once cut lay all of your pieces to the side. Then take two of the blank prefolded cards and use the double-sided tape to secure them together.
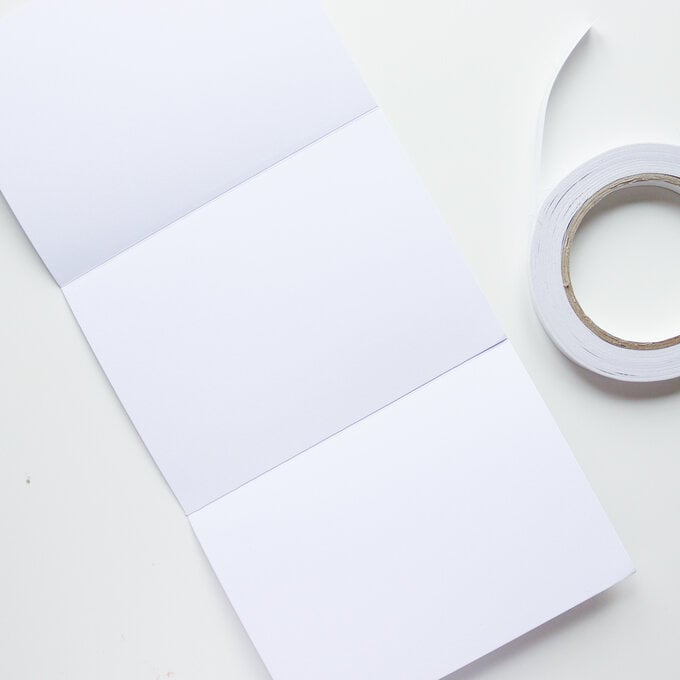
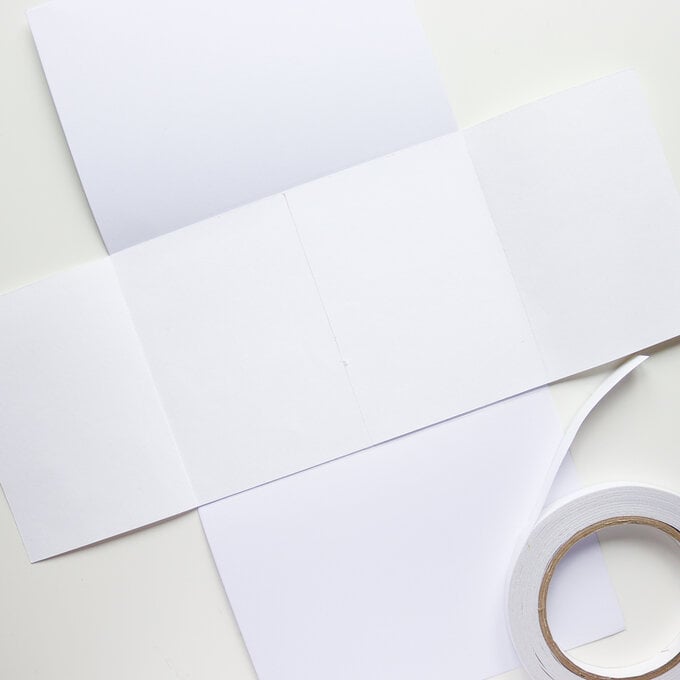
Next add the white pieces, fold them in half then stick them to the centre piece to create two opening doors.
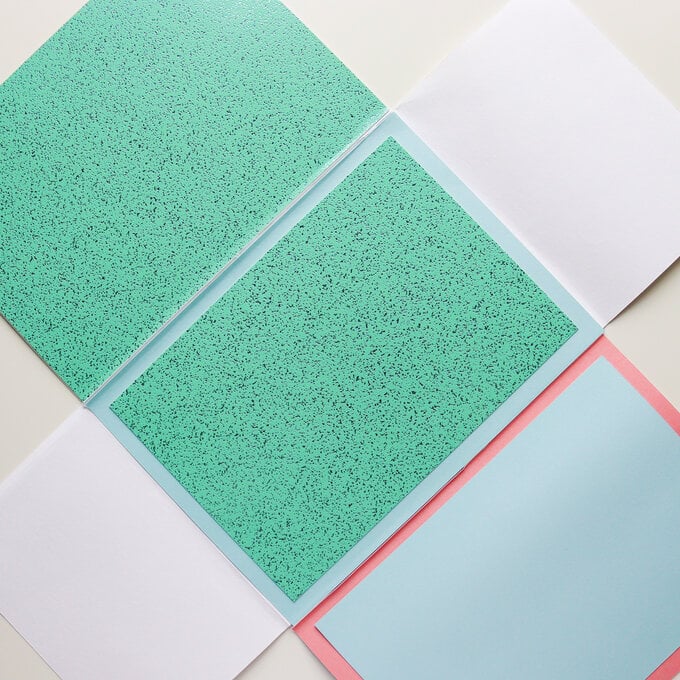
Now stick the background pieces of card that you cut out onto white pieces, just focus on the inside of the cards for now.
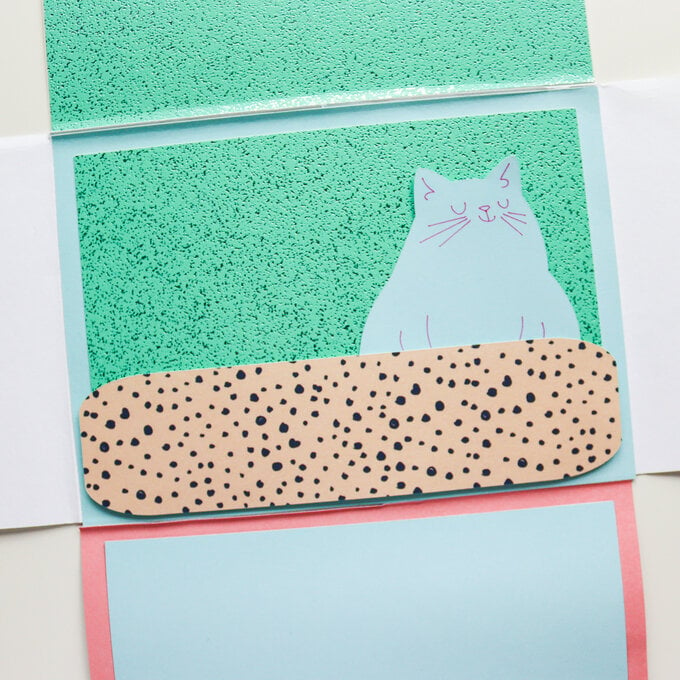
Take the long oval piece and add foam glue pads to the back bottom edge and sides, then add to the centre of the happy mail piece to create a pocket.
Next fold along the scored lines of the envelope pieces, then stick the flaps together to assemble.
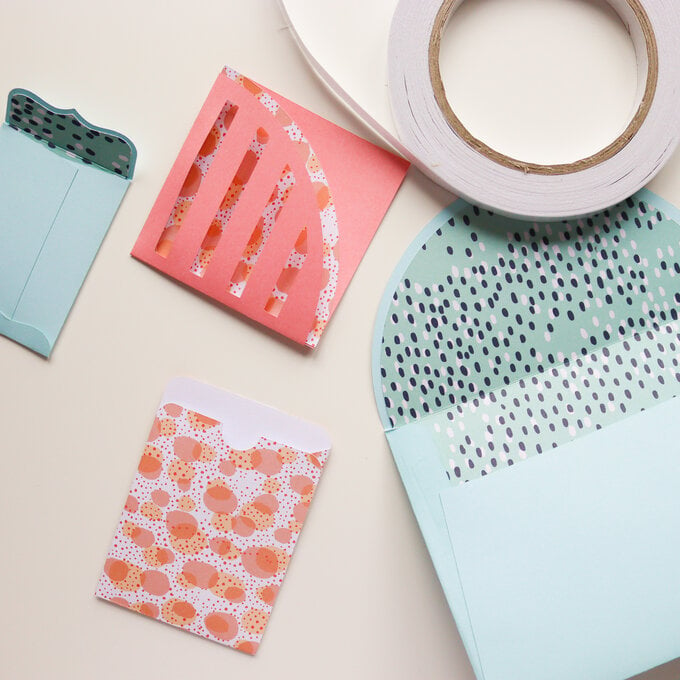
Glue three of the envelopes into place and add the leftover ones to the pocket.
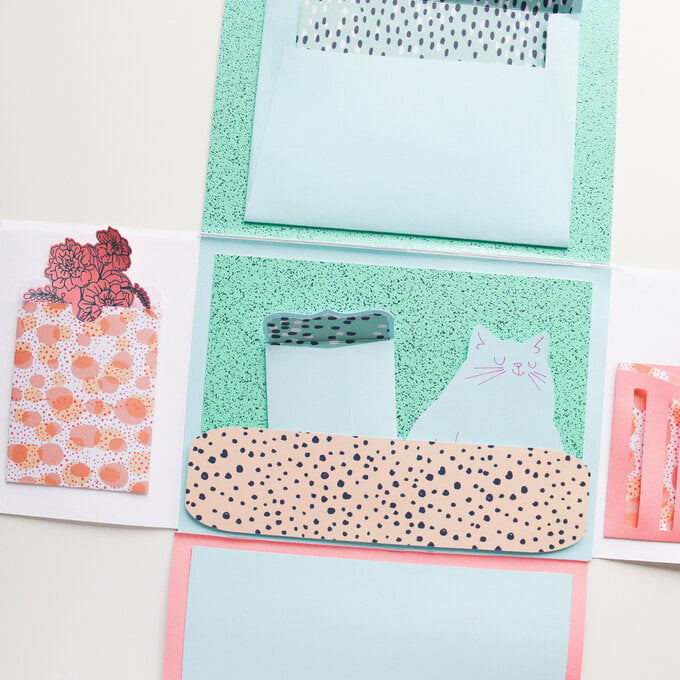
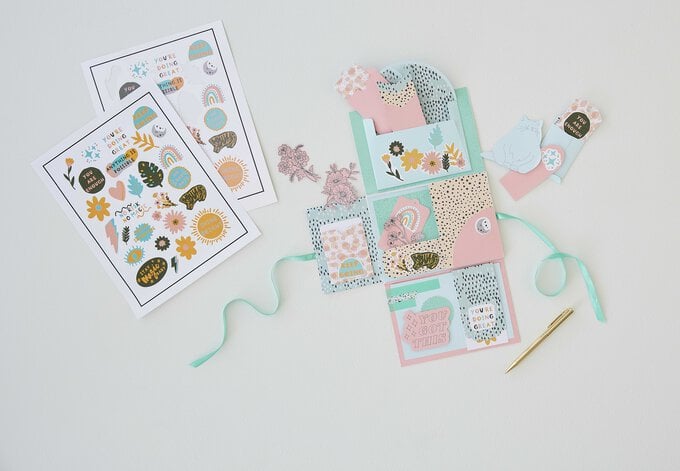
Add the remaining elements onto the happy mail by either sticking into place or placing inside an envelope or pocket.
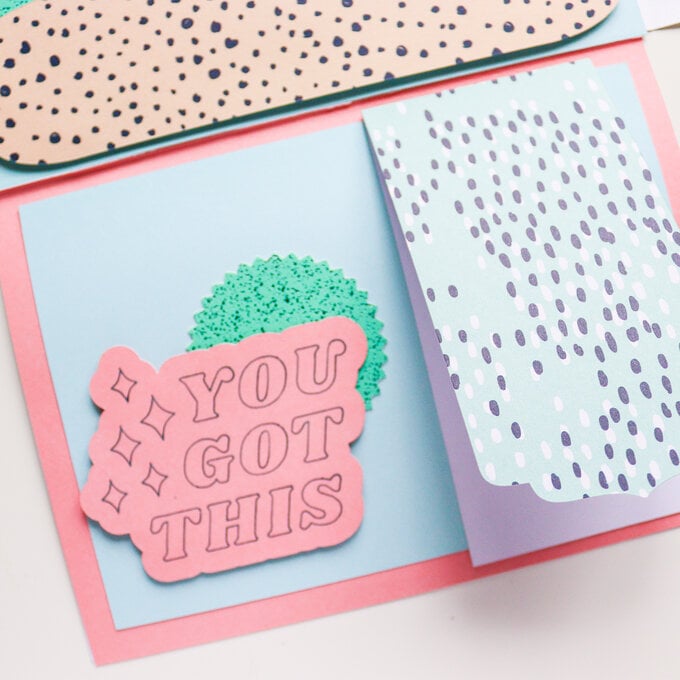
Add stickers (created using the FREE download at the bottom of this post) to complete decorating your happy mail.
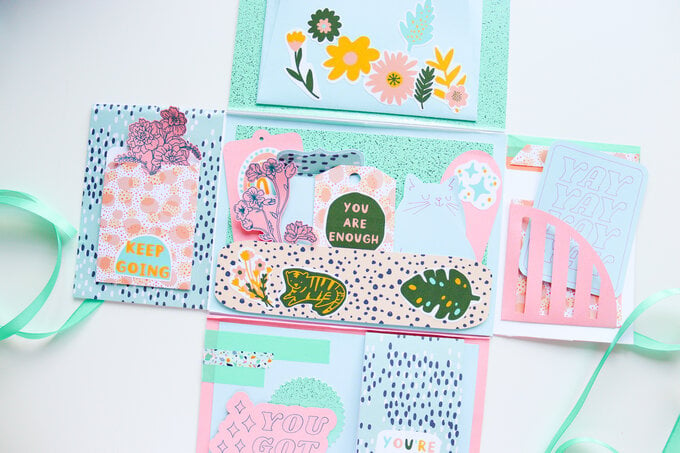
To finish, add the back pieces onto the centre back section and glue a length of ribbon in place, cover this with a piece of green card; the ribbon will be used to secure the happy mail when it's closed.
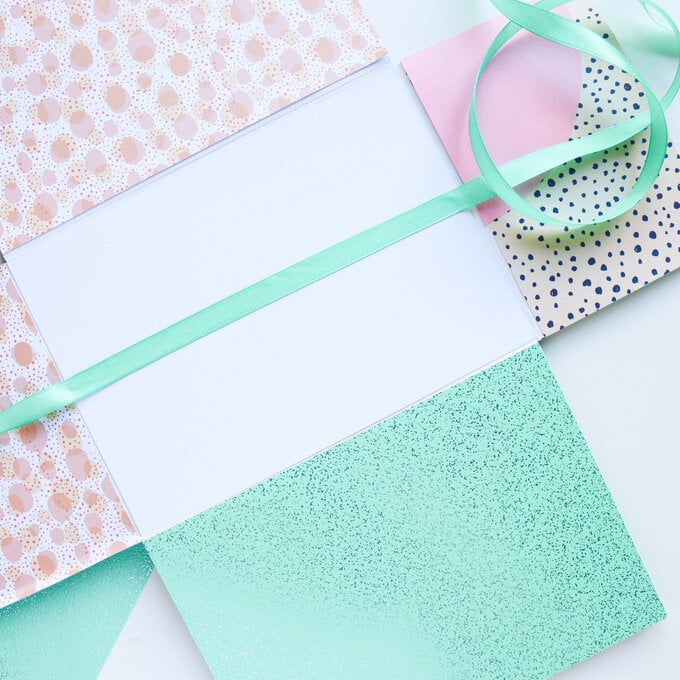
Then all that's left to do is add your hand-written notes and pop it in the post!


.jpg?sw=340&q=85)
