How to Decoupage
Decoupage is a hugely fun and calming craft for any age and any ability! Use decoupage paper to transform mache shapes or upcycle accessories and furniture, adding personalised touches to any space. There are so many ways to create unique designs with this popular craft technique.
Learn more about the process of decoupage and how it can be applied to a variety of different shapes and surfaces with our simple project ideas.
You will need
Subtotal
Is $ 8.49
Subtotal
Is $ 7.49
Subtotal
Is $ 23.00
Subtotal
Is $ 7.49
Subtotal
Is $ 7.49
How to Decoupage
* Mache Brontosaurus
* Mache Letter
* Unglazed Ceramic Money Box
* Wooden House
* Mod Podge Matte Finish
* Decopatch Satin Finish Professional Varnish
* Decopatch White Gesso Primer
* Mod Podge Fabric
* Decopage Paper
* Fabric (such as polycotton, linen and cotton)
* A Paintbrush
* Recycled Tin Cans

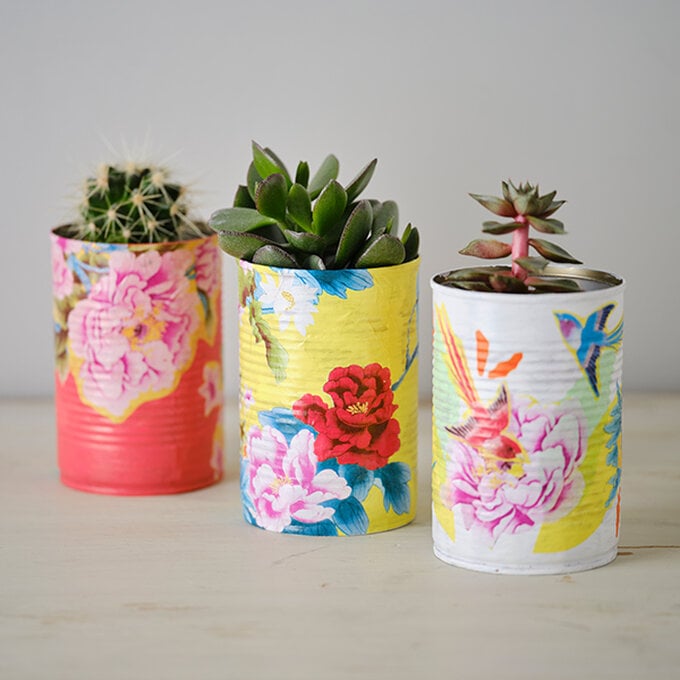
These tin can planters are a quick upcycling project which can add so much colour and fun to your décor.
Project and instructions by Georgia Coote
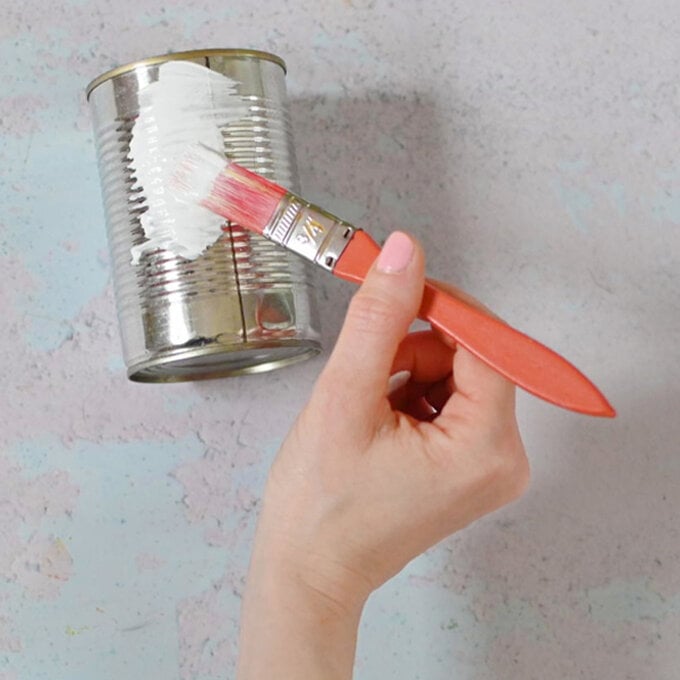
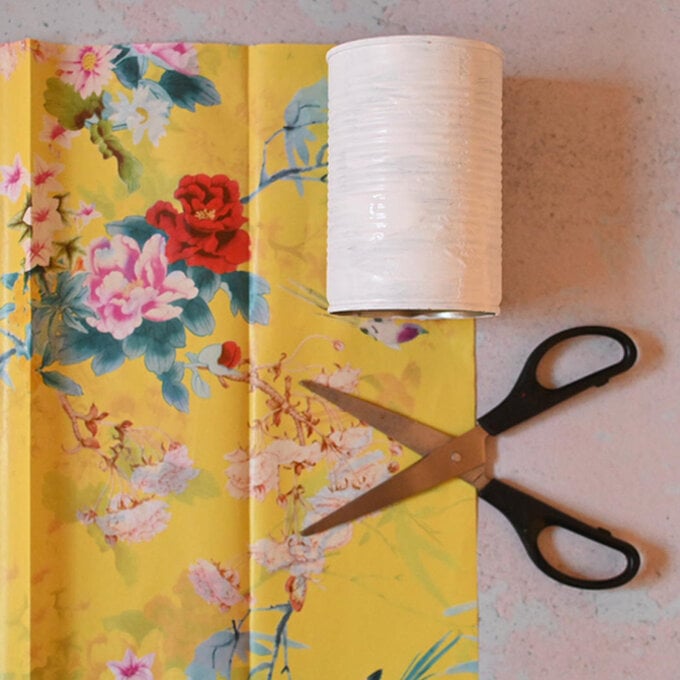
Step 1: Paint the can with either a primer or an acrylic paint, you may need two coats depending on the colour. Leave to dry.
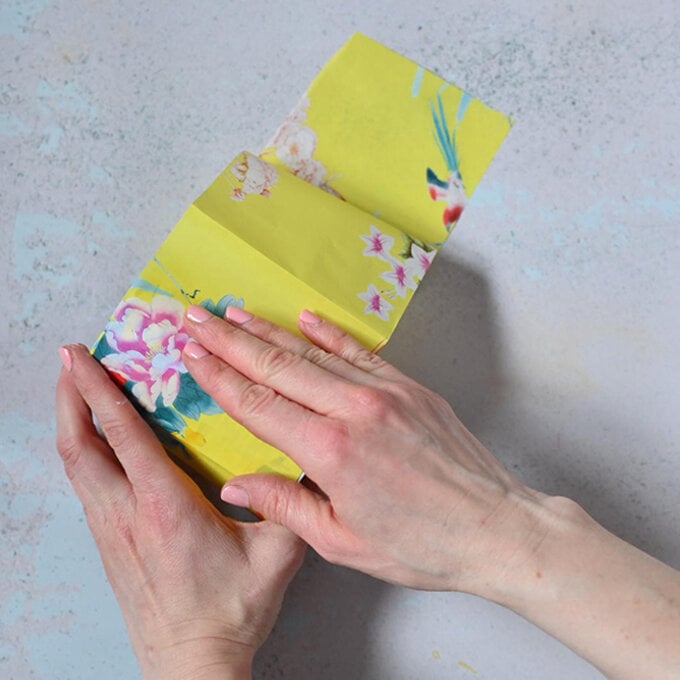
Step 2: Measure the height of the can and then cut a strip of the decoupage paper to cover it.
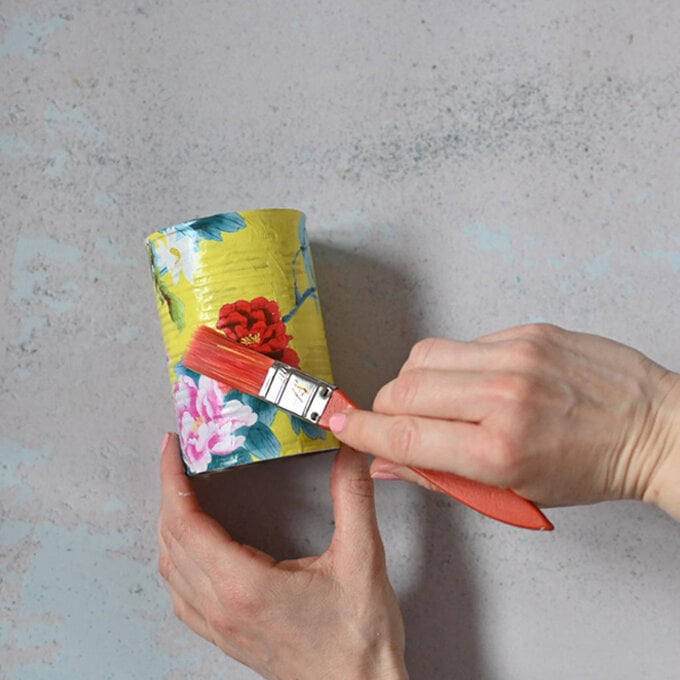
Step 3: Working with small areas at a time paint the back of the paper with decoupage varnish and then stick it on to the can, repeat until it is all stuck down, smoothing as you go.
Step 4: Brush on a layer of the decoupage varnish on top and leave to dry.
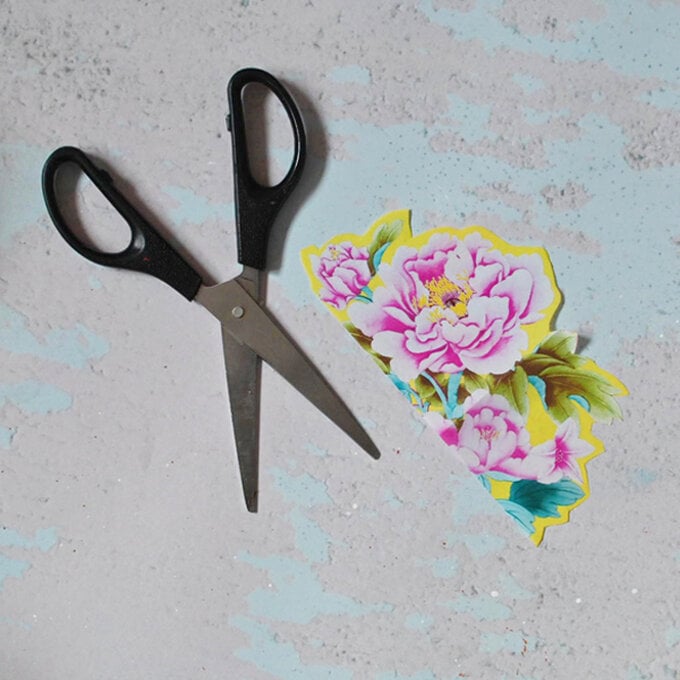
For the coral coloured can: Once you’ve painted the can in the colour of your choice, cut out the motifs you’d like on the can from the paper. Adhere these elements with the decoupage varnish. Then apply a layer of the varnish on top to seal it.
Tip: It can be nice to use the straight edge of the can to have elements coming out from it.
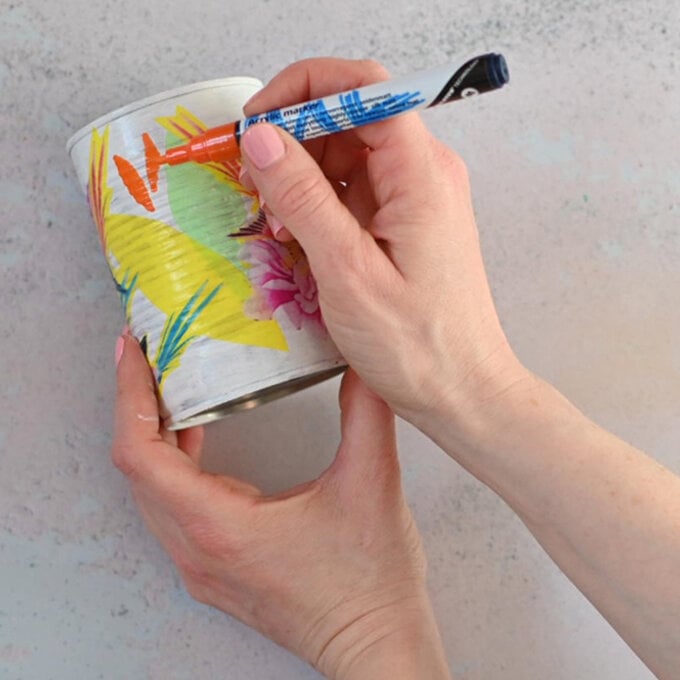
For the can using drawn elements: Draw some shapes onto the painted can and then leave to dry, apply any decoupage elements as before and then seal with the varnish.
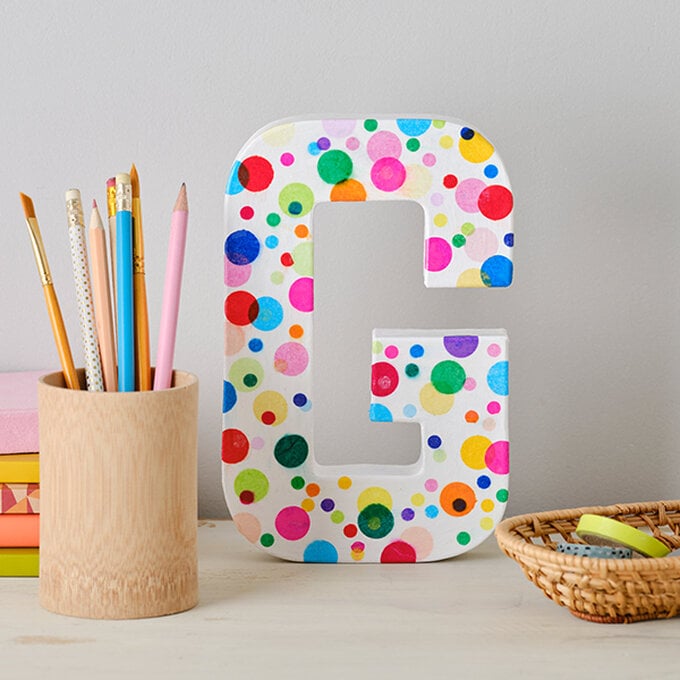
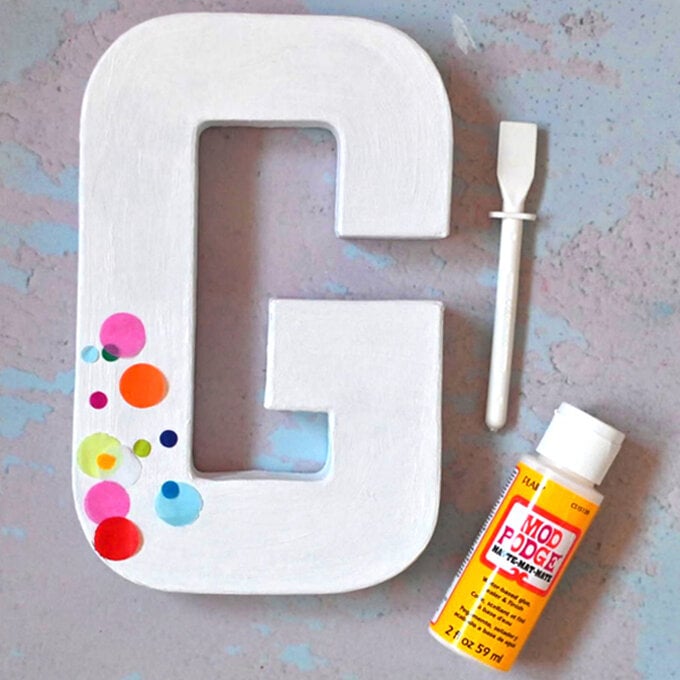
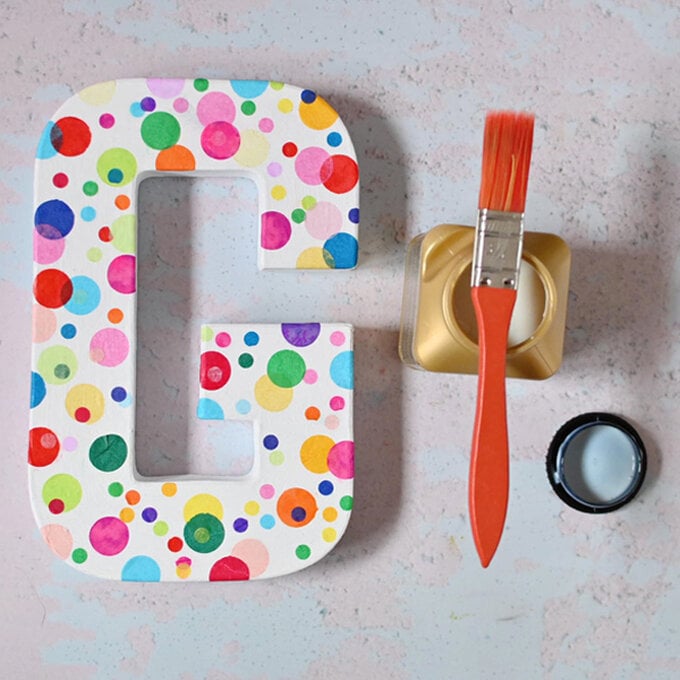
Mache letters make a lovely personalised element to add to your shelves, children’s rooms or to hang on the wall. This confetti sprinkled one is such fun for kids and has a great party like vibe!
Project and instructions by Georgia Coote
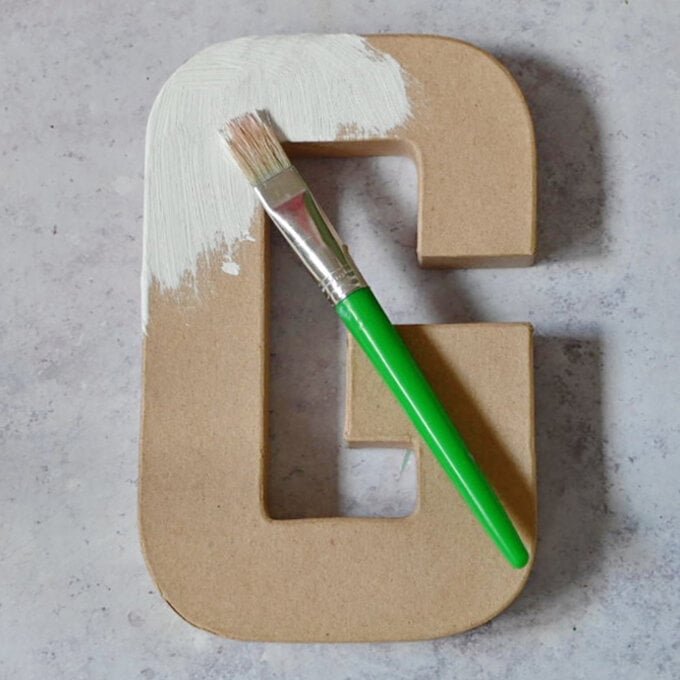
Step 1: Paint the mache letter in white paint, you may need to do two coats. Leave to dry.
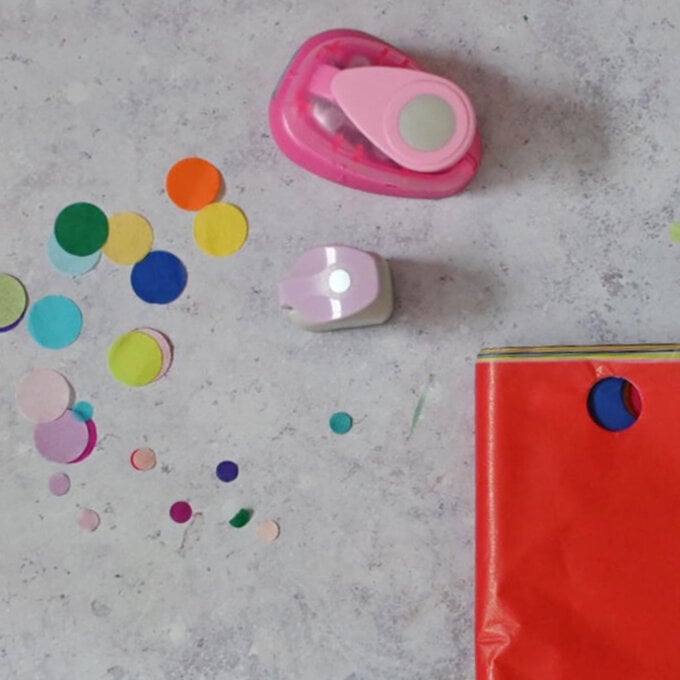
Step 2: Punch some big and small holes out of the tissue paper. You can do a few sheets at once to create lots of circle quickly.
Tip: Place a sheet of paper with the tissue when you are punching the holes to stop the tissue jamming up the cutter.
Step 3: Spread mod podge on the back of the circles and stick them to the letter.
Tip: They look really fun layered up like they’ve been scattered.
Step 4: Apply a layer of the varnish with a brush on top of everything to finish.
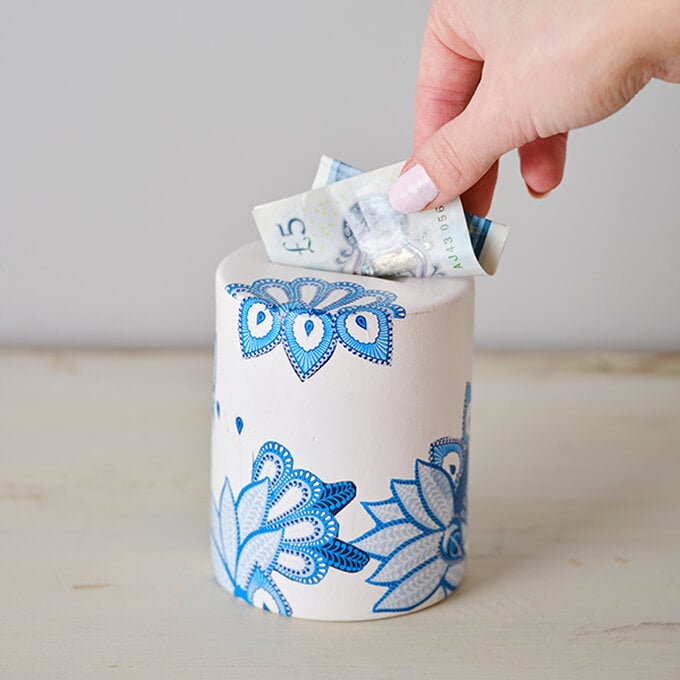
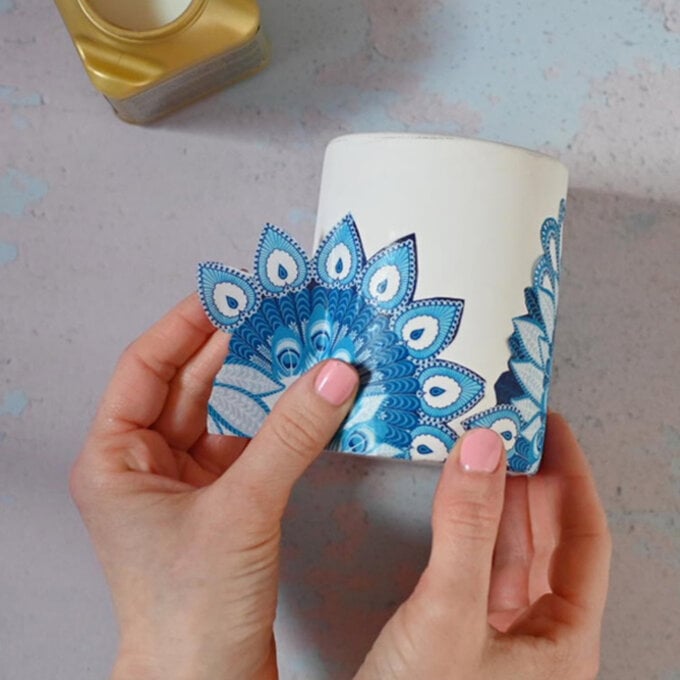
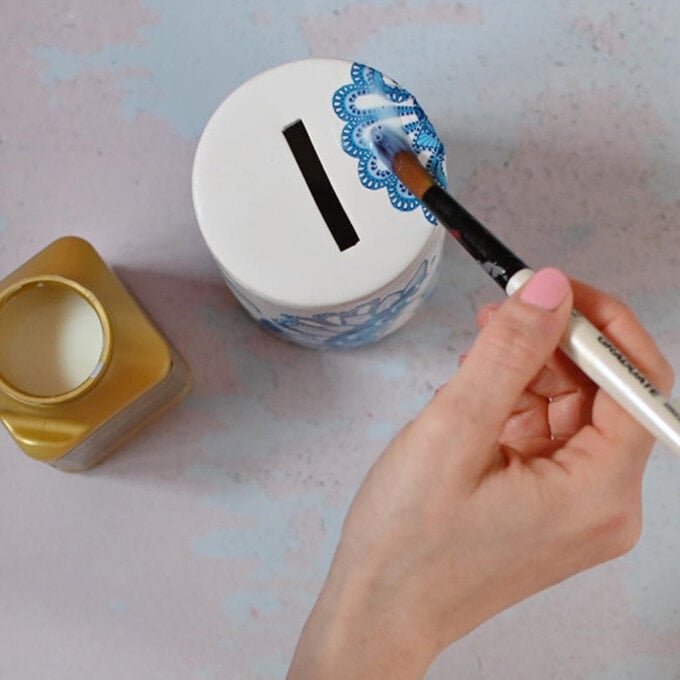
Ceramic money boxes make a beautiful keepsake to give to friends and loved ones for saving up those precious pennies!
Project and instrucions by Georgia Coote
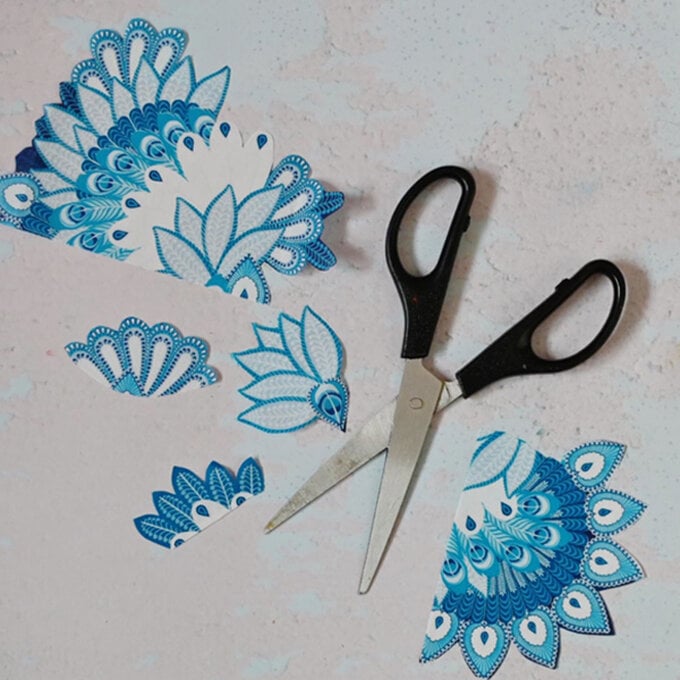
Step 1: Cut out the elements that you would like to use on the money box.
Tip: Remember you can use the edges of your object to help you place your pieces, draw around them if you need to.
Step 2: Paint the back of the cut out elements with the decoupage glue and then stick onto the money box, smoothing it out as you go.
Step 3: Paint over a layer of the varnish to finish.
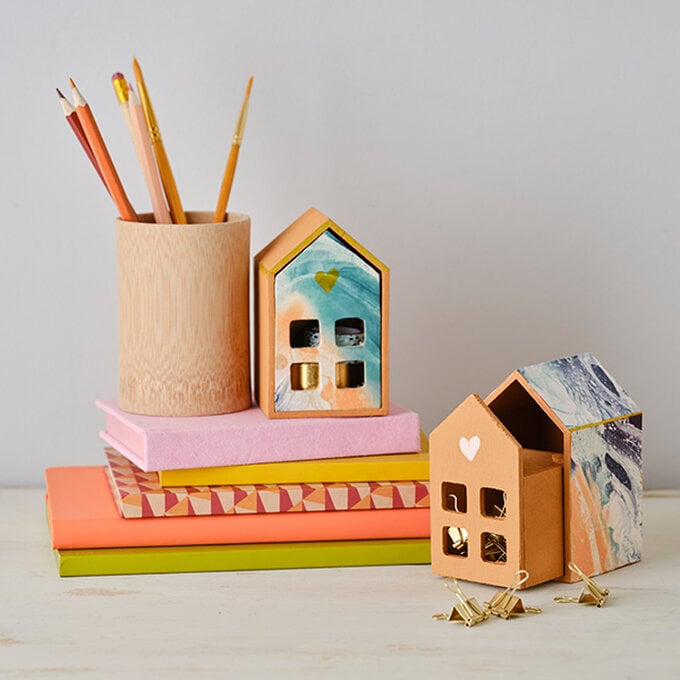
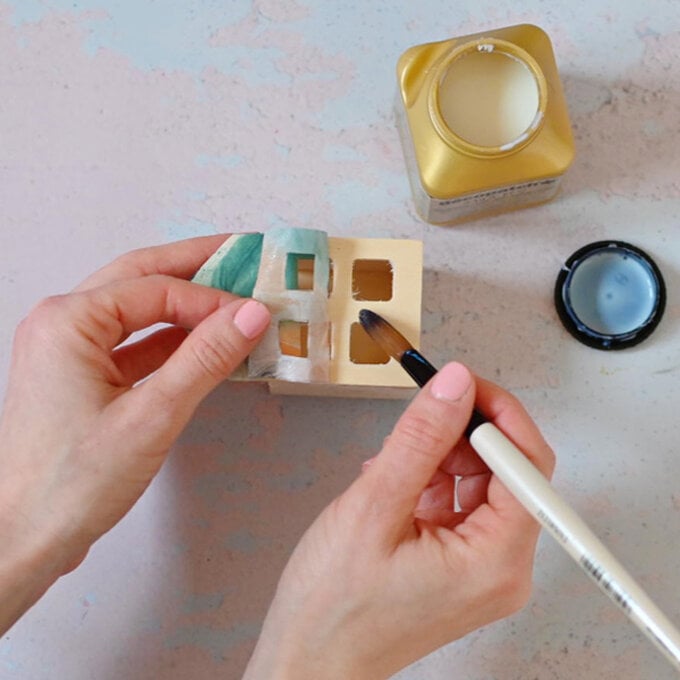
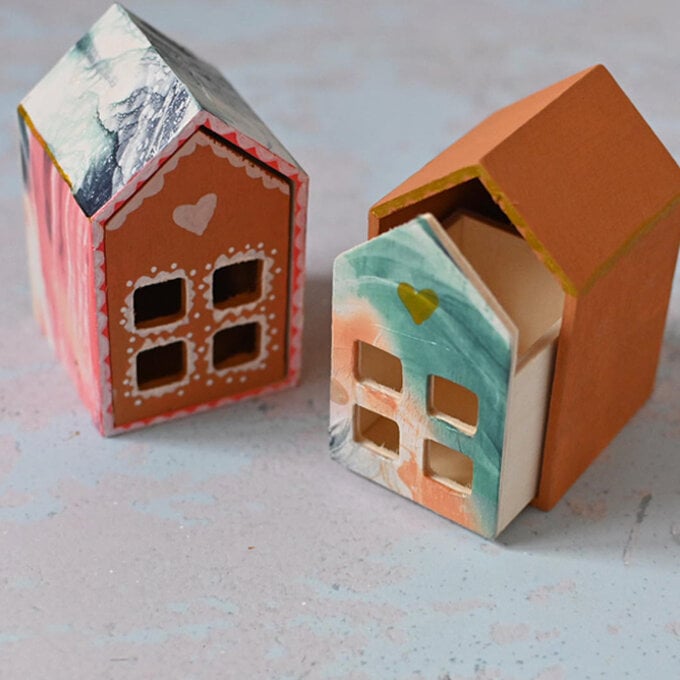
Gorgeous wooden houses with a lovely little drawer to place decorative items in which you can see through the windows.
Project and instructions by Georgia Coote
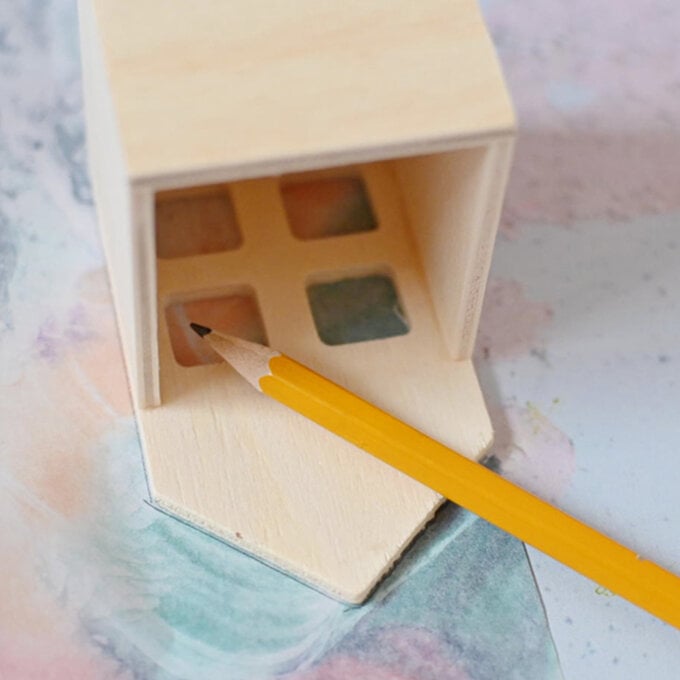
Step 1: Place the front of the house onto the part of the decoupage paper that you’d like to use and then draw around it.
Step 2: Carefully cut out the shape.
Step 3: Apply the decoupage glue to one side of the paper, then stick it on. Once in place, smooth over with your hand. Apply another layer of the glue to seal it. Leave to dry.
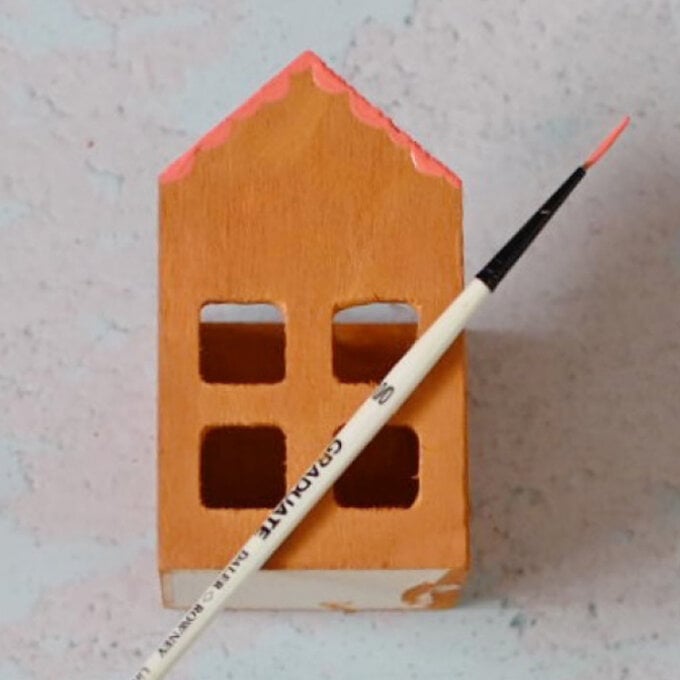
Step 4: Paint the roof and any other parts of the house as you wish and leave to dry, repeat with another coat of paint if necessary.
Variation: For a different look decoupage the roof and outer piece of the house and paint the inner part instead. Add any details you’d like with a fine paintbrush or acrylic pens.
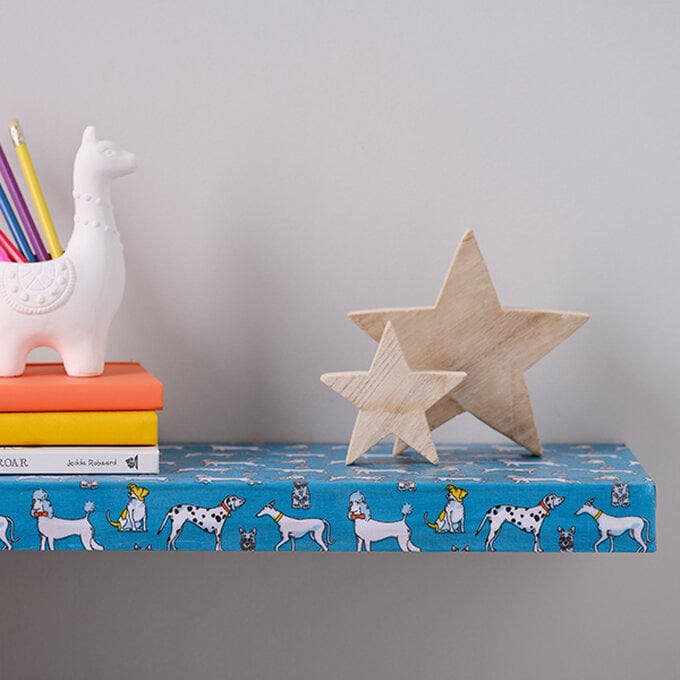
Did you know you can also deocoupage with fabric?! Thinner fabrics such as polycotton, linen and cotton work best especially when covering items with covered surfaces, use a fabric glue such as Fabirc ModPodge to make sure everything stays nice and secure.
Project and instructions by Georgia Coote
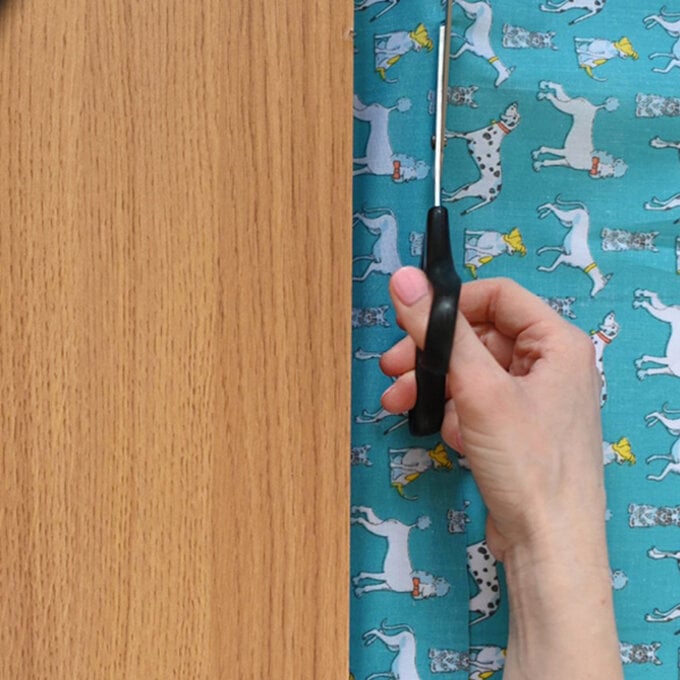
Step 1: Place the shelf on your fabric and wrap it around with an opening on the edge which has the fittings on it. Leave an additional 2cm gap all around the shelf and cut out.
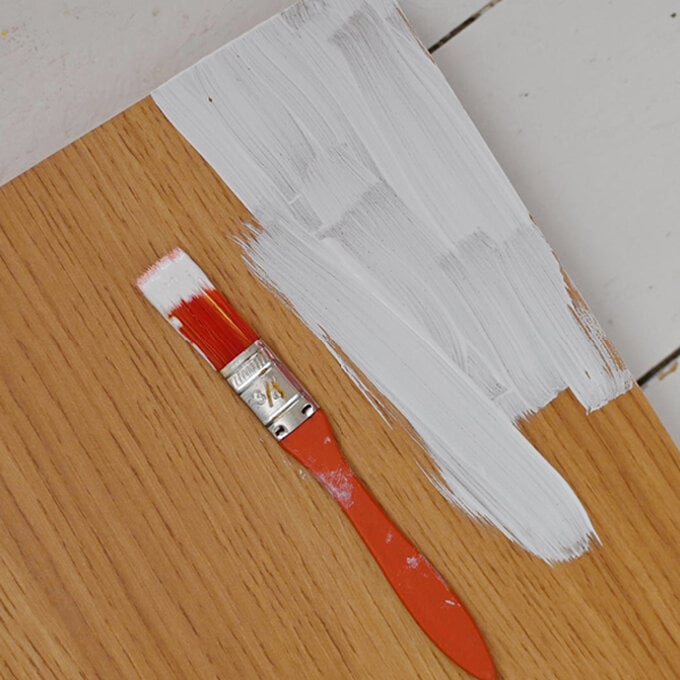
Step 2: Depending on your choice of fabric, you may need to give your shelf an undercoat first. Start by giving it a light sand if needed and then apply a layer of white primer over all sides and leave to dry. The white primer is so that the surface of the shelf won’t show through your fabric.
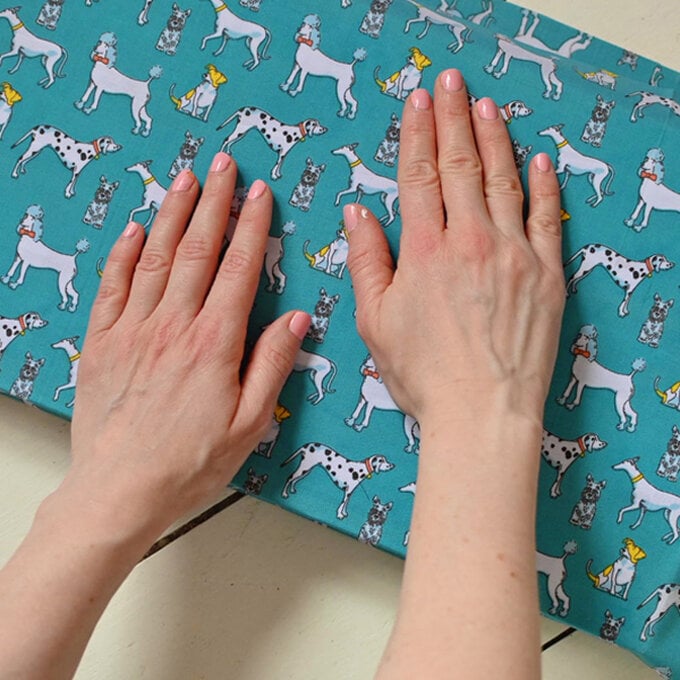
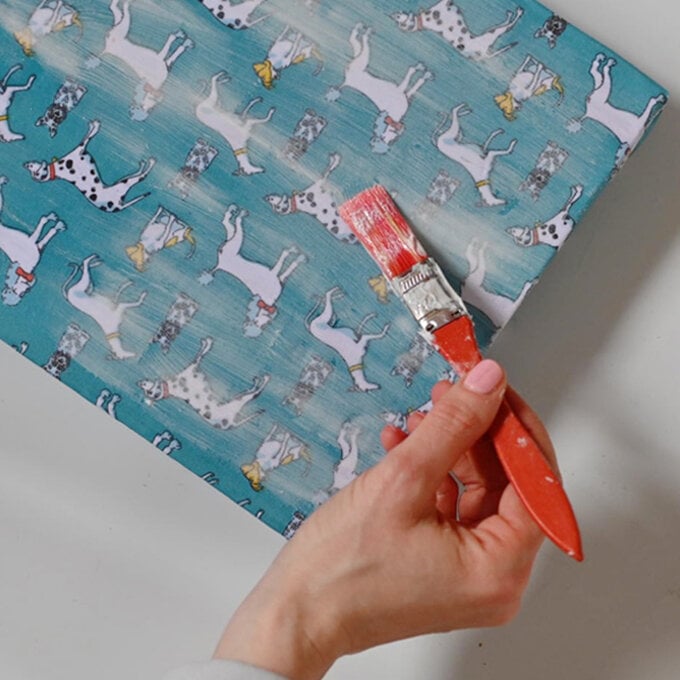
Step 3: Working on small sections at a time apply a layer of the fabric mod podge to the top of the shelf and place on the fabric. Smooth over any air bubbles with your hand or lightly roll over with a small roller. Continue until the fabric has completely covered one side. Turn over and repeat with the other side.
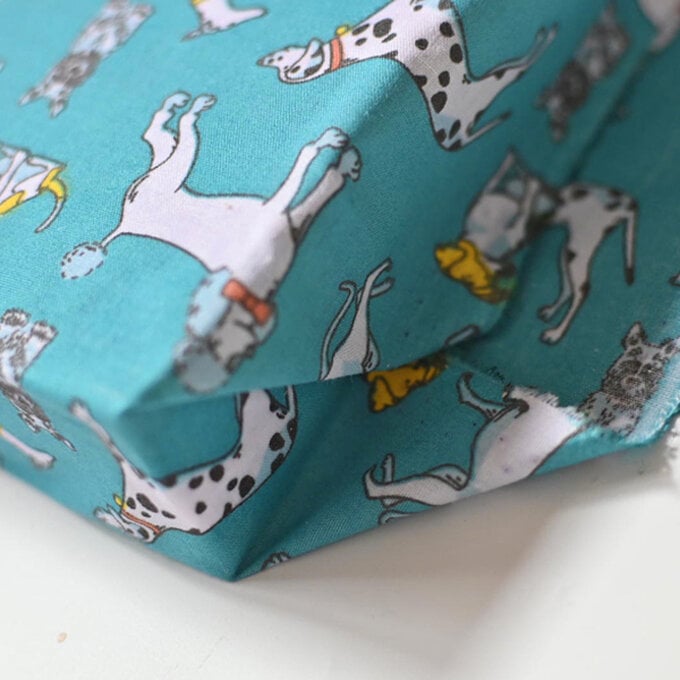
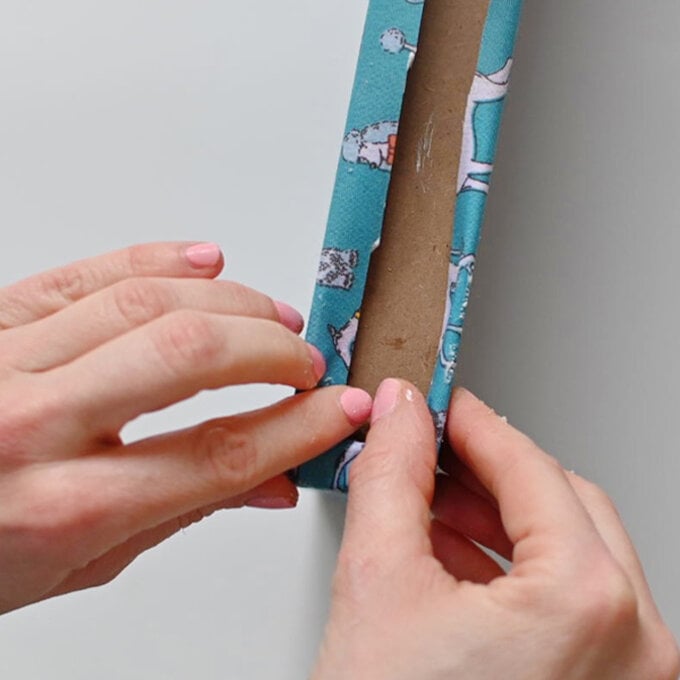
Step 4: With the side edges, work like you are wrapping a present. First ensure you have enough mod podge on the edge, then press in the centre. Add some more mod podge to the folds on either side of the centre and then fold them in tightly.
Step 5: To finish the back edge, you may need to first trim off any excess fabric - you need to have just enough to fold in the edges of the fabric neatly. To fold in this edge, again apply some mod podge to the fabric in the centre of the end, and then tightly fold it into the lip of the shelf. Fold in the sides neatly and keep adding more adhesive and folding until you have completed the shelf’s back edge.
Step 6: Apply a layer of mod podge all over to seal it and leave to dry.
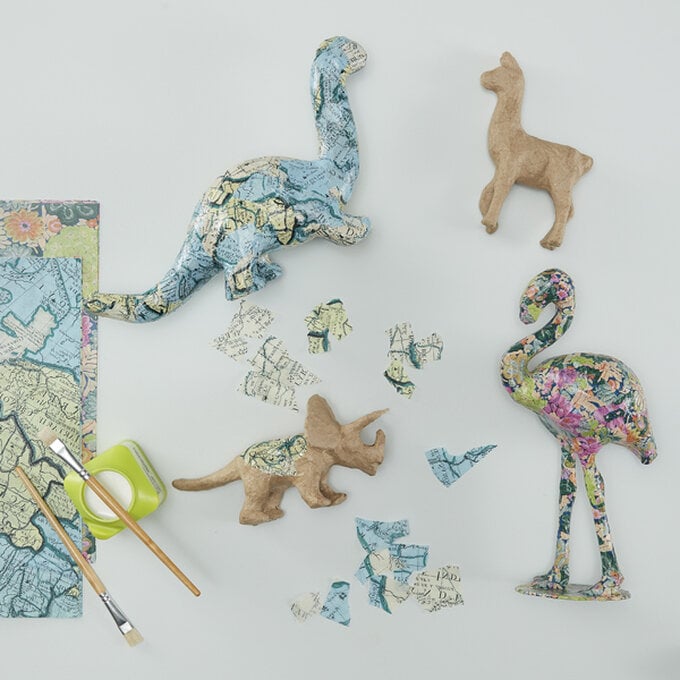
Choose a mache blank and get creative, decoupaging in your paper of choice. The possibilities really are endless and that just adds to the fun!
Step 1: Choose your decorative papers and either tear or cut them up into pieces. The smaller and more intricate the base, the smaller the pieces of paper will need to be.
Step 2: Spread the glue onto the area to cover in small sections and place a piece of decoupage paper over the top.
Step 3: Cover the paper in a generous amount of glue, and repeat until the entire shape is covered.
Step 4: Leave to dry – this can take up to three hours.
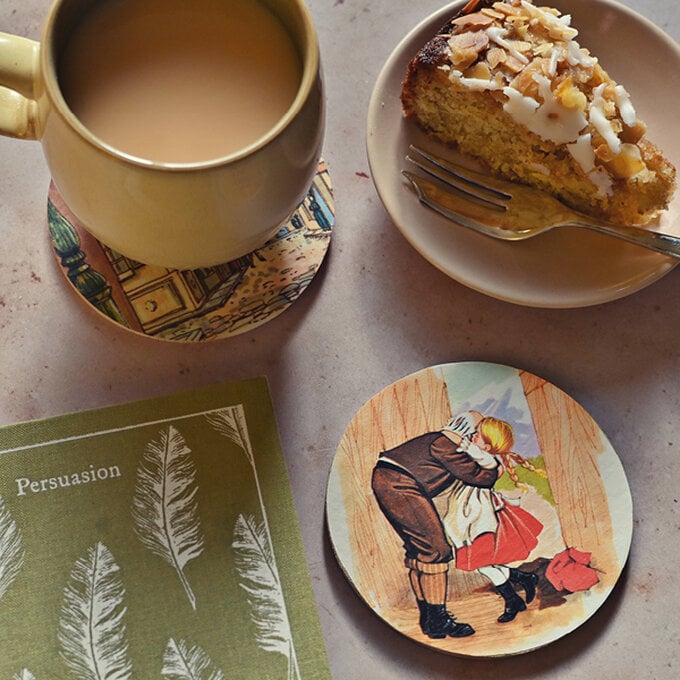
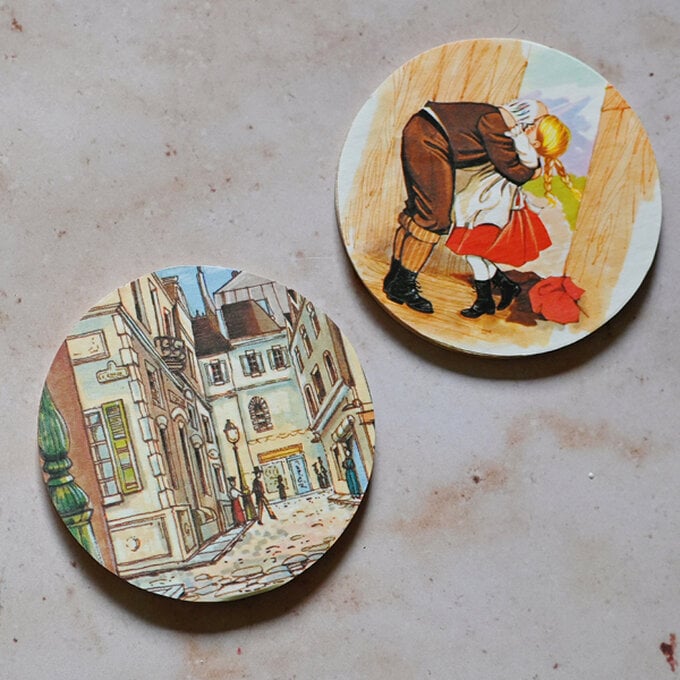
This is a great way to remember your favourite books. These coasters also make a great gift!
Project and instructions by Georgia Coote
Step 1: Find a part of the book that you like and then place the coaster on it and draw around it.
Step 2: Carefully cut it out ensuring you cut within the pencil line.
Step 3: Cover the coaster and the back of the illustration in a thin layer of modge podge.
Step 4: Smooth out any bubbles on the surface with your thumbs.
Step 5: Seal the coaster by coating it with a thin layer of modge podge. Allow to dry and repeat 3 or more times to get a good hard surface to cope with hot mugs and dribbly bases!
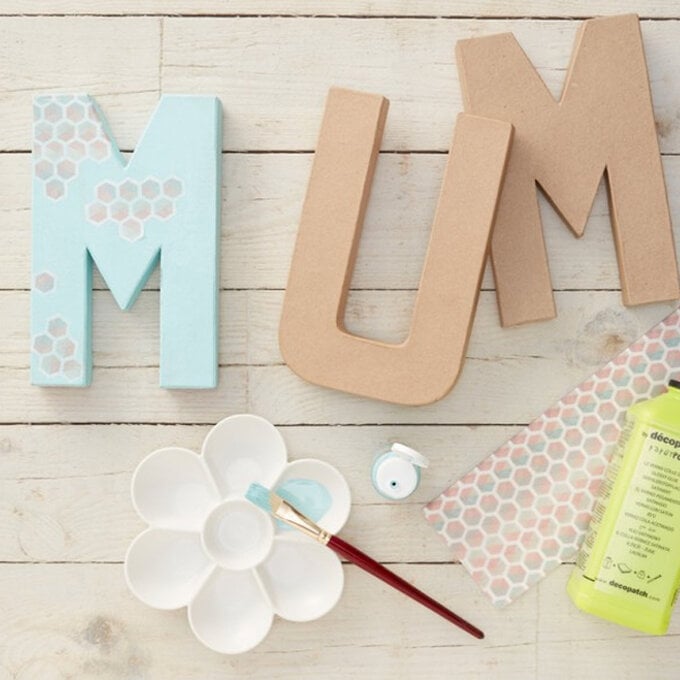
These mache letters can be personalised with any colours and decoupage paper! They make a great gift which can be given for any occasion.
Step 1: Choose decoupage papers and paint that suit the style that you're looking for.
Step 2: If you are painting any parts of the letter, paint at this point and leave to dry. You may need two layers of paint to sufficiently cover up the mache.
Step 3: Tear or cut your decoupage papers into pieces. The smaller and more intricate the base, the smaller the pieces of paper will need to be.
Step 4: Spread the glue onto the area to cover in small sections and place a piece of decoupage paper over the top.
Step 5: Cover the paper in a generous amount of glue, and repeat until the entire shape is covered.
Step 6: Leave to dry – this can take up to three hours.
Step 7: If you are adding any details, like gold foiling, this can be done at the end.
