How to Make FIMO Hair Clips
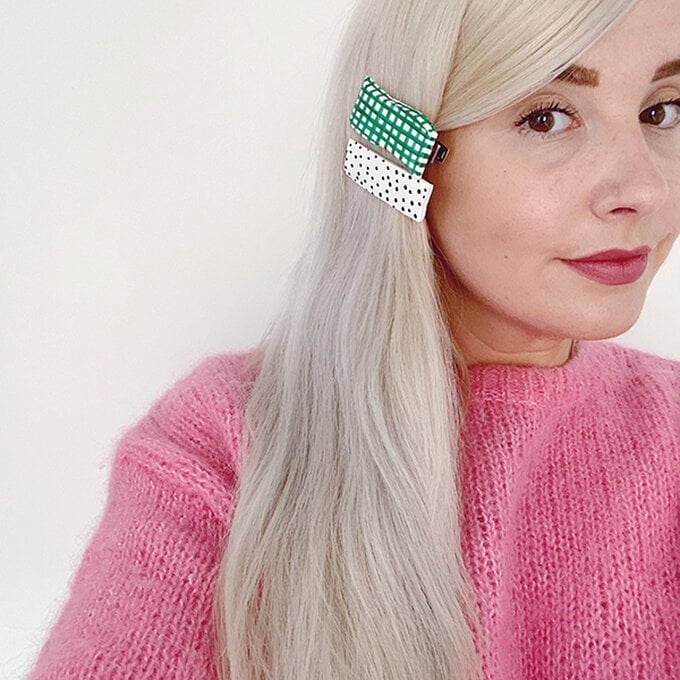
Upcycle old hair clips into these statement, on-trend hair clips in just a few simple steps. FIMO is a versatile material, allowing you to mold into any shape you can imagine! Once baked, FIMO is very durable.
Encourage creativity with this mindful activity. This craft is great for kids, it only requires parental assistance when you reach the oven and superglue stages!
Project and instructions by Becki Clark
You will need
Subtotal
Is $ 5.49
Subtotal
Is $ 4.49
Subtotal
Is $ 6.49
You Will Need
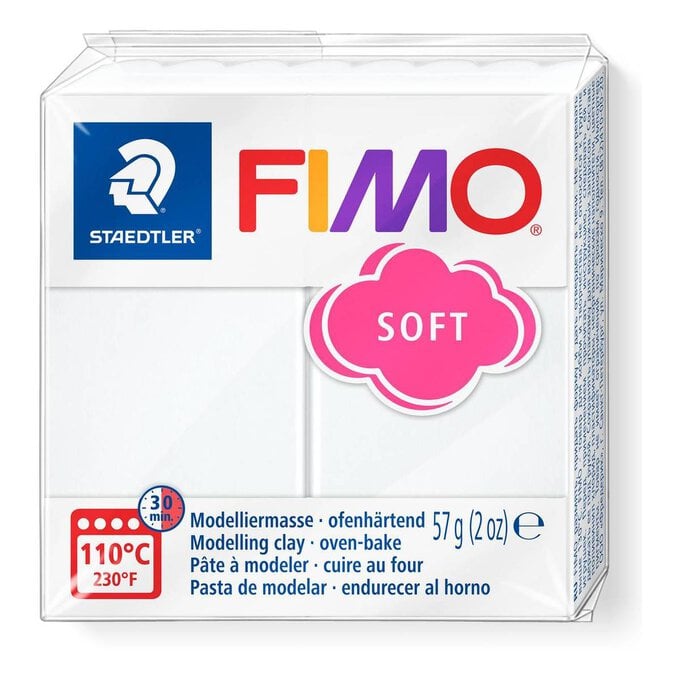
* Modelling Clay
* Super Glue
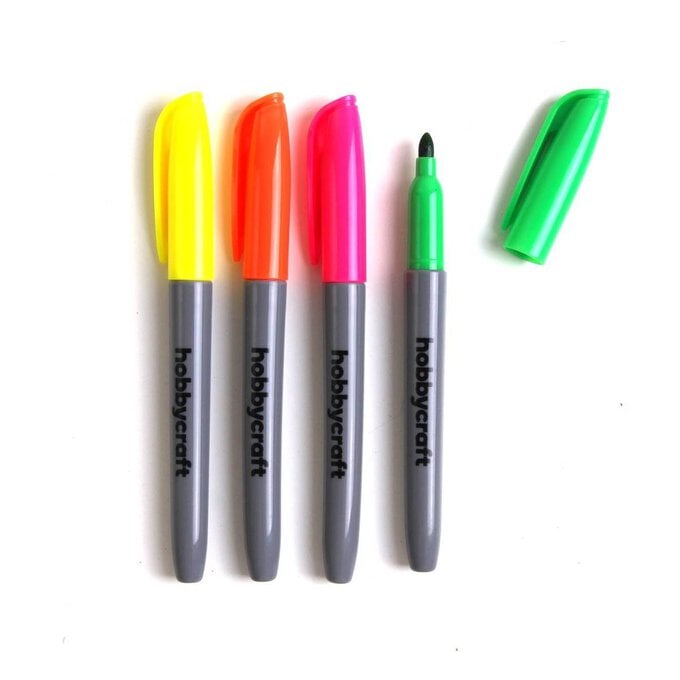
* Permanent Markers
* Knife
* Rolling Pin
* Hair Clips
How to Make
Cut off a rectangle from your block of Fimo, I have cut mine about 1cm thick and then roll it out to the thickness you'd like your clips to be. You don't want the clip to be too chunky or heavy so stick to under 1cm thickness.
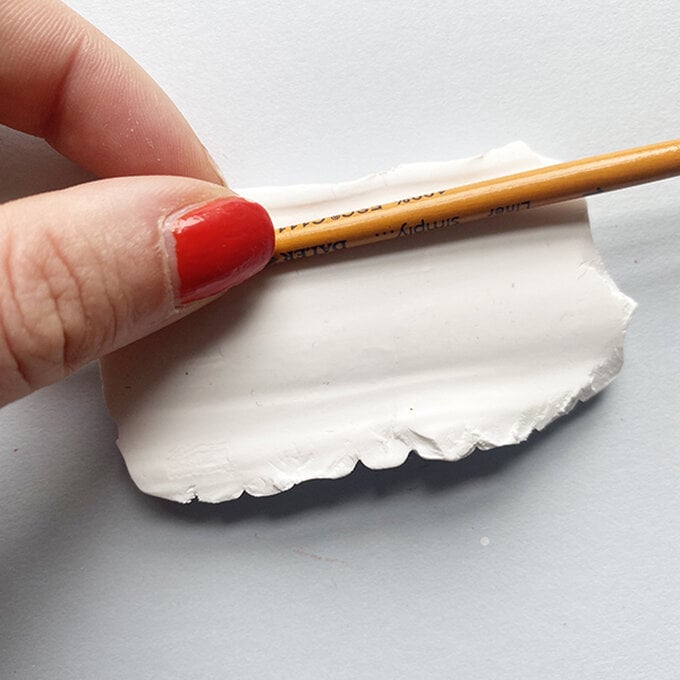
Make sure the length of your fimo you have rolled out is longer than your old hair clip.
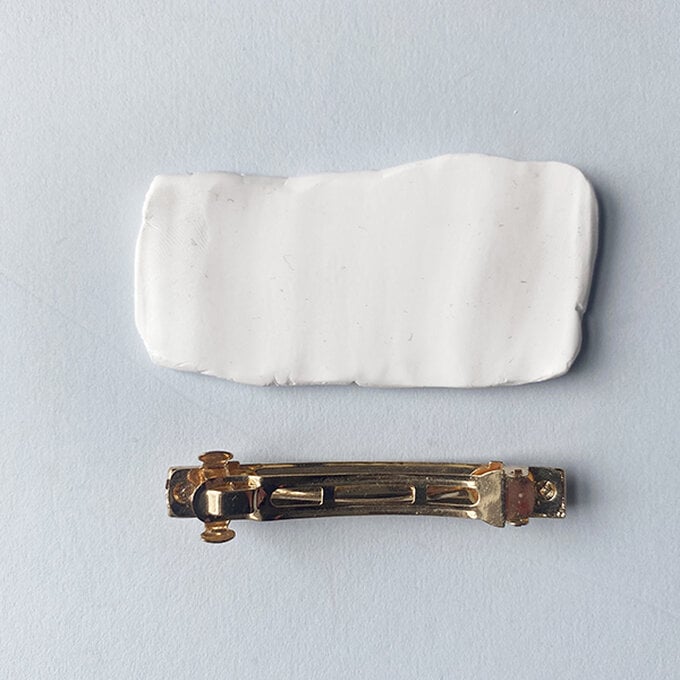
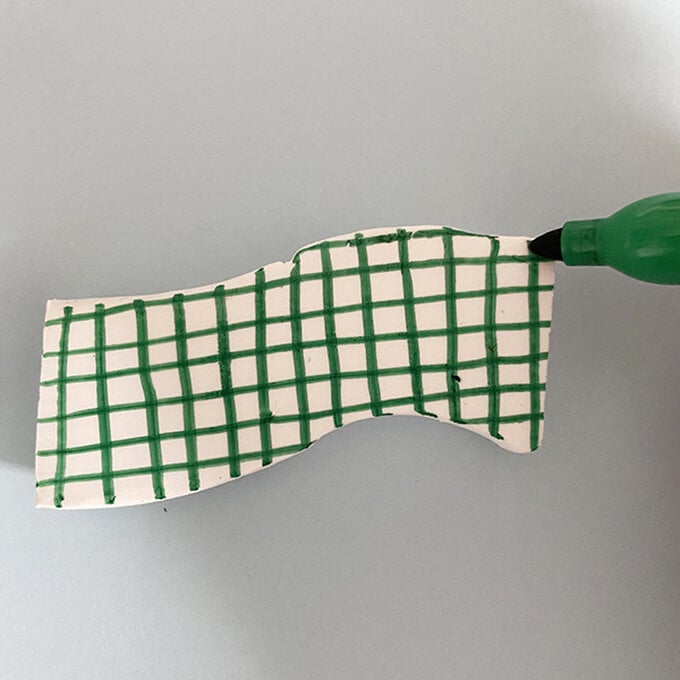
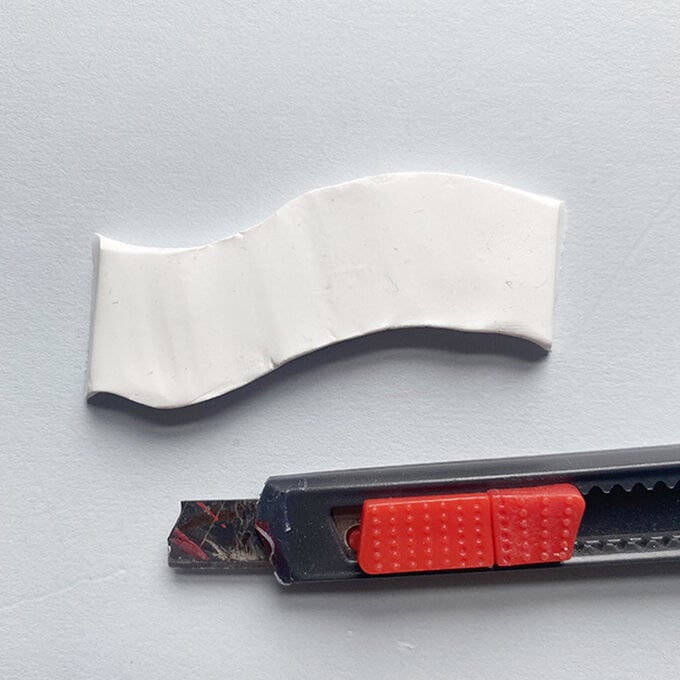
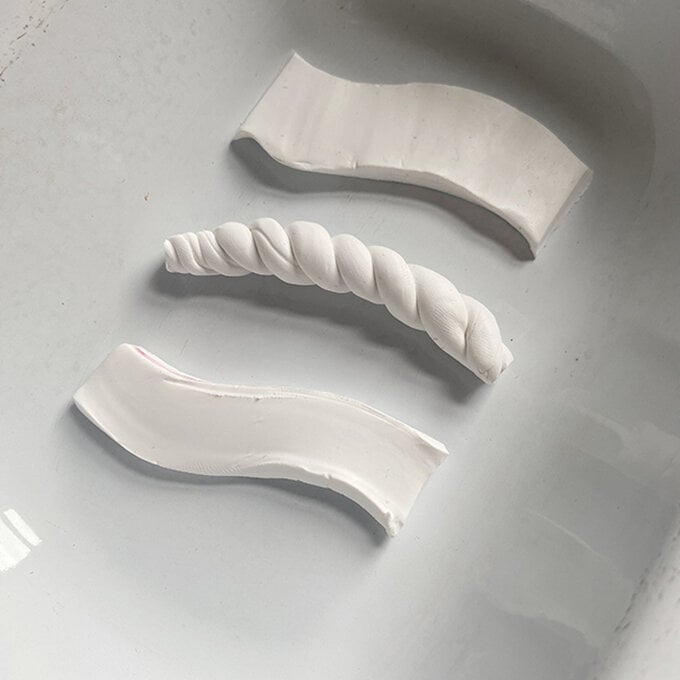
You can then begin cutting different shapes depending how confident you are cutting you could try just simple rectangles or try something more like the shape above with some curve to it.
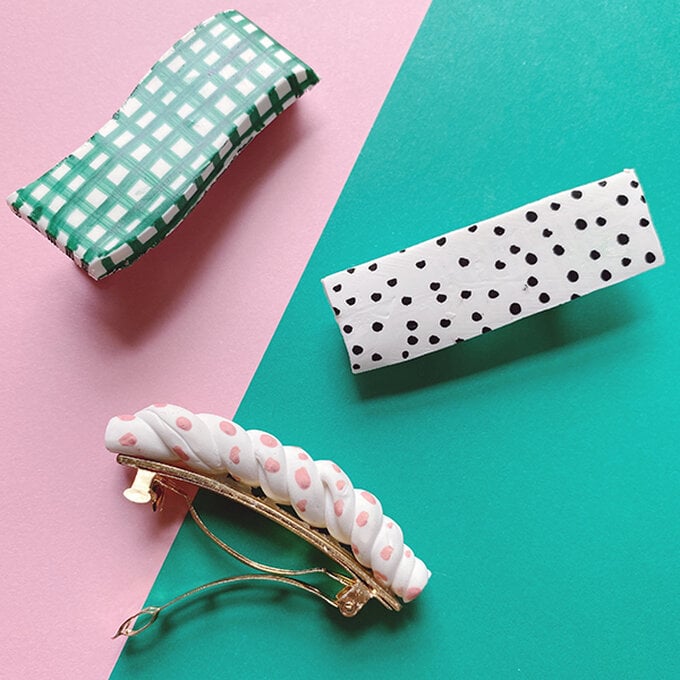
You could also roll the clay into a long sausage shape and twist to create a more texture if you wanted to try something less 2D.
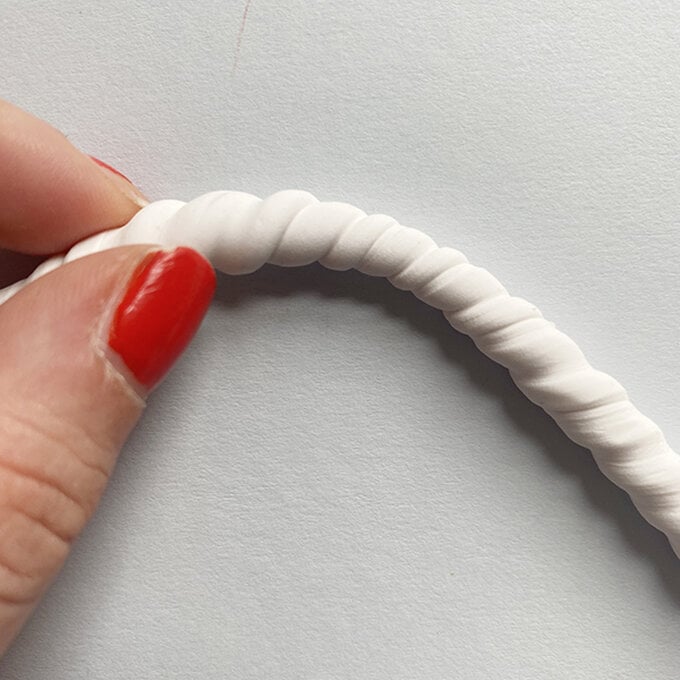
Pop in a oven proof dish and in to the pre heated (110 degrees) oven for 30 minutes. I have curved the twisted clay slightly so that it hardens in this shape and will be easier to glue.
Let your fimo cool and then add super glue to your hair clips.
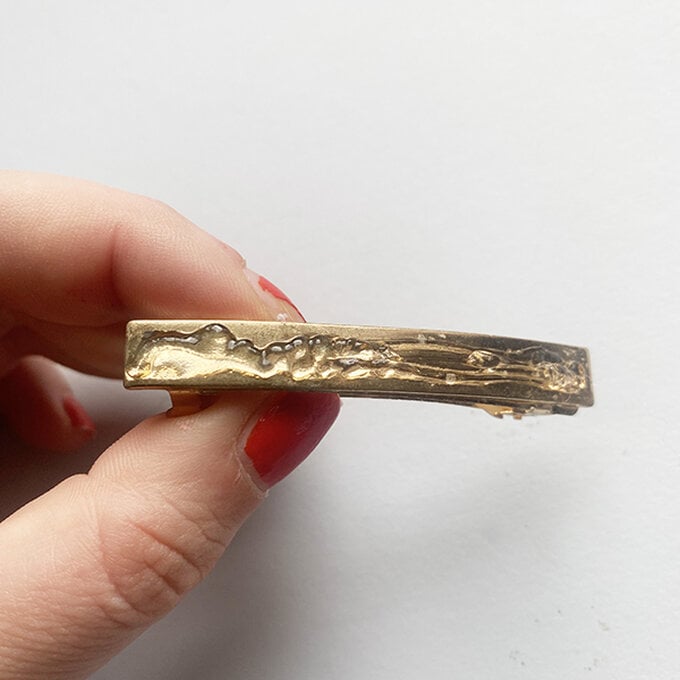
Once your clay is attached and secure (let the glue set for a couple of minutes) you can begin decorating. Using your posca pens create patterns across the clay.
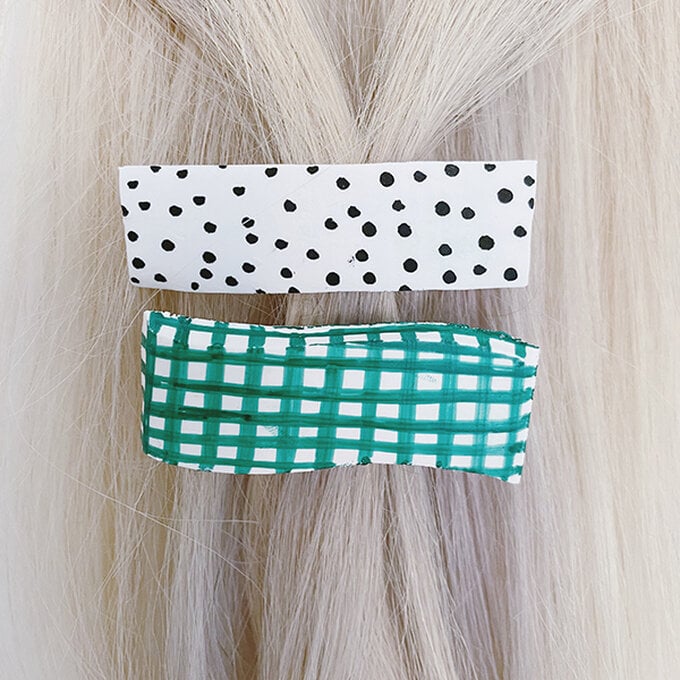
Some super easy ideas are a gingham print (made up of just vertical and horizontal crossing lines), stripes and spots! Continue the pattern on the sides, around the clips, to give it a tidy finish.
