3 Halloween Face Paint Ideas
Get your kids ready for the Halloween festivities with three spooky face paint ideas.
This project guide will show you how to create three simple face paints - pumpkin, spider and cat - in no time at all.
Each face paint design can be created in just a few simple steps, and will be great fun for your little ones!
Project and instructions by Cat Finlayson
You will need
Subtotal
Is $ 26.00
Subtotal
Is $ 7.49
Out of stock
Subtotal
Is $ 7.49
Subtotal
Is $ 7.49
3 Halloween Face Paint Ideas
All Projects:
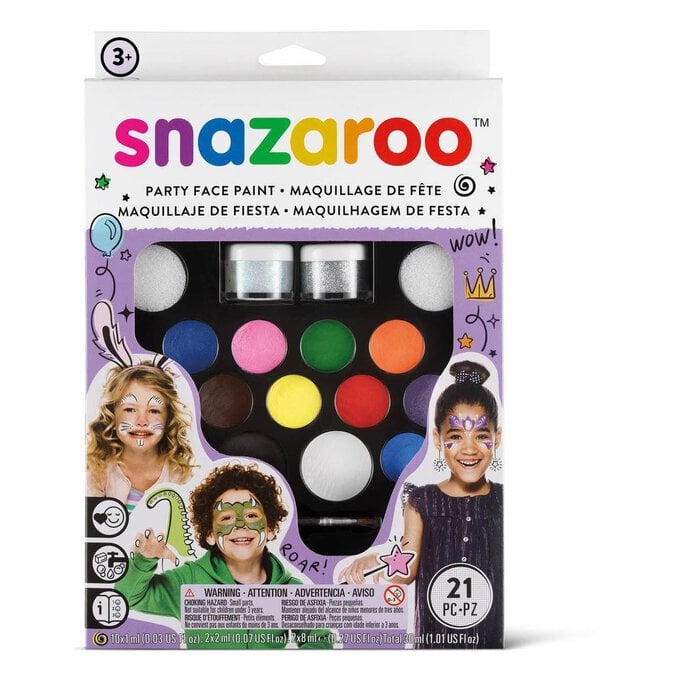
* Snazaroo Ultimate Party Pack
* Acrylic Long Handle Brush Set 3 Pack
* Water In a Cup
Cat:
* Snazaroo White Face Paint Compact 18ml
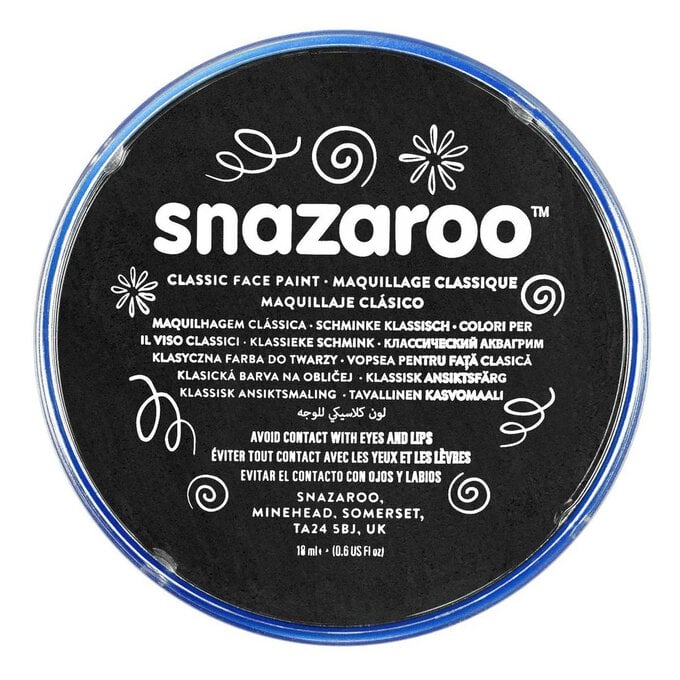
* Snazaroo Black Face Paint Compact 18ml
Pumpkin:
* Snazaroo White Face Paint Compact 18ml
* Snazaroo Black Face Paint Compact 18ml
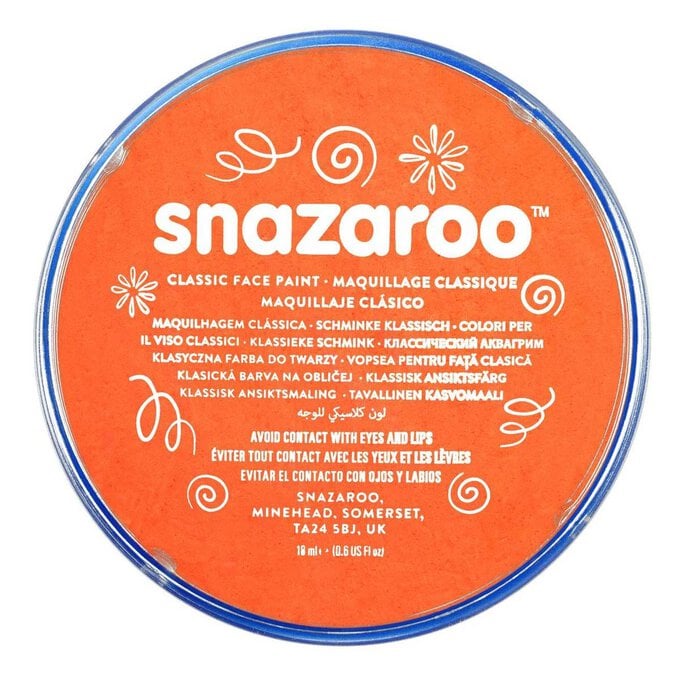
* Snazaroo Orange Face Paint Compact 18ml
* Snazaroo Grass Green Face Paint Compact 18ml
Spider and Web:
* Snazaroo White Face Paint Compact 18ml
* Snazaroo Black Face Paint Compact 18ml
* Snazaroo Bright Yellow Face Paint Compact 18ml
* Snazaroo Grass Green Face Paint Compact 18ml

Take the lids off the colours you would like to use, plus black and white. Some paints also have a clear film seal over the top you need to remove.
Check the face is clean and has no rashes or sore bits, and that the child does not have sensitive skin.
Always work on top of dry paint. You might have to wait between steps for this to happen!

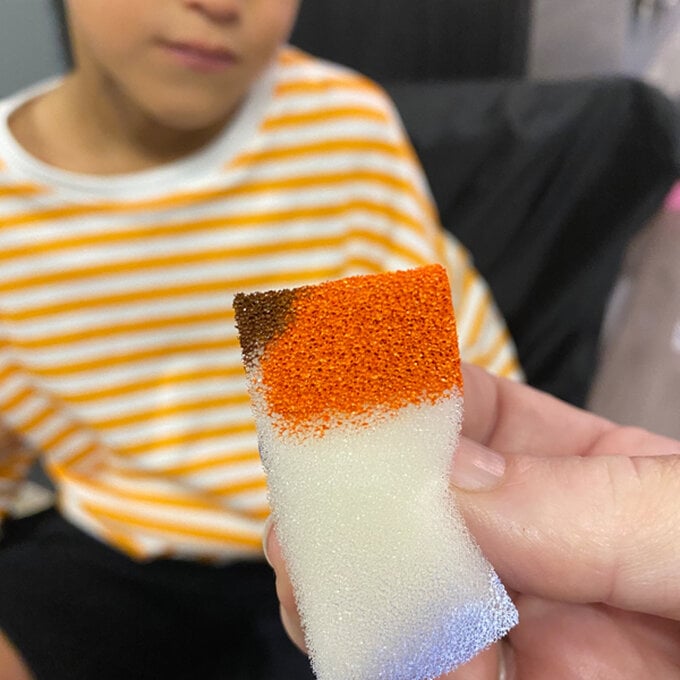
Drip water onto your colour, or spray your sponge with water to dampen it.
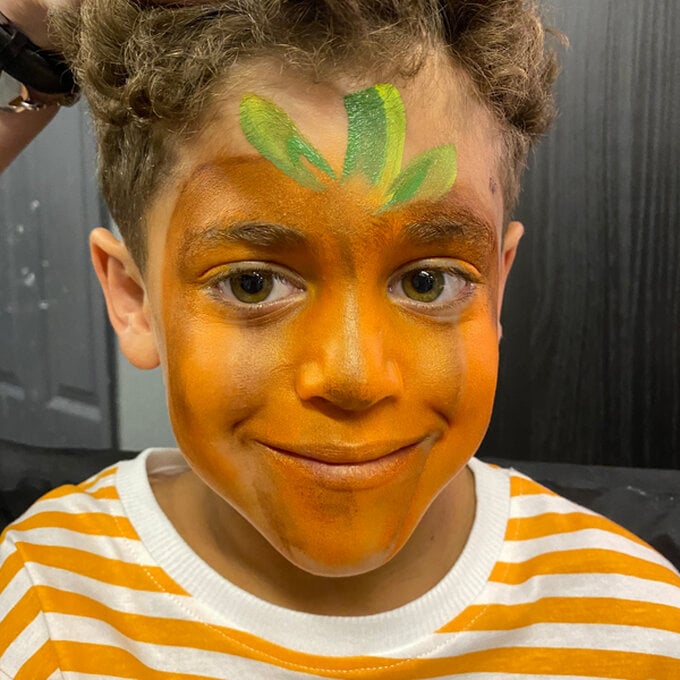
Rub your orange paint with the sponge until it is creamy and not dripping wet. If you like, dab a bit of dark brown or black just on one corner of the orange sponge for instant shading.
Gently wipe the sponge from the top of the nose, curved above the eyebrow, and around the outside of the face to the chin. Put the dark painted corner on the outside edge to create shading.
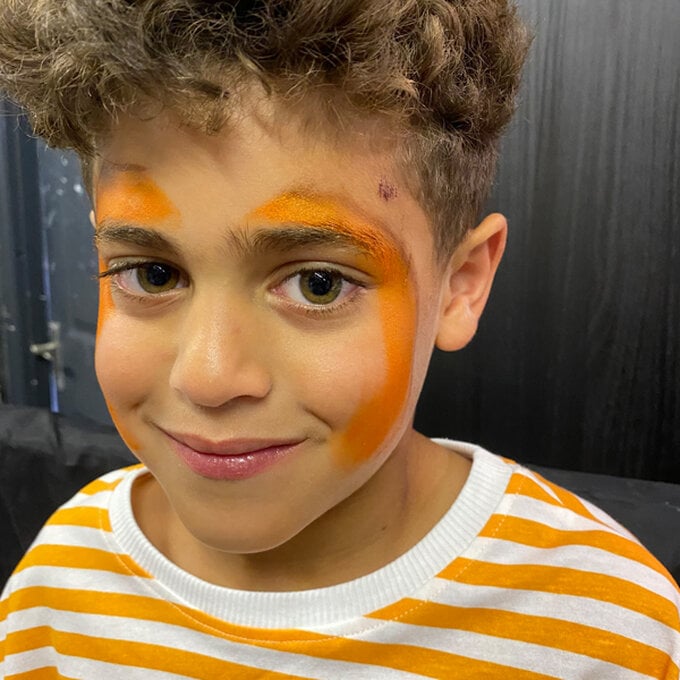
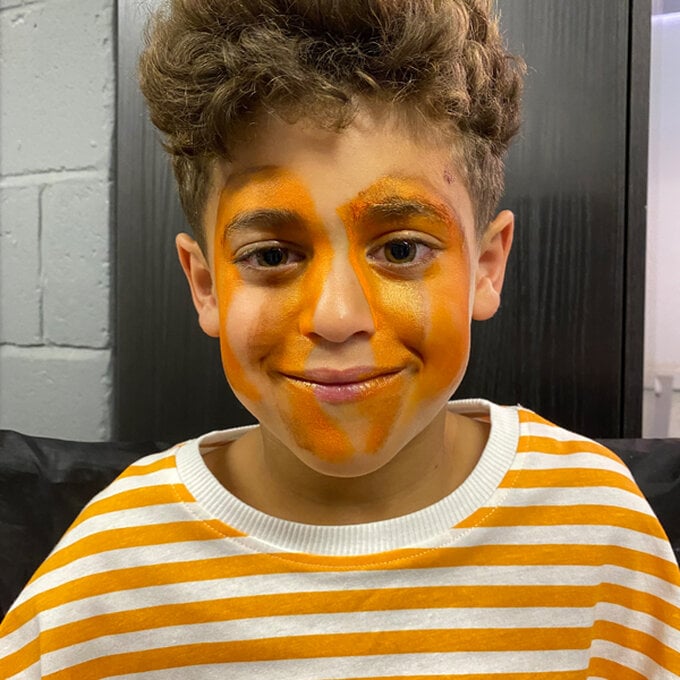
Add more curved stripes with the sponge working from the outside edge in.
The stripes down the middle of the face will be straighter. These will look like the vertical bulges and ridges of a pumpkin.
Using more black paint, flick your brush to add the short cross-spokes between the long web struts.
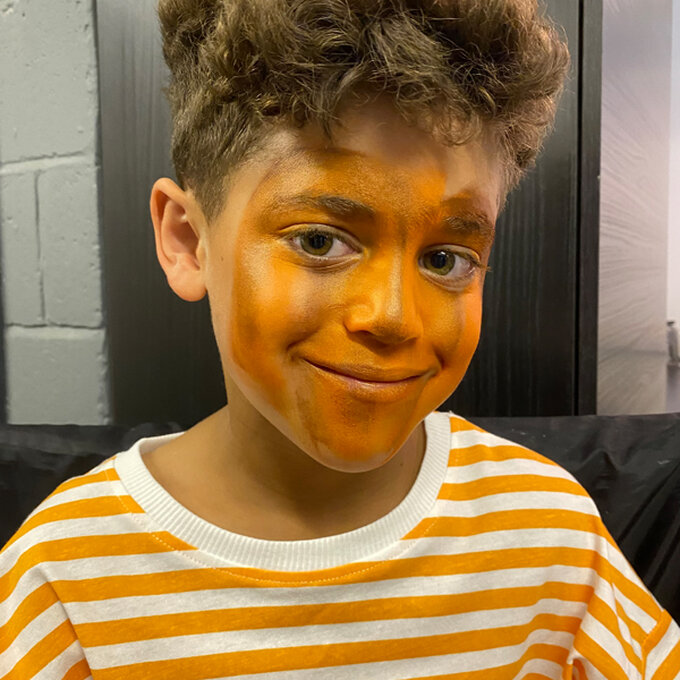
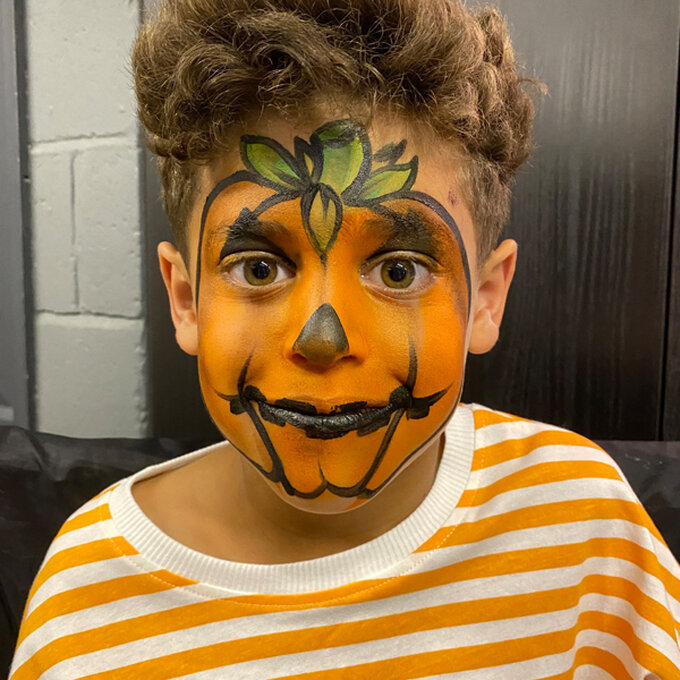
Using a clean sponge or a big brush, add a green and yellow stalk at the top of the pumpkin between the eyebrows. Then, add leaves coming out from the stalk.
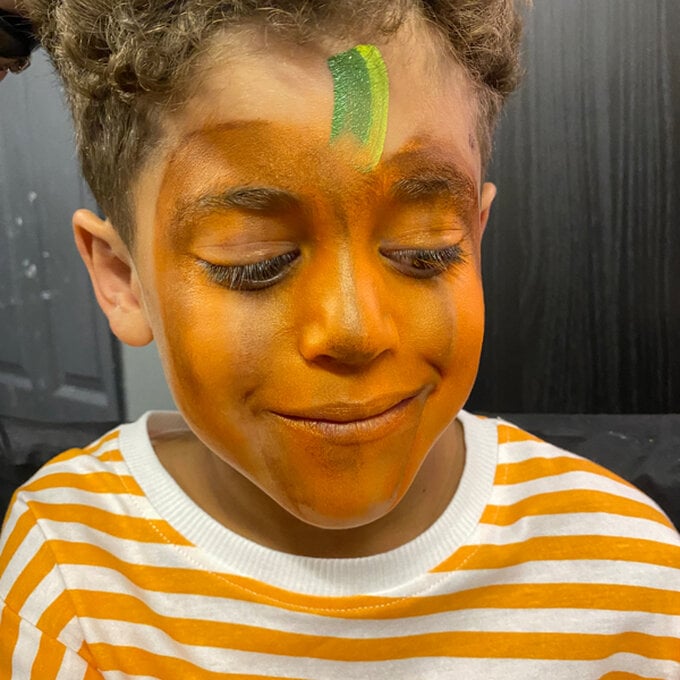
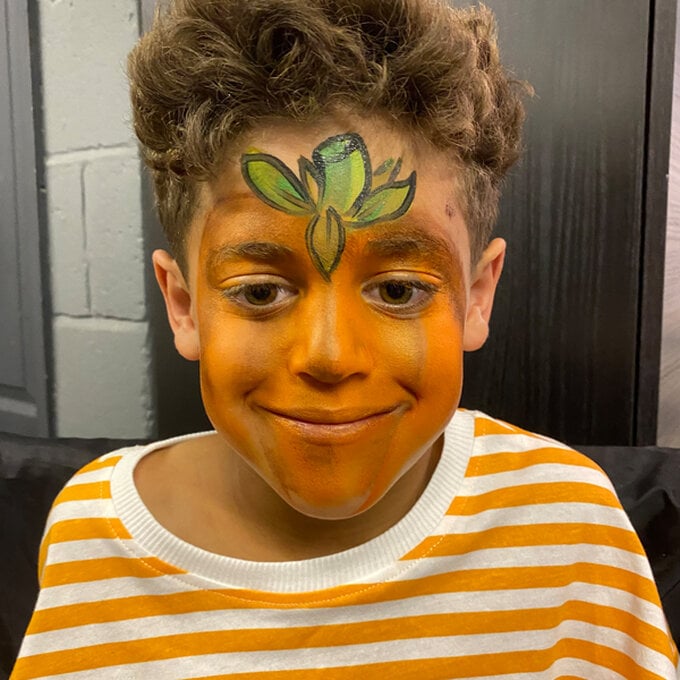
Using black paint, add triangles above the eyes.
Outline the outside of the pumpkin and some of the striped vertical bulges.
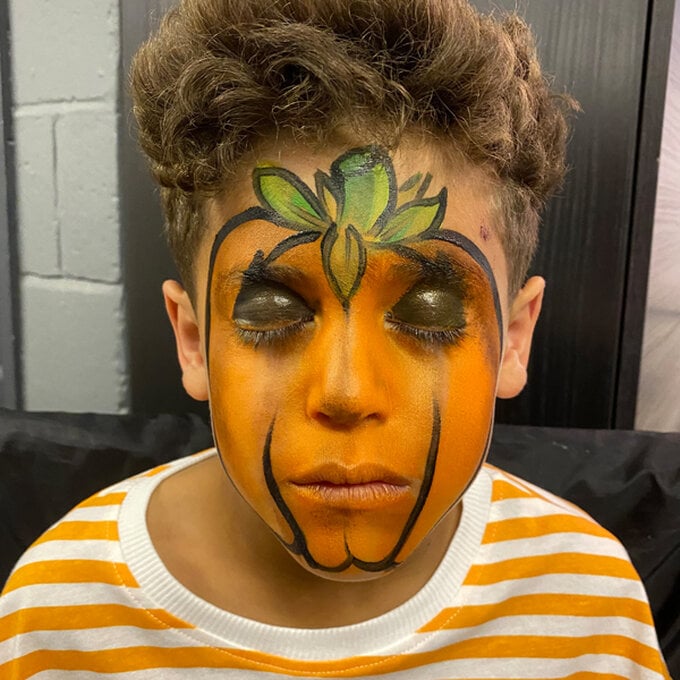
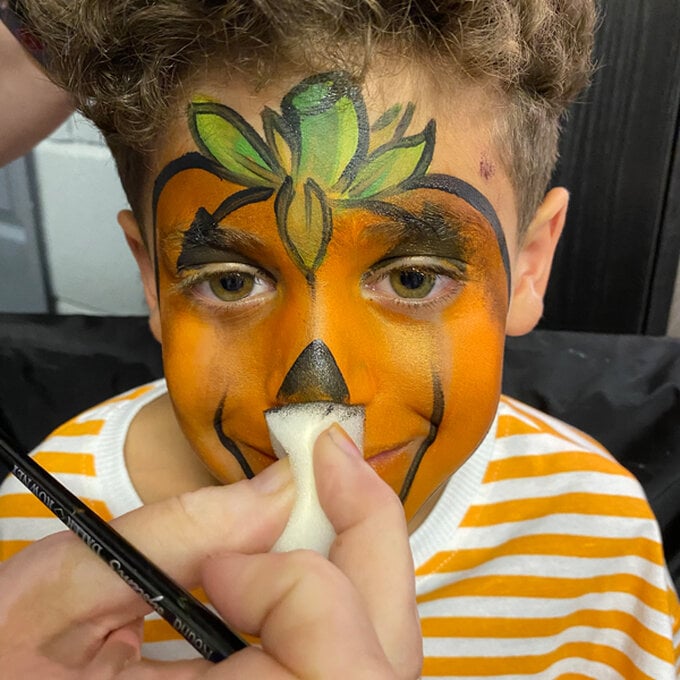
Add a black pumpkin nose.
Add a black pumpkin smile.
When you want to remove the face paint, wash it off the face with your normal soap and water.
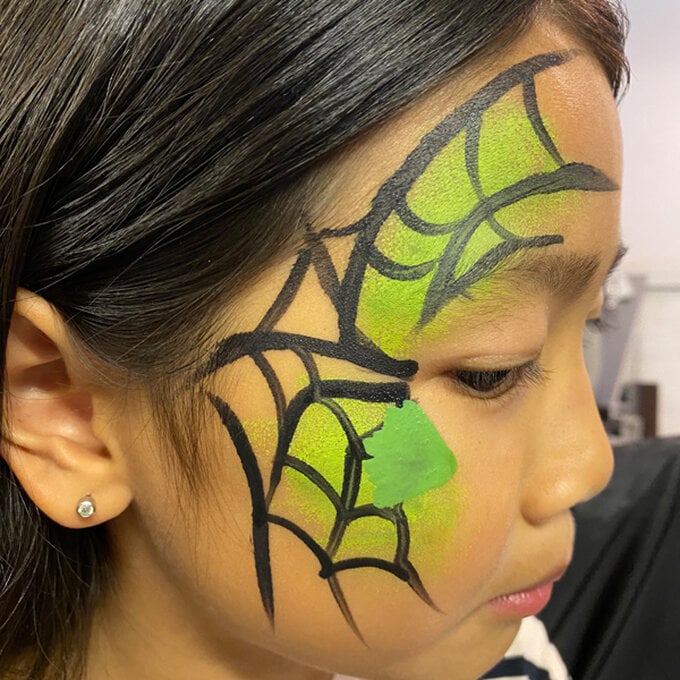
Drip water onto your colour, or spray your sponge with water to dampen it. Rub your paint with the sponge until it is creamy and not dripping wet. We used a mix of green and yellow.
Gently tap the sponge under the eye along the cheekbone like a highlight, and then from the outer corner of the eye up above the eyebrow.
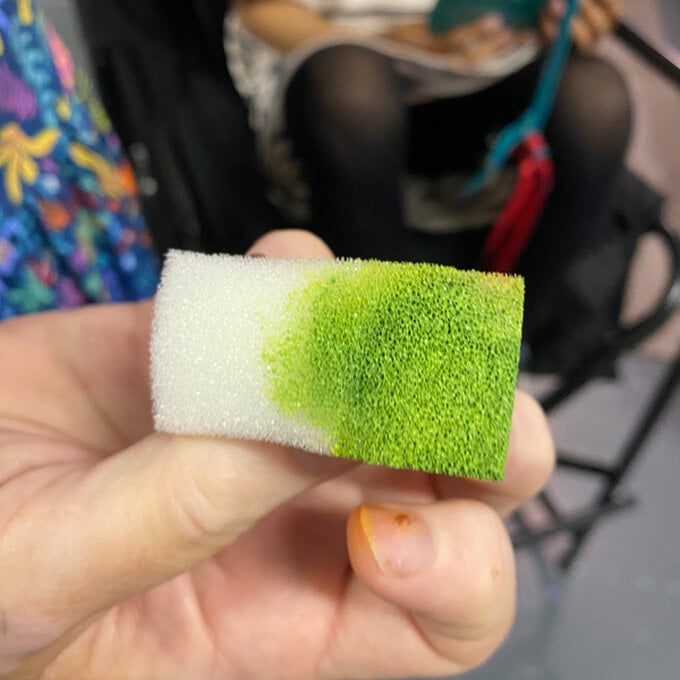
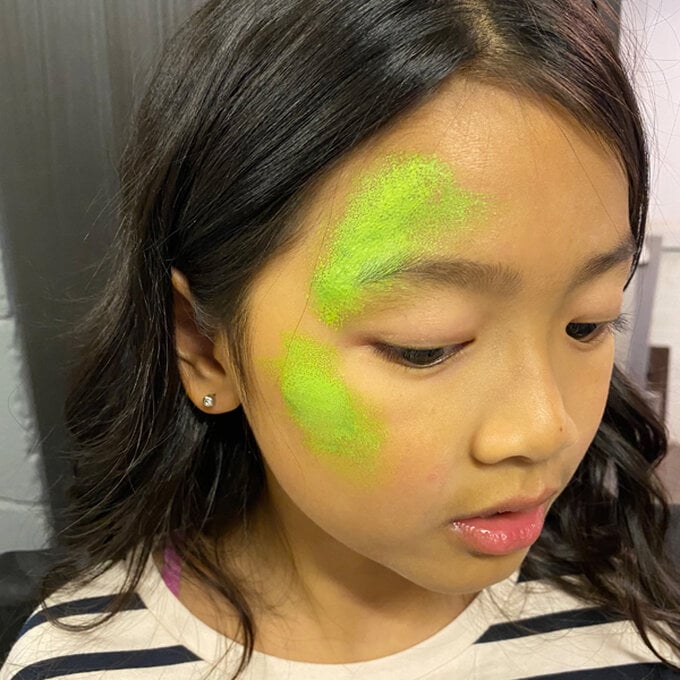
Work up the black paint with a medium brush - round size 4 or 6, until it is creamy.
Paint in the long spokes of a spiderweb, radiating out from the outer corner of the eye. Try almost copying the curves of the eyebrow and cheek bone.
Next, using more black paint, flick your brush to add the short cross-spokes between the long web struts.
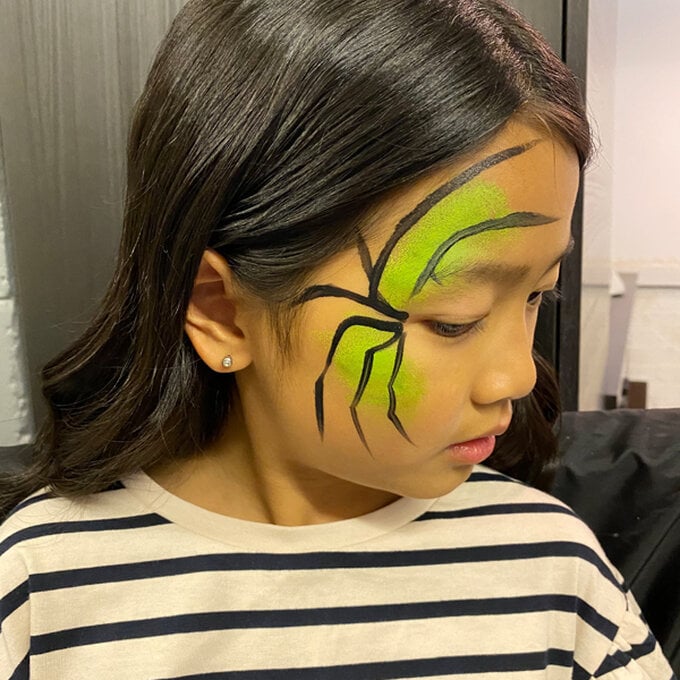
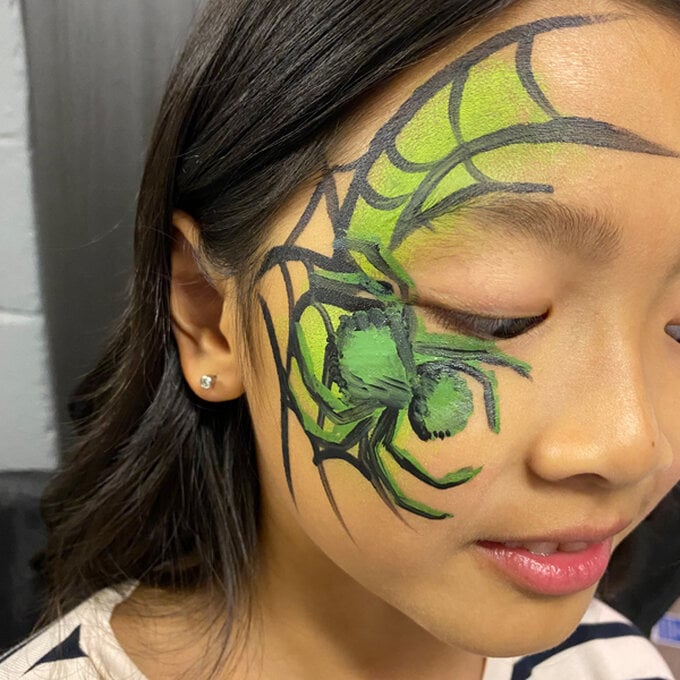
Choose a colour for your spider that is slightly different (or even a contrast). We chose dark green.
Paint two rough circles in a horizontal figure of 8 position. This will be your spider.
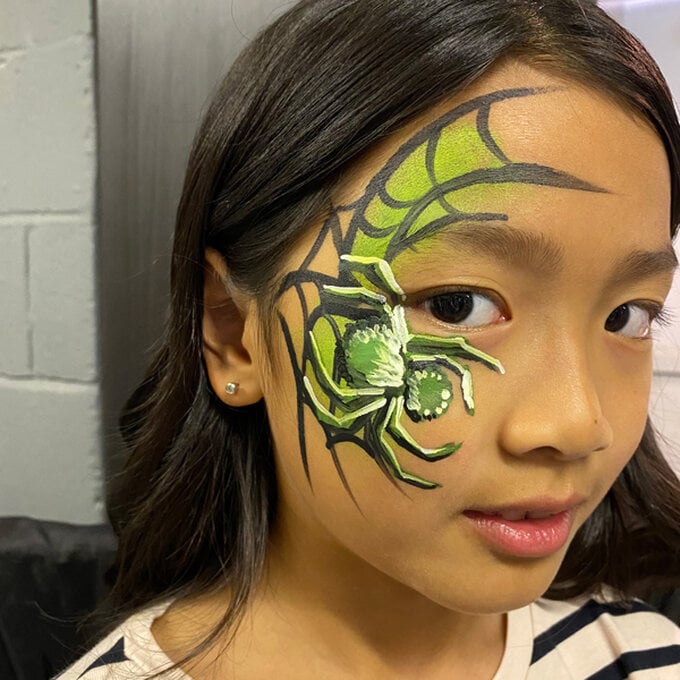
Add 8 matching legs, they should start from where the ‘waist’ of the spider is, where the 2 circles touch. We recommend painting 2 facing forward and 2 facing backwards on each side of the spider.
Add black outlines or shadows.
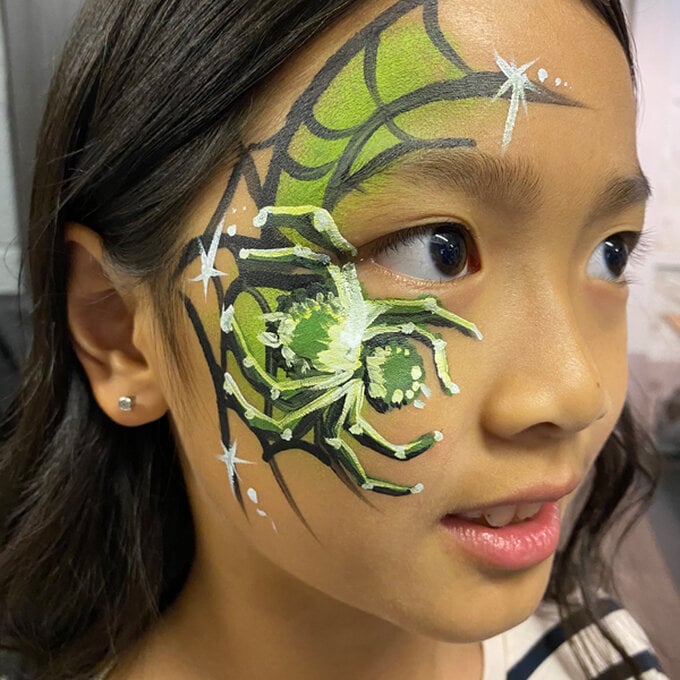
Add some stars or dots to add ‘magic’ to your design.
When finished with the face paint, wash off the face with normal soap and water.
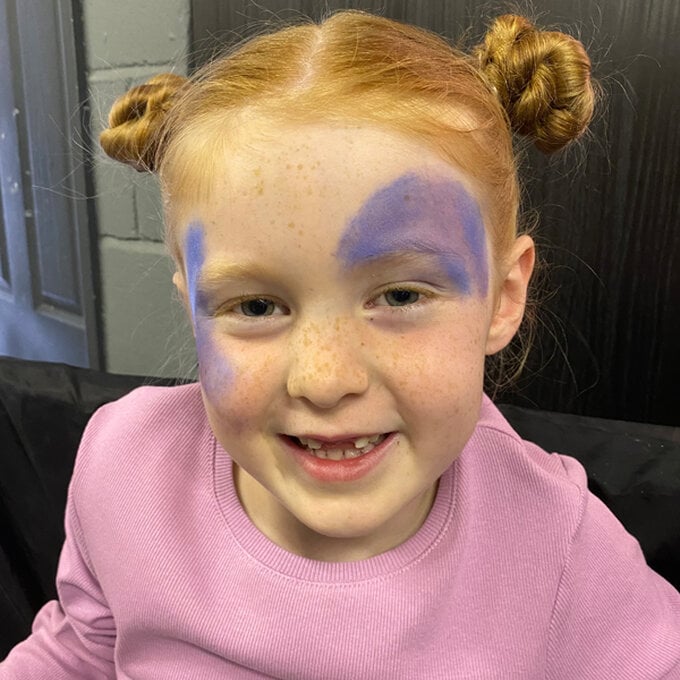
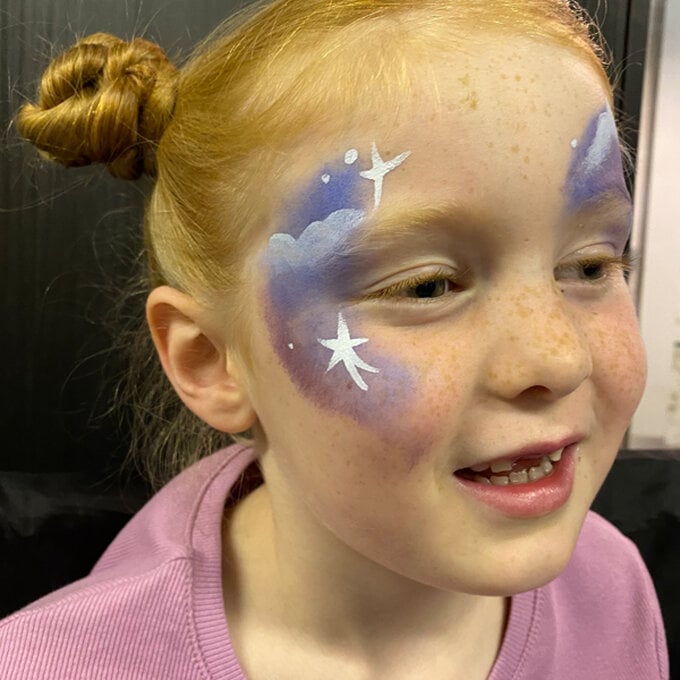
Drip water onto your colour, or spray your sponge with water to dampen it. We cut our sponges into 2 half moons as it makes them easier to use.
Rub your pink paint with the sponge until it is creamy and not dripping wet.
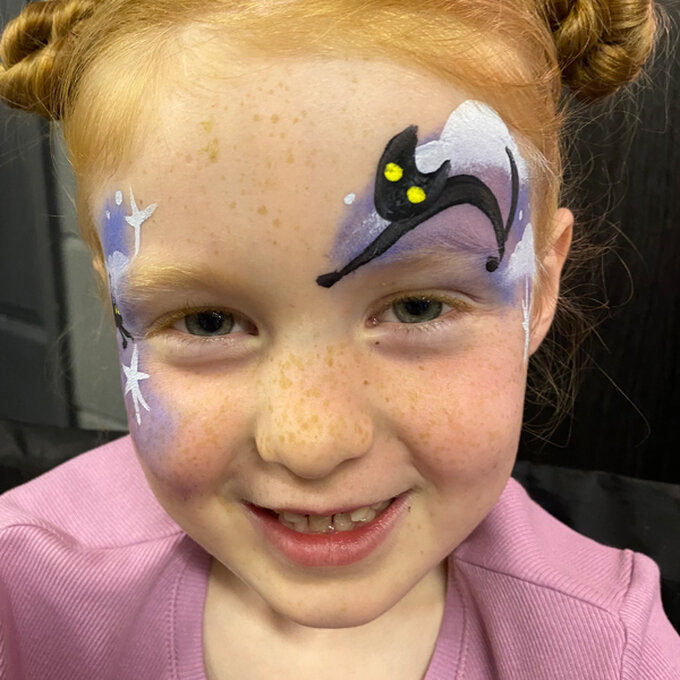
Gently pat two curving shapes with the sponge, one from curved above the eyebrow on one side, and the other curving up from under the opposite eye.
Add purple into and around the shapes with your sponge. This will make up your evening sky!
Using white paint on a round size 4 or 6 brush, add a short curved line shaped like the top of a cloud above the eyebrow. Use a white sponge to pull down some white from the bottom of the line to make it look like a cloud.
Add a smaller cloud below it, towards the outside of the face.
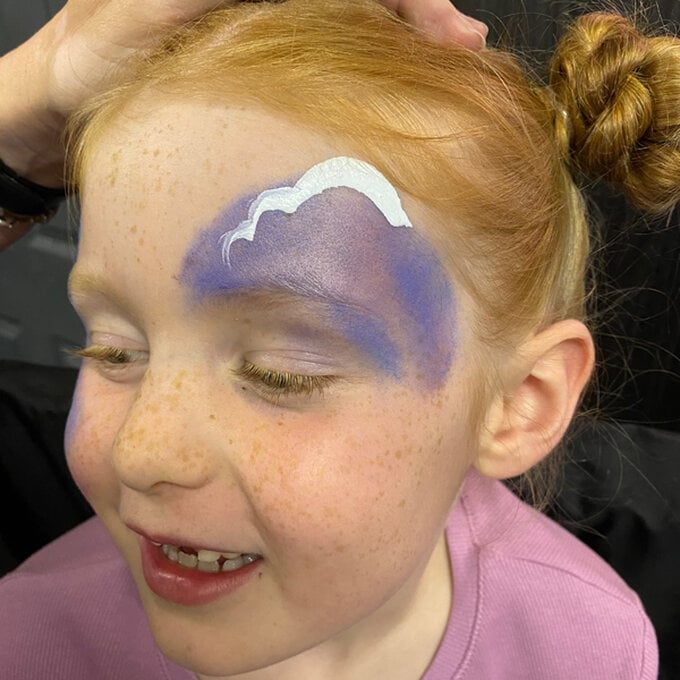
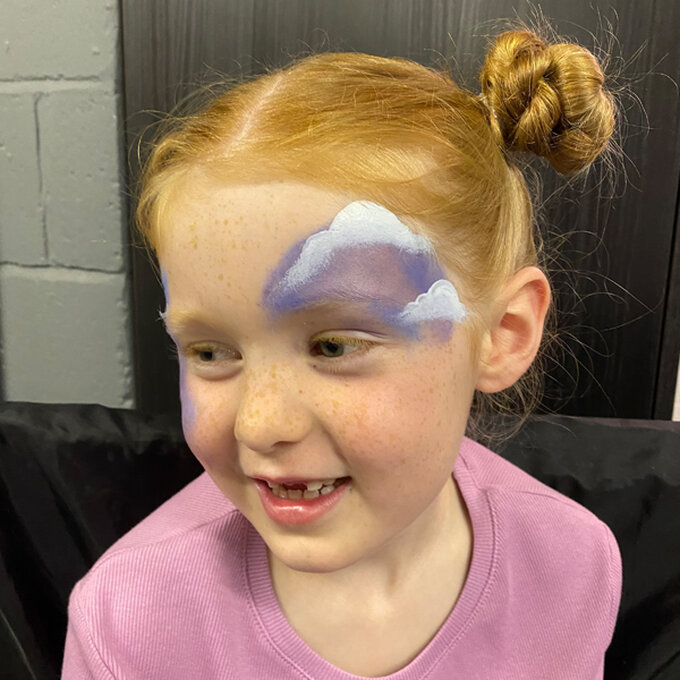
Add a cloud on the colour under the other eye. Using more white paint, make a blob and flick out from that blob in all directions to create some magic evening stars.
Make a few more in different sizes, and some dots for smaller stars.
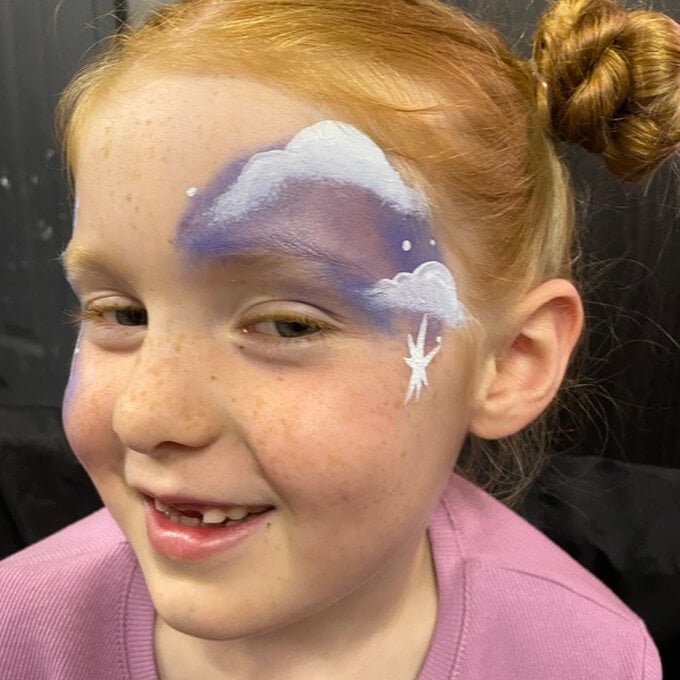
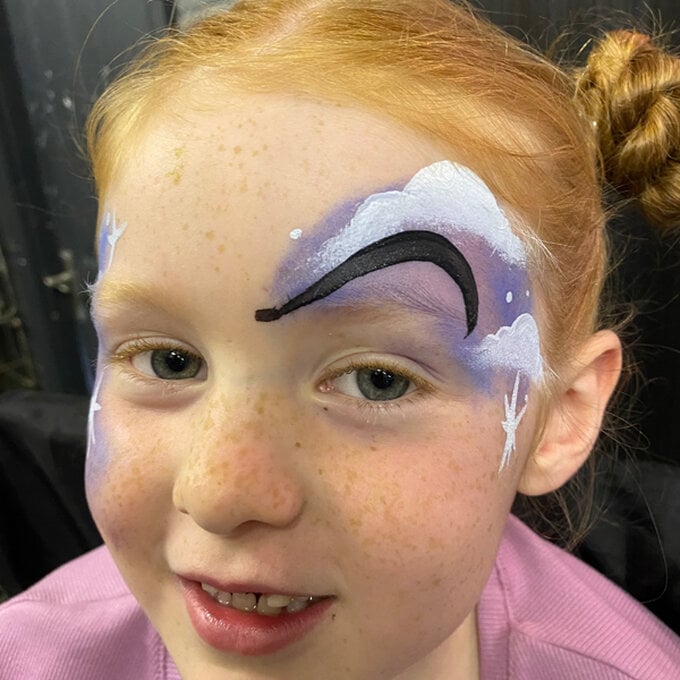
Using black paint, outline a curved arching shape from between the brows onto the over-brow clouds & colour. It should look a bit like an evil eyebrow!
Add an upwards flick at the outside tip of the black arch to make a cat tail. Near the front of the arch, add a fat crescent for your cats face.
Paint a smaller cat on the other coloured patch.
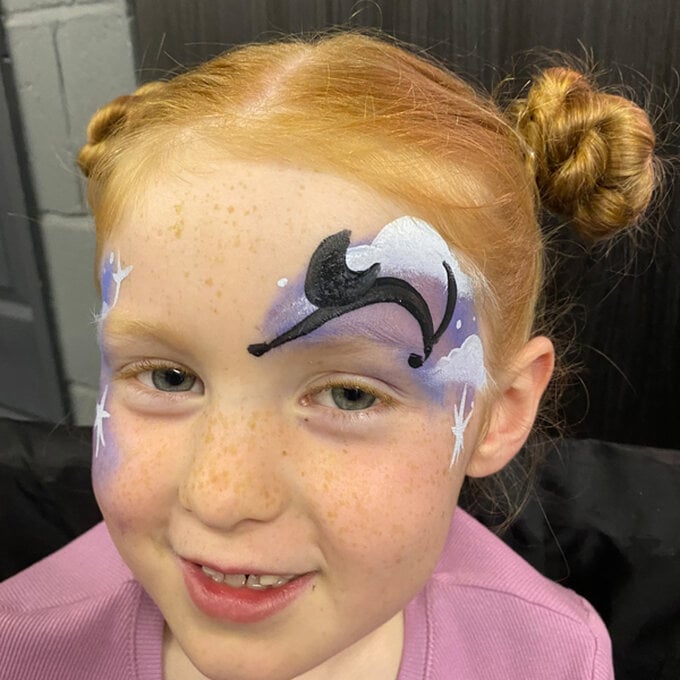
Add yellow eyes to your cats. You might have to add yellow several times, letting it dry each time, until it stays bright on top of the black.
Add a second front leg to your arched cat, and blobs at the end of its legs for paws.
When you'd like to remove the face paint, wash off the face with your normal soap and water.
