Skip to Content (Press Enter) Skip to Footer (Press Enter)

How to Make a 3D Punch Needle Letter

Level
Beginner
Time
1+ days
Budget
10 - 30

Get creative with 3D mache letters by making a pretty punch needle cover to decorate yours. Perfect for beginner punch needle crafters, this is a great way to add a touch of personalisation to your home décor or to create as a beautiful gift for someone special.

If you’re up for a fun challenge, why not make an entire wall feature of punch needle letters with your favourite quote to really make an impact? It's the perfect personalised mache letter idea to transform any space. 

Project and instructions by Caroline Jane Creative

Discover more punch needle projects here >

You will need

Is N/A

Quantity: 1

Subtotal

Is N/A

Out of stock

Is $ 3.49

Quantity: 1

Subtotal

Is $ 3.49

Is $ 15.00

Quantity: 1

Subtotal

Is $ 15.00

Is $ 7.49

Quantity: 1

Subtotal

Is $ 7.49

Is $ 5.49

Quantity: 1

Subtotal

Is $ 5.49

Out of stock

Is $ 26.00

Quantity: 1

Subtotal

Is $ 26.00

Is $ 9.49

Quantity: 1

Subtotal

Is $ 9.49

Is $ 1.49

Quantity: 1

Subtotal

Is $ 1.49

Out of stock

Is $ 11.00

Quantity: 1

Subtotal

Is $ 11.00

Is $ 7.49

Quantity: 1

Subtotal

Is $ 7.49

Out of stock

Is $ 3.49

Quantity: 1

Subtotal

Is $ 3.49

Out of stock

Is $ 10.00

Buy 2 selected WI yarns get a third free
Quantity: 1

Subtotal

Is $ 10.00

Is $ 4.49 , was $ 8.49

Quantity: 1

Subtotal

Is $ 4.49 , was $ 8.49

Out of stock

Is $ 11.00

Quantity: 1

Subtotal

Is $ 11.00

Is $ 10.00

Buy 2 selected WI yarns get a third free
Quantity: 1

Subtotal

Is $ 10.00

Is $ 10.00

Buy 2 selected WI yarns get a third free
Quantity: 1

Subtotal

Is $ 10.00

You’ve viewed 2 of 16 products

You’ve viewed 4 of 16 products

Total:
Step 1
To create a template, you will draw a 2D net of your chosen letter. Lay the letter flat on a large sheet of paper (tape smaller sheets together if necessary) and draw around it. Keep it in place and roll the letter onto its side and draw around that section so the edges are joined. Continue rolling your shape until you have drawn around as many sides as you can, keeping the edges together. For smaller areas, such as inside the letter, use a ruler or tape measure to create the template piece for that section. You will punch these pieces separately. If you intend for your finished letter to stand, then miss off the base section in your template.
Step 2
Idea_how-to-make-a-3d-punch-needle-letter_step2.jpg?sw=680&q=85
Step 3

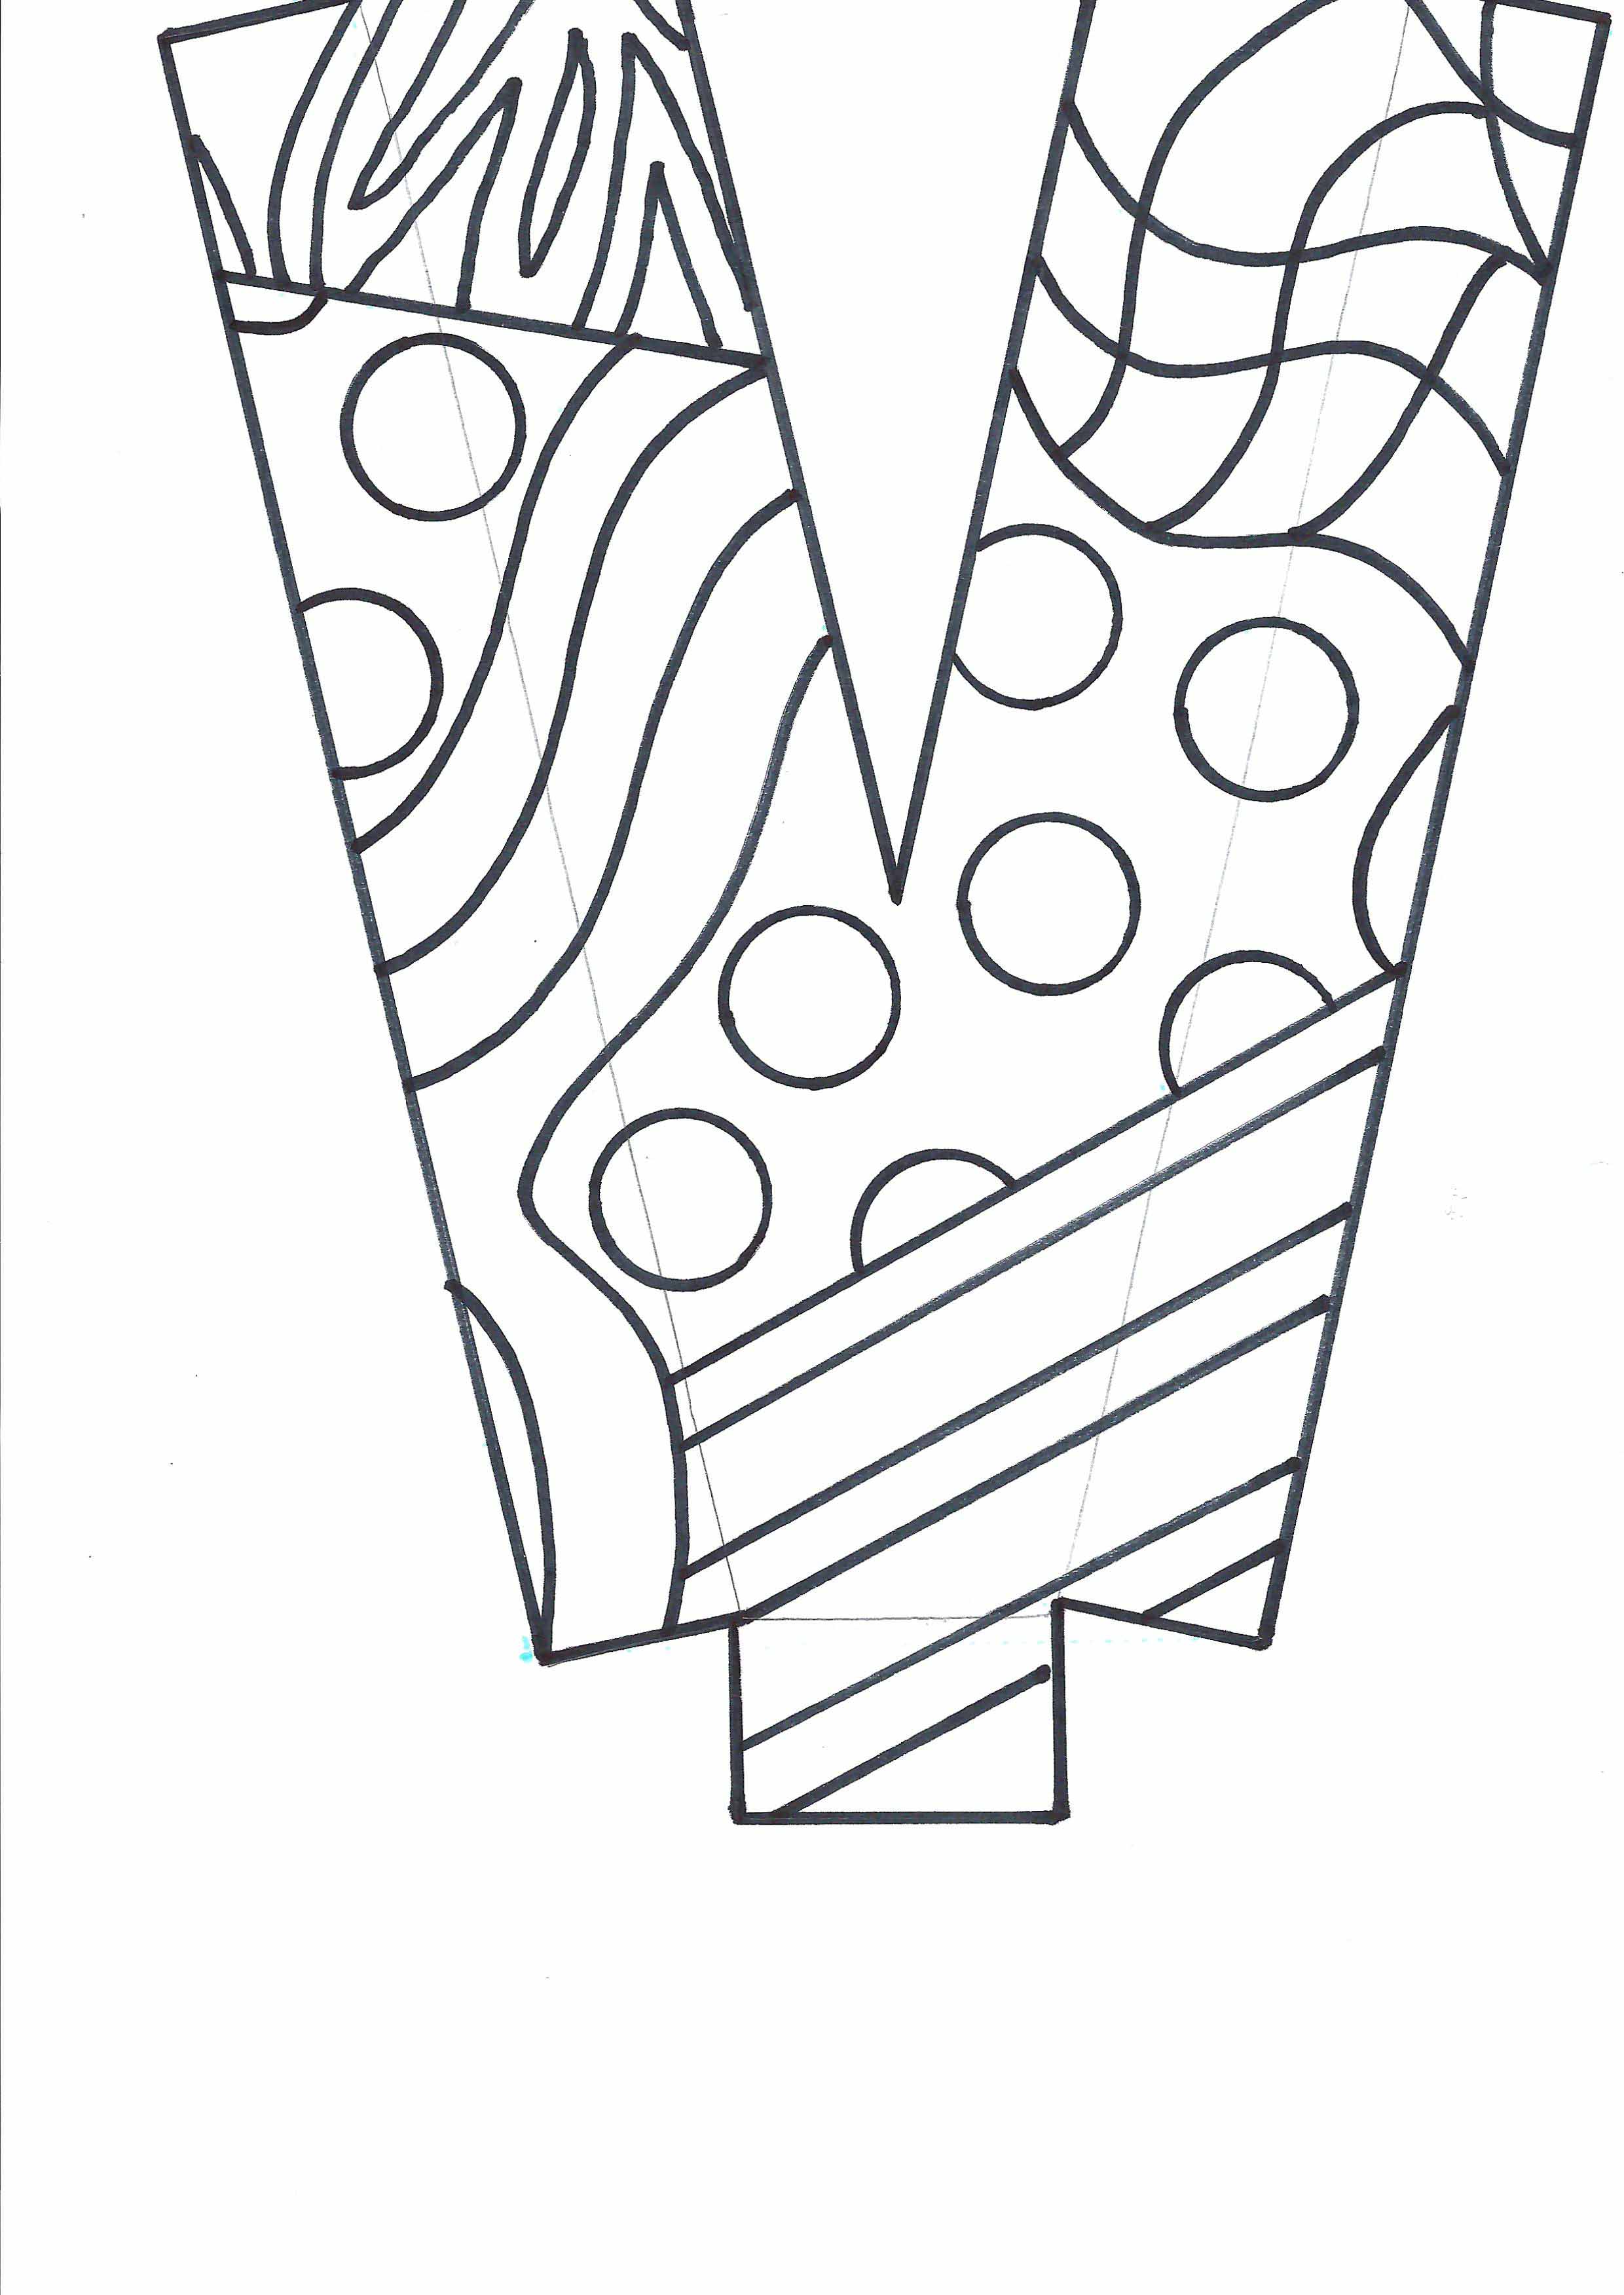
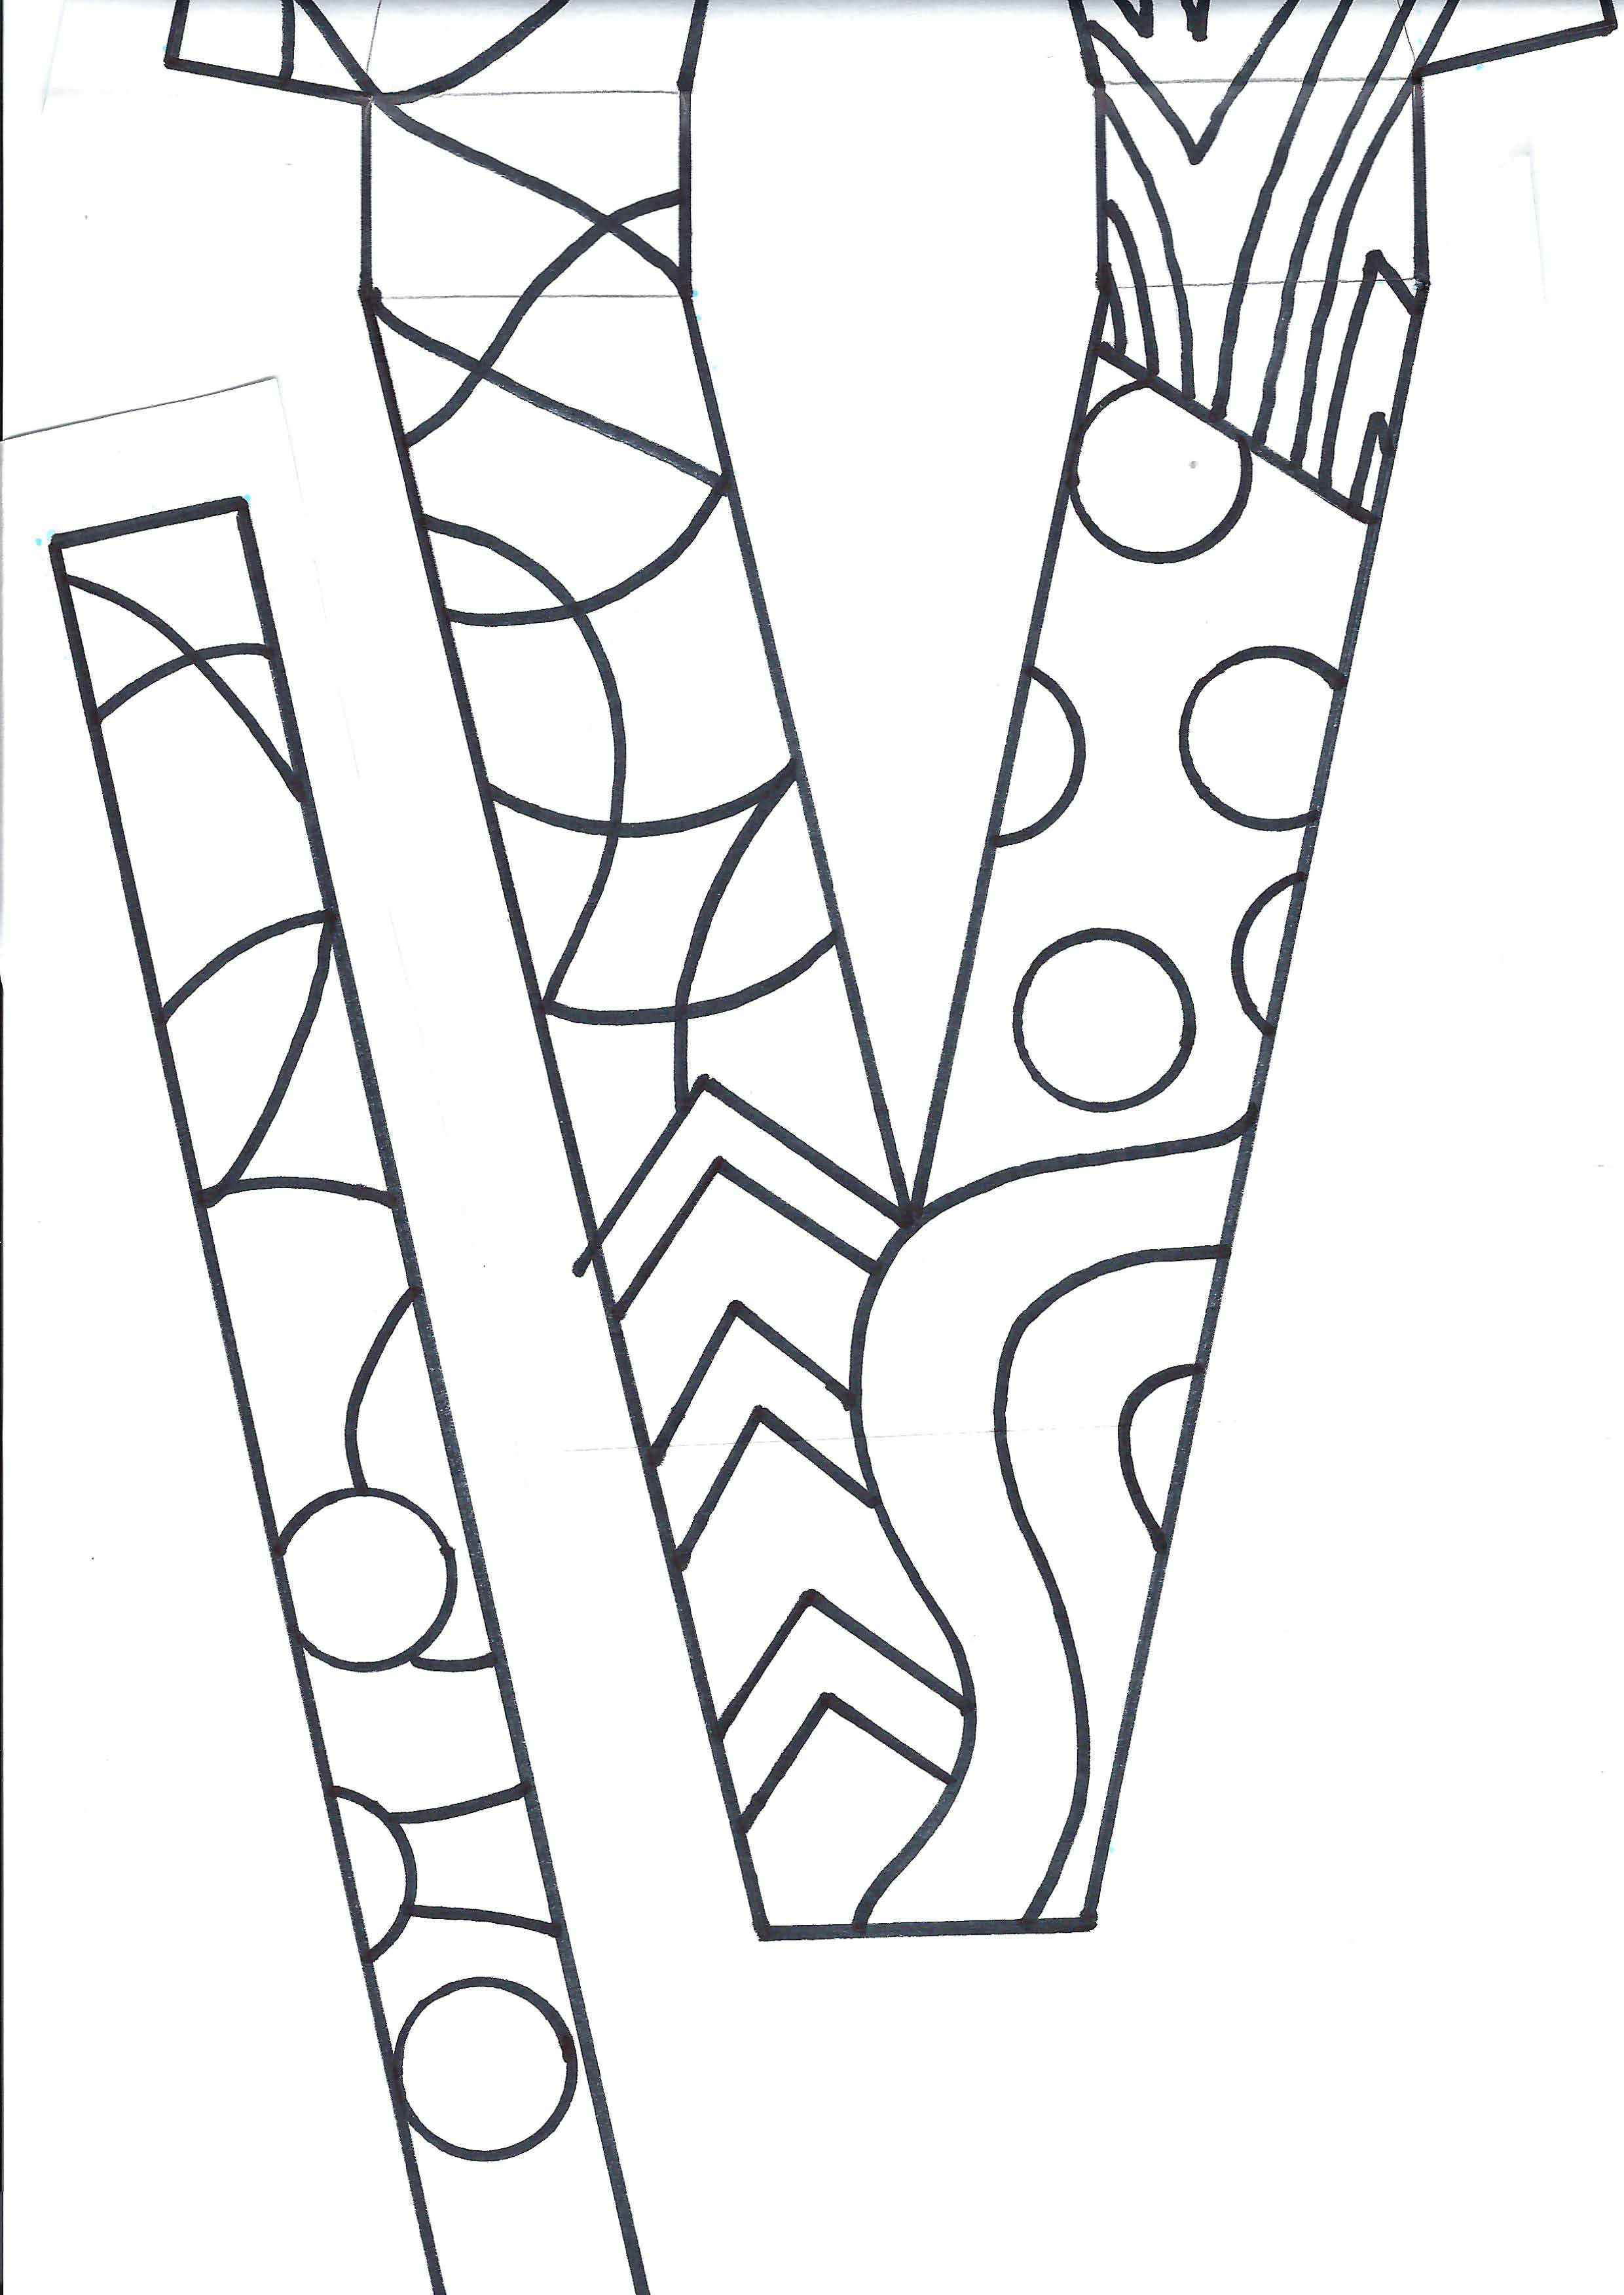
Download the below two templates and trace the design elements to fit your letter.


Punch Needle Template 1.pdf

Punch Needle Template 2.pdf


Attach the template to the back of the fabric, face down, using masking tape. Place the frame in front of a light source, such as a window or a light box, and trace the design using the fabric marker. Remove the template.

Idea_how-to-make-a-3d-punch-needle-letter_step3.jpg?sw=680&q=85
Step 4
Set the needle to position C. Pass the wire end of the threader through the outside hole in the tip of the needle and down the shaft until the wire sticks out at the base. Thread one strand of West Yorkshire Spinners bliss yarn through the threader. Using the white tab, pull the yarn up through the shaft and the hole in the tip of the needle. Ensure you have a yarn tail of about 10cm from the tip of the needle.
Idea_how-to-make-a-3d-punch-needle-letter_step4.jpg?sw=680&q=85
Step 5
You will be punching from the back of the frame to create looped, textured stitches on the front. Hold the needle as you would a pen. Push the tip of the needle, at a slight angle, all the way through the fabric on the outline of the wavy stripe. Make sure you push it so the bottom of the handle shaft touches the fabric. Turn the frame to the front and gently pull the yarn tail through so it is on the front of the frame. You will snip these off later.
Step 6
Lift the needle out gently so the tip of the needle is still touching the fabric. With the hole in the needle tip facing up, skim the surface of the fabric for about 1cm and push the needle in again. This is your first stitch. Continue punching the outline. Once you reach the end of the line, keep your needle pushed in, turn it in the direction of your next stitch and fill the rest of the shape with stitches.
Idea_how-to-make-a-3d-punch-needle-letter_step6.jpg?sw=680&q=85
Step 7
On your last stitch, keep your needle pushed in and with your other hand, slowly pull a short section of yarn through the needle, making sure you don’t pull the yarn from your stitches. Snip the yarn on the front. You will now have two yarn tails on the right (looped) side.
Idea_how-to-make-a-3d-punch-needle-letter_step7.jpg?sw=680&q=85
Step 8
Thread your needle with Hayfield Bonus Chunky petrol yarn and following the line created by the bliss yarn, punch the next wavy stripe. Thread your needle with Women’s Institute mustard yarn and punch the final stripe.
Idea_how-to-make-a-3d-punch-needle-letter_step8.jpg?sw=680&q=85
Step 9
Thread your needle with 2 strands of Skein Tones nutmeg yarn and punch part of the animal print section. Complete the section by using West Yorkshire Spinners serene yarn.
Idea_how-to-make-a-3d-punch-needle-letter_step9.jpg?sw=680&q=85
Step 10
Use West Yorkshire Spinners bliss yarn and Women’s Institute pale grey yarns to punch the checkerboard section. Continue punching all sections using Hayfield Bonus Chunky petrol yarn and Women’s Institute dusky pink yarn for the circles on one side; Women’s Institute dusky pink and mustard for the circles on the other side; West Yorkshire Spinners serene yarn and Women’s Institute mustard yarn for the diagonal stripes; and Women’s Institute dusky pink yarn and West Yorkshire Spinners serene yarn for the chevron stripes.
Idea_how-to-make-a-3d-punch-needle-letter_step10.jpg?sw=680&q=85
Step 11
Change your needle to setting D and punch any inner sections, such as the centre of the ‘V’, in colours to match the outer faces of the letter.
Idea_how-to-make-a-3d-punch-needle-letter_step11.jpg?sw=680&q=85
Step 12
Snip the yarn tails on the looped side so they are flush with the punched stitches.
Idea_how-to-make-a-3d-punch-needle-letter_step12.jpg?sw=680&q=85
Step 13
Neaten any uneven loops between colours by gently separating them with the tip of your needle. You can also use your needle to gently push through any stitches of an uneven height. Remove your fabric from the stretcher frame.
Idea_how-to-make-a-3d-punch-needle-letter_step13.jpg?sw=680&q=85
Step 14
Press your shape on the back (flat stitch) side covering it with a damp cloth. Cut out your shape leaving a 1.5cm margin around the edge. Where you have smaller spaces or tight angles, put a strip of glue on the back to hold your stitches in place and cut closer to the edge of the stitches.
Idea_how-to-make-a-3d-punch-needle-letter_step14.jpg?sw=680&q=85
Step 15
Glue any small pieces to your letter first. If these pieces are particularly small you can press on the front (looped side) to reduce the bulk.
Idea_how-to-make-a-3d-punch-needle-letter_step15.jpg?sw=680&q=85
Step 16
Attach the remaining largest piece by gluing over the whole section of one flat side of your letter. Place the letter onto the matching punched piece. Once it is dry continue gluing each section until it is all in place. You can now display your punch needle 3D letter!
Idea_how-to-make-a-3d-punch-needle-letter_step16.jpg?sw=680&q=85
  • bvseo_sdk, dw_cartridge, 18.2.0, p_sdk_3.2.0
  • CLOUD, getReviews, 5ms
  • reviews, product
  • bvseo-msg: Unsuccessful GET. status = 'ERROR', msg = 'Not Found.'; Unsuccessful GET. status = 'ERROR', msg = 'Not Found.';

Related Products

Top