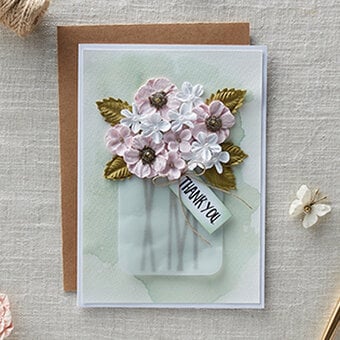
How to Make a FIMO Clay Flower Frame
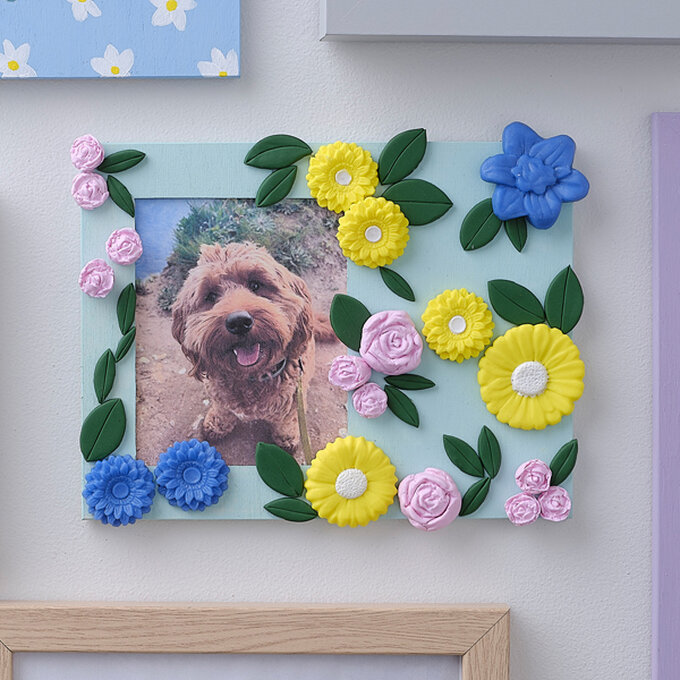
Display that special memory or moment in the most fantastic way by creating a personalised photo frame with Fimo Moulding Clay!
Create some beautiful wall art by decorating your New Hobbycraft Wooden Frame with unique flower shapes, and allow your creativity to run free.
Project and instructions by Little Button Diaries
You will need
Subtotal
Is $ 5.49
Subtotal
Is $ 26.00
Subtotal
Is $ 1.49 , was $ 3.49
Out of stock
Subtotal
Is $ 22.00
How to make
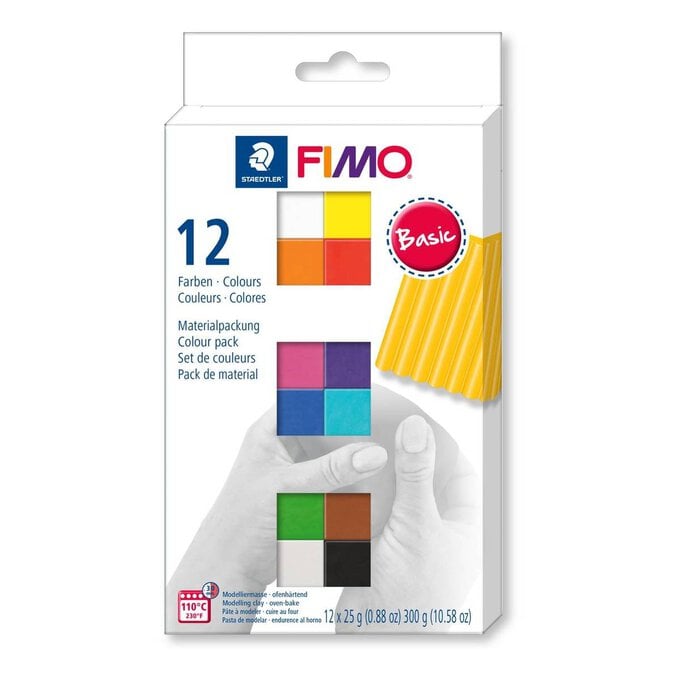
* A Fimo Soft Basic Modelling Clay Set 25g 12 Pack
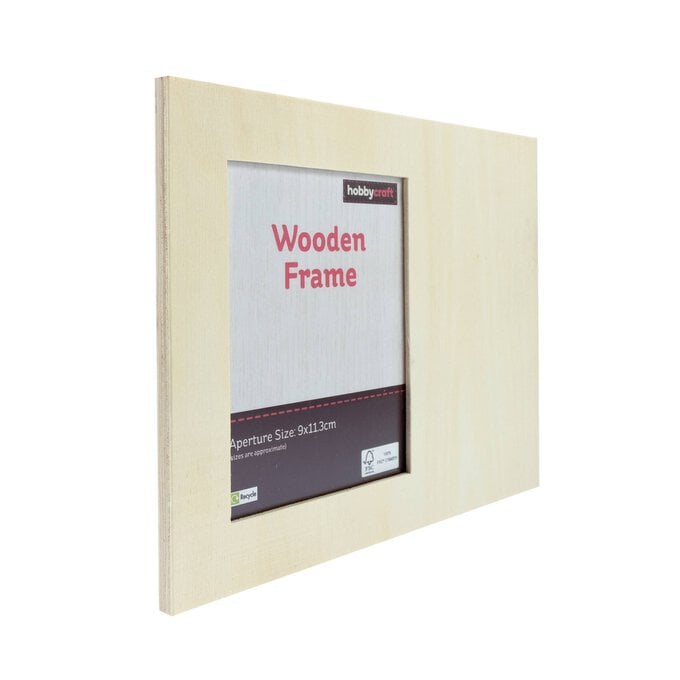
* A Wooden Rectangle Frame 21cm x 16cm
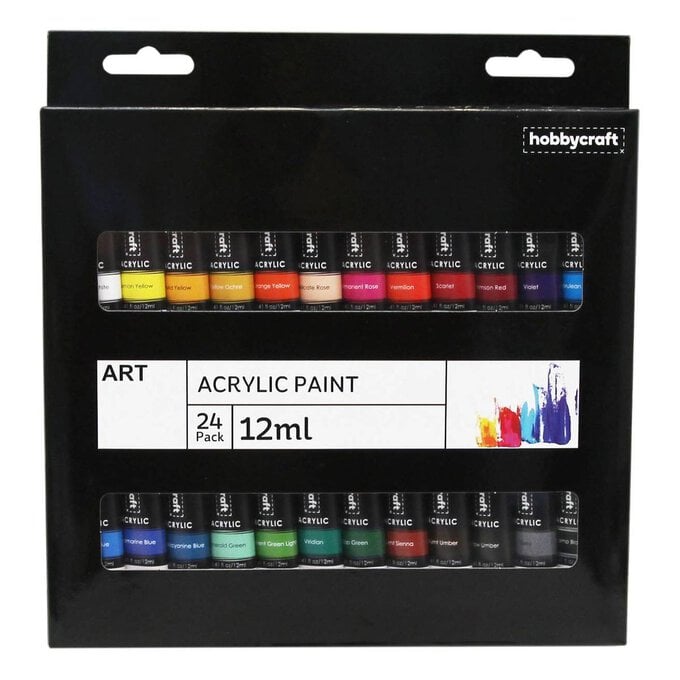
* Acrylic Paint
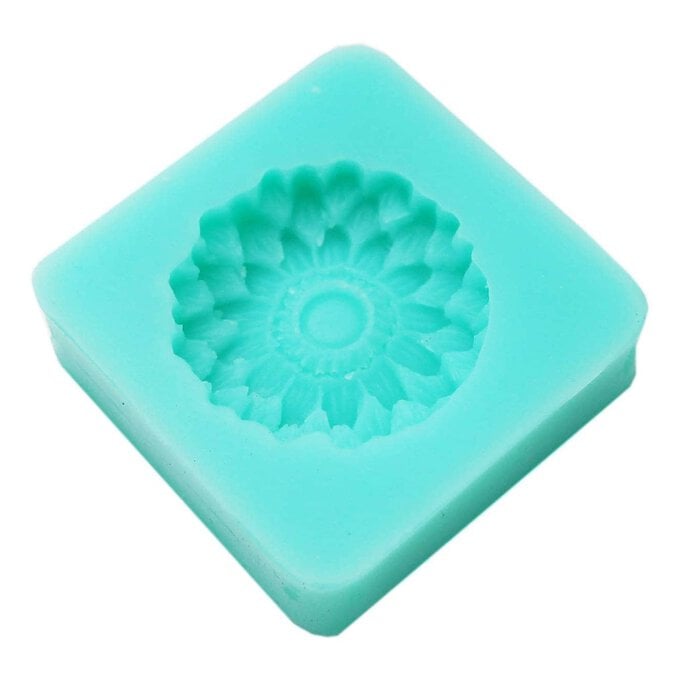
* Flowers Bar Soap Mould
* Silicone Flower Moulds
* A Rolling Pin
* Parchment Paper
* A Cocktail Stick
* Superglue or Glue Gun

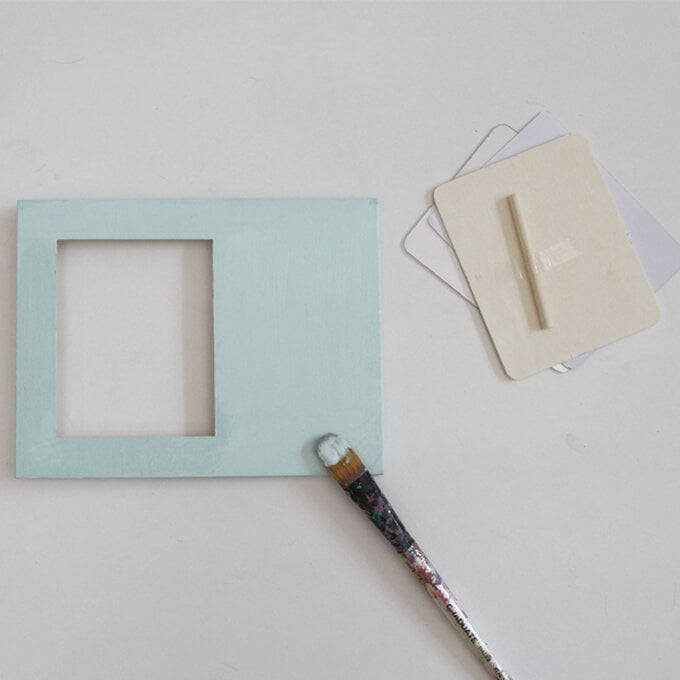
Start by taking the glass out of the frame, and paint it with your desired colour - we’re using a shade of mint to make the flowers pop.
Leave to dry whilst you make the flowers.
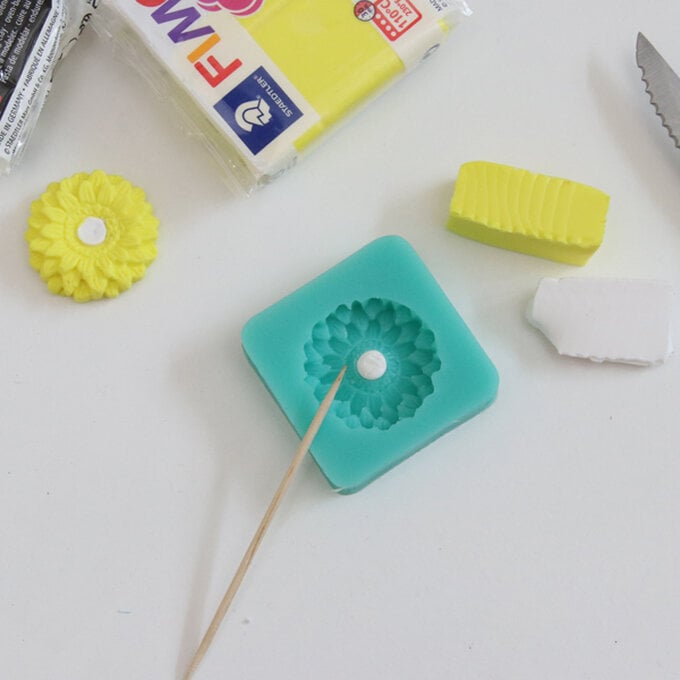
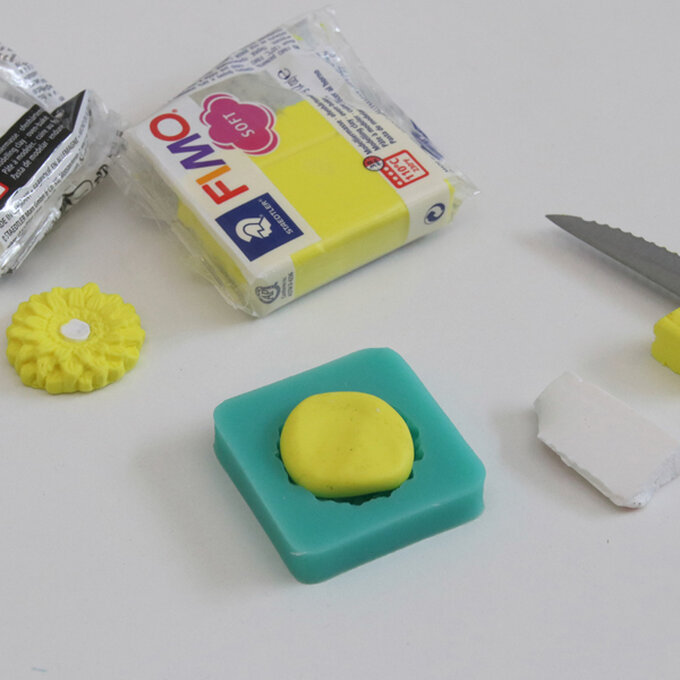
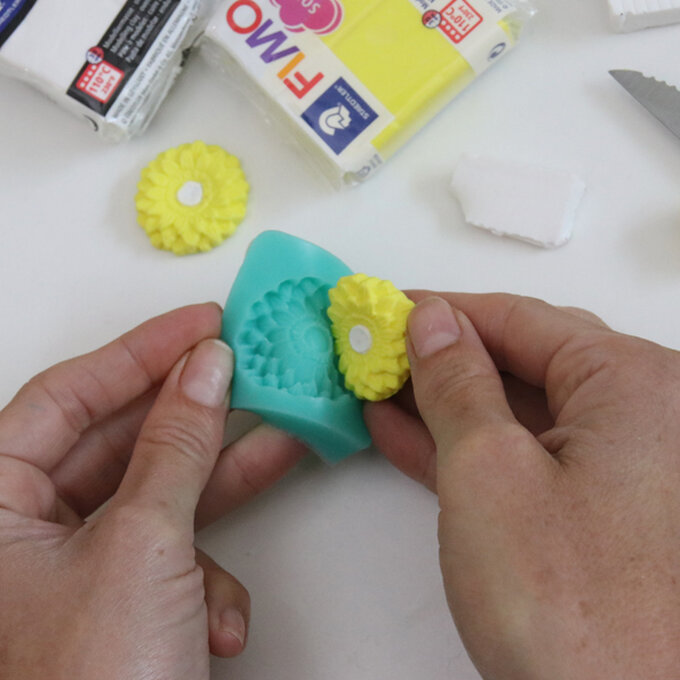
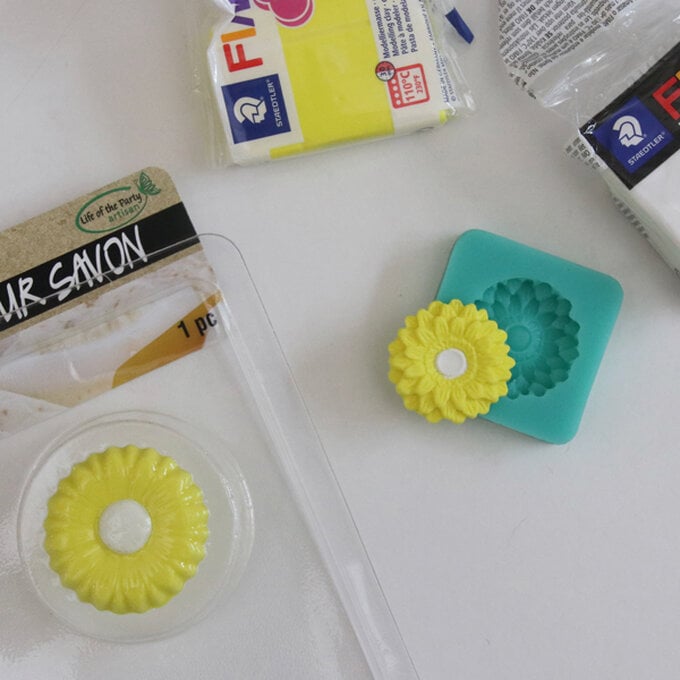
Press a ball of yellow fimo clay into the mould. Push it down well so that the fimo goes into each of the sections of the mould. Flatten and smooth the top then pop the fimo clay out.
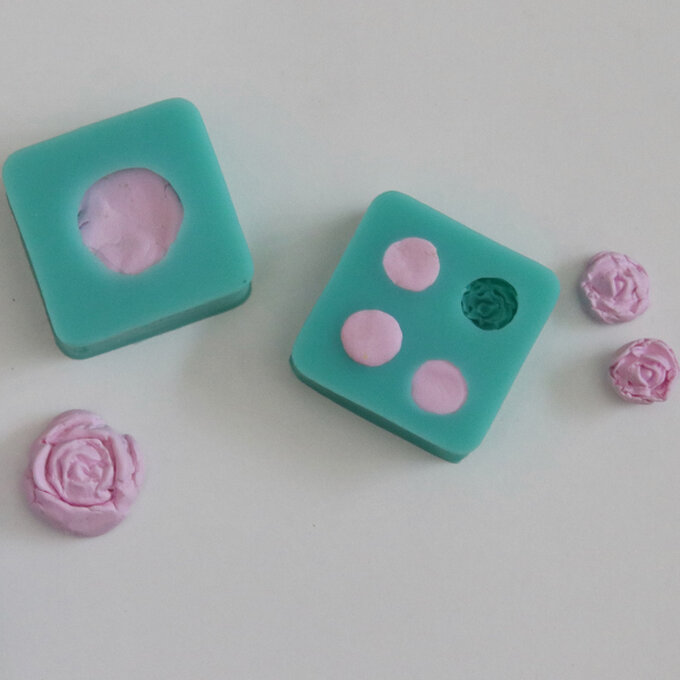
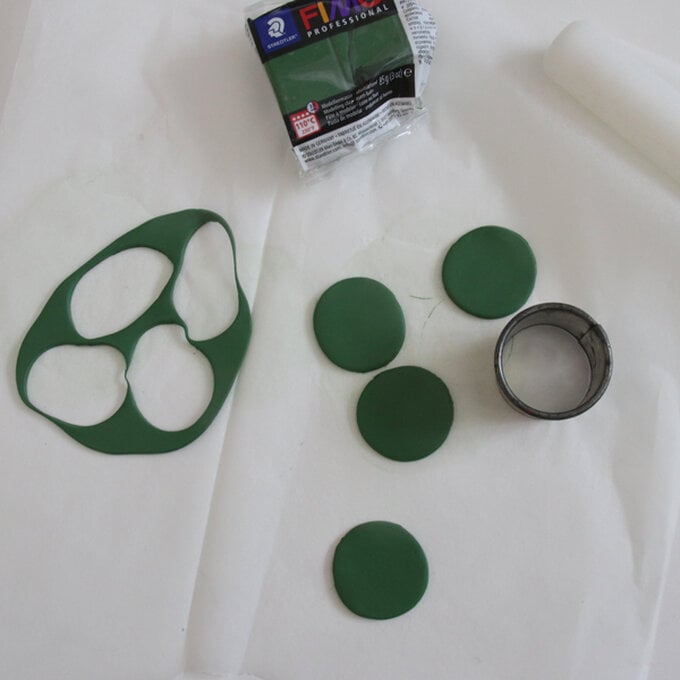
To make the leaves, roll out some green clay between two sheets of parchment paper. This will stop it from sticking to your work surface and prevent hair and fluff attaching to it.
Roll it to about 2-3 mm.
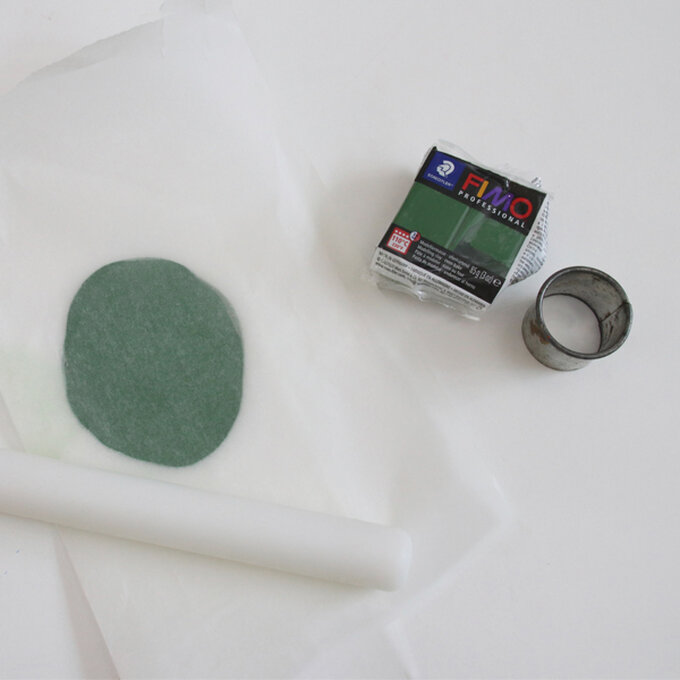
Use a small circle cookie cutter to cut circles from the clay.
Then, place the cutters over half the circles to cut leaf shapes.
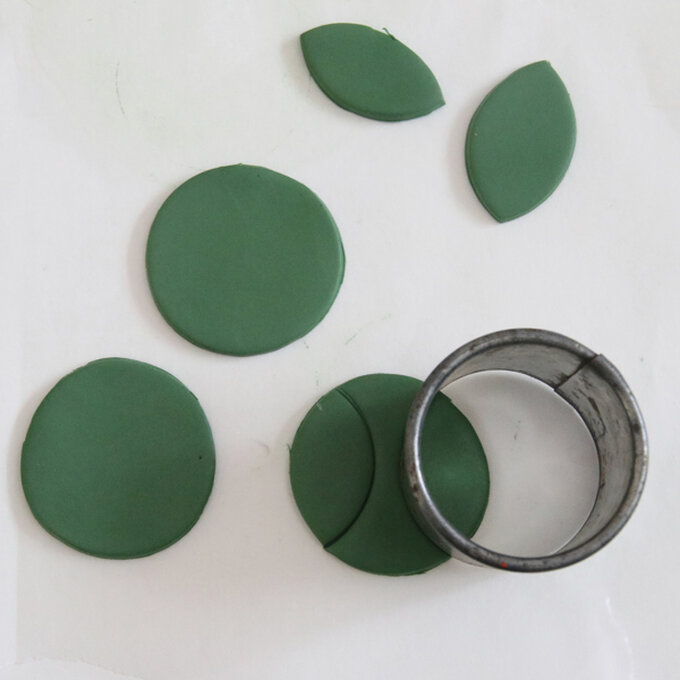
You can make other sizes of leaves by adjusting where you put the cookie cutter over the circle.
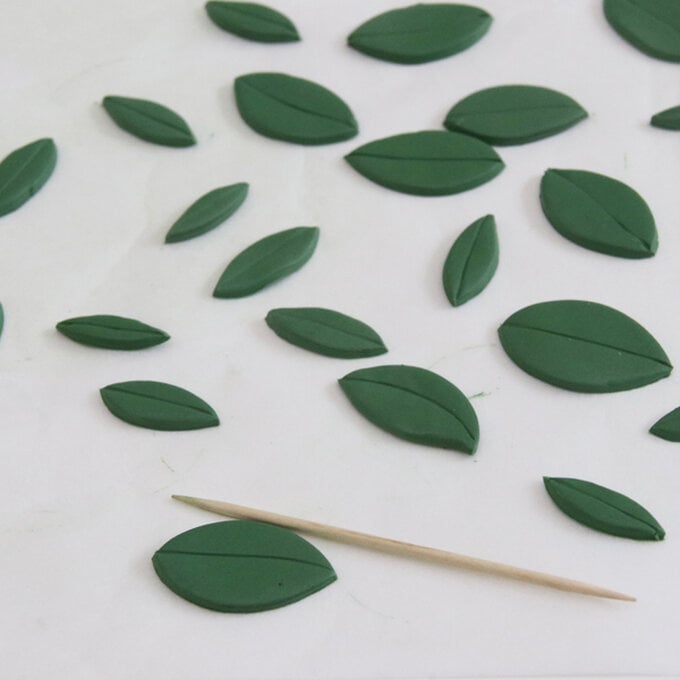
Take a cocktail stick and score down the centre to create a vein for each leaf.
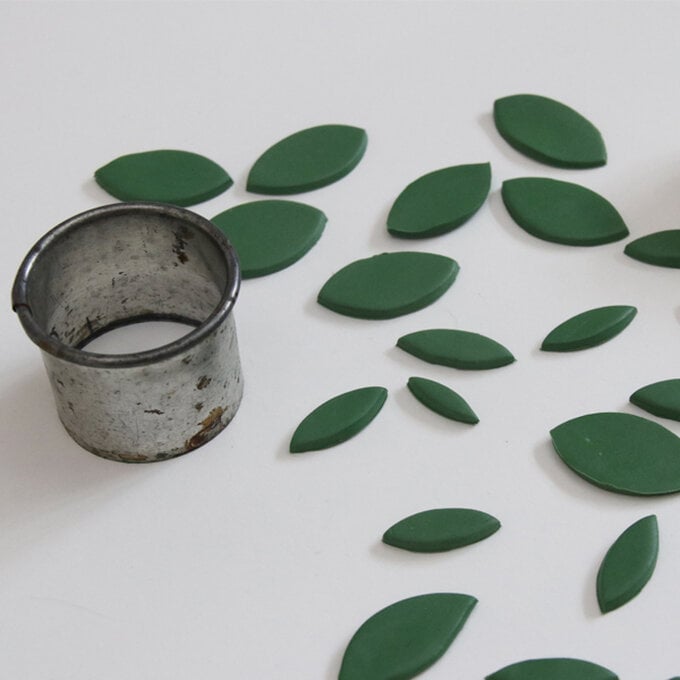
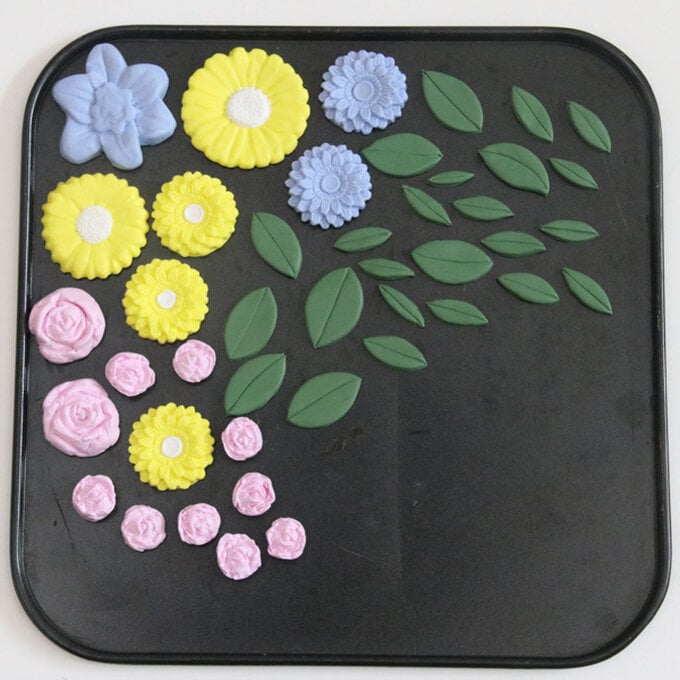
Remove from the oven and allow to cool.
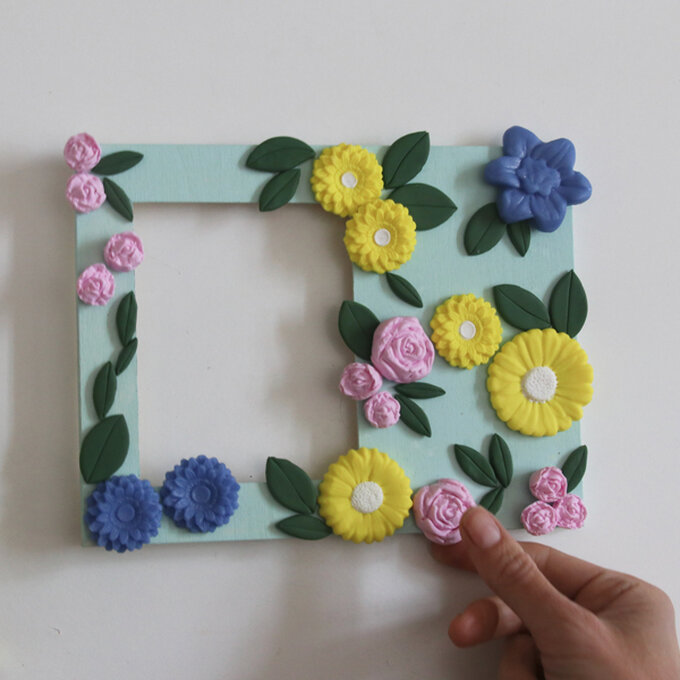
Then, arrange your flowers and leaves onto the frame.
Once you are happy with the positioning, glue in place.
