How to Make a Photo Wall
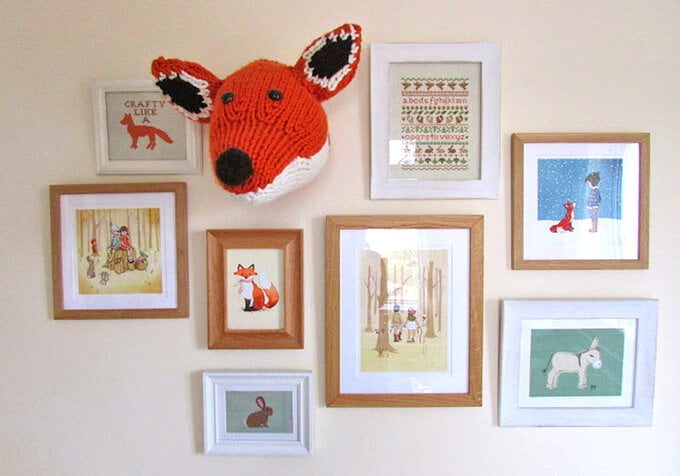
Photo walls or gallery walls, are a big trend in interiors right now, you can use them in any room in your house and it doesn't necessarily have to be a room, sometimes the most successful photo walls are positioned in hallways and on the wall as you go up the stairs.
Whatever room you decide on for your photo wall, there are a few top tips to remember when pulling your collection of photos, prints and collected mementos together. . .
You will need
Subtotal
Is $ 12.00
Out of stock
Subtotal
Is $ 20.00
Subtotal
Is $ 10.00
Subtotal
Is N/A
Out of stock
How to make
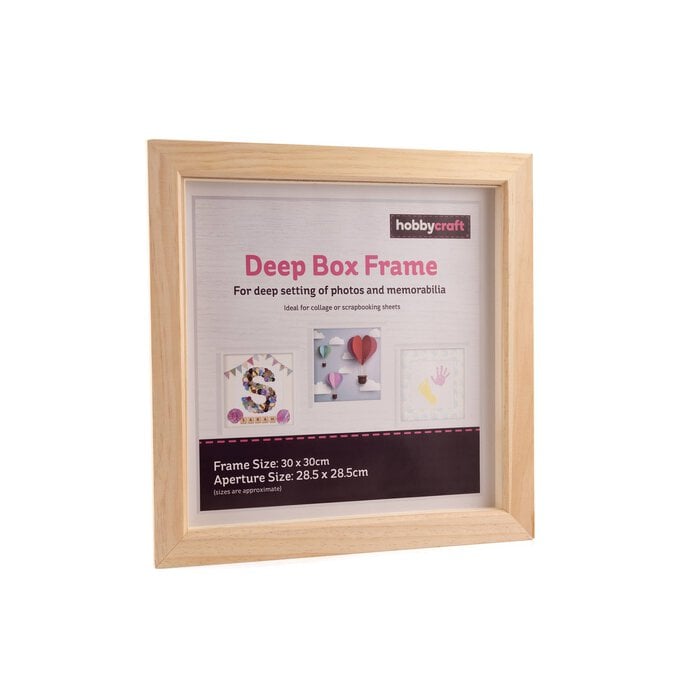
Start by collecting all of the imagery you would like to ideally have displayed on your wall, and display in a suitably sized frame.
Make paper templates that are the same dimensions as your frames.
Then it's time to get creative! Use a low tack tape to start positioning the templates on your chosen wall. A ruler may come in handy here if you want to have the same spacing between all of your frames.
Once happy with the layout of the templates, it's time to start hanging the frames.
Carefully remove the paper templates from the wall once all of the frames have been hung.


