How to Make a Roman Castle
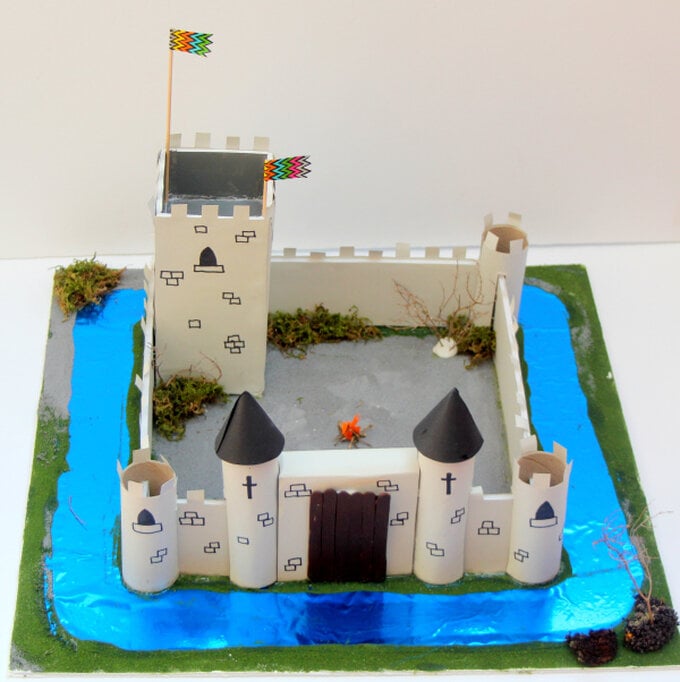
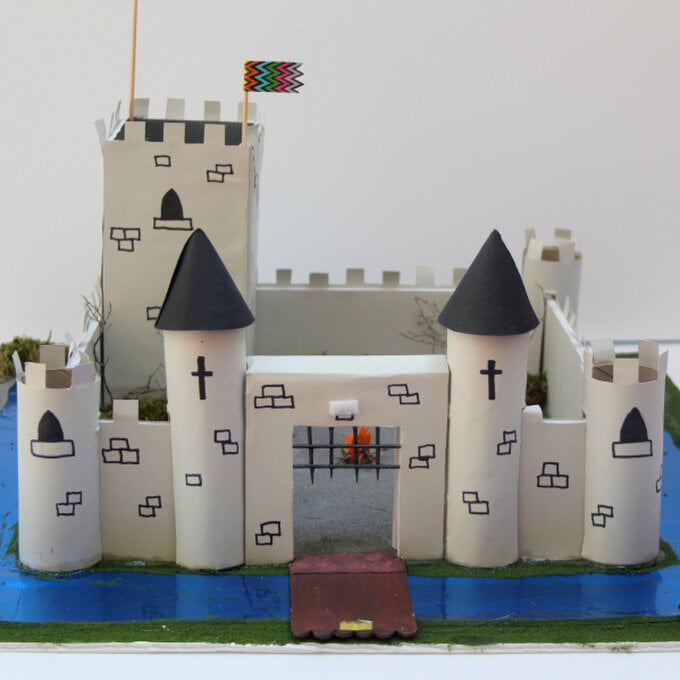
This Roman Castle is a great school project to make with a little help from mum or dad. It's constructed using foam boards and cardboard tubes and embellished with card and paint. Add a little fire and Duckling Tape flags to personalise your castle.
You will need
Subtotal
Is $ 1.49
Subtotal
Is $ 4.49
Out of stock
Subtotal
Is $ 3.49
Subtotal
Is N/A
Out of stock
Subtotal
Is $ 5.49
Out of stock
Subtotal
Is $ 3.49 , was $ 6.49
Subtotal
Is $ 7.49
How to make
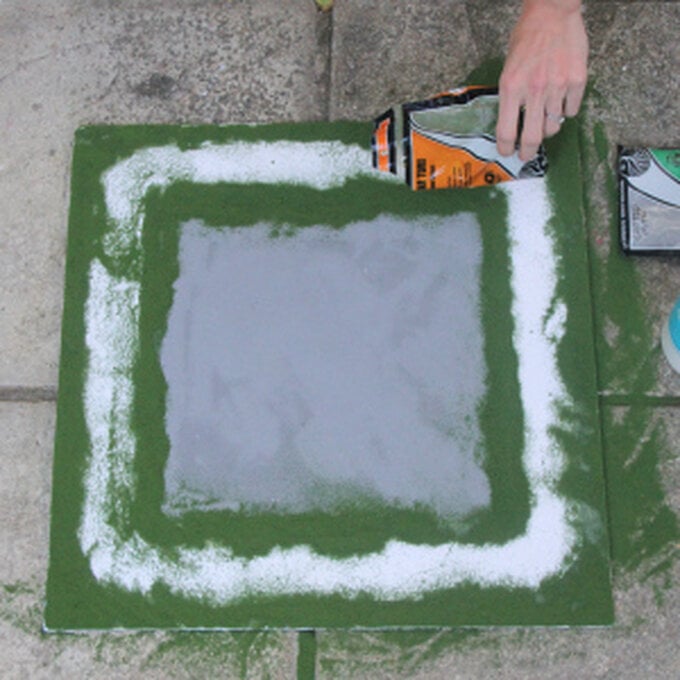
To make the base: Cut the foam board to a square measuring 20 inches. In the centre of the board mark out a 12 inch square for the castle, and draw out a moat around this, about 2 inches wide. Spread a layer of PVA onto the central square of the foam board. sprinkle the gravel on and tip the board to dust off any excess. Using the same method, add a layer of glue around the moat and sprinkle on the green turf.
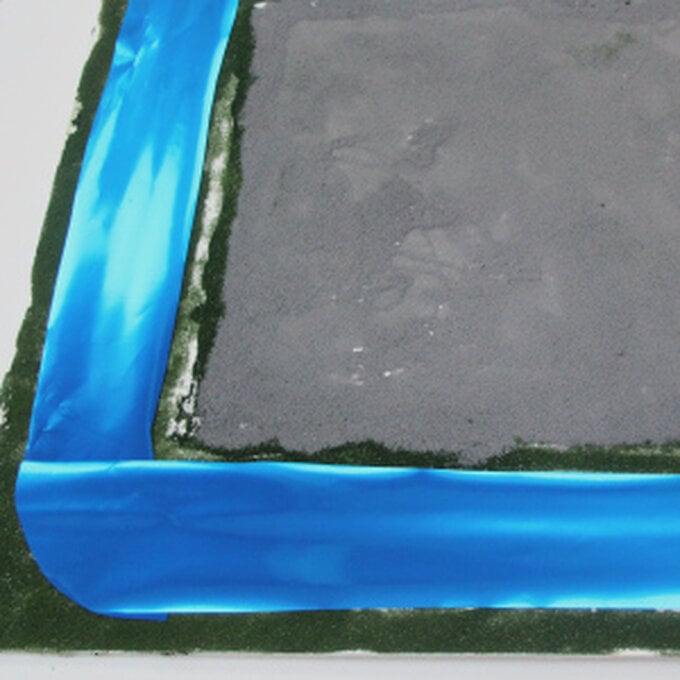
Cut strips of cellophane wrap wide enough to fit in the moat. Round the corners of each side and glue in place with PVA glue. Add a little more glue on top of each side of the cellephane and sprinkle a little more turf on to create a grassy bank.
Next create your castle walls. From foam board, cut three rectangles measuring 12 by 3 inch and two 3 inch squares for the front walls. Cut the same from grey card for the inside of the walls.
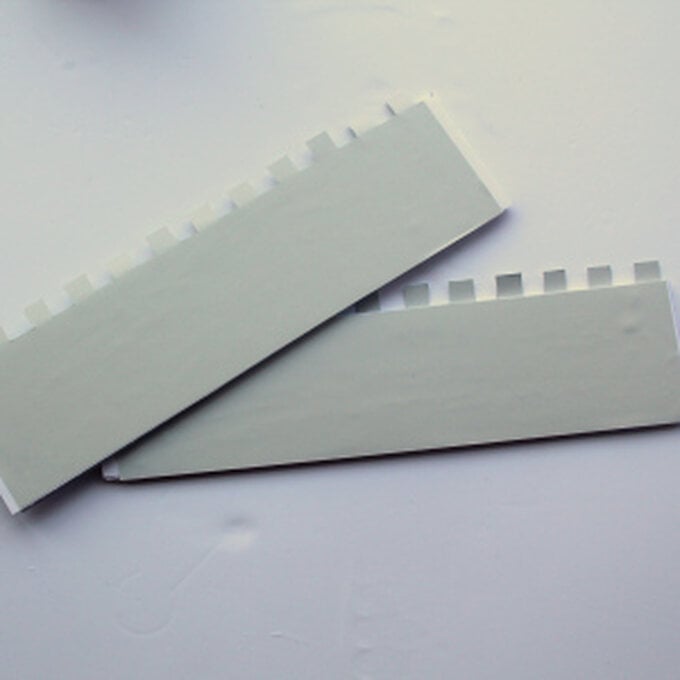
For the outside of the walls you will need to repeat adding half an inch to the width (so cut three 3.5 by 12 inch pieces and two 3.5 by 3 inch). In pencil, draw in half inch castellations along the long edges and cut out. Glue the inner and outer grey card onto the foam sheet walls.
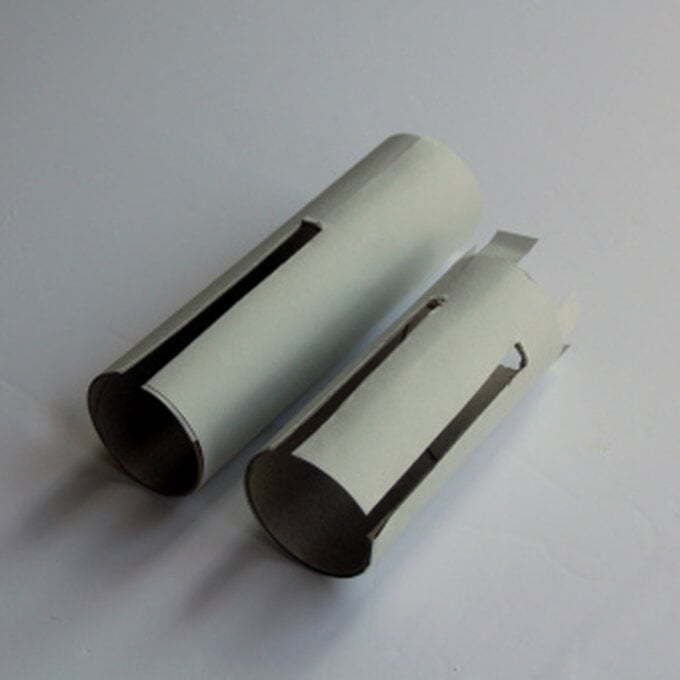
To make tube towers, draw three strips measuring 4.5 by 6 inches on grey card and add castellations as before. Glue them around the 4 inch cardboard tubes. Then for the larger tubes, cut strips without castellations, measuring 5.5 by 6 inches and glue on.
On the small towers mark a slot for the walls measuring 3 inches by a quarter of an inch, and another 1 inch around the base. Mark one slot, the same size, on the larger towers and cut these out.
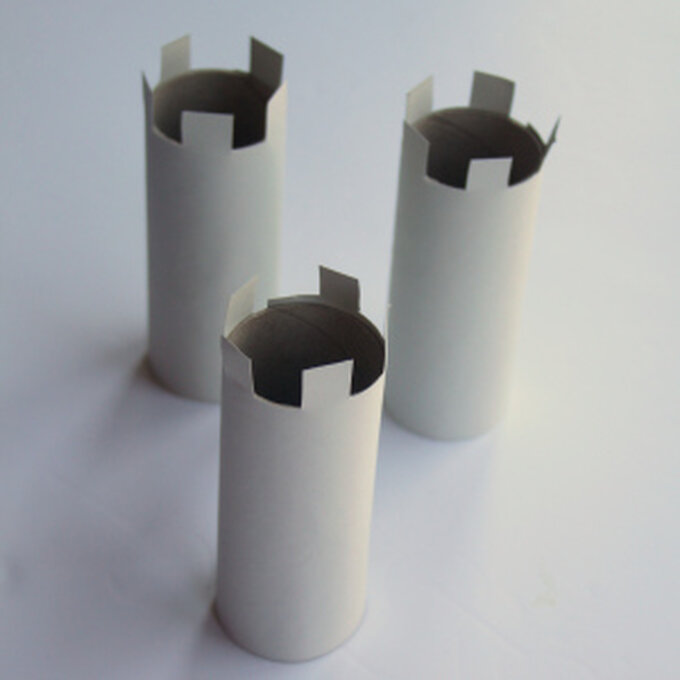
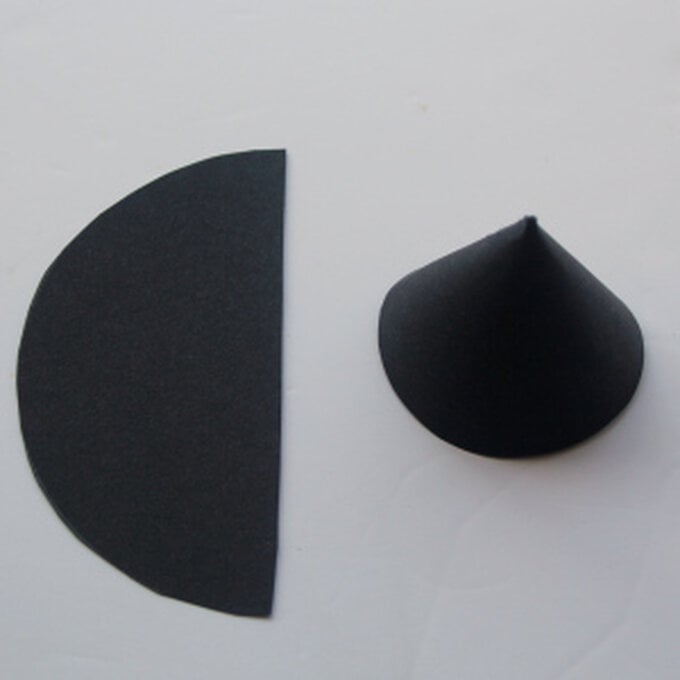
Make 2 turrets for the larger towers. Cut 1 circle from black card measuring 11 centimetres. Cut the circle in half then fold to create a cone, and glue on top of the towers.
For the keep, cut four rectangles from foamboard measuring 7.5 by 3.5 inches and a 3.5 inch square. Sellotape the rectangles together to form an oblong – don't worry if it's a bit wobbly! Take the square and insert it into one end to make a ledge – you may need to trim it a little to fit. Slide it 2 inches down and tape in place from the bottom, then glue around the top with strong glue.
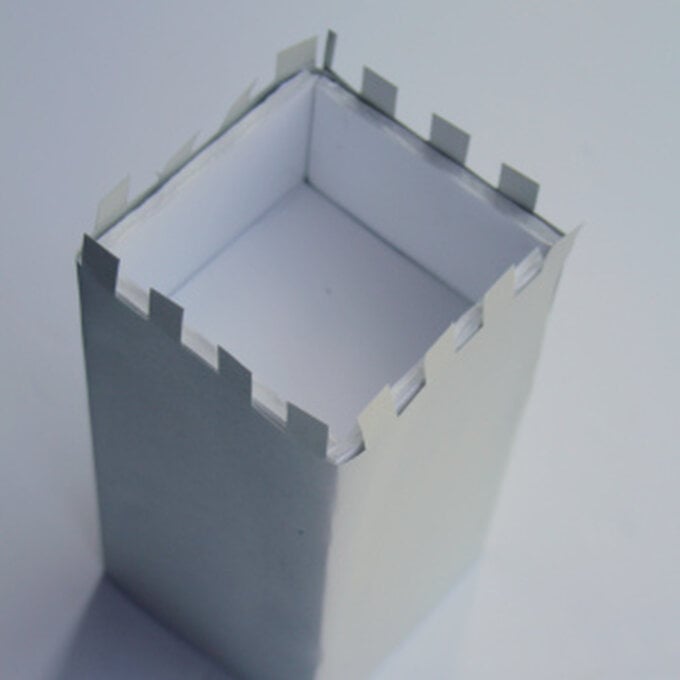
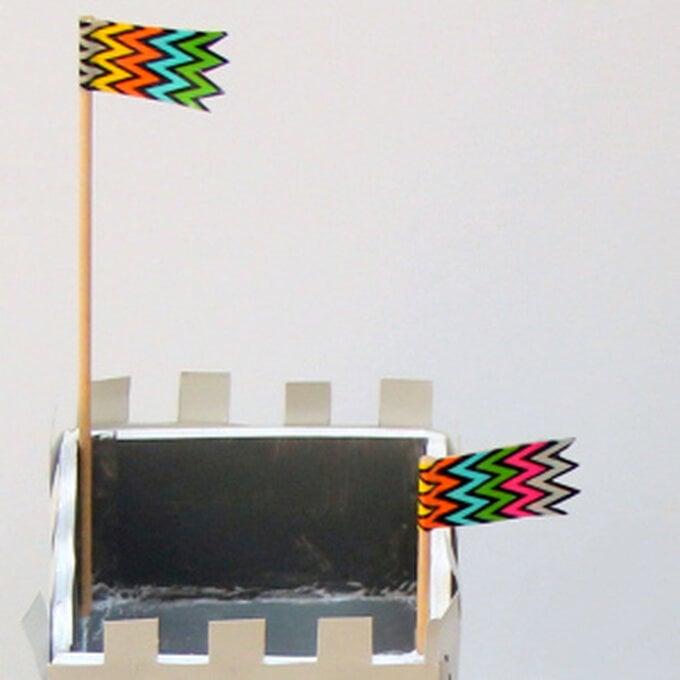
Take two A4 pieces of grey card and cut castellations as before along the long sides. Glue and wrap around the tower. Paint the inside grey. Make two flags by wrapping duckling tape around the top of a kebab skewer. Stick into the foam centre of the tower walls.
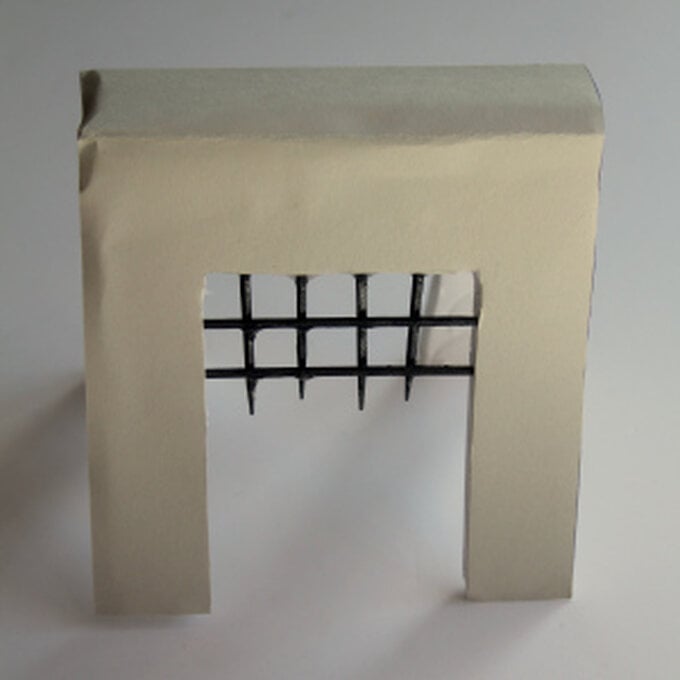
To create the doorway of the castle, cut a strip of foam board and grey card measuring 8 and three quarter inches by 4 inches. Then mark a three quarters of an inch strip down the middle (widthways), score with a craft knife and fold along the scoreline. Glue the grey card on the foam board. Mark a 3 inch door in the centre of each side and cut out.
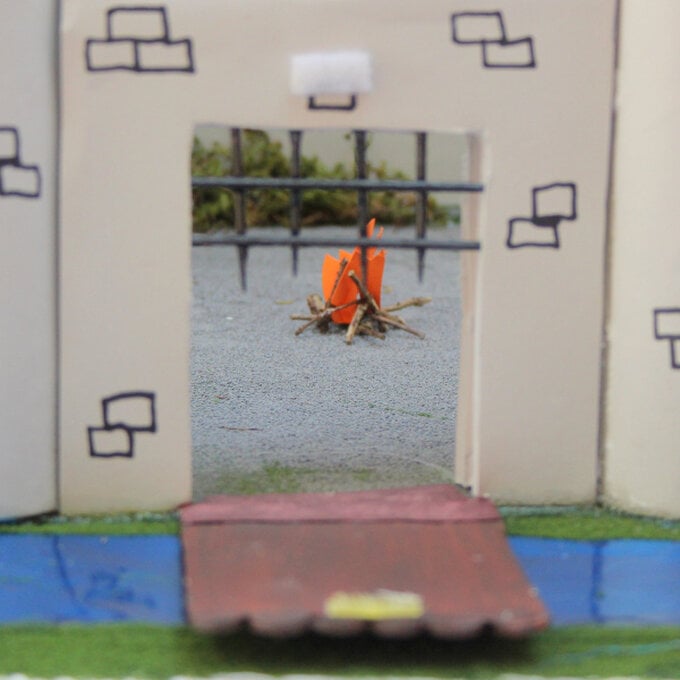
Paint five cocktail sticks black. Poke them into the foam inside one of the doorways at the top in a criss-cross pattern to resemble a portcullis. Dot glue on to keep them in place. Tape onto the taller towers on opposite sides of the slits.
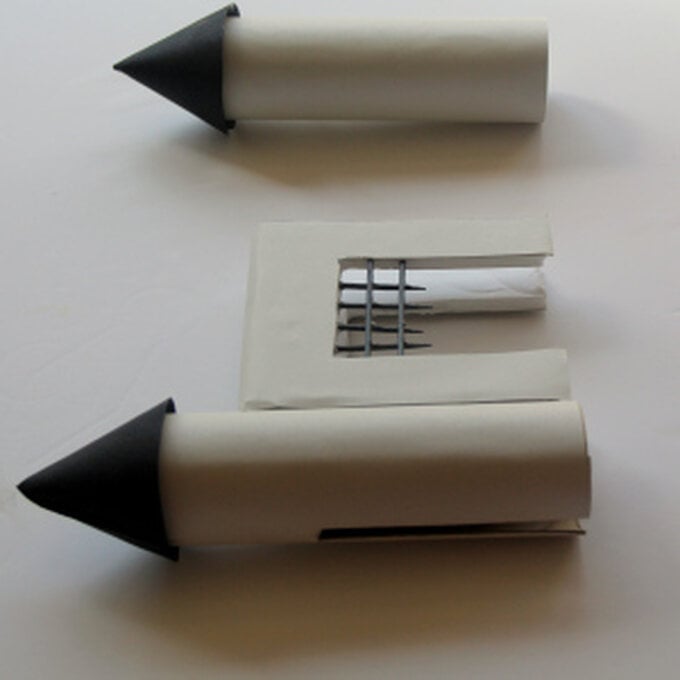
Join the castle together begin by taping the 3 long walls together at right angles, then tape the 2 smaller walls on at the front. Slot the 3 smaller turrets over all but one of the back corners, and slot the turreted doorway in place at the front of the castle. Glue the castle in place on the board using strong glue.Position and glue the tower in one corner of the castle. Use a black felt tip to decorate the castle with bricks, windows and arrow-slits.
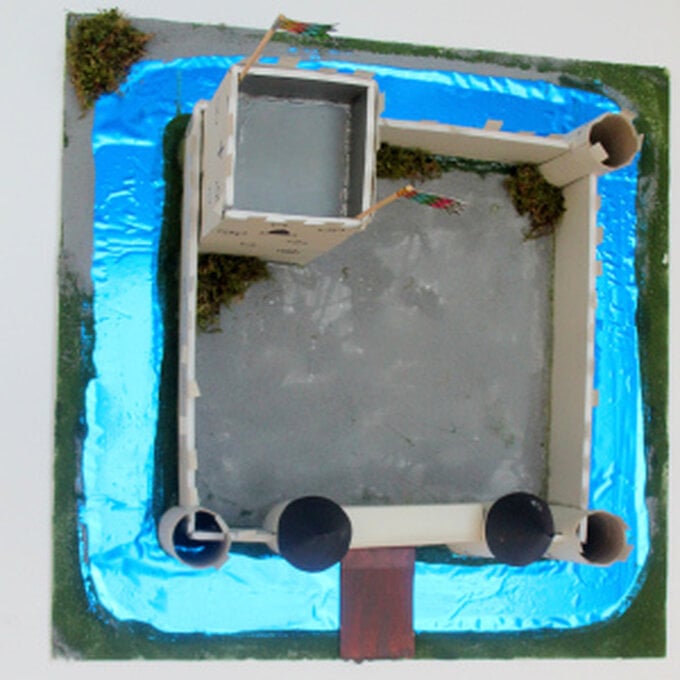
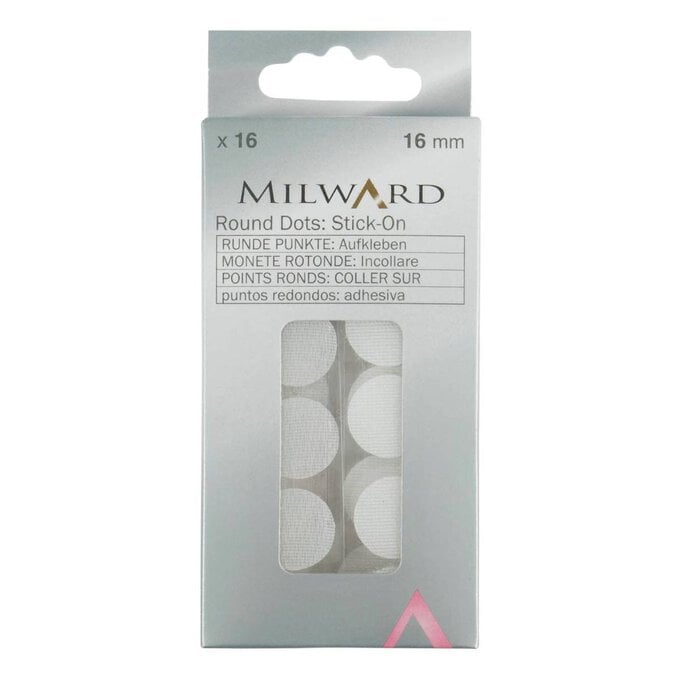
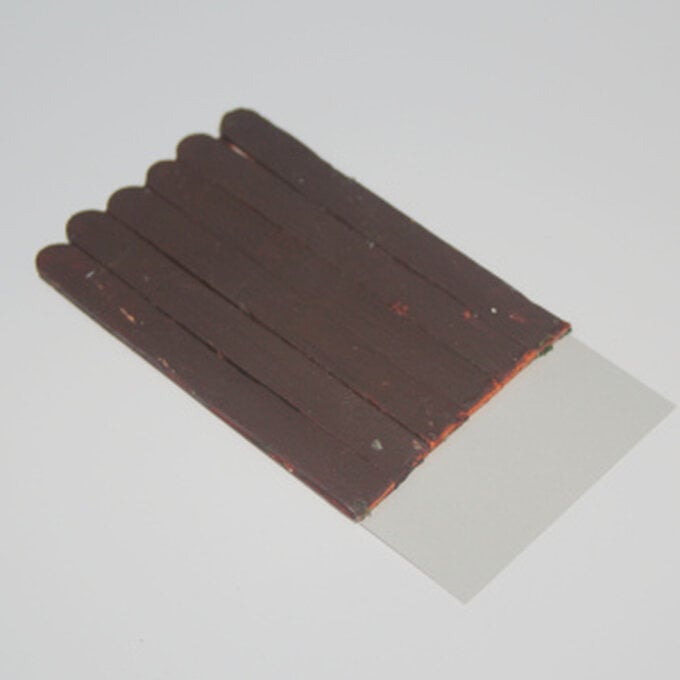
To make the drawbridge, use double-sided tape to stick six lollipop sticks side by side onto a piece of card. Cut around the card leaving an inch at the bottom. Paint brown and glue inside the doorway. Add some self-adhesive velcro to the top of the drawbridge and wall to enable it to open and close.
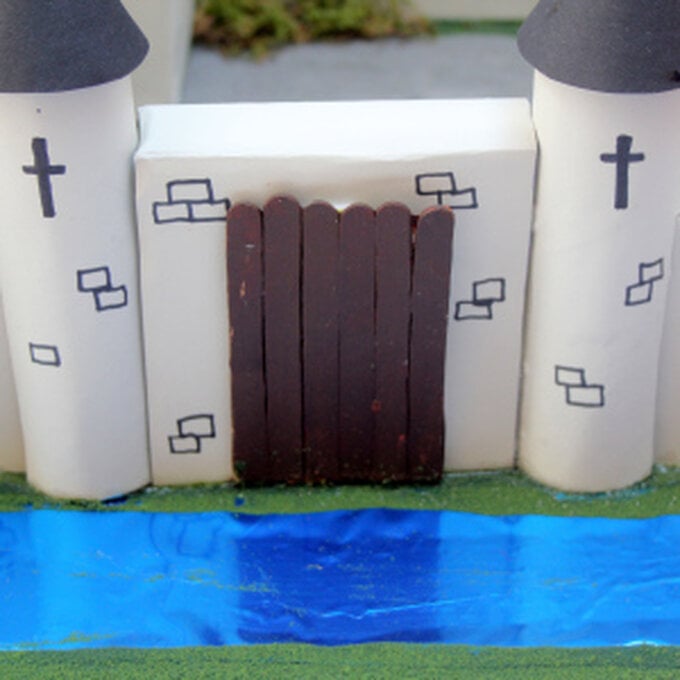
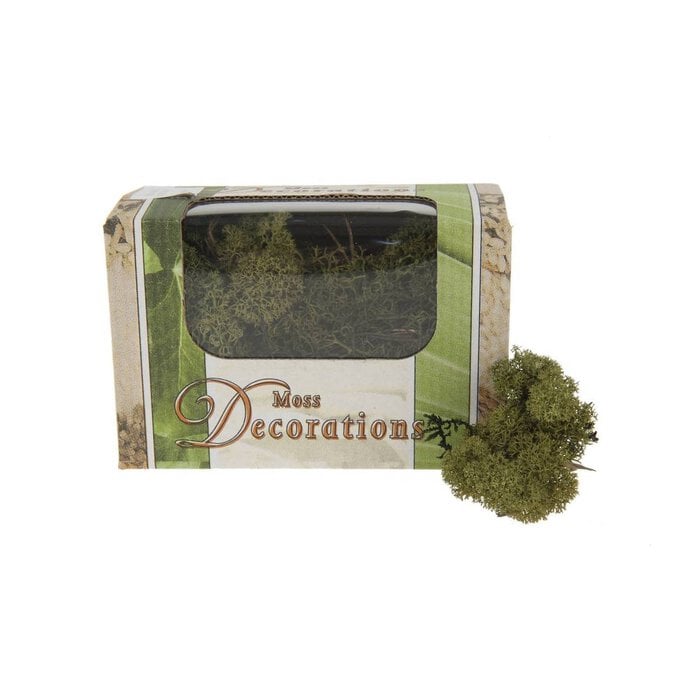
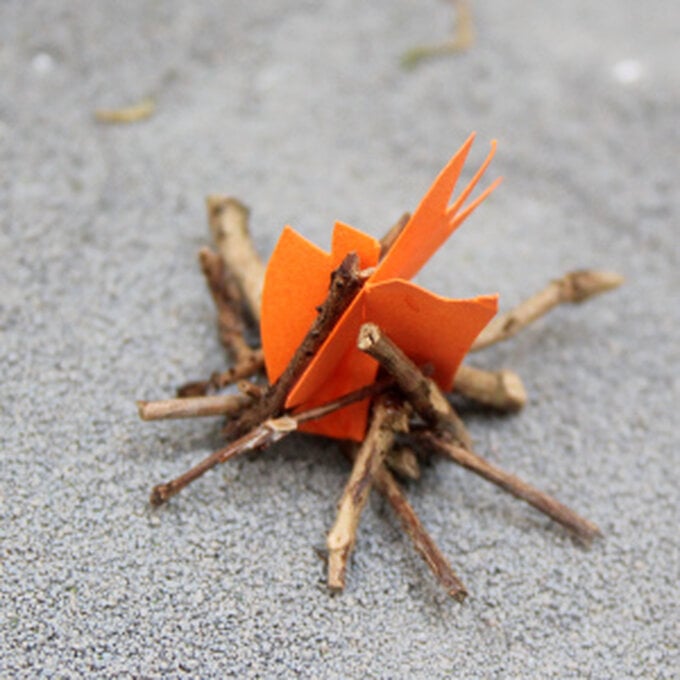
Finally, add moss bushes and twig trees to your castle with glue. You could even make a little fire with small twigs and orange card and place this in the middle.
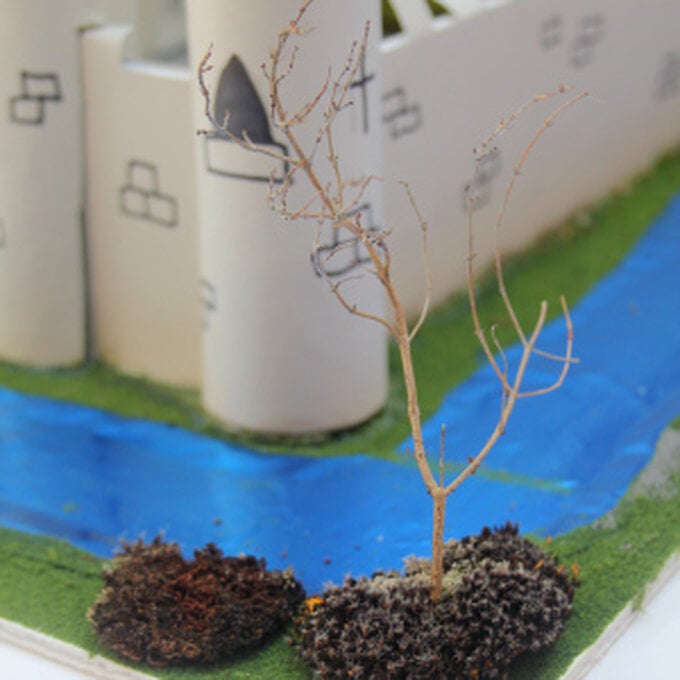
Your castle is finished. Fill it with a King and Queen, and lots of little soldiers to protect its precious walls!
