How to Make a Stitched Easter Bunny Card
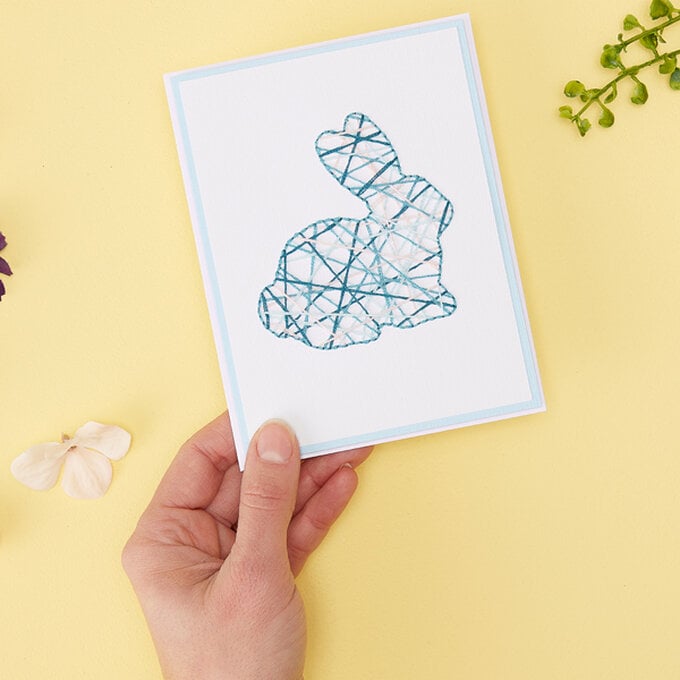
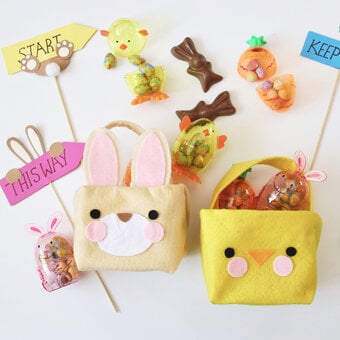
Be right on trend this spring by making this stitched Easter bunny card! Using thread within papercraft projects creates a delicate and modern appearance, although it is still clear that the card has been lovingly crafted by hand.
Project and how-to make instructions by Sue Smith
You will need
Subtotal
Is $ 1.49
Subtotal
Is $ 2.49
Subtotal
Is $ 2.49
Subtotal
Is $ 2.49
Subtotal
Is $ 4.49
Subtotal
Is $ 6.49
How to make
Trim down the right hand side of a white 6 x 6" card blank to measure 11.7 cm across.
Trim a sheet of pale blue textured cardstock to fit as a matted layer, with a thin white border showing. Keep to one side.
Using white textured card, trim to fit onto the pale blue layer with a thin border showing.
Print and cut out the bunny template and transfer onto the trimmed white textured card, using a pencil – make sure to do this lightly.
Carefully pierce tiny holes, evenly spaced along the pencil outline, using the needle. These pre-made holes make it easier to pull the embroidery thread through when sewing into card.
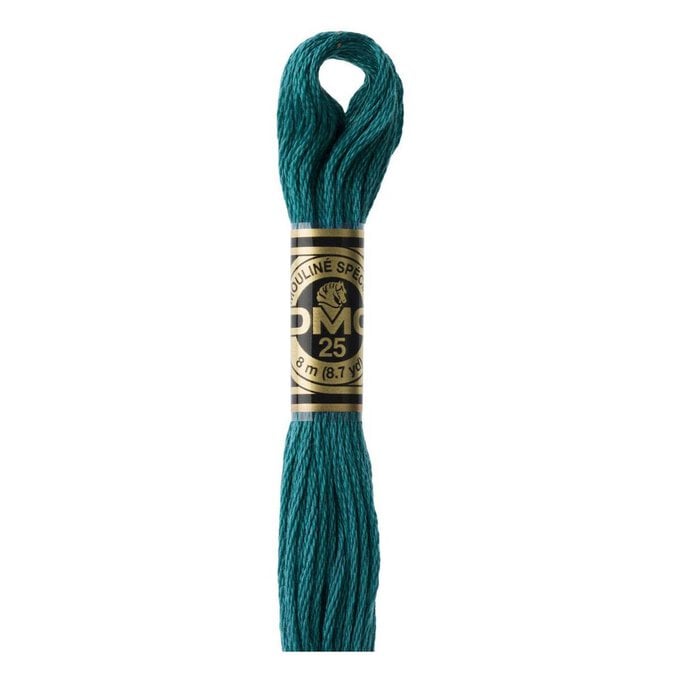
Split a fairly long length of embroidery thread to make two separate lengths, containing three strands each. Begin to sew the bunny criss-cross pattern using one colour at a time. Do not knot the thread, just leave the ends loose. Think about spacing the threads evenly and do not worry too much what the reverse looks like. Continue sewing until all the holes have been used.
Using the mid-toned turquoise colour 3810, and again only three strands, sew around the bunny outline in a back stitch.
Use a glue stick, to rub over all the loose ends to fix in place. Add more glue over the reverse side and fix onto the pale blue matted layer.
Add 3D foam pads to the back of the panel to fix the panel onto the card blank base.
