How to Sew a Craft Organiser
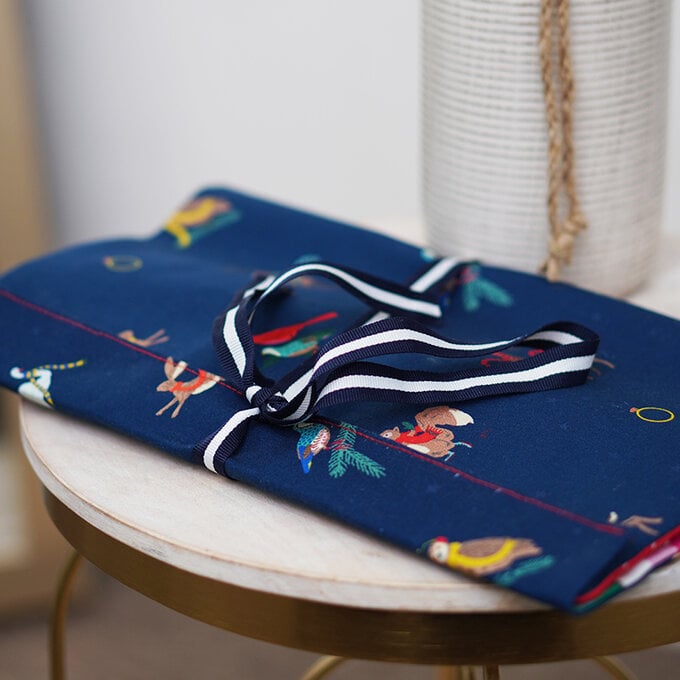
Get your must-have sewing supplies in order with this craft organiser, created using the new and exclusive 12 Days of Christmas cotton fat quarters by Joules.
Create this nifty craft storage roll as a gift for a loved one or as a little something for yourself, mixing and matching the festive heritage designs to create something truly special.
Project and instructions by Juliet Uzor.
You will need
Subtotal
Is $ 26.00 , was $ 52.00
Out of stock
Subtotal
Is $ 11.00 , was $ 22.00
Subtotal
Is $ 7.49
Subtotal
Is $ 1.49
Out of stock
Subtotal
Is $ 4.49
Subtotal
Is $ 6.49
Subtotal
Is $ 9.49
Subtotal
Is $ 8.49
Out of stock
Subtotal
Is $ 5.49
Subtotal
Is $ 4.49
You will also need:
* Iron
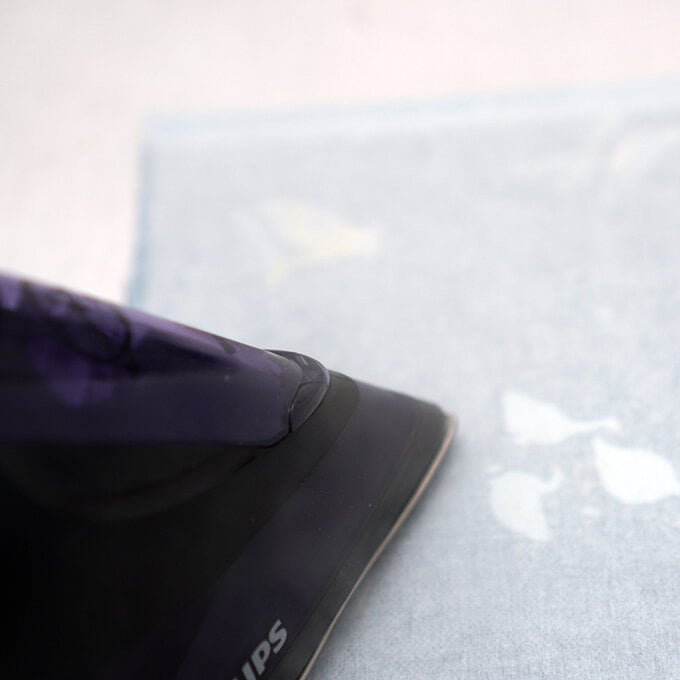
Start off by pressing your fabric to ensure it has no folds or kinks.
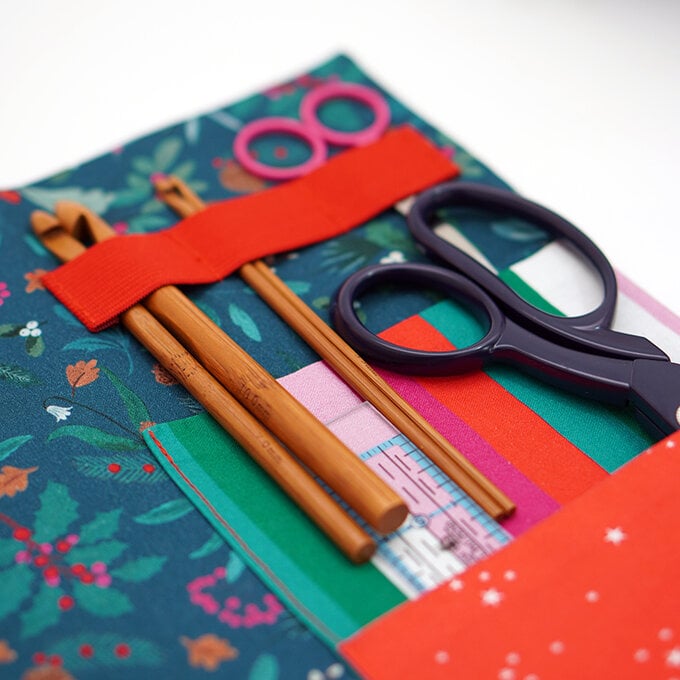
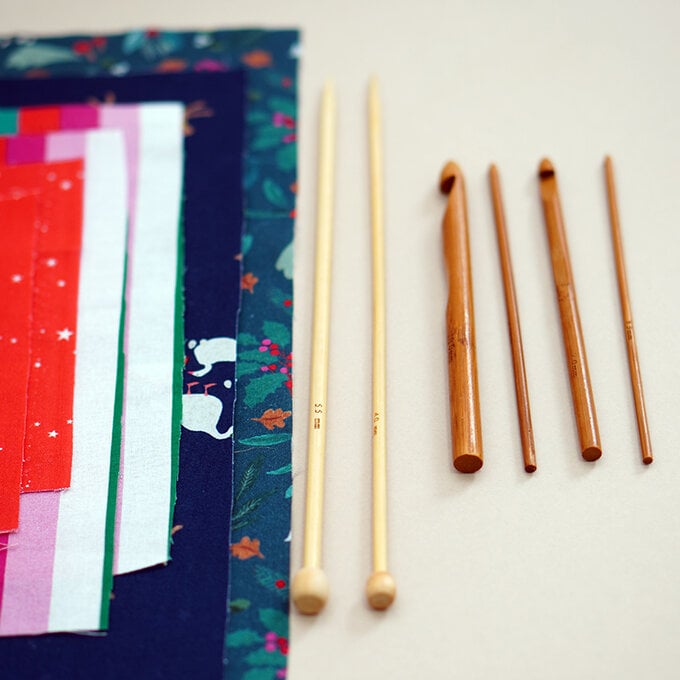
The fabric dimensions for your craft roll will be determined by the length of your craft tools; I've made mine to house knitting needles, crochet hooks and sewing essentials.
Based on the measurements of these, I cut out six fabric pieces with the following dimensions:
A- 44cm x 34cm (2 pieces)
B- 24cm x 15cm (2 pieces)
C- 28cm x 16cm (1 piece)
D- 18cm x 10cm (1 piece)
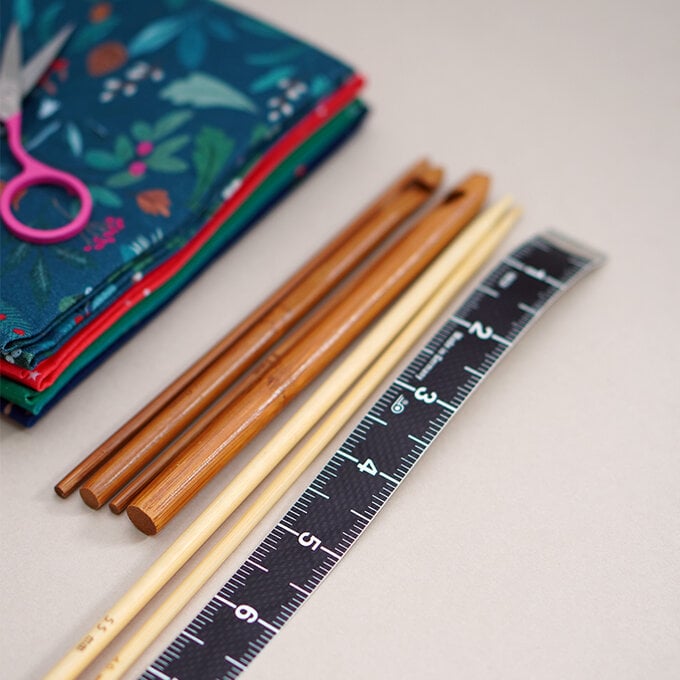
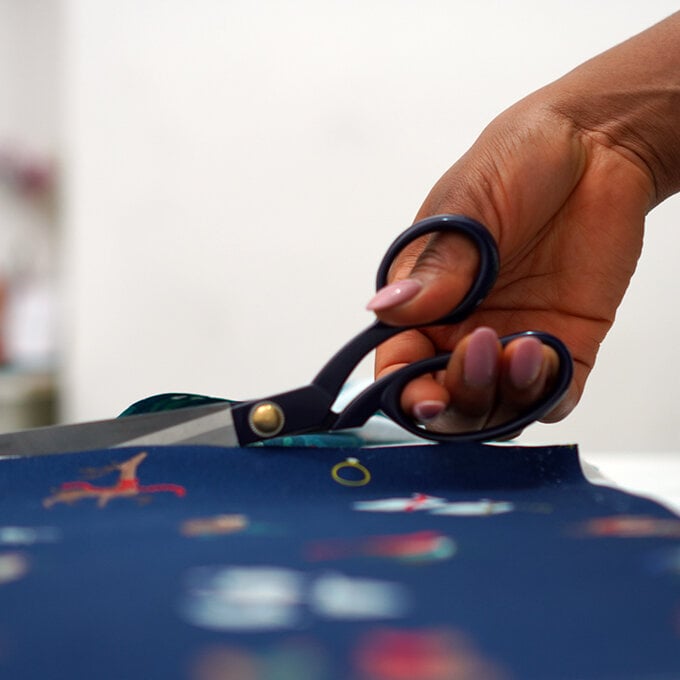
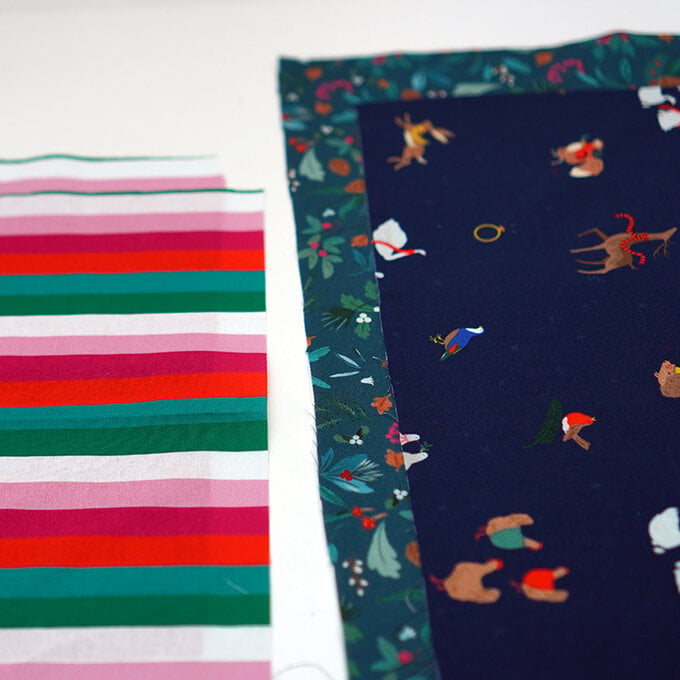
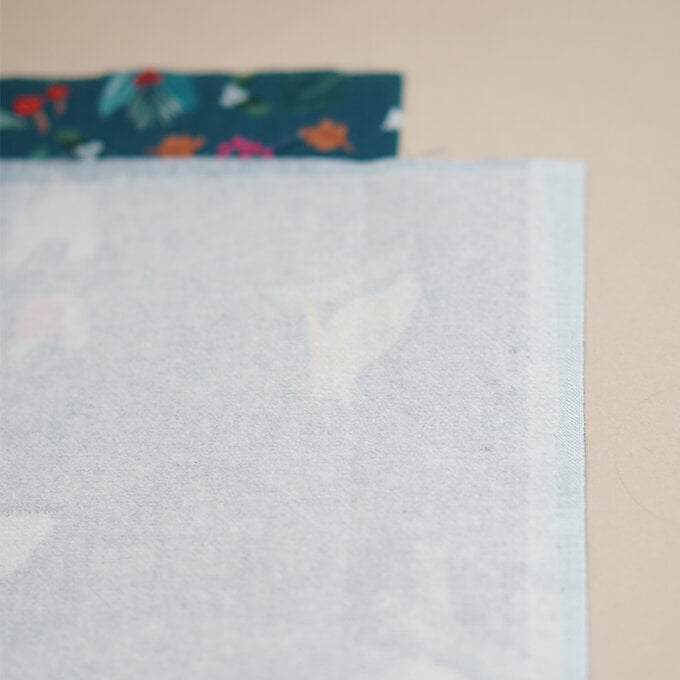
Once the fabric pieces are cut out, press on some mid-weight interfacing on the two (A) pieces to give your craft roll some structure when finally constructed.
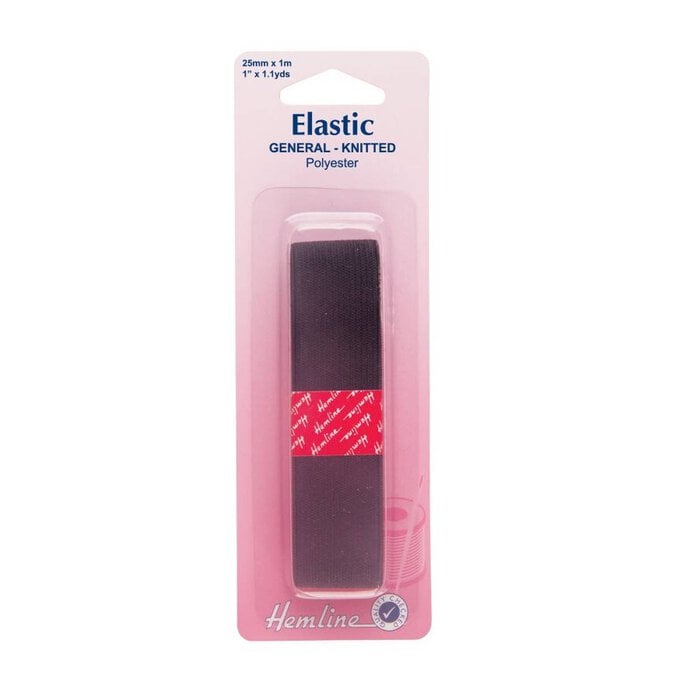
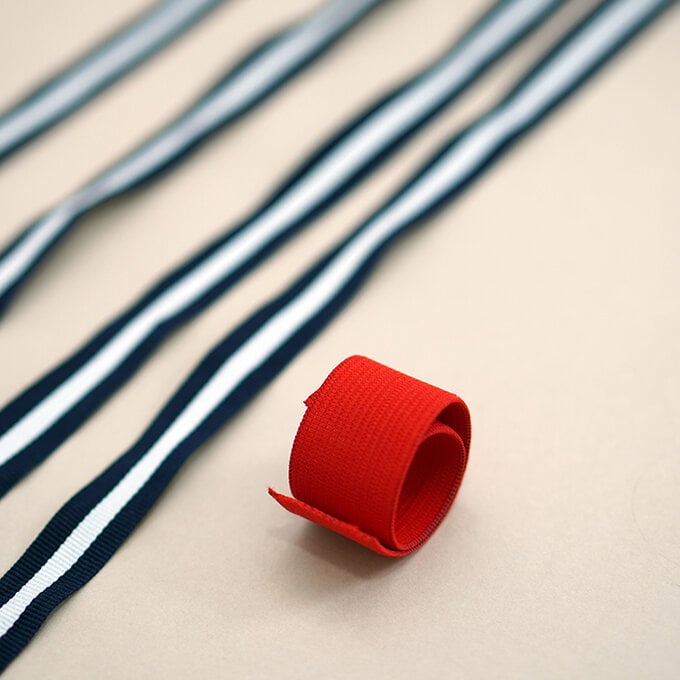
As well as the cut fabric pieces you will also need some 2.5cm wide elastic cut to 13cm long, and two lengths of ribbon measuring roughly 55cm in length - I used the ribbon that came wrapped around the fat quarters.
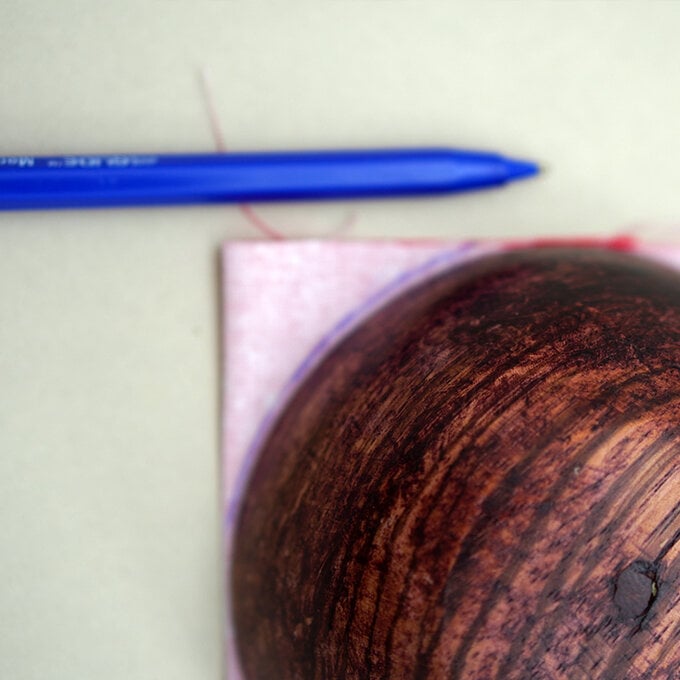
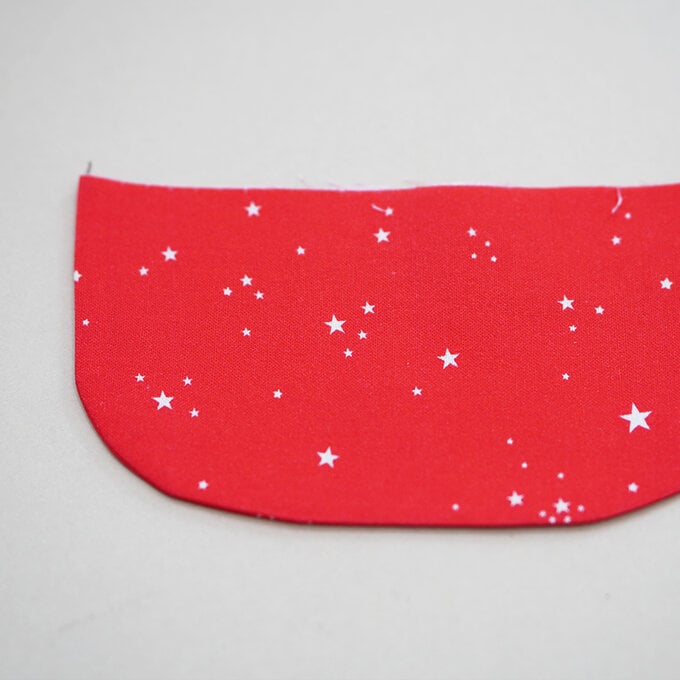
With right sides together, fold (D) in halves and make the corners curved by drawing around the curved edge of a circular object. Stitch around the curved edge using a 1cm seam allowance.
Trim off the excess seam allowance before turning it inside out.
Give it a press and set aside.
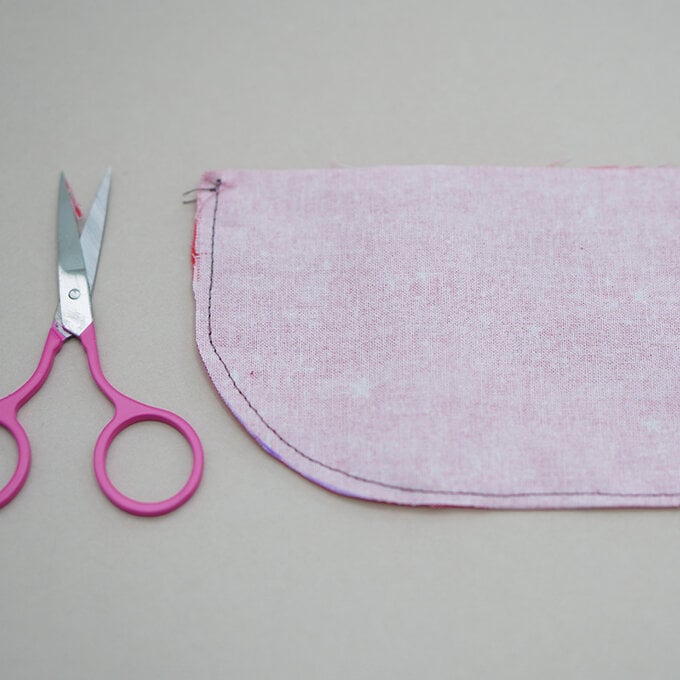
With right sides together, fold the (B) and (C) pieces in half and sew an L-shape around 2 raw edges of each fabric piece (use a 1.5cm seam allowance).
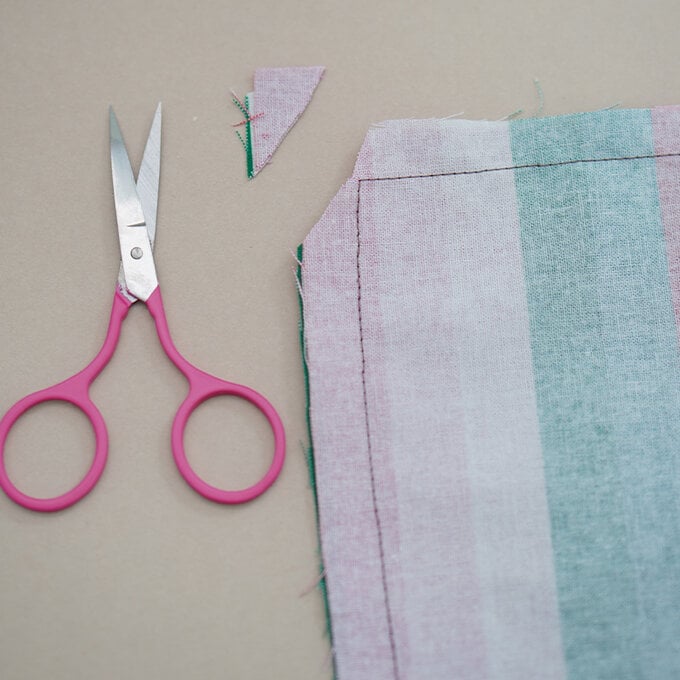
Using a sharp pair of scissors, trim away the corner of each stitched piece and turn the fabric inside out. Press the stitched fabric pieces and set them aside.
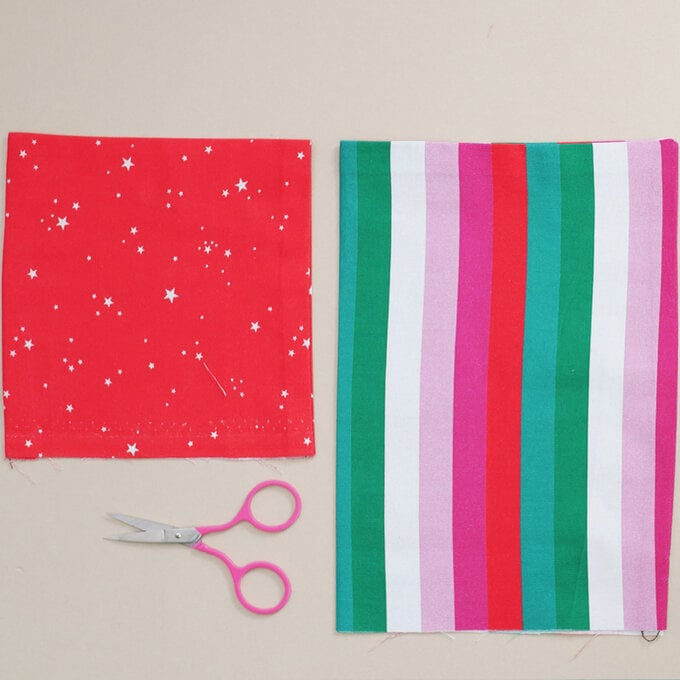
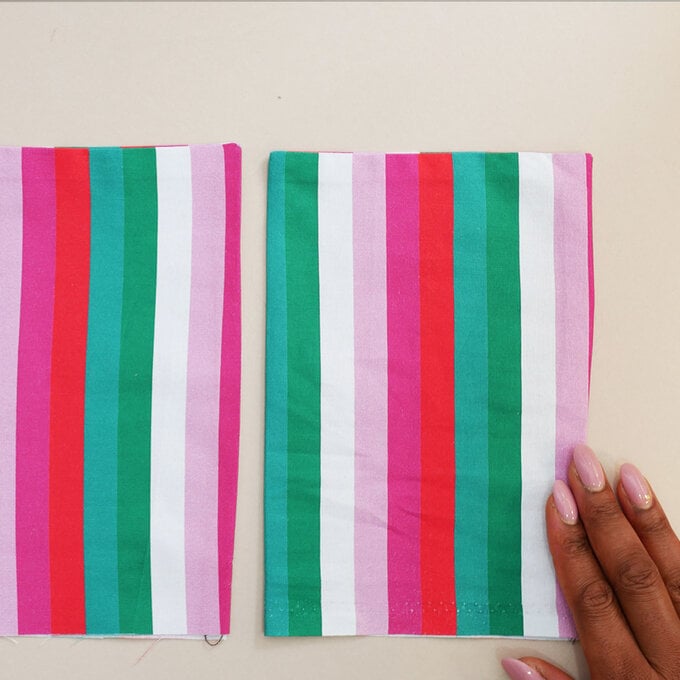
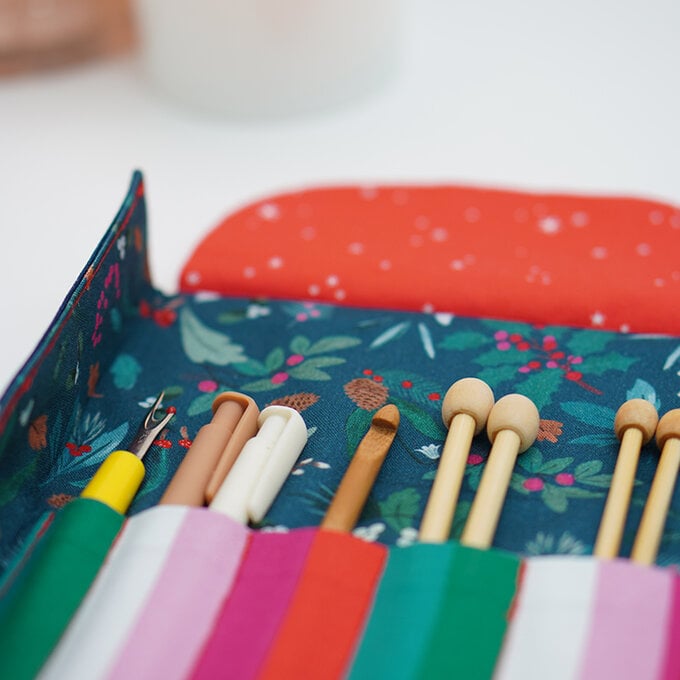
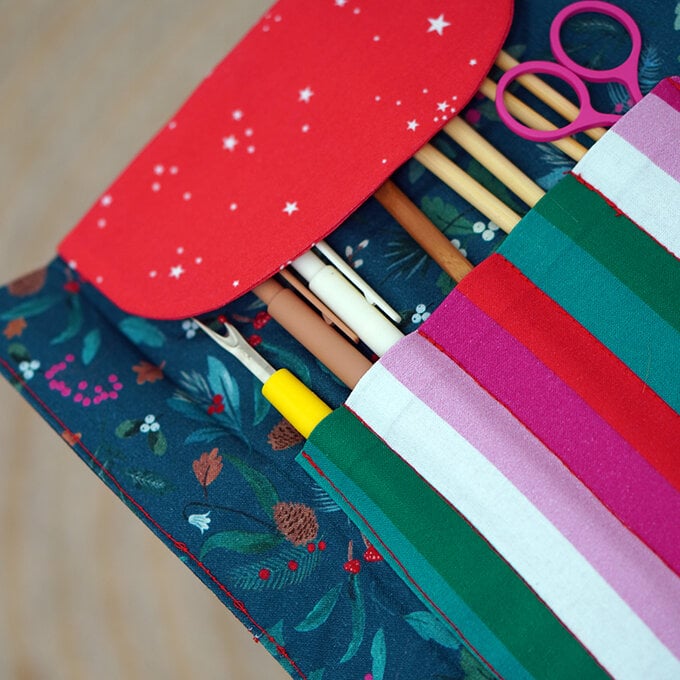
Lay one of the A pieces with the right side facing upwards, and arrange the stitched and pressed (B),(C) and (D) pieces in this order.
Allow all the raw edges to be aligned with the raw edge of the large fabric piece.
When you are happy with the arranged pieces, pin them in place.
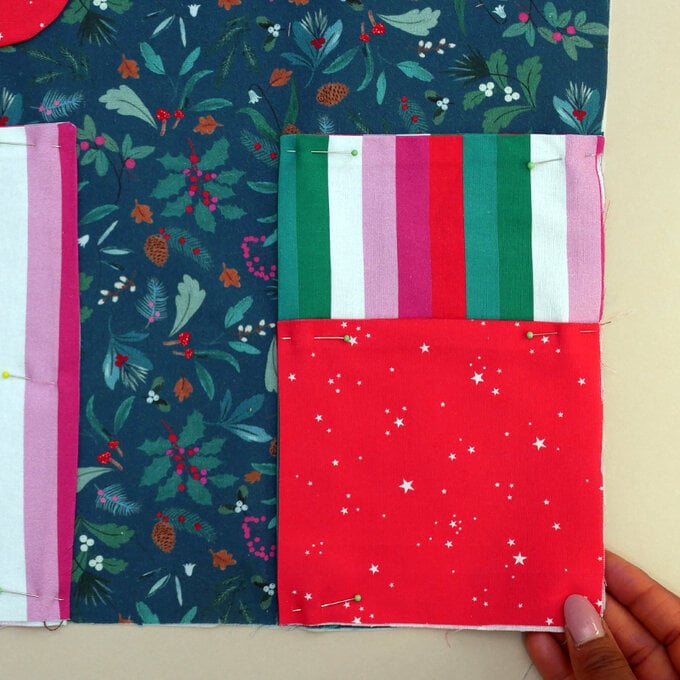
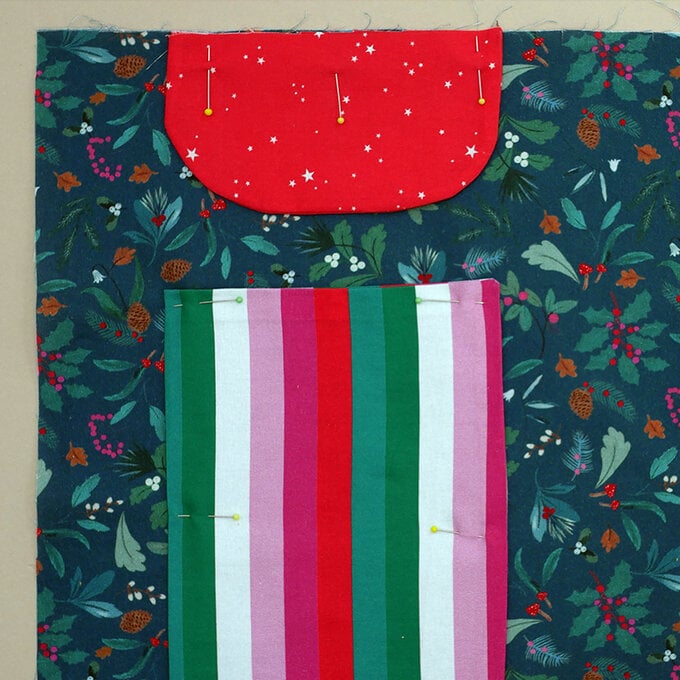
Before stitching, on one of the (B) pieces, you will need to mark some guidelines for any knitting needles, paintbrushes, mark-making resources or scissors. The pockets can be as wide as you desire but as a reference, the pockets here are 2.5cm apart.
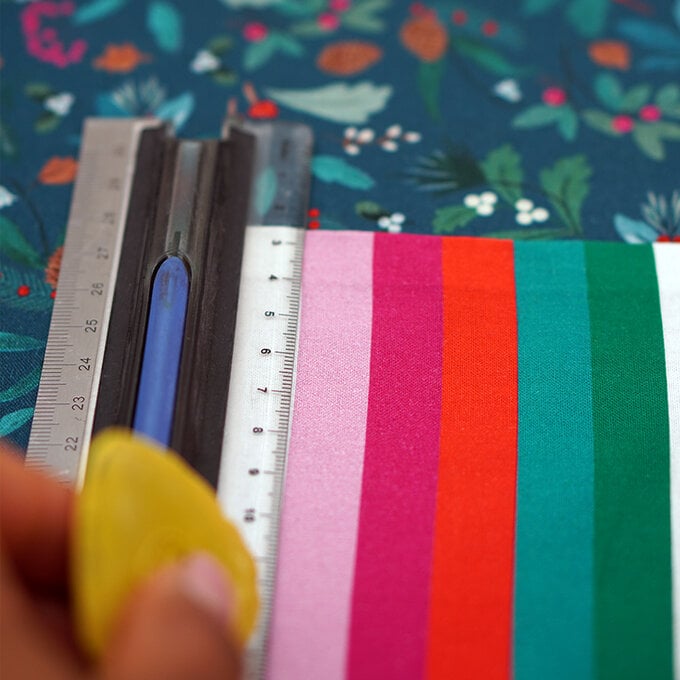
You will also have to pin and mark stitching lines on your elastic band.
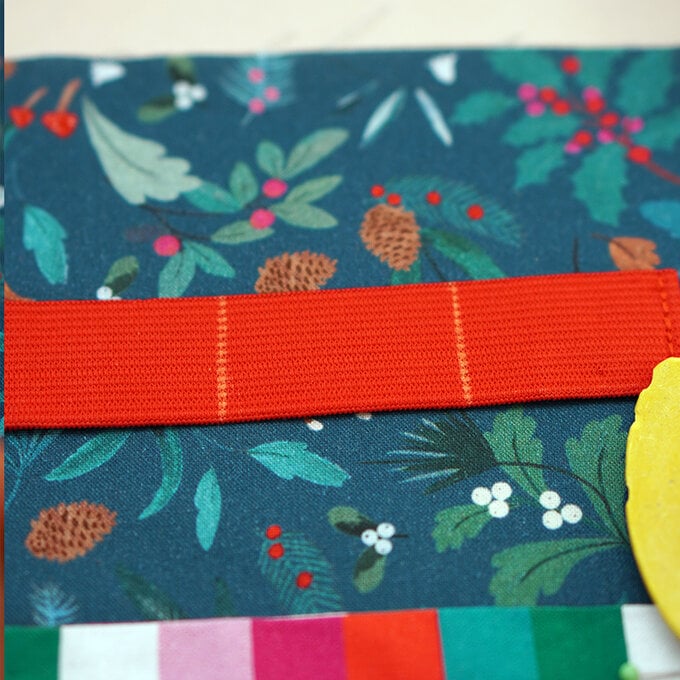
Edgestitch the pockets in place, and sew along the marked out 2.5cm wide stitch lines.
The elastic band will have to be edge-stitched using straight stitches. Remember to sew along the marked out stitch lines on the elastic band.
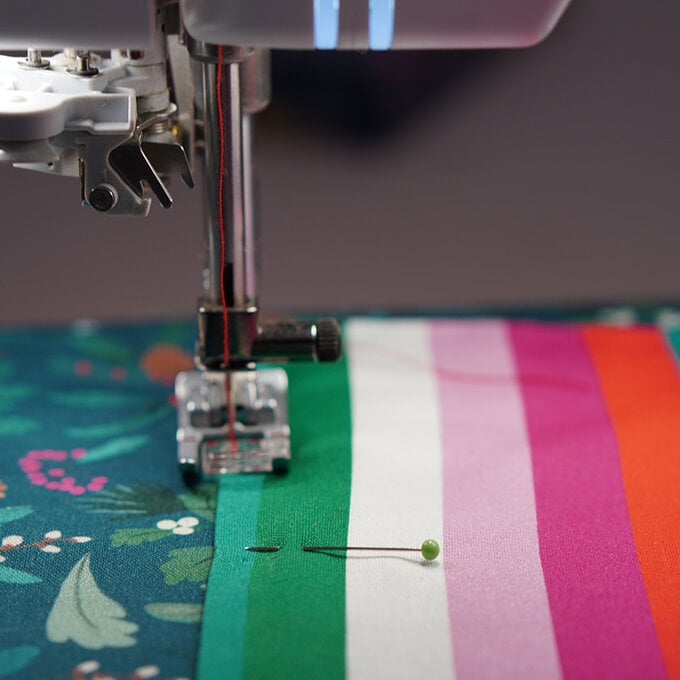
Lay the second piece of fabric (A) on top of the first one (right sides together). With the edges matching, pin along the edges and stitch in place using a 1.5cm seam allowance.
You will need to leave a 5cm gap to allow the right side to be turned out.
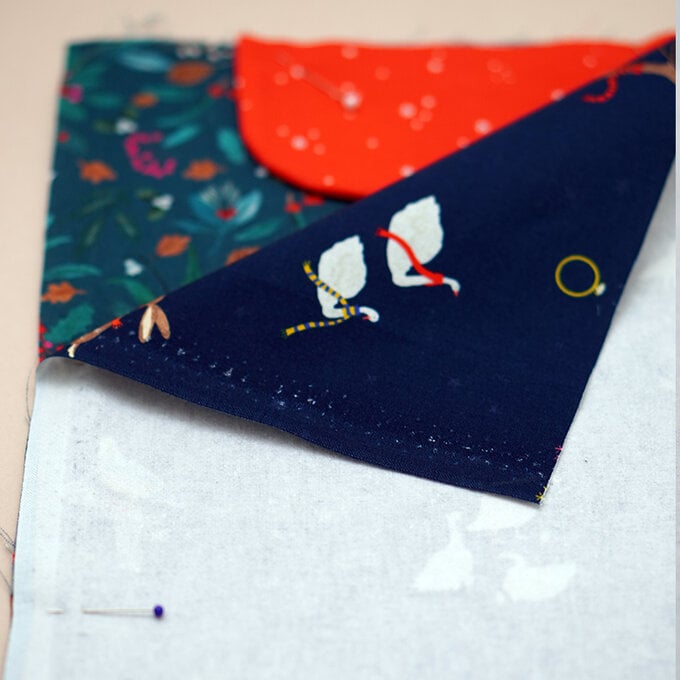
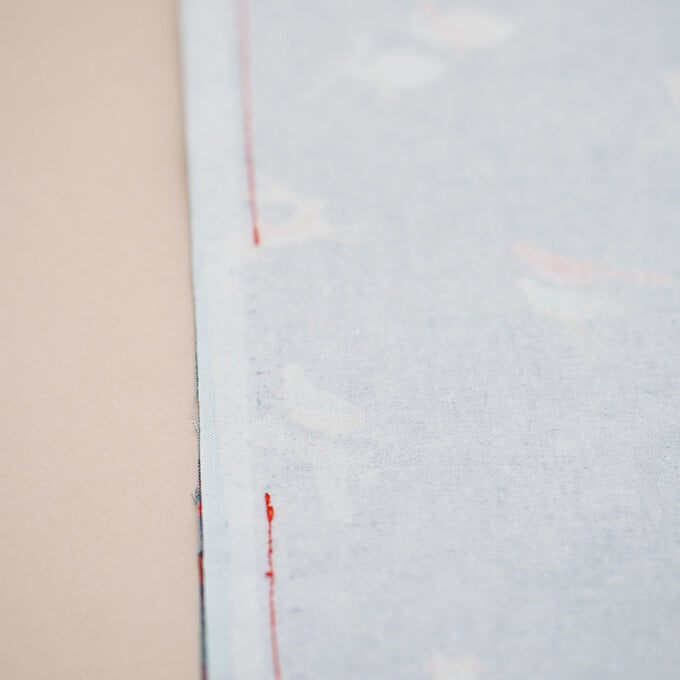
Carefully, turn the right side out and trim off the corners with a sharp pair of scissors (remember to avoid cutting into the stitches).
Use a blunt object to carefully poke the corners to create neat 90-degree edges.
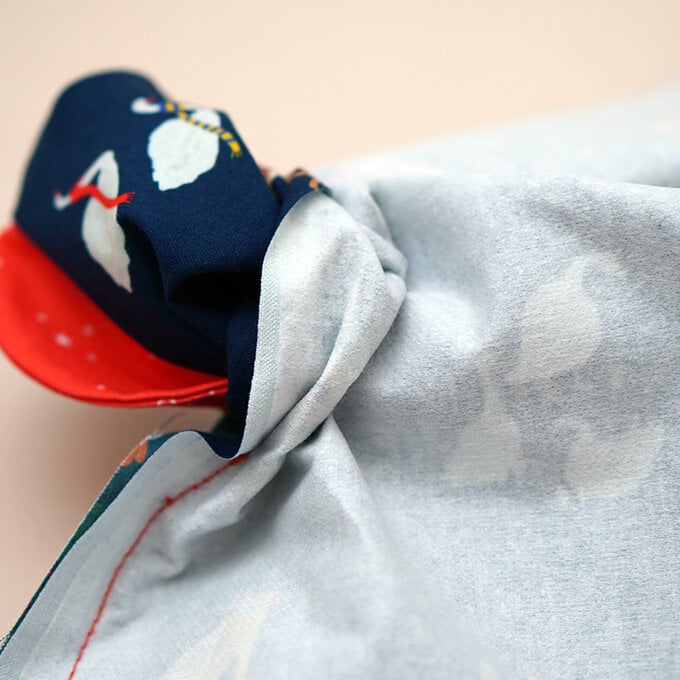
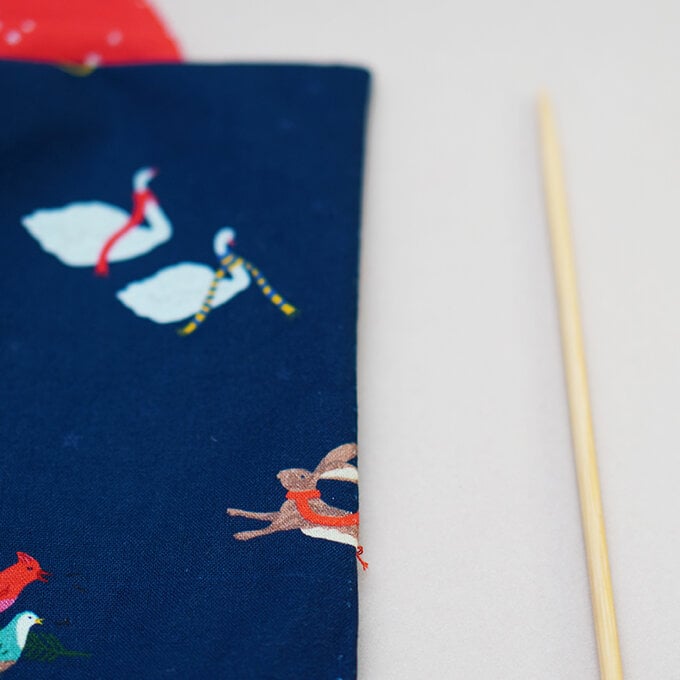
Before closing the 5cm gap, feed in about 3cm of your cut-out ribbons (aligned with the centre point of the side of the nearly-finished craft roll. Pin it in place and topstitch the edge of the craft roll (catching the ribbons.
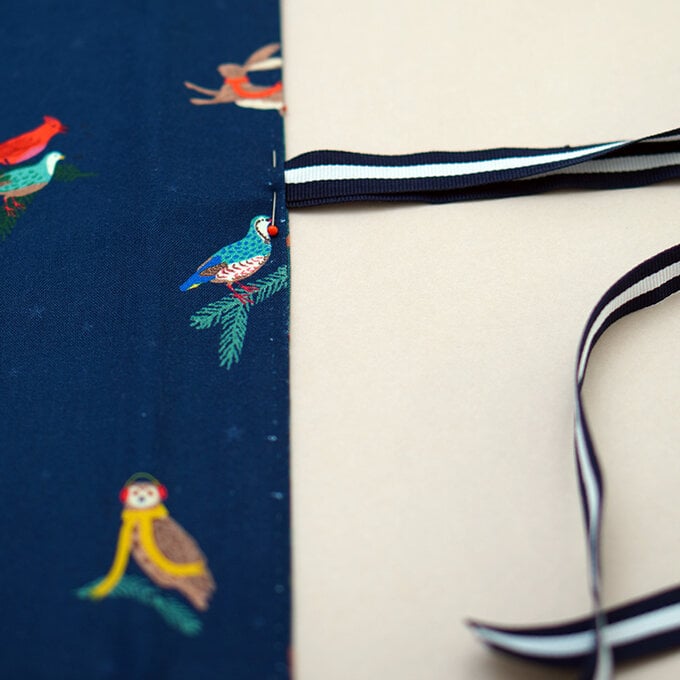
Give your stitched craft roll a final press on both inside and out.
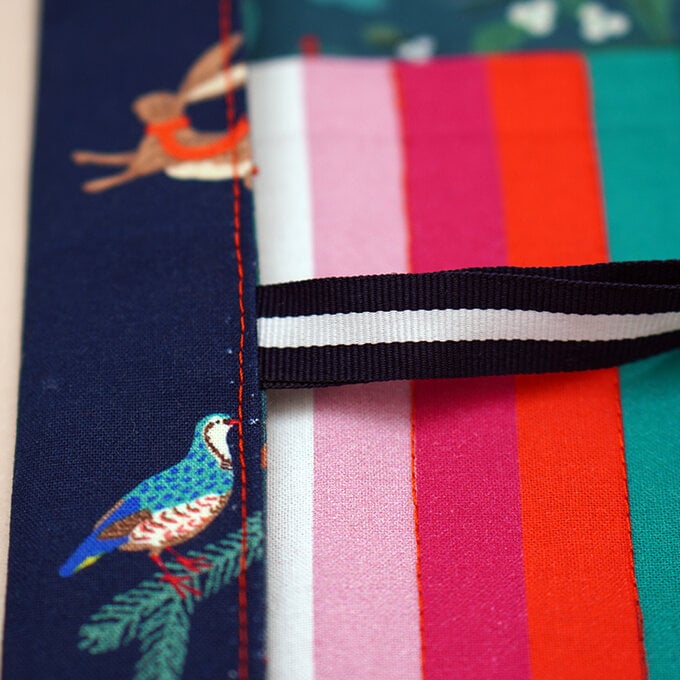
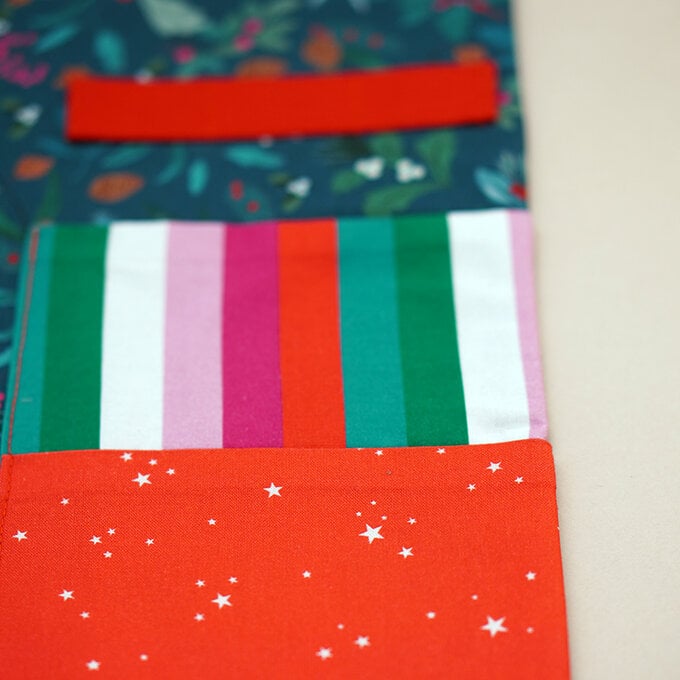
The organiser is then ready to be filled with your crafty goodies.
