How to Make Fabric Sewing Accessories
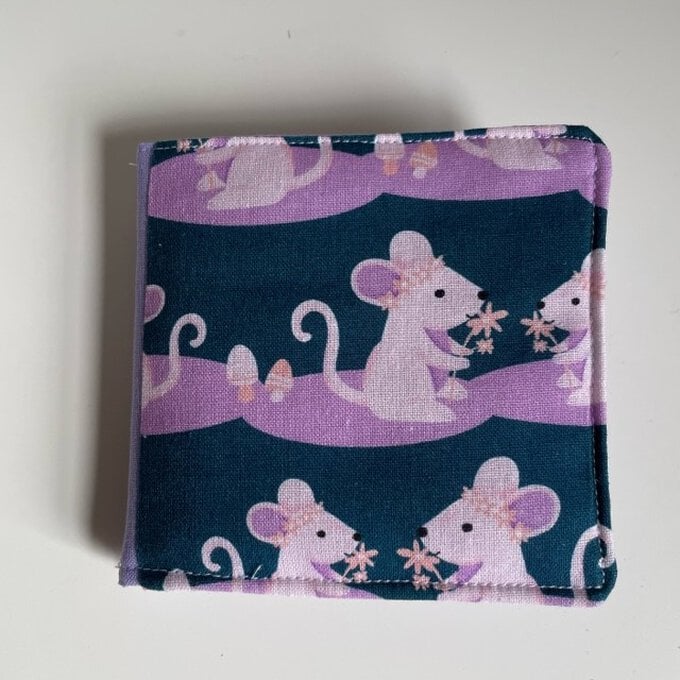
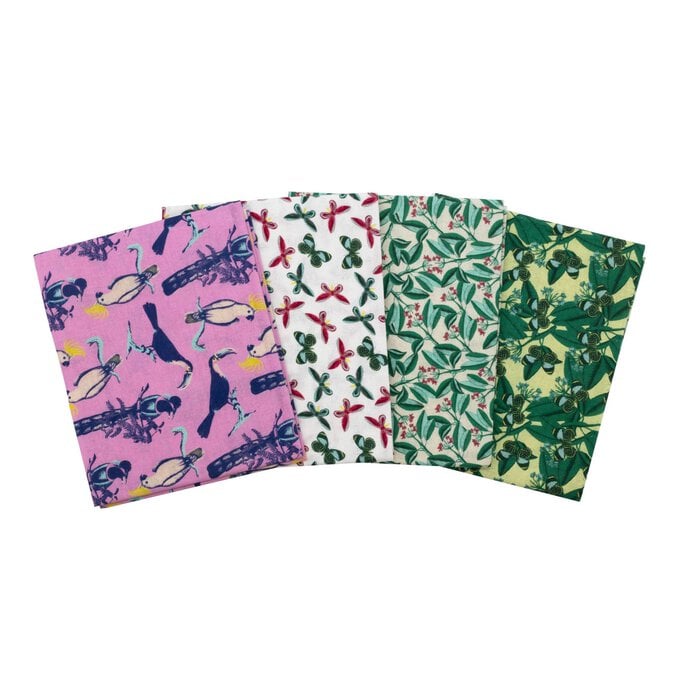
Learn how to make a set of sewing accessories using fat quarters! This project covers a storage box, scissors wrap and needle book, which can be made in any fat quarters of your choice.
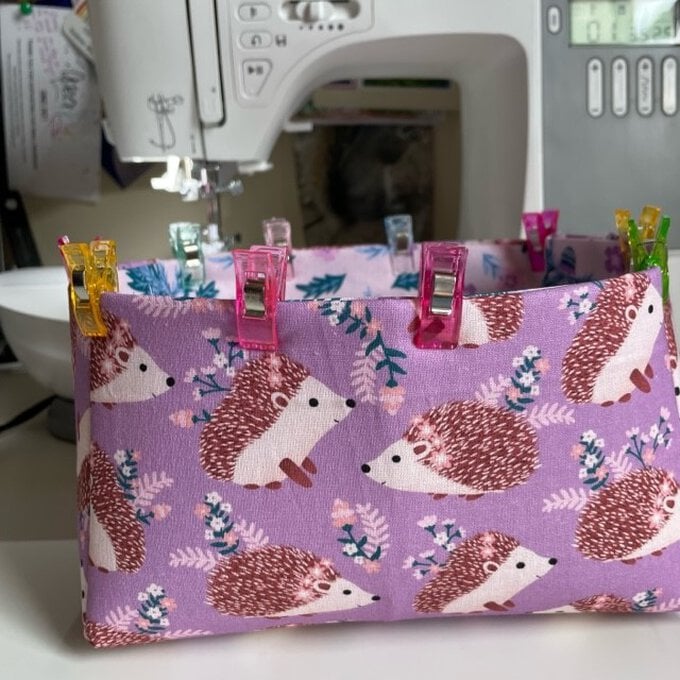
This set of coordinating accessories will look great on your desk or shelves and are perfect for holding all of your sewing equipment. Follow along with the instructions below to find out how to make!
You will need
Subtotal
Is $ 134.00
Subtotal
Is $ 4.49
Subtotal
Is $ 22.00
Is $ 9.49 , was $ 15.00
Subtotal
Is $ 9.49 , was $ 15.00
Out of stock
How to Make
Storage Basket
* Fat Quarters
* Iron-on Interfacing 1 x 1m
* Iron
* Cotton and Polyester Wadding (Crib) 114 x 152cm
* Sewing Machine
* Sewing Kit
* Scissors
Needle Book
* Fat Quarters
* Sewing Machine
* Sewing Kit
* Scissors
* Cotton and Polyester Wadding (Crib) 114 x 152cm
* Polyester Felt Sheet
* Iron
Scissors Wrap
* Fat Quarters
* Sewing Machine
* Sewing Kit
* Scissors

Draw a 15 x 17" rectangle and then draw a 4.5" square from each corner.
Cut the corners out so you are left with your finished template.
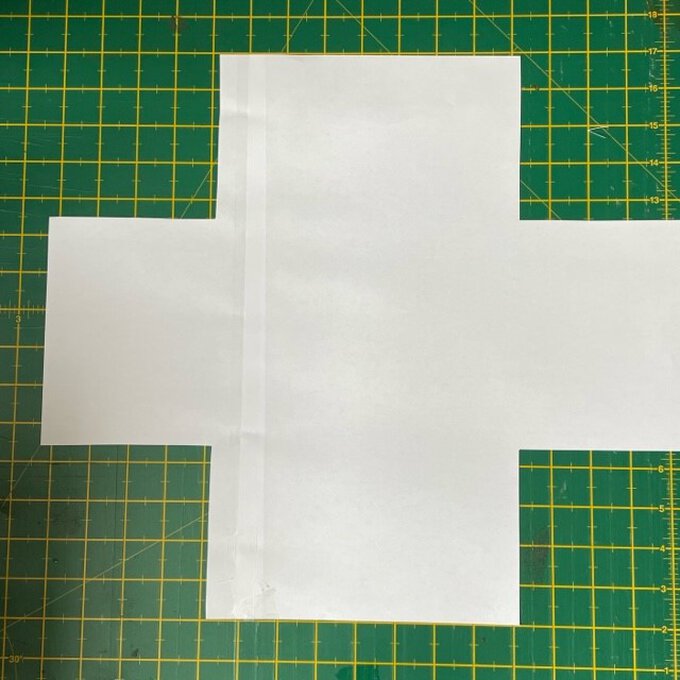
Cut two 17" squares of fabric (a lining and an outside) and two 17" squares of interfacing.
Using an iron, press the interfacing onto the wrong side of both pieces of fabric.
Put the pattern piece onto the interfacing and trace around it, then cut the shape out of the fabric. Move the inside piece aside.
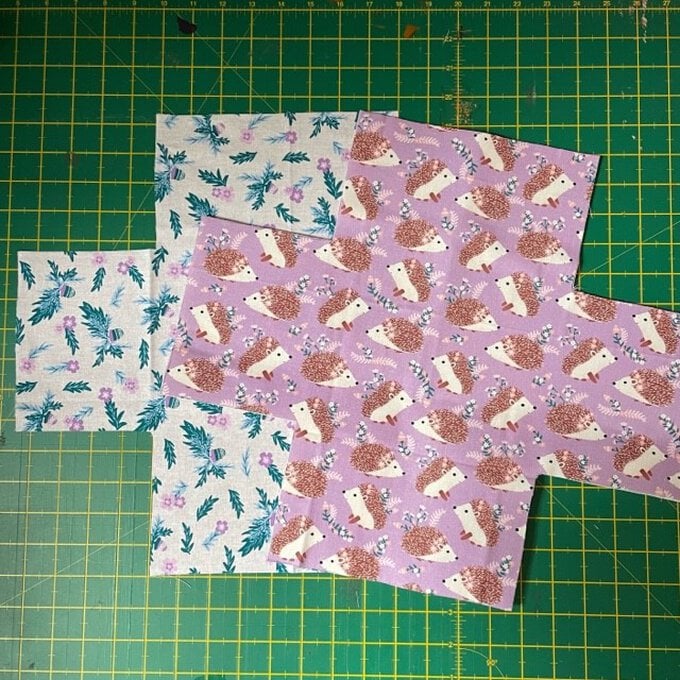
Add a layer of wadding to the outside piece. Clip in place to keep layers together.
On the outer piece, press the edges over so you have a 0.5" seam allowance. Trim off the 0.5" of wadding under the fold.
On the lining, press the edges over to create a 0.75" seam allowance.
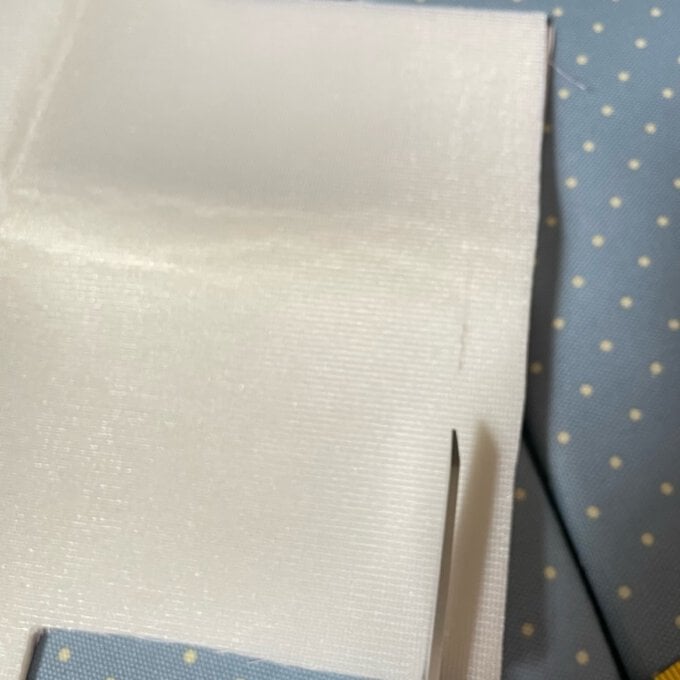
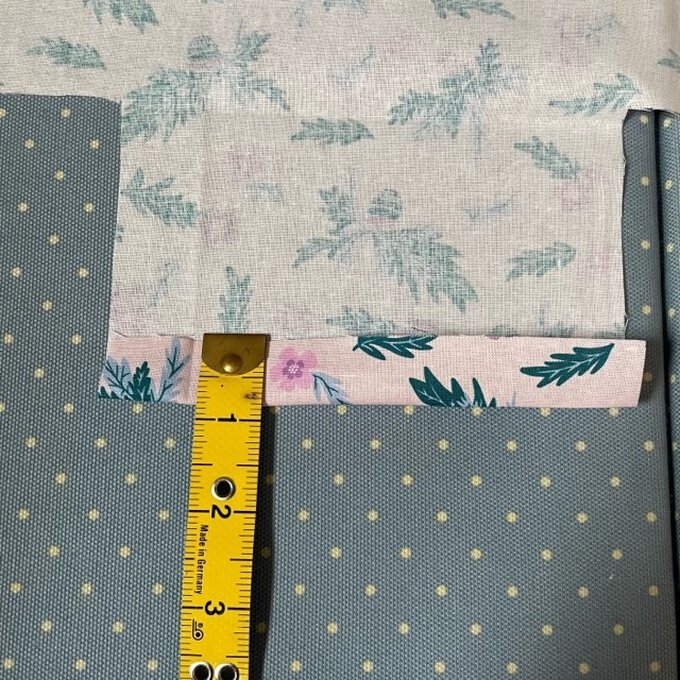
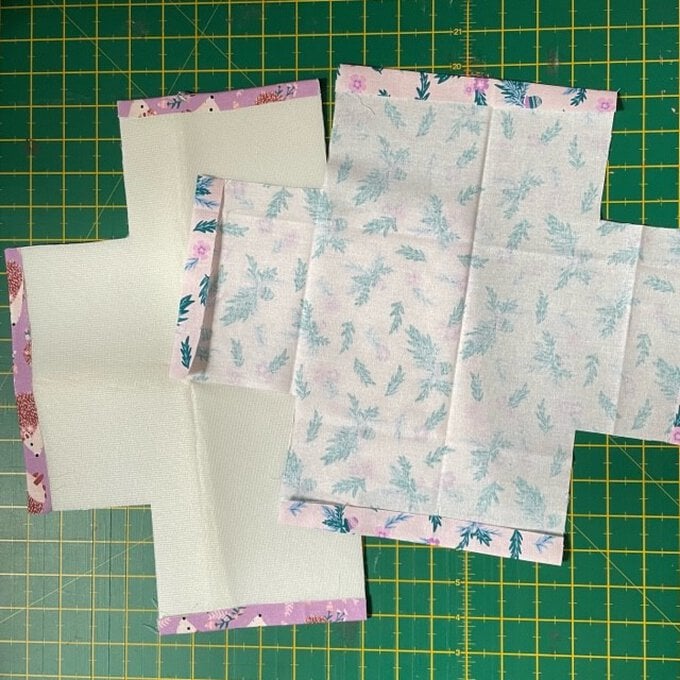
Fold the corners together.
Place the outer piece wrong side up, pin the sides together to create a basket. Sew down all four sides along the 0.5" seam allowance. Turn right side out. Fold over the pre-pressed edges and clip down.
Sew the lining the same, using the pre-pressed seam allowance.
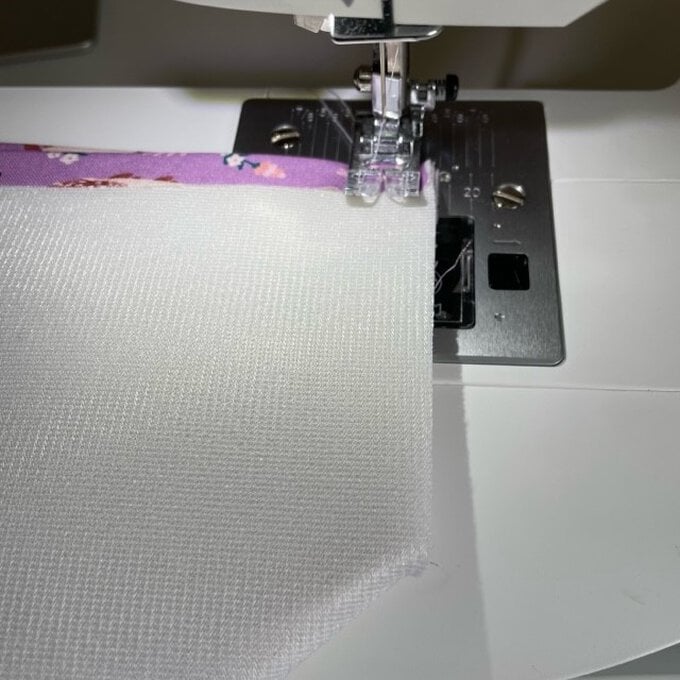
Put the lining inside the outer box. Fold the lining under the pre-pressed folds of the outer layer and clip them down together.
Using 1/4" seam allowance, sew all the way around the top of the basket.
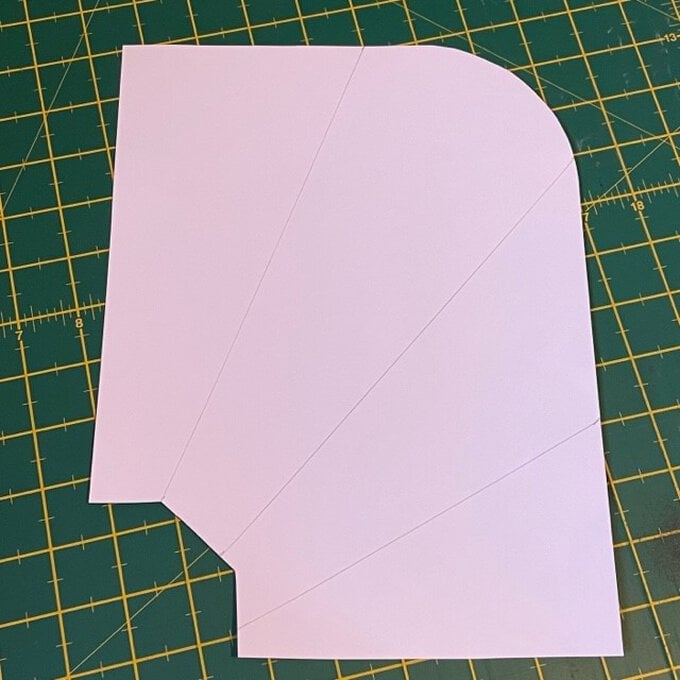
Find a scissor wrap template online. Print and cut it out to scale.
Using the template, cut out two pieces of fabric. One for the lining and one for the outside.
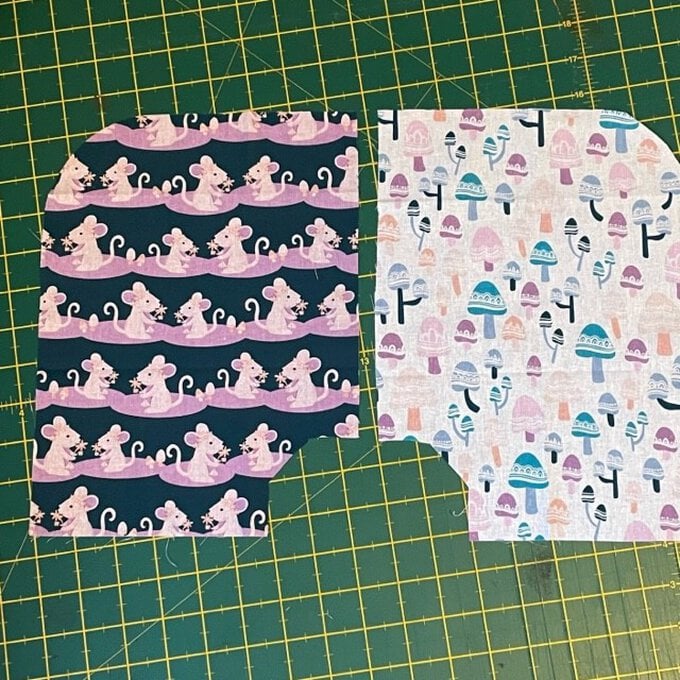
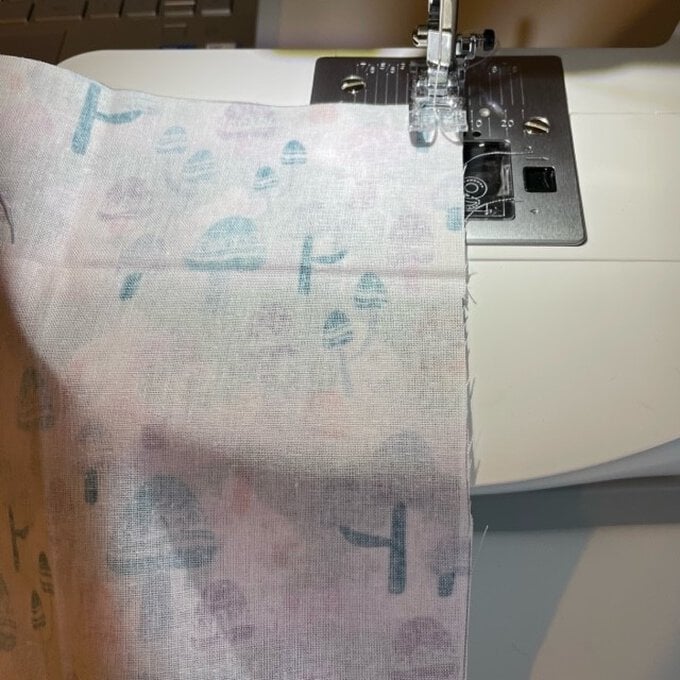
Place the right sides together and sew all the way round (using a 0.25" seam allowance). Ensure you leave a 2" gap so you can turn the wrap through to the right side.
Using the template, follow the fold lines to create your scissor case. Pin in place and sew down both edges.
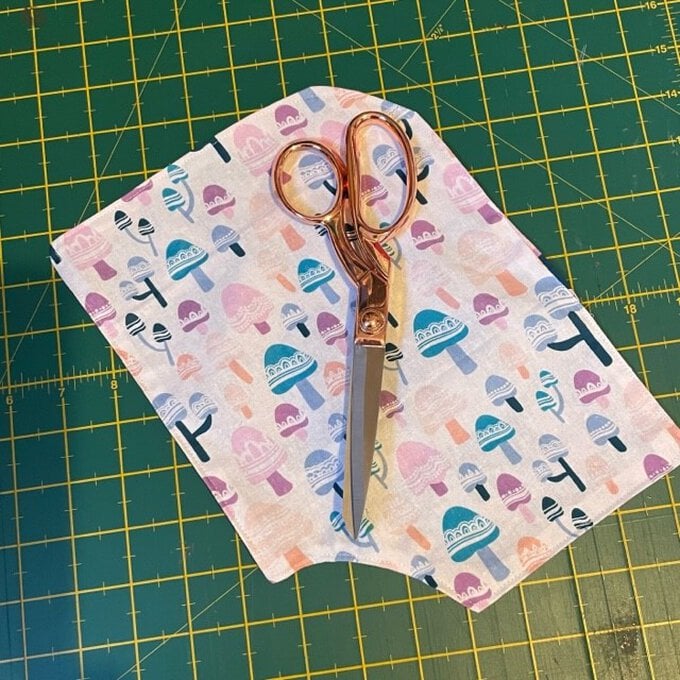
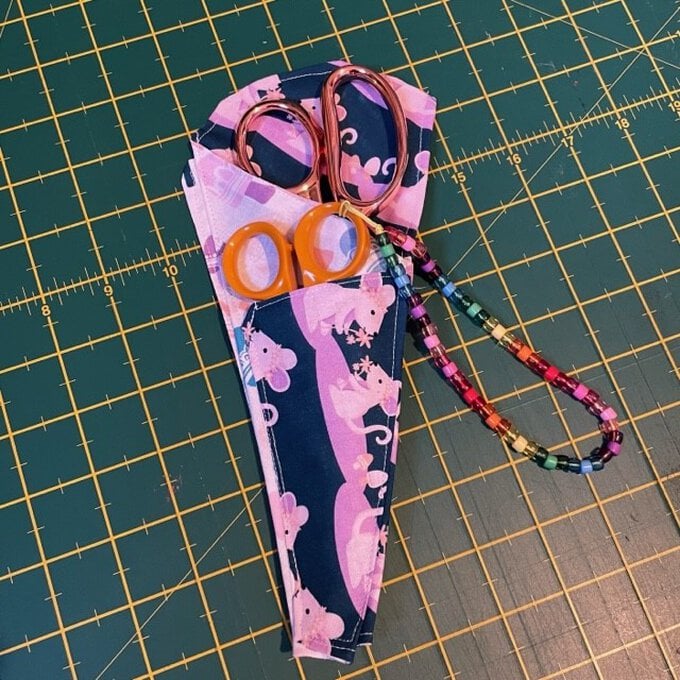
Cut the following pieces from fat quarters:
* 4 x 4" x2 (outer covers)
* 1 x 4" (spine)
* 9 x 4" (lining)
* 8 x 3" x2 (felt)
Sew together one 4" square and the spine using a 1/4" seam allowance. Iron the seam open. Add the second square to the other side of the spine and iron the seam open.
Trace around the piece you've just sewn together onto iron-on fusible fleece or wadding. After cutting this out, iron on the fleece or place the wadding on top of the fabric block.
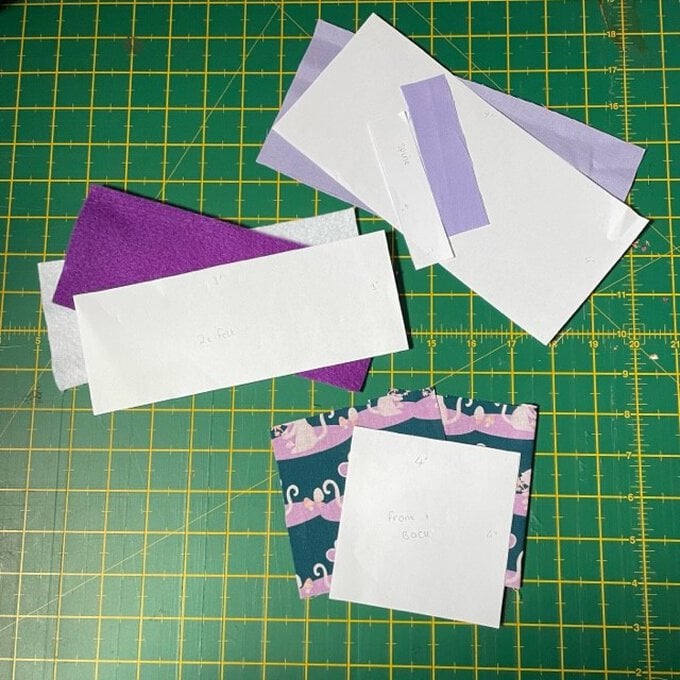
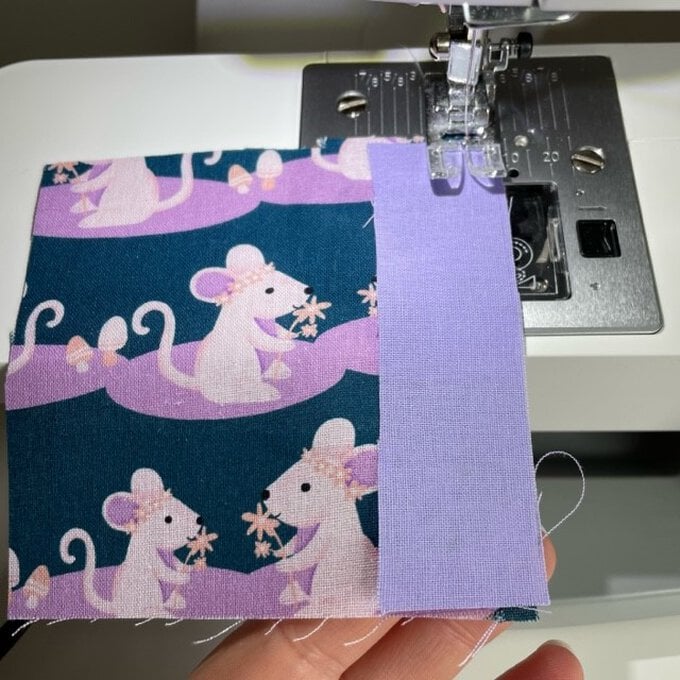
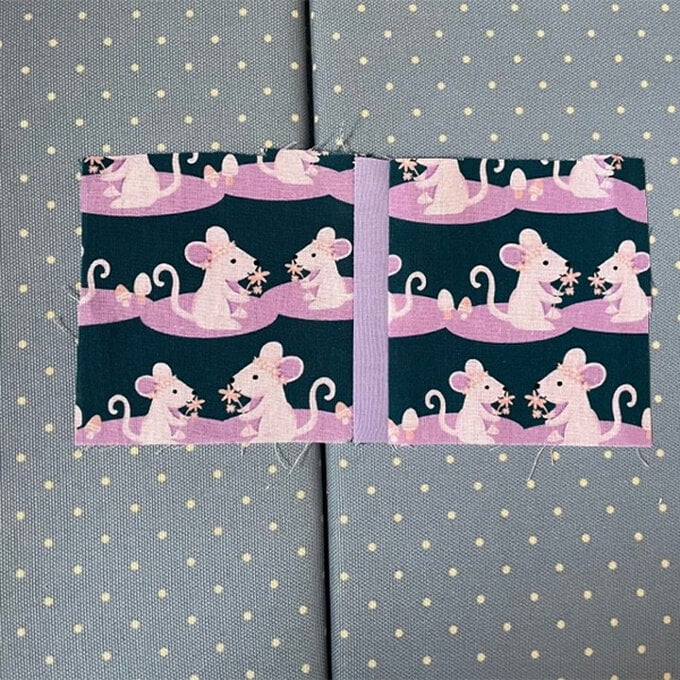
Place the lining onto the outside piee, right sides together. Sew around this using a 1/4" seam allowance, leaving a 2" gap to turn the project through.
Snip off the corners to reduce bulk and turn the pieces right side out.
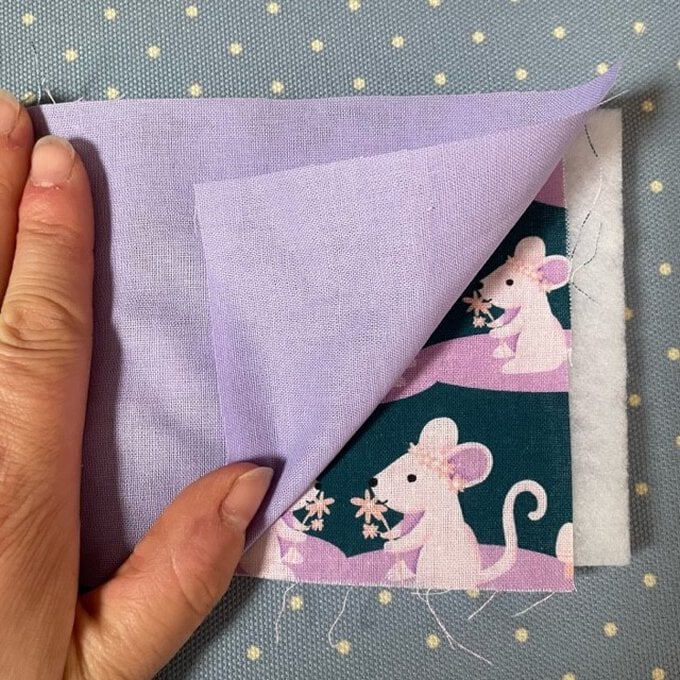
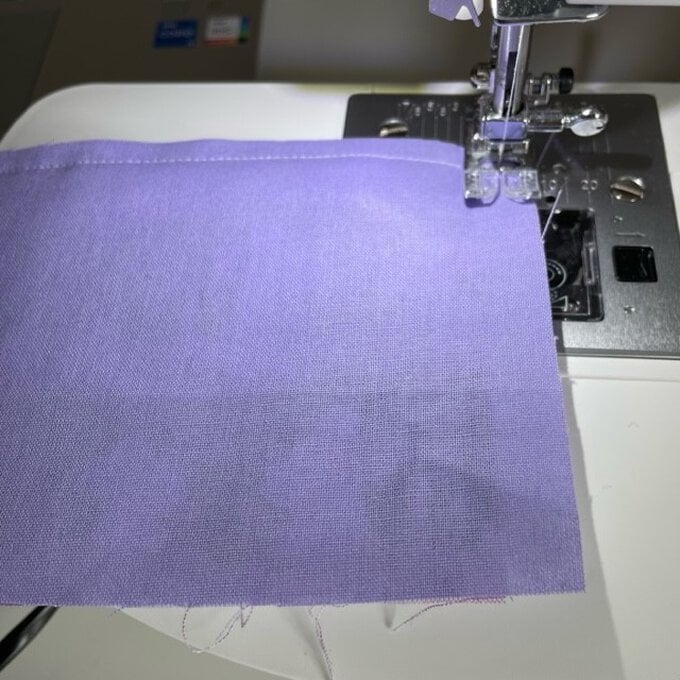
Make sure the inside edges are laying flat, then run a top stitch around the whole project.
Mark a faint line down the centre of the lining piece and the centre of the felt strips. Pin the two felt sheets into place on the centre of the lining and sew down the line.
