How to Create a Watercolour Embroidery Project
Take your embroidery projects to the next level by incorporating watercolour painting into your design.
Within this how-to guide, embroidery expert Kathi – from Katherine Lucy Creates - demonstrates how to combine a beautiful watercolour Earth design with a number of embroidery techniques to create a stunning piece of artwork. It's the perfect way to celebrate World Embroidery Day!
This design can be adapted to include any phrase or sentiment within the banner and would make an ideal new baby gift.
Project and instructions by Katherine Lucy Creates.
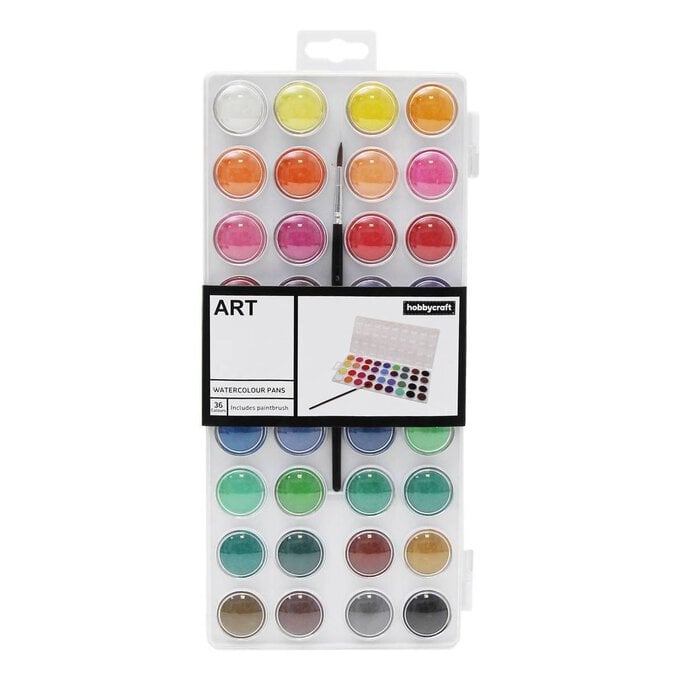
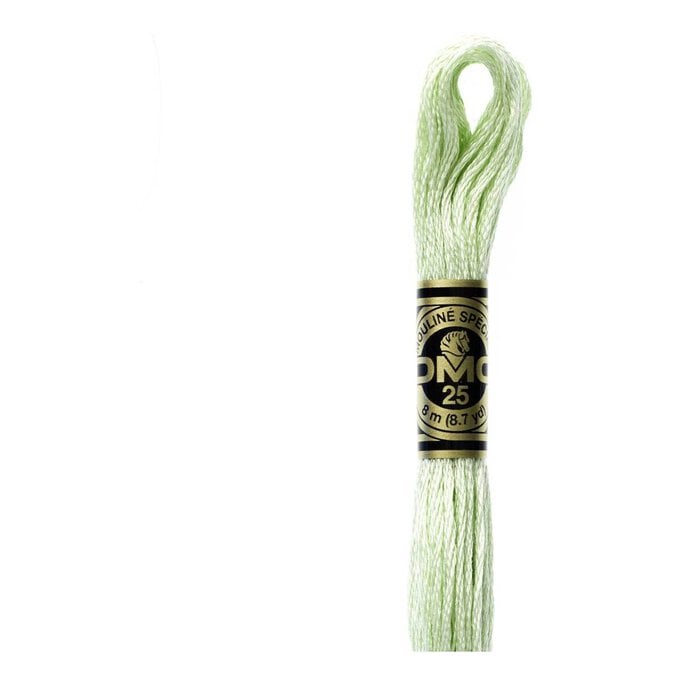
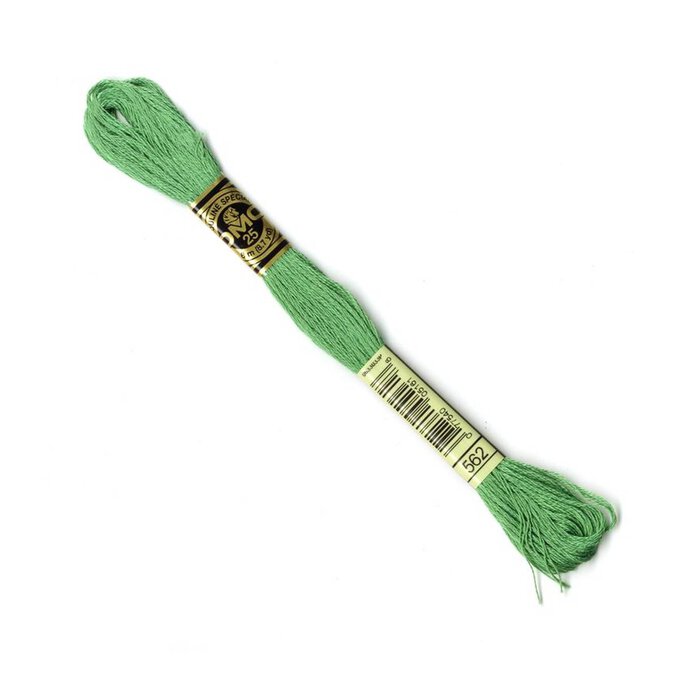
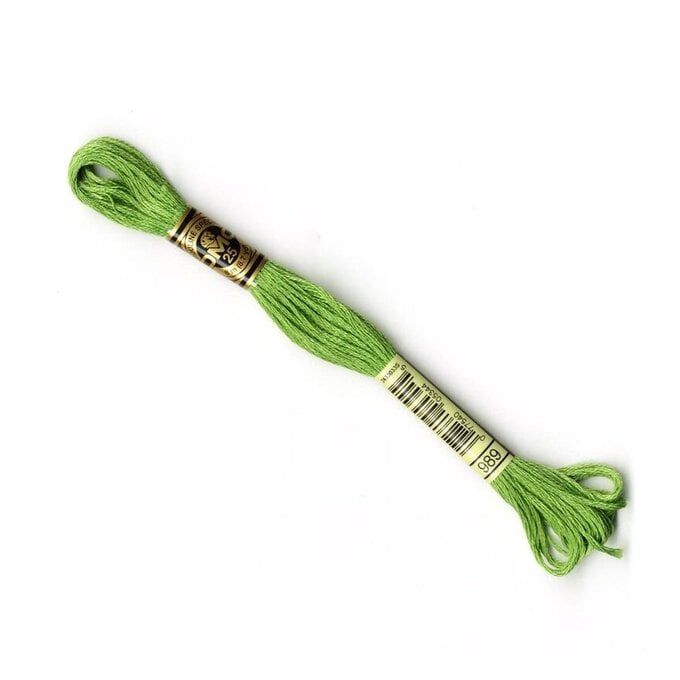
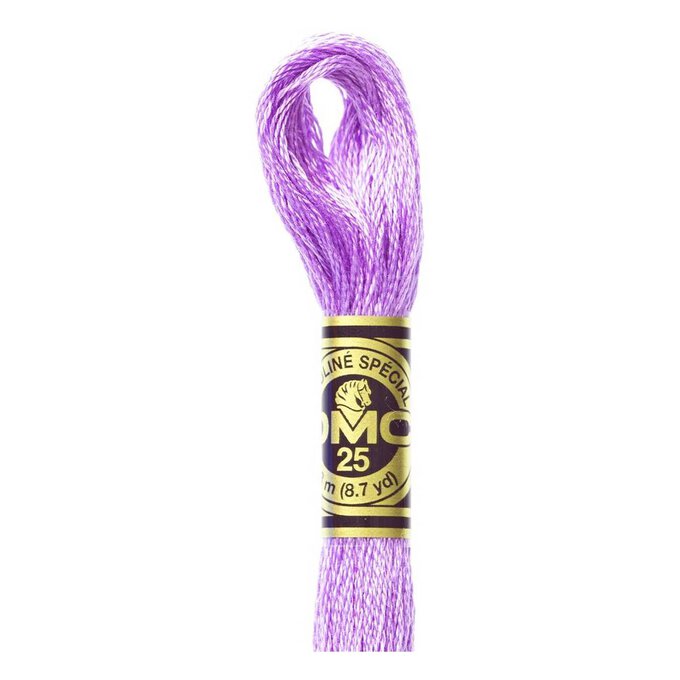
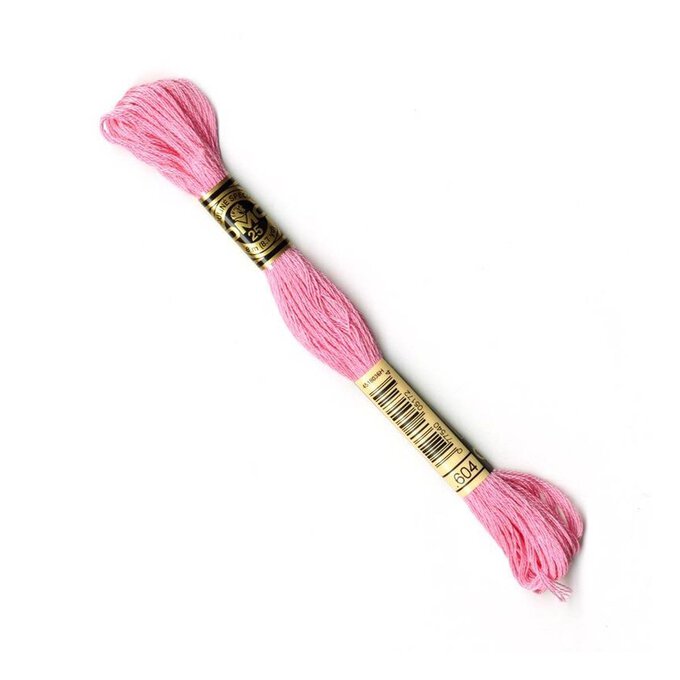
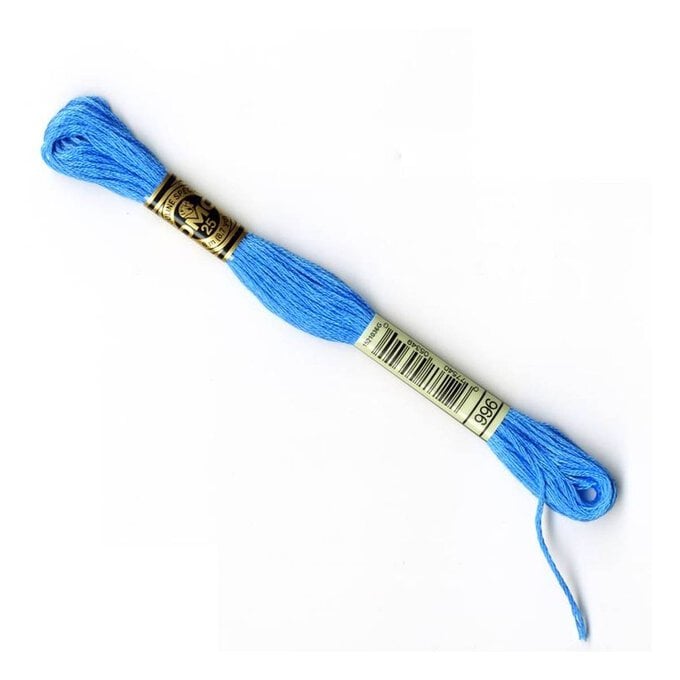
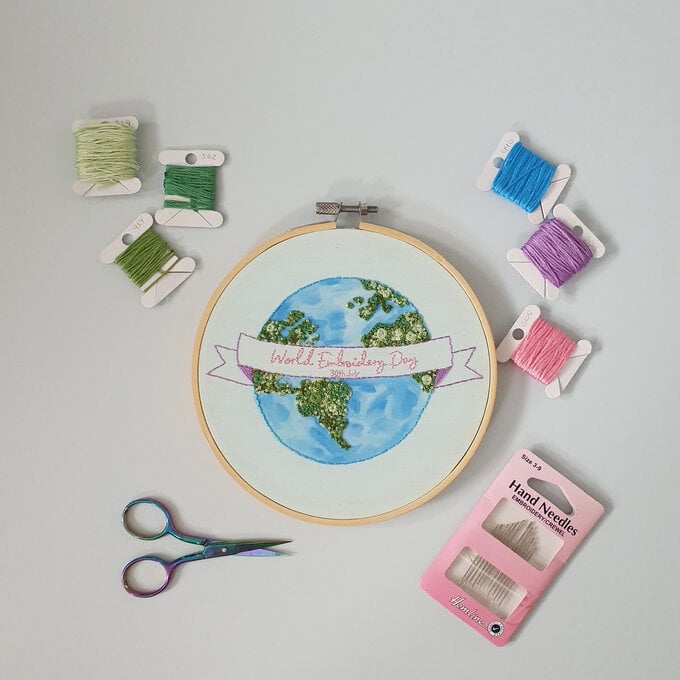
You will need
Subtotal
Is $ 4.49
Subtotal
Is $ 6.49
Subtotal
Is $ 13.00
Subtotal
Is $ 11.00
Subtotal
Is $ 2.49
Subtotal
Is $ 2.49
Subtotal
Is $ 2.49
Subtotal
Is $ 2.49
Subtotal
Is $ 2.49
Subtotal
Is $ 2.49
Subtotal
Is $ 2.49
Subtotal
Is $ 8.49
How to make
Gather your thread colours, fabircs and equipment.
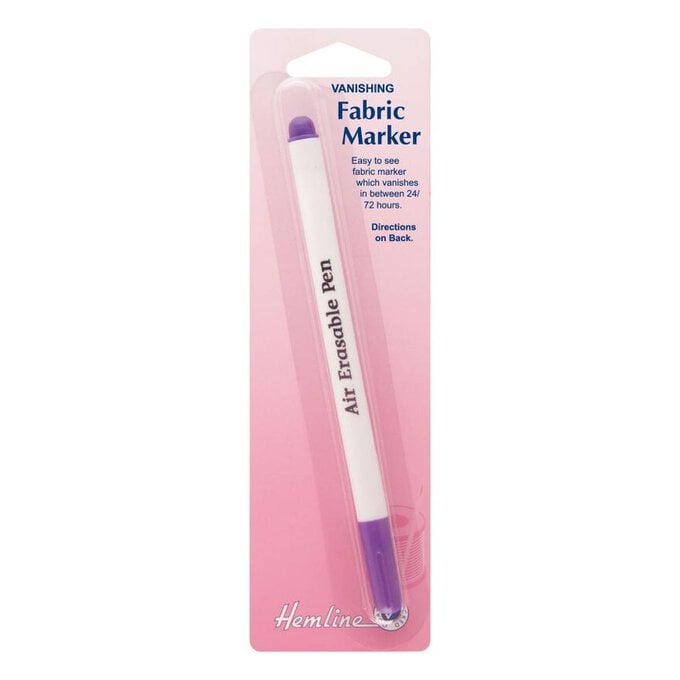
Download and print the embroidery pattern, trim the fat quarter square to size (approx. 7” x 7”) and transfer the design onto the fabric using a good light source and an erasable fabric pen.
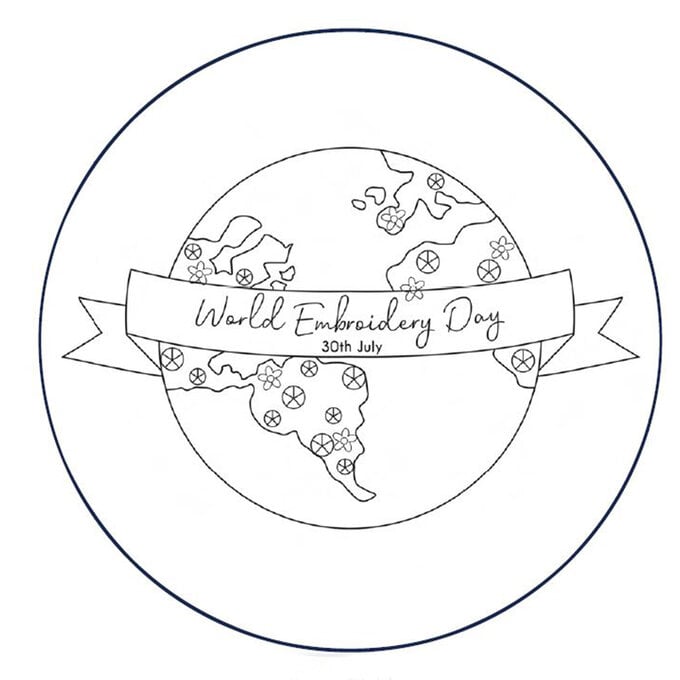
Place the fabric in the embroidery hoop so that the world design is in the centre and tighten to secure.
Take a cup of water and your watercolour paints and paint directly onto the fabric to fill in the ocean section of the Earth design.
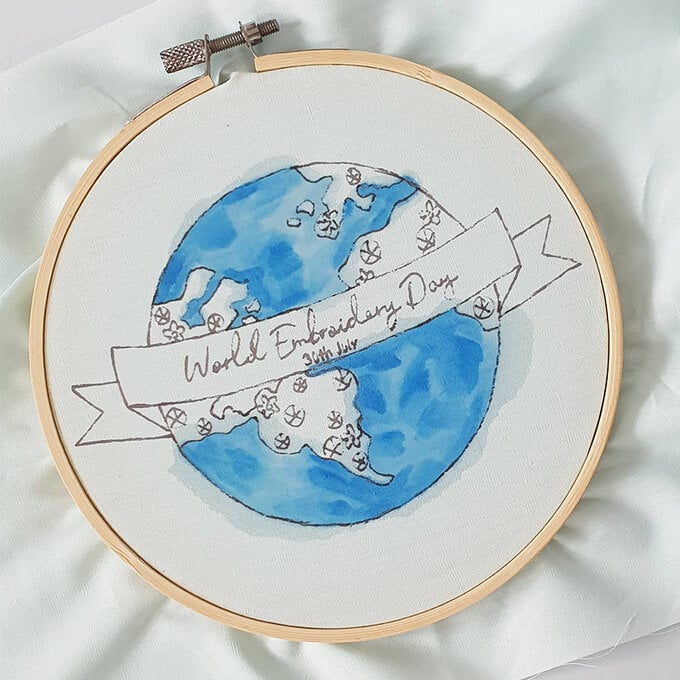
Once the fabric is dry from the paint, you can begin stitching.
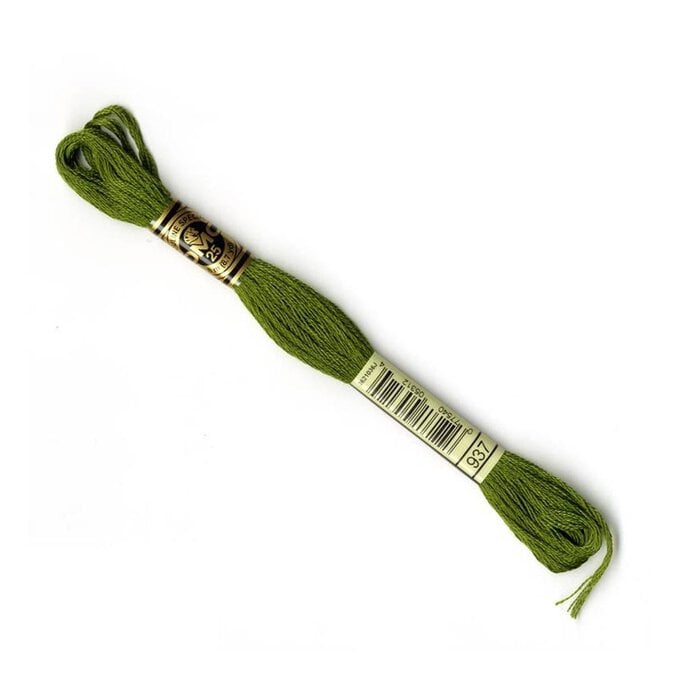
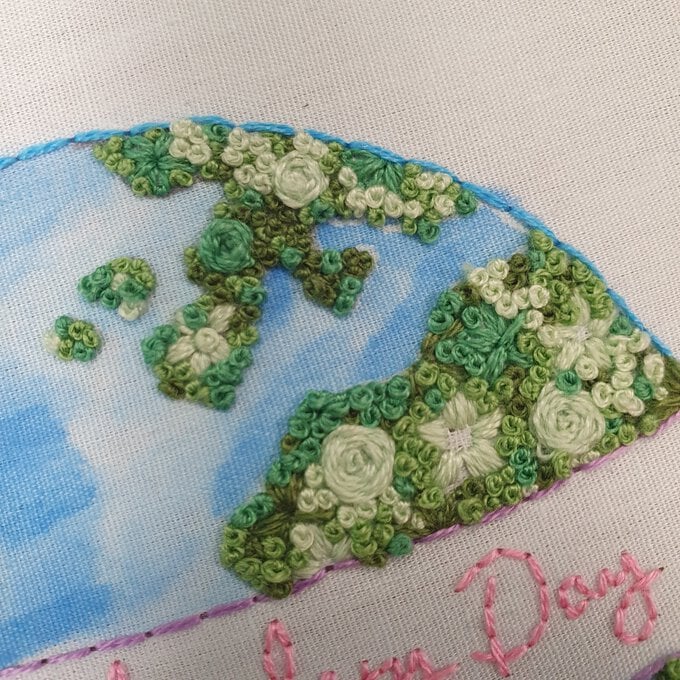
Fill in the green land sections with French Knots, Lazy Daisy flowers and Woven Roses – these can all be found in our Beginner and Intermediate stitch guides > https://www.hobbycraft.co.uk/ideas/sewing/how-to-embroider---beginner-stitch-guide
Use two strands of each green coloured thread for this.
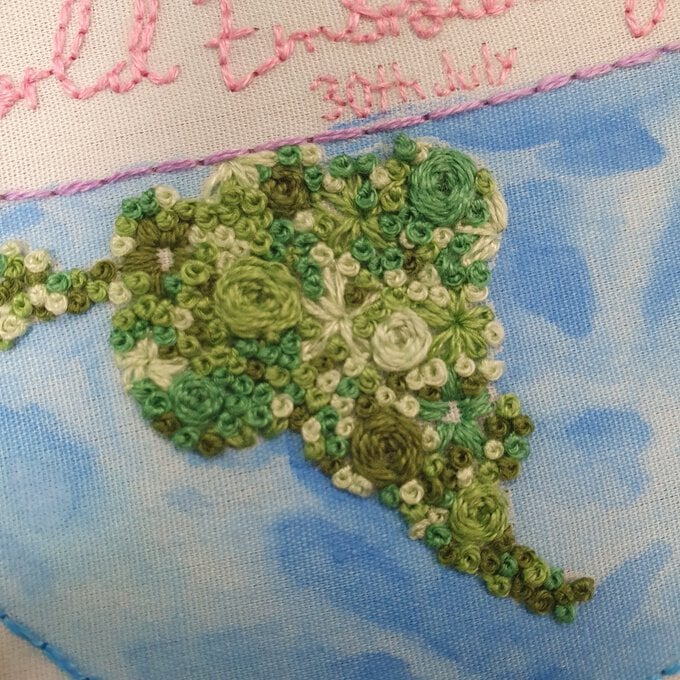
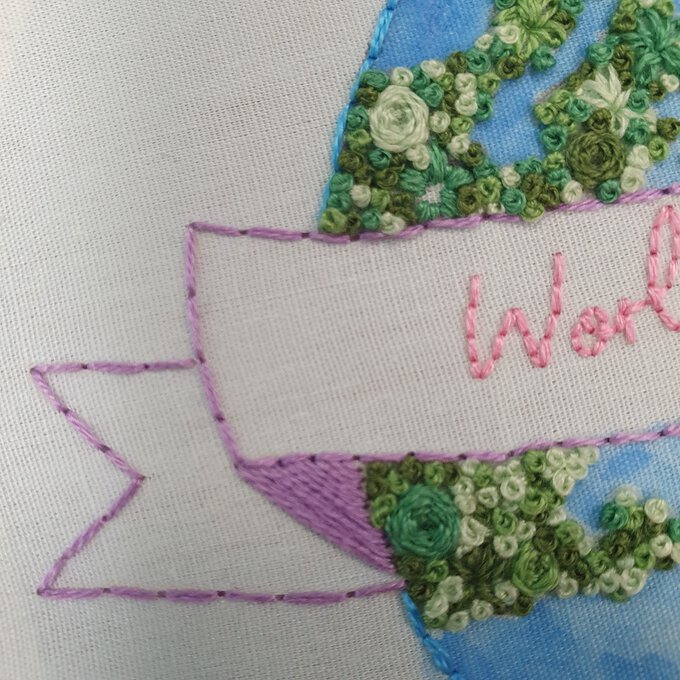
For the banner and the Earth outline use two strands of each colour and back stitch, filling in the 'folded' parts of the banner with satin stitch.
When you have finished stitching, trim the fabric closer to the hoop and create a gathered stitch to tighten the fabric at the back.
Related Products