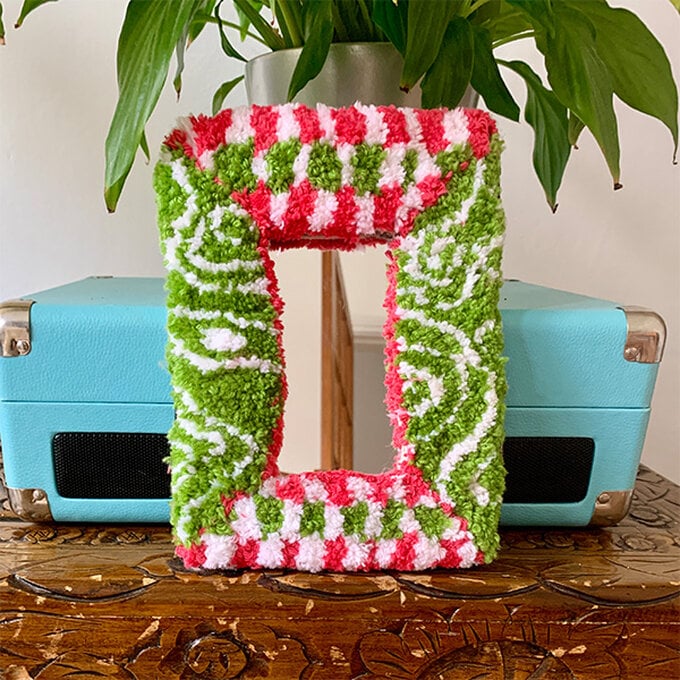
How to Make a Punch Needle Mirror
Punch needling is an easy technique to learn, and this fun mirror is sure to add a splash of colour into any room. It is the perfect home addition for yourself or as a present for a special someone.
Make this project unique by drawing your own designs and picking your yarn colours.
Project and instructions by Anu from Art by Nu
You will need
Subtotal
Is $36.00
*Punch needle
*Punch needle fabric
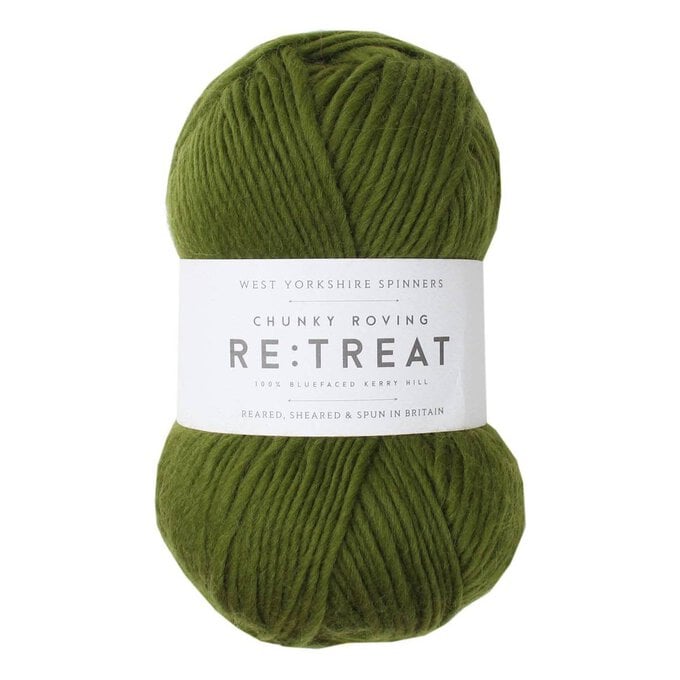
*3x West Yorkshire Spinners Serene Retreat Yarn
*2x Lily Sugar 'n Cream Pretty in Pink Yarn
*2x Rico Cream Essentials Mega Merino Chunky Yarn
*PVA glue
*Glue gun & sticks
*Scissors
*Marker pen
*Felt Binding
*Mirror
*Clippers (optional)

Draw out your design beforehand. This can be quite rough, this is so you can get an idea of how your final design will look.
Cut your punch needle fabric to the desired size of your punch needle frame. Draw out your design onto the fabric, making sure it’s within the dimensions of your frame (You can draw once stretched onto your frame if you prefer).
If your design has writing remember to write this backwards as you will be punching backwards!
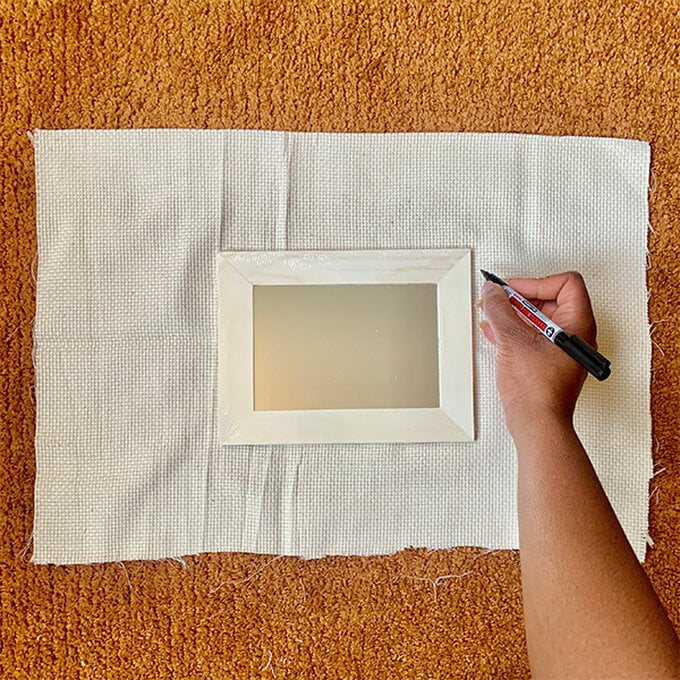
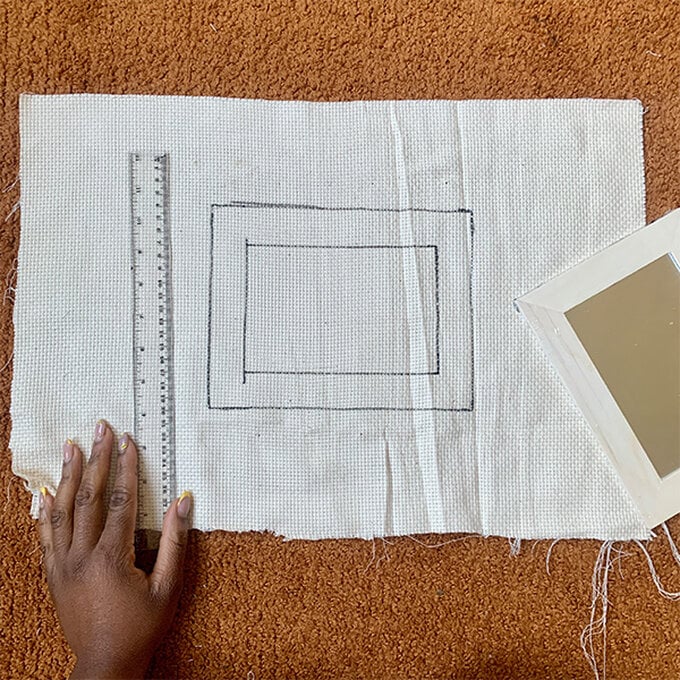
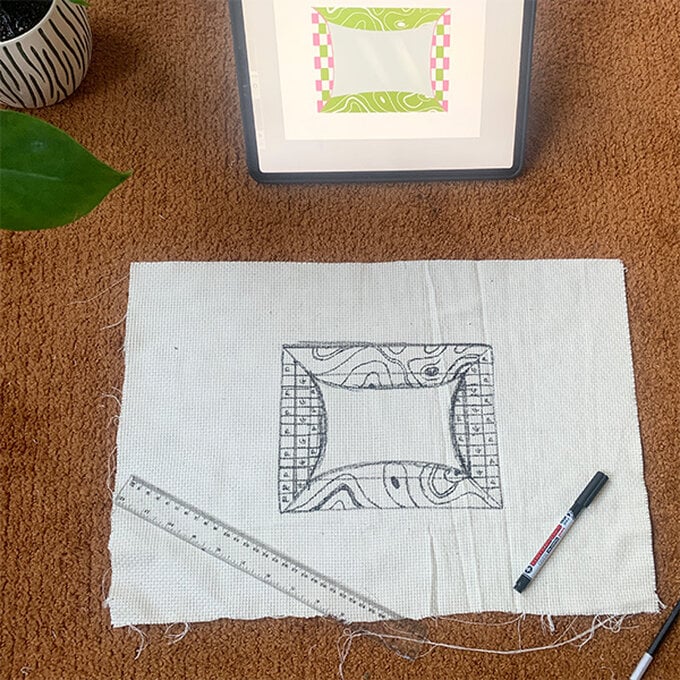
Once your design is drawn out, stretch the fabric onto the punching frame.
Now it’s time to start punching.
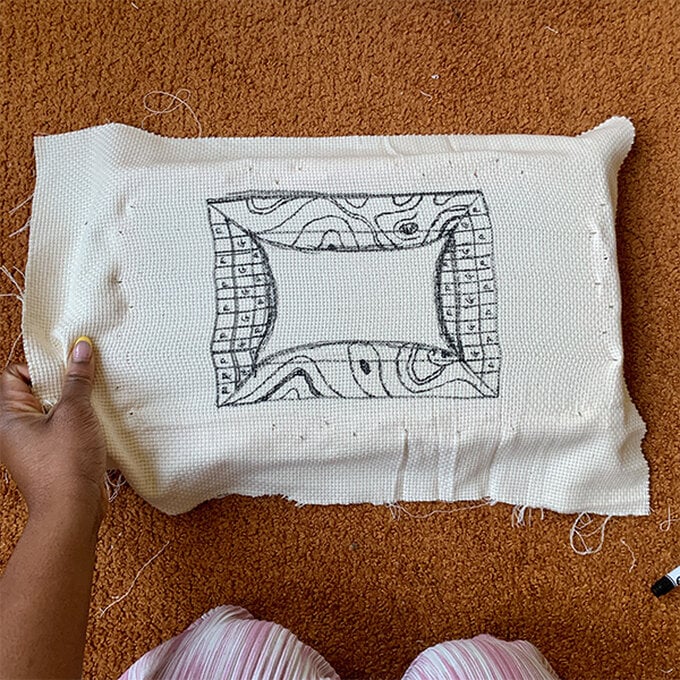
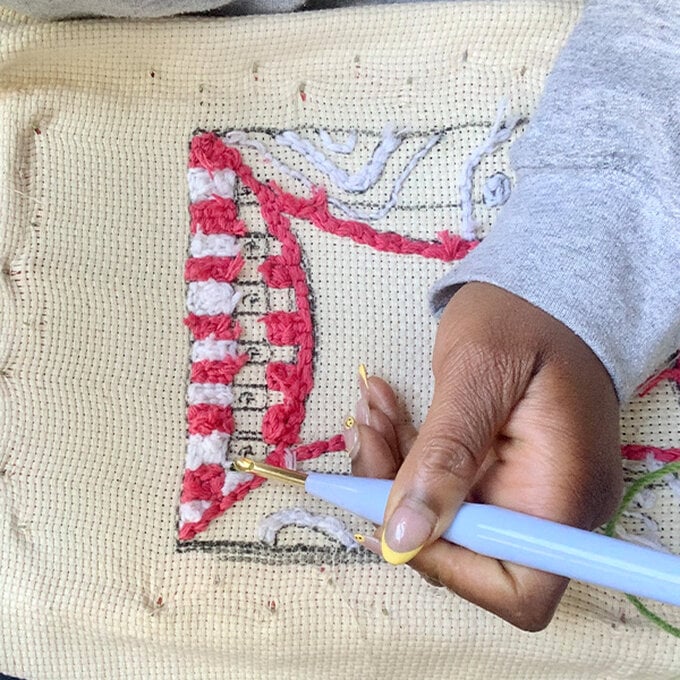
Thread your first colour through your punch needle. I like to start with the colour that has the most intricate parts then fill in around that.
Once threaded, push your needle through the fabric, and pull the yarn through so it comes out the other side.
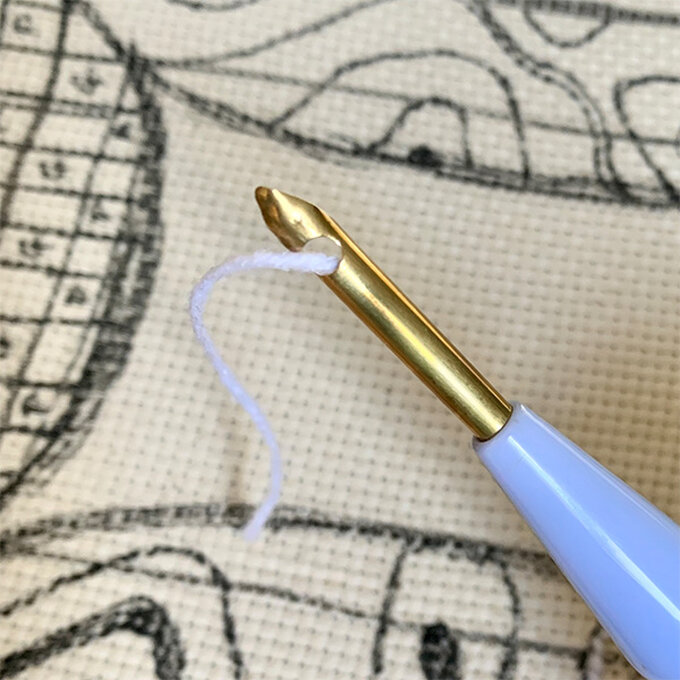
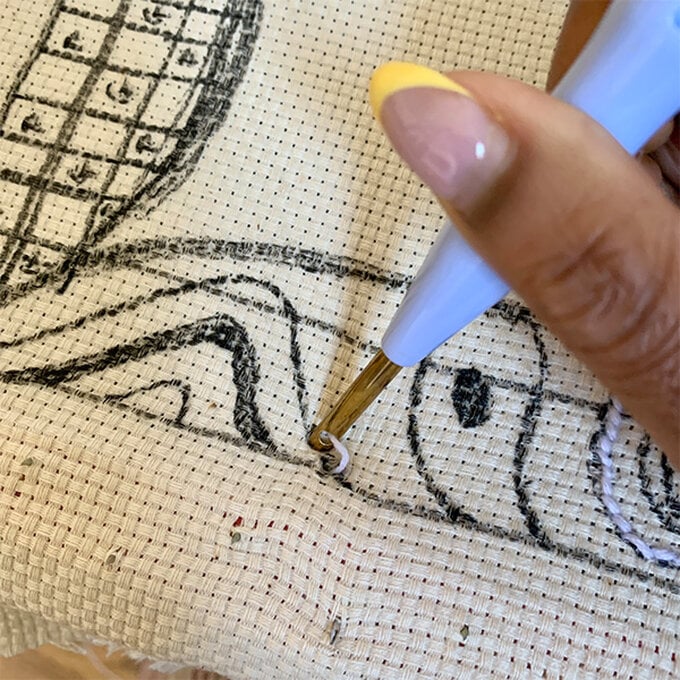
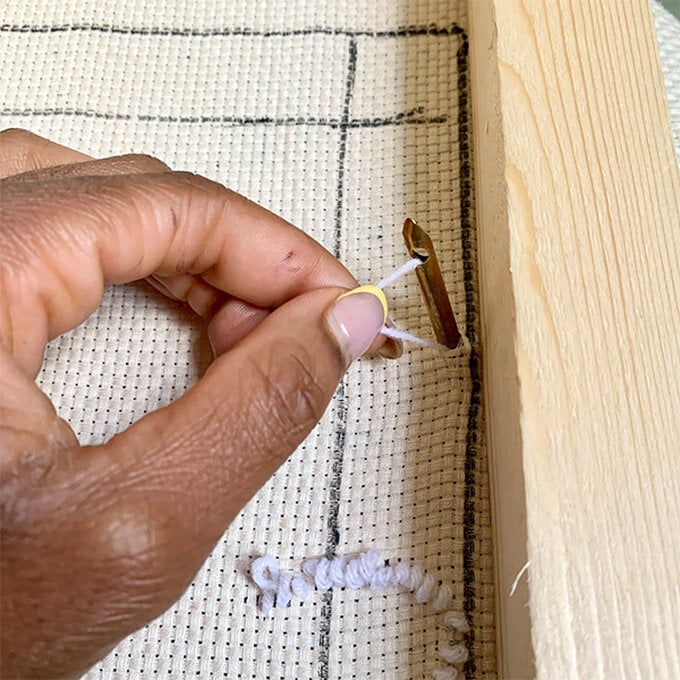
Carefully pull your needle out, making sure you keep your yarn within the fabric. Repeat the action following the outline of your design.
To move direction make sure your needle is in the fabric, turn the needle to the direction you want to go and continue the same action in this direction.
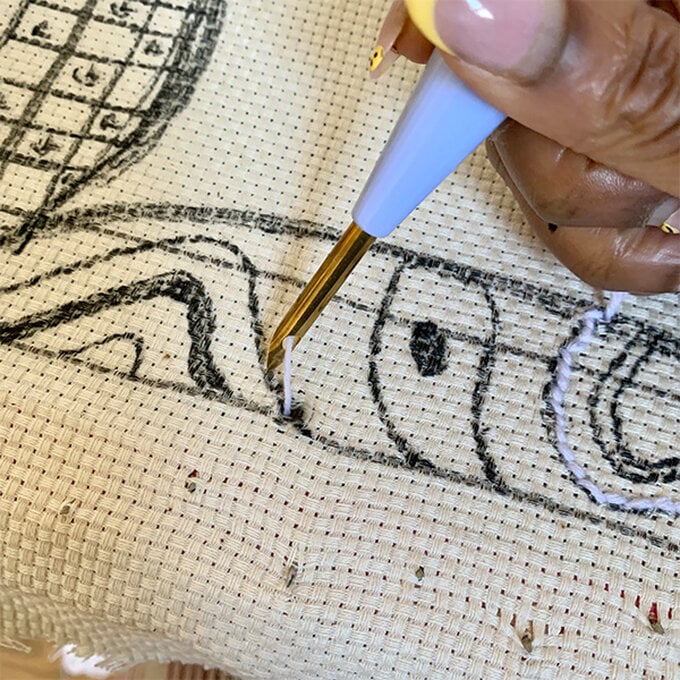
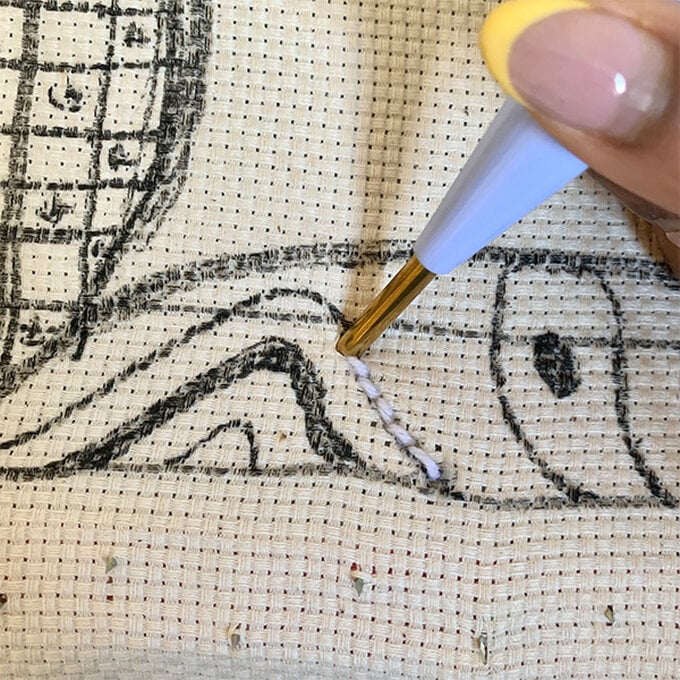
Once you have finished your section or row, pull the needle out and cut the yarn.
Continue punching with other colours depending on your design.
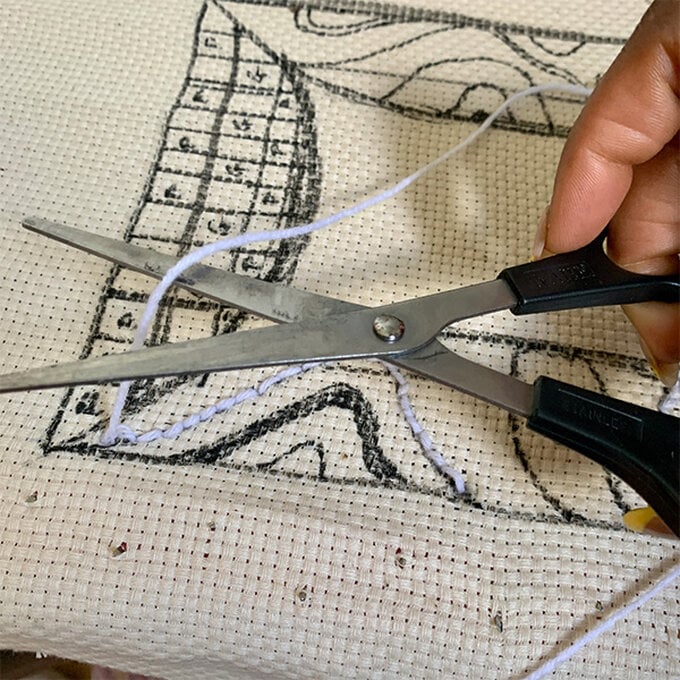
Once your design is all punched, next you want to glue the back of your project so the yarn stays in place. As this isn’t a floor piece you can use PVA glue to keep the yarn in place.
Simply coat the back of your piece all over, and leave it dry for at least 24 hours.
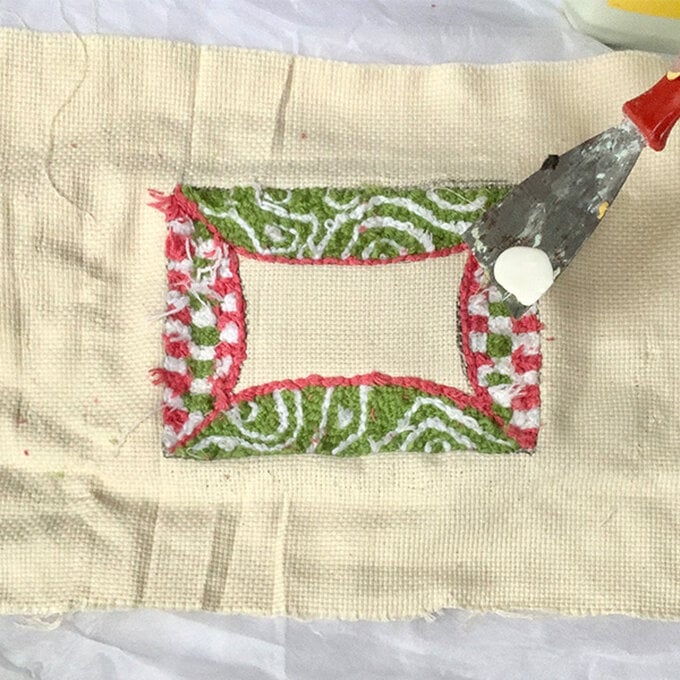
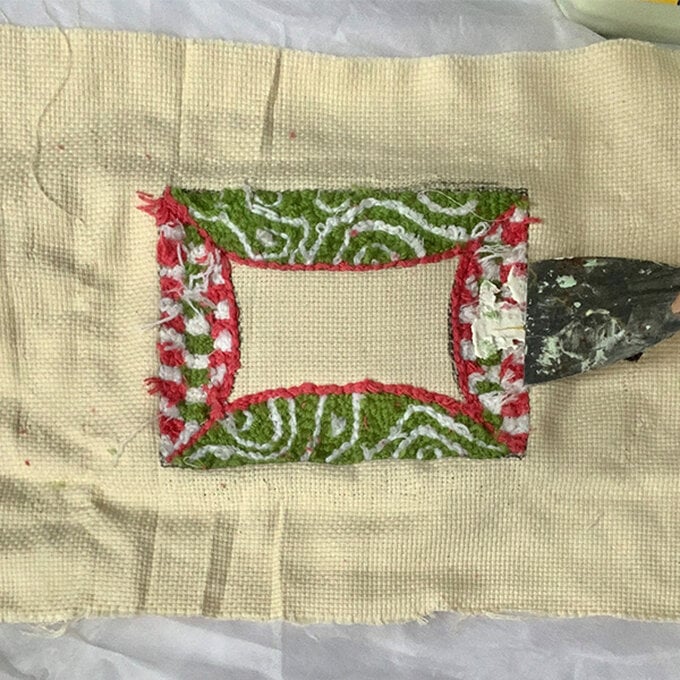
Once your project is dry, remove it from your punch frame.
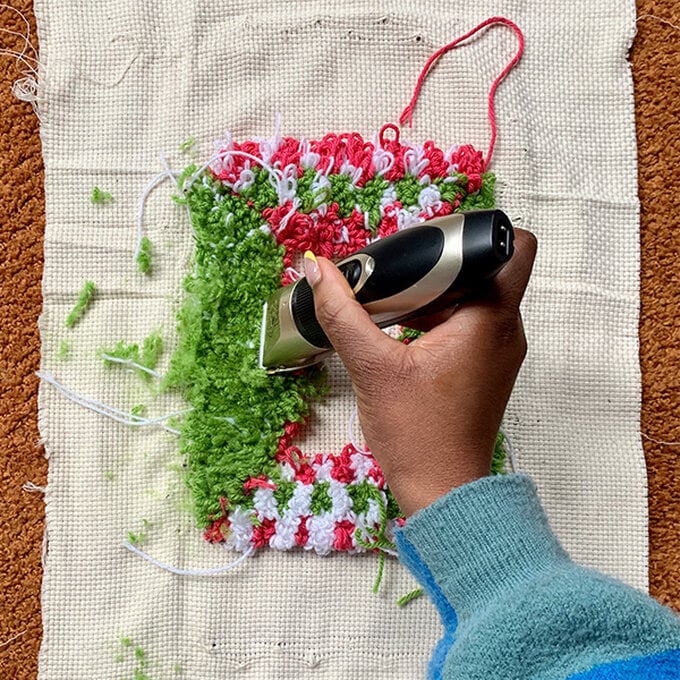
Next, shave the excess yarn, to properly reveal your design. You can do this with scissors or clippers
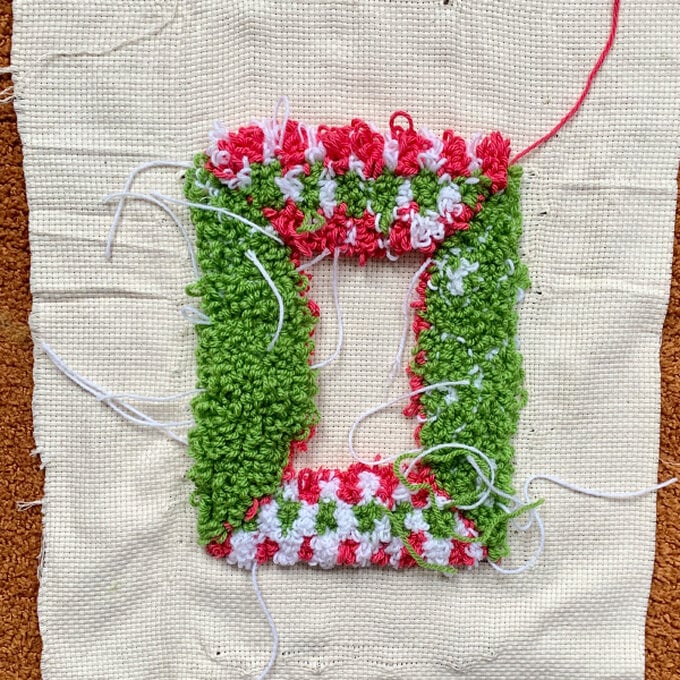
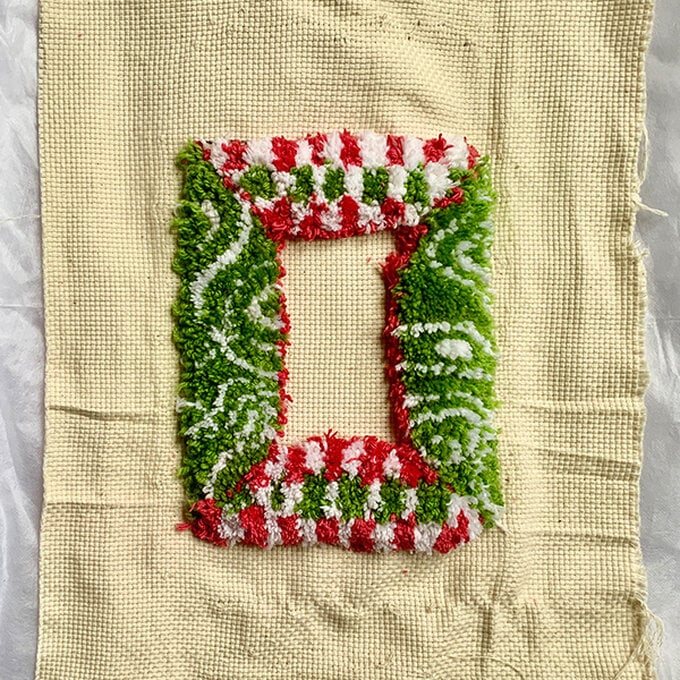
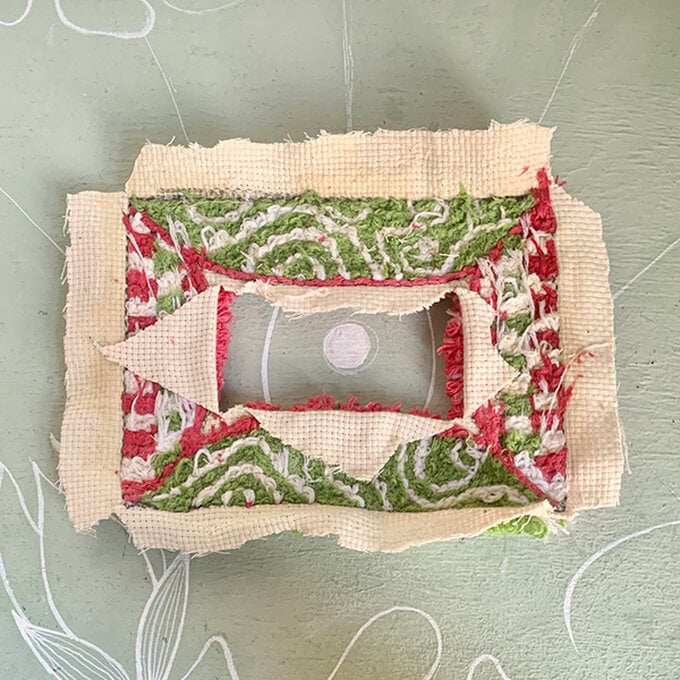
Now cut the excess fabric around the sides and middle out. Leave around an inch on the outside and inside of your project.
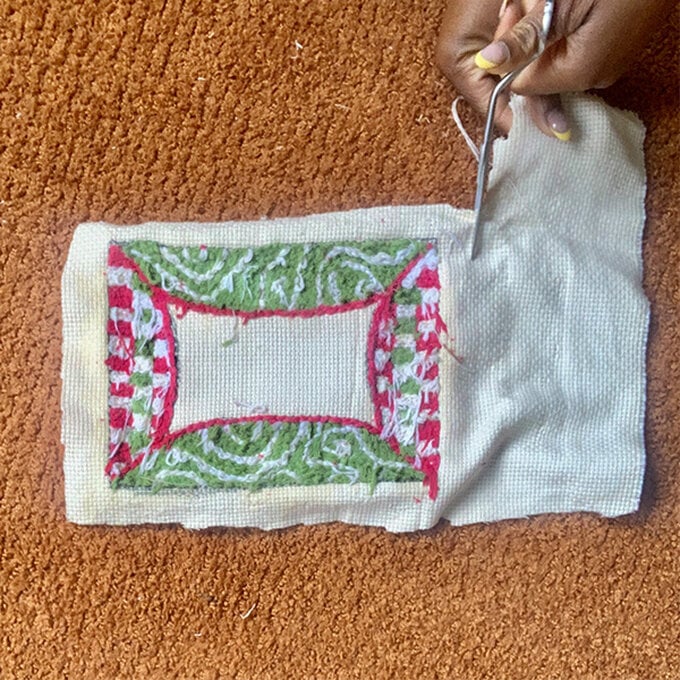
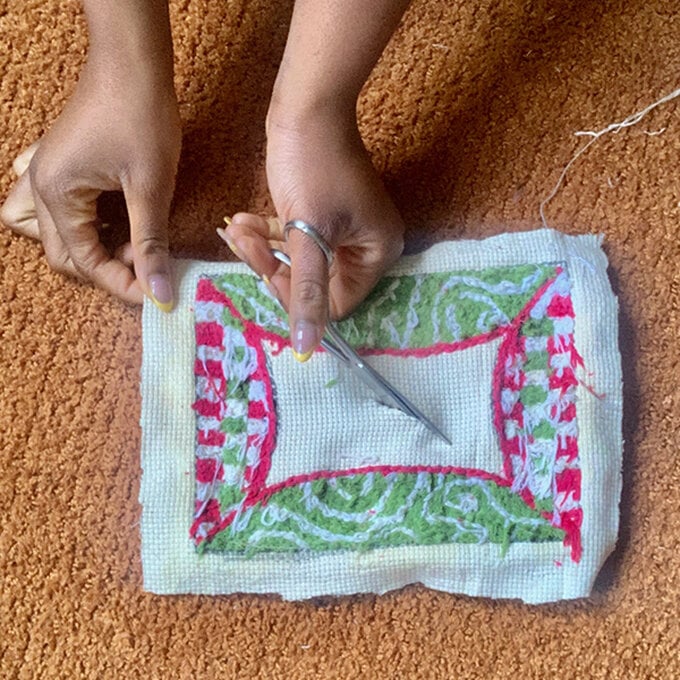
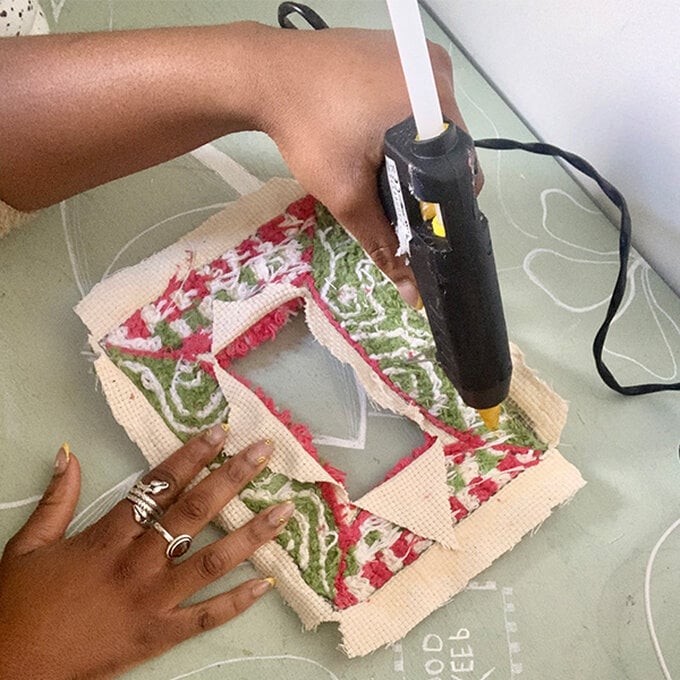
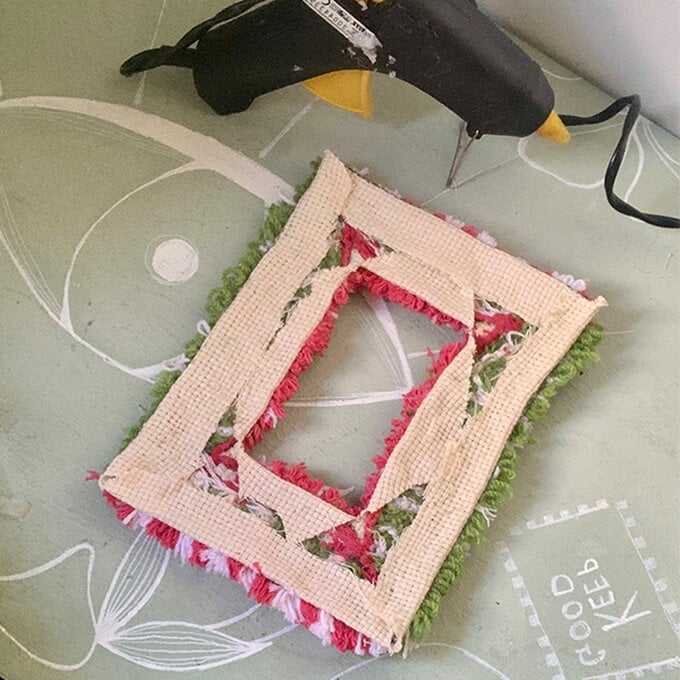
With your glue gun, glue down the excess fabric to the back of the project.
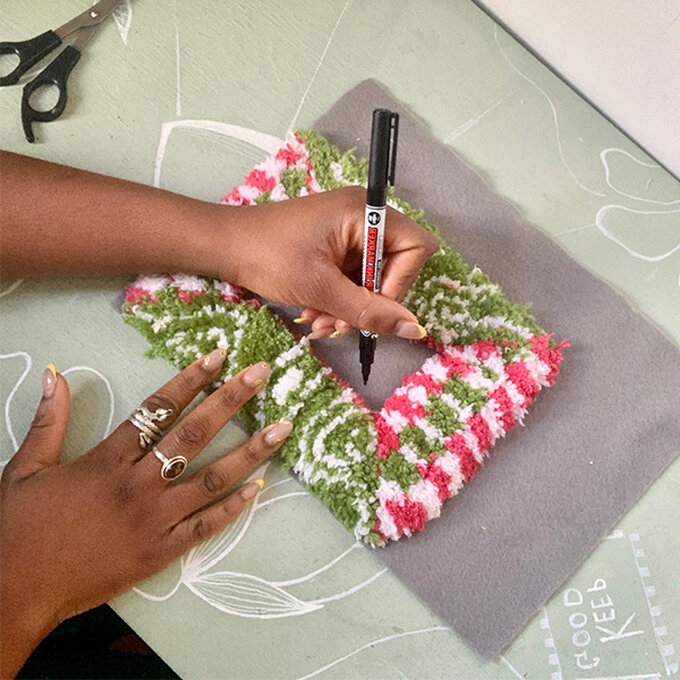
Draw around your punched project and cut out the felt.
Next glue this onto the back of your project.
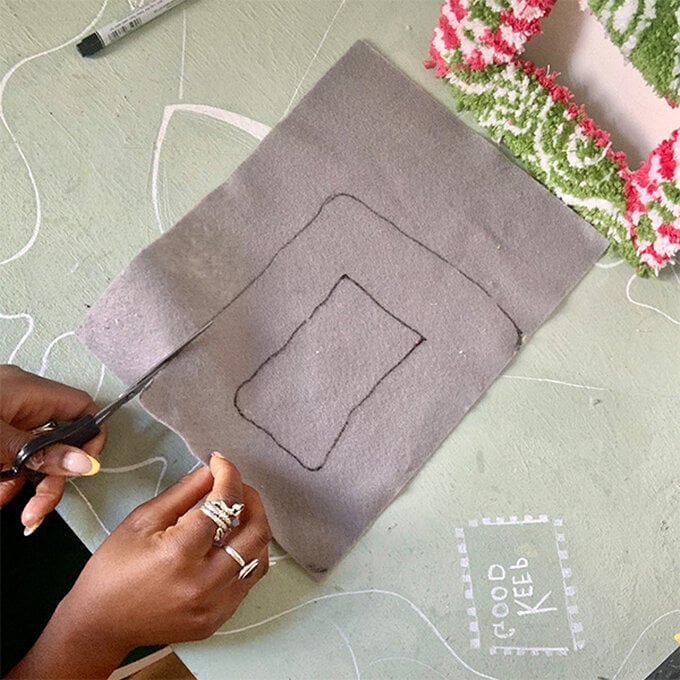
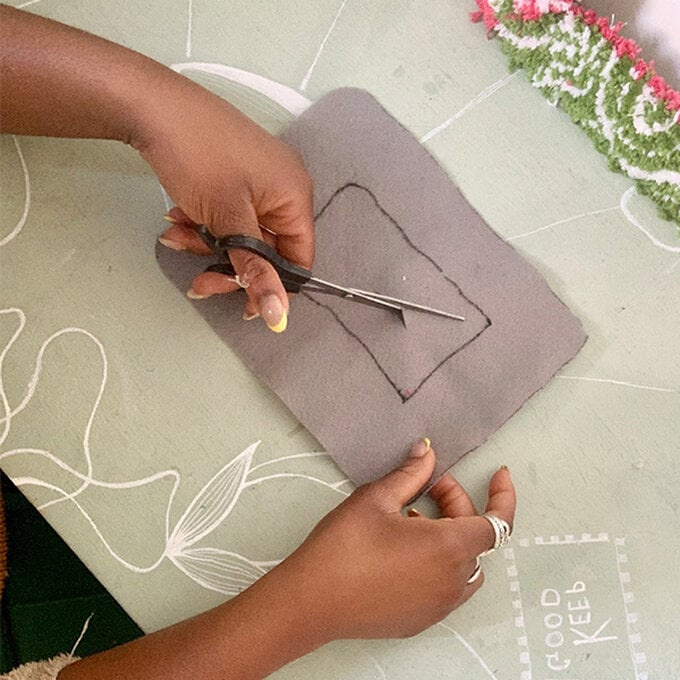
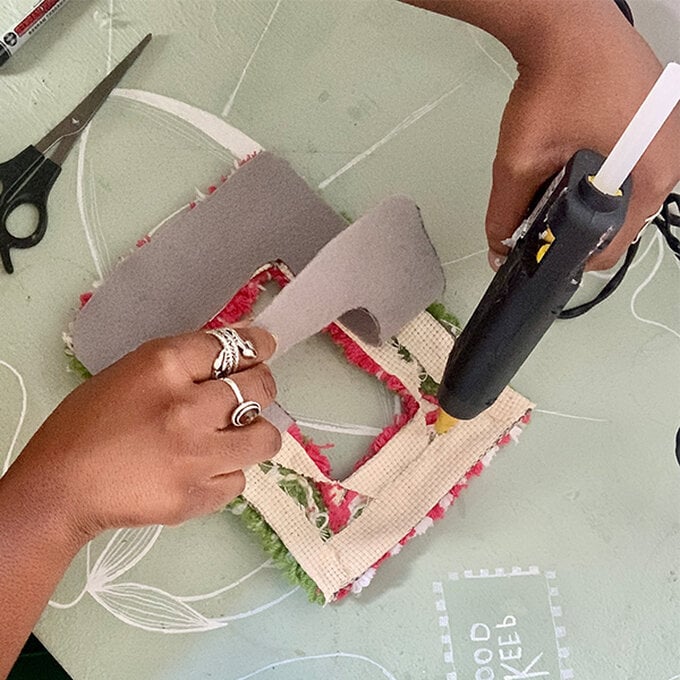
To give your punch needle mirror a clean finish, glue down the binding around the edges of the mirror.
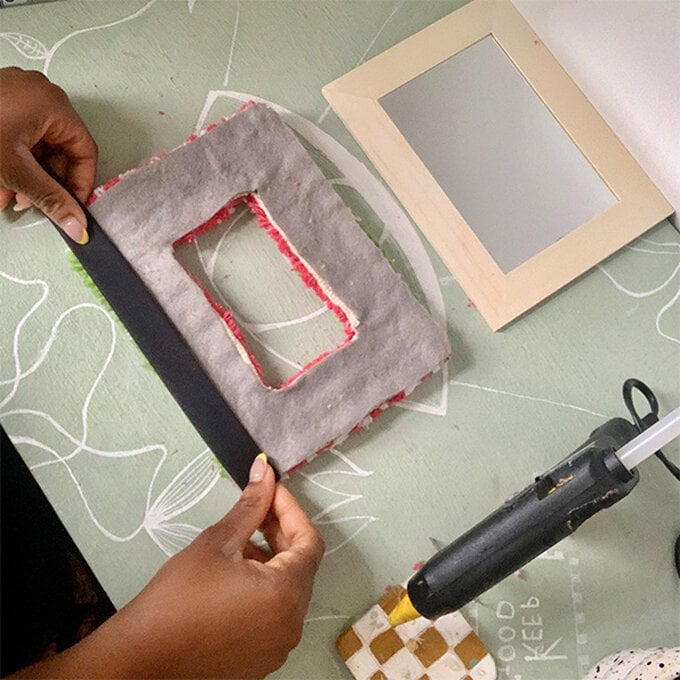
Finally, glue down the punched project to the mirror.
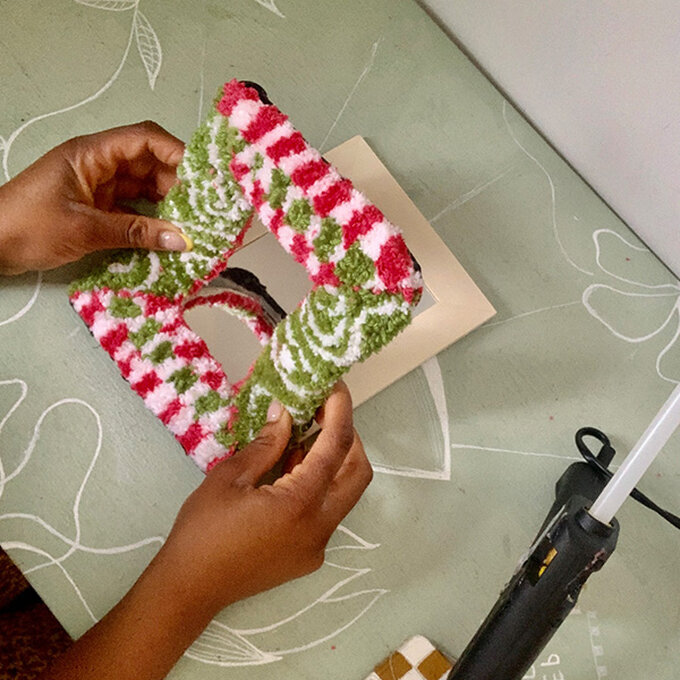
And that’s it, your new fun punched mirror!
