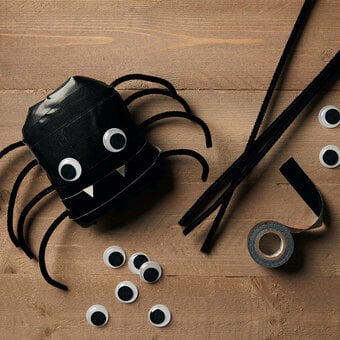
How to Punch Needle a Ghost Cushion
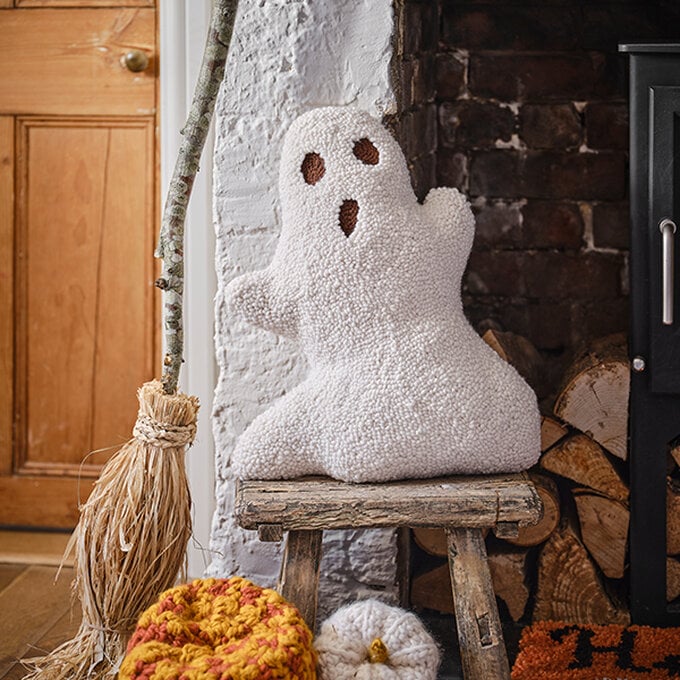
This punch needle ghost cushion is a great way to get your house ready for the spooky season! Its unique shape and punch needle texture will set it apart from your other cushions for the perfect Halloween touch.
Follow our step-by-step instructions to create a quirky home accessory that you can use year after year. Fancy making another punch needle cushion? Why not give our pumpkin cushion tutorial a go!
Project and instructions by Caroline Jane Creative
You will need
Subtotal
Is $16.47
Subtotal
Is $ 7.49
Subtotal
Is $8.98
Subtotal
Is $8.98
Subtotal
Is $ 7.49
Out of stock
Subtotal
Is $ 7.49
Subtotal
Is $ 26.00
Subtotal
Is $ 7.49
Subtotal
Is $ 15.00
Subtotal
Is $ 11.00
Subtotal
Is $ 3.49
You Will Need
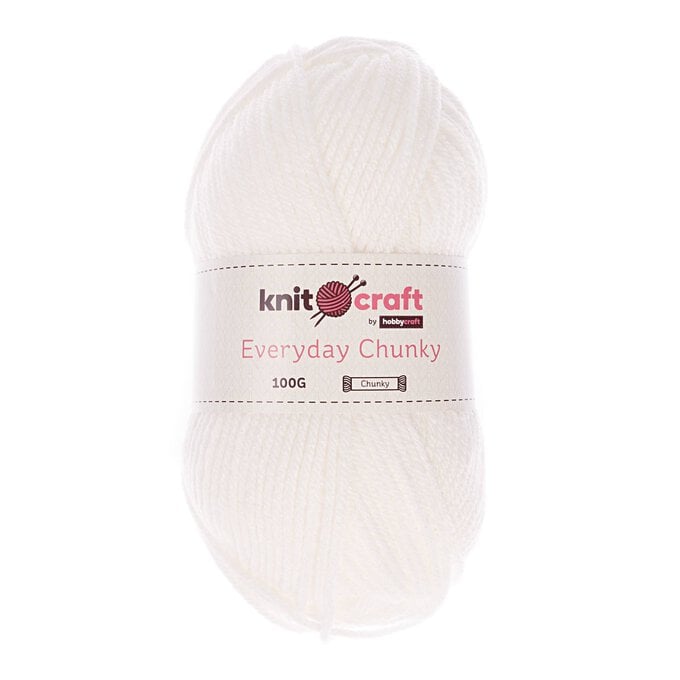
* Chunky Yarn 100g - 3x White or Cream, 1x Brown
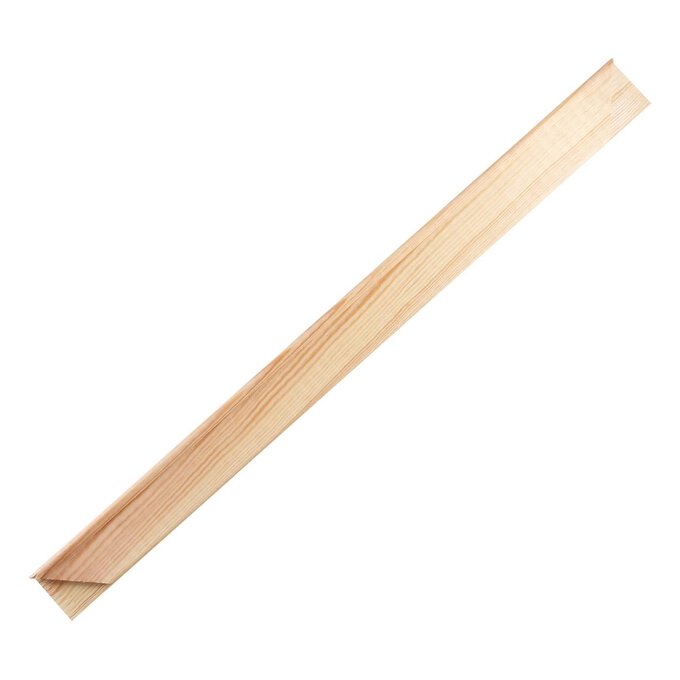
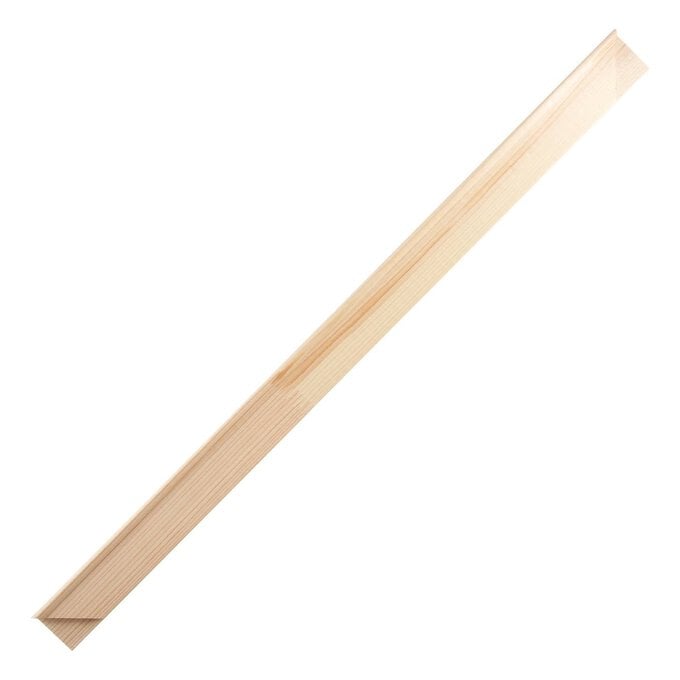
* Stretcher Frame
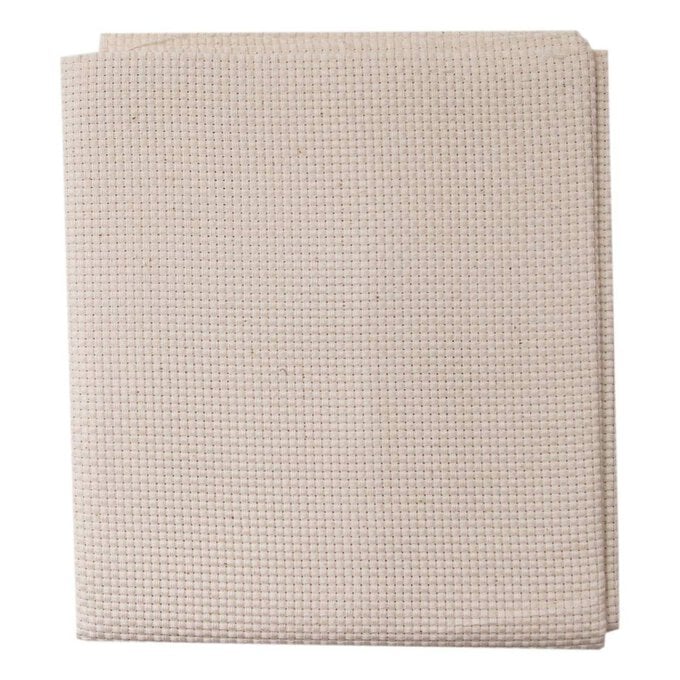
* Needlecraft Fabric
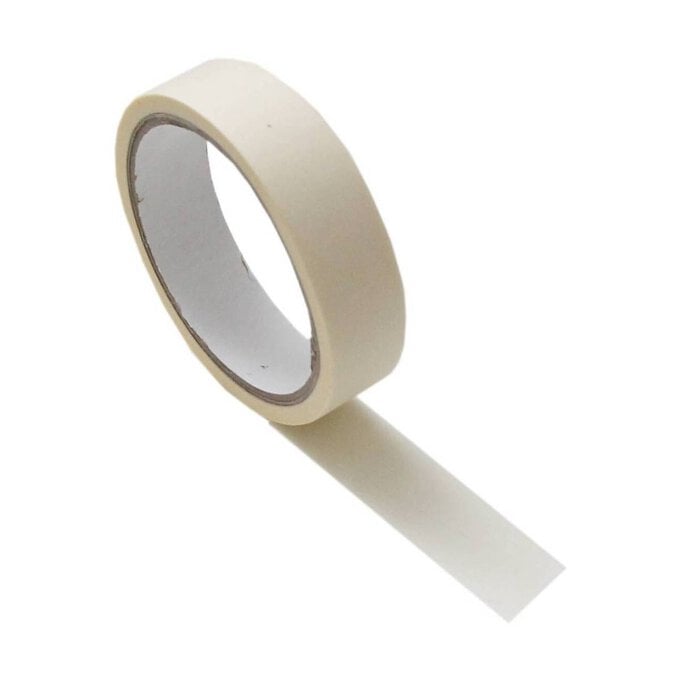
* Masking Tape
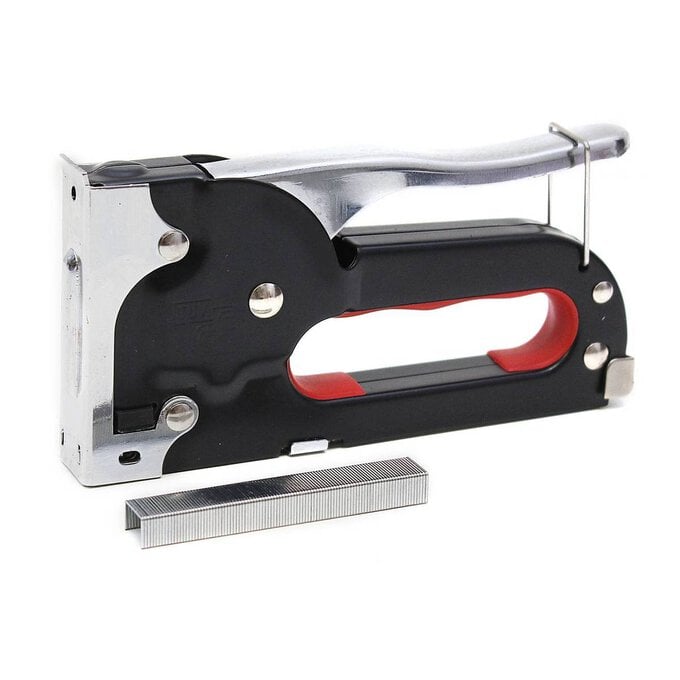
* Staple Gun
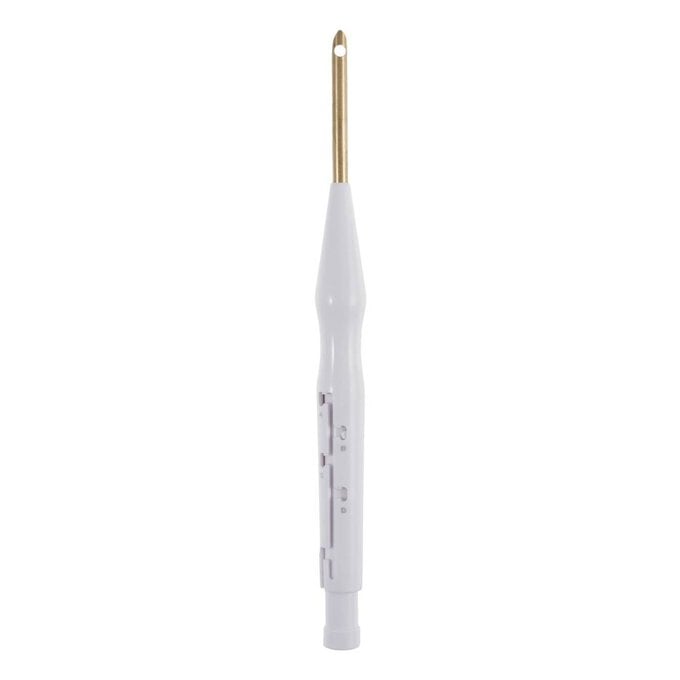
* Punch Needle
* Fabric Marker
* Scissors
* Pins
* Sewing Machine
* White or Cream Thread
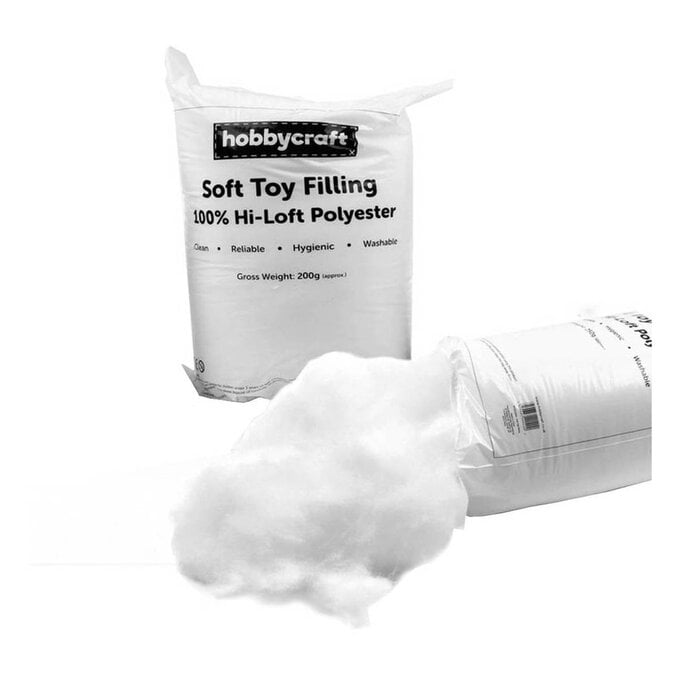
* 2x Toy Stuffing
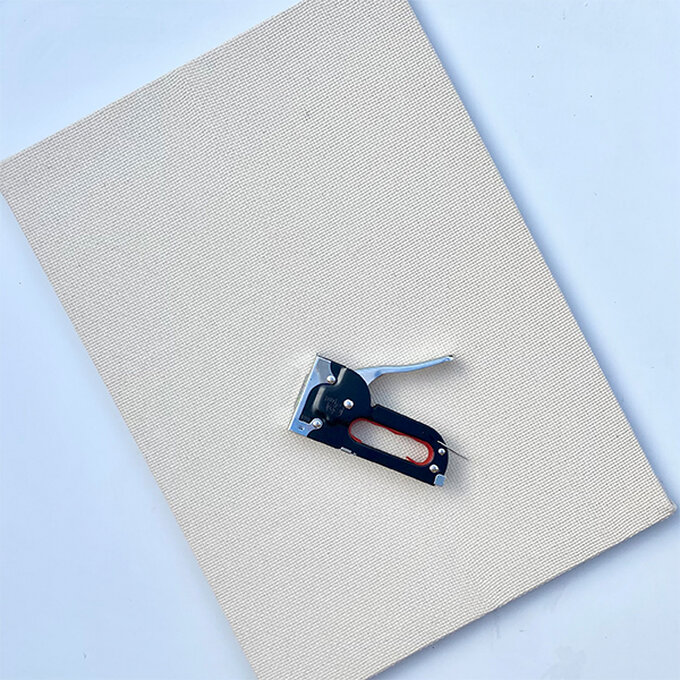
Slot the four sides of the stretcher frame together to create a rectangle.
Stretch the foundation fabric over the frame (see this blog post for step by step instructions on how to do this).
Download and print out the template.
Attach the template to the back of the fabric using masking tape.
Place the frame in front of a light source, such as a window or a light box, and trace the design using the fabric marker.
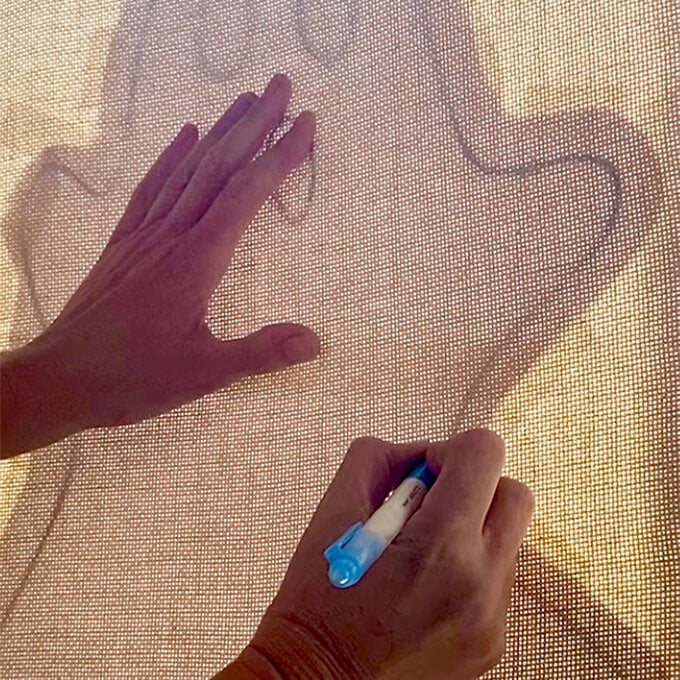
Trace the eyes and mouth on the back of the fabric.
Set the needle to position C. Pass the wire end of the threader through the outside hole in the tip of the needle and down the shaft until the wire sticks out at the base. Thread two strands of brown yarn through the threader.
Using the white tab, pull the yarn up through the shaft and the hole in the tip of the needle. Ensure you have a yarn tail of about 10cm from the tip of the needle.
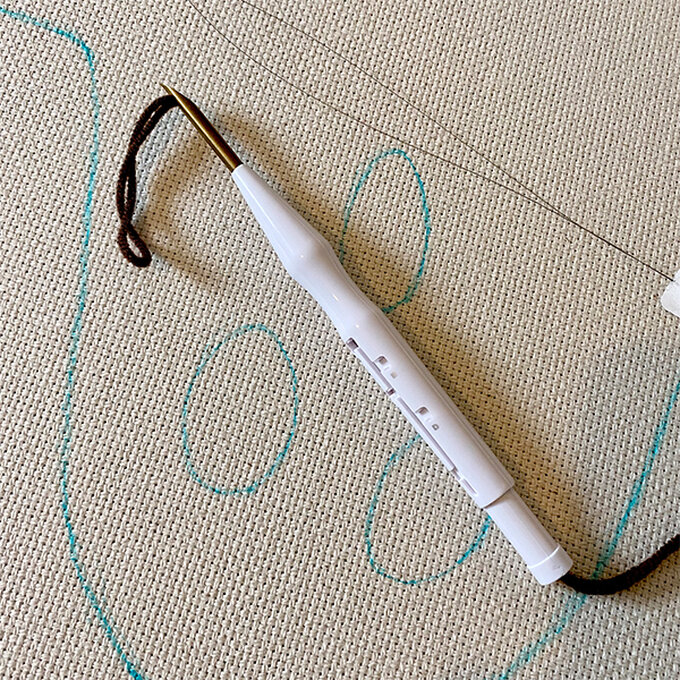
You will be punching from inside the frame (this will become the front) to create flat stitches on the front.
Hold the needle as you would a pen. Push the tip of the needle, at a slight angle, all the way through the fabric on the outline of one of the eyes. Make sure you push it so the bottom of the handle shaft touches the fabric.
Turn the frame to the front and gently pull the yarn tail through so it is on the other side of the frame.
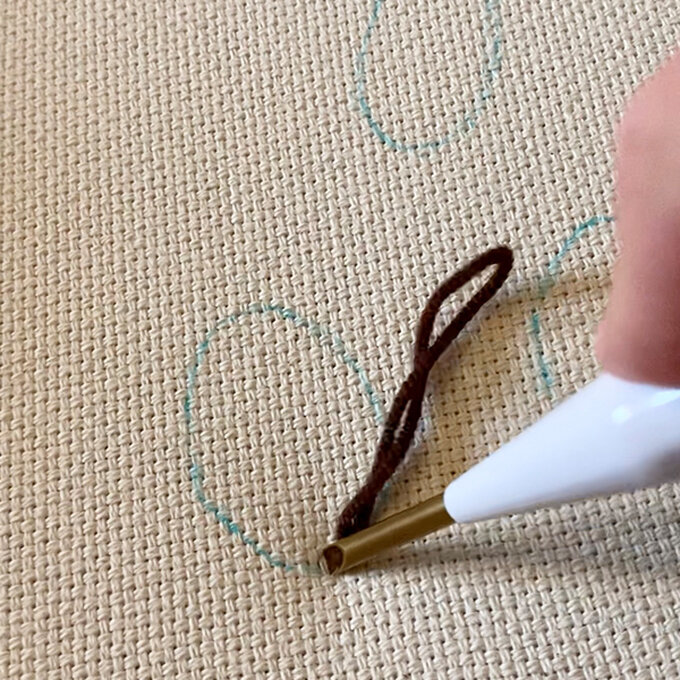
Lift the needle out gently so the tip of the needle is still touching the fabric. With the hole in the needle tip facing up, skim the surface of the fabric for about 1cm and push the needle in again. This is your first stitch.
Continue punching the outline and then fill the rest of the shape with stitches.
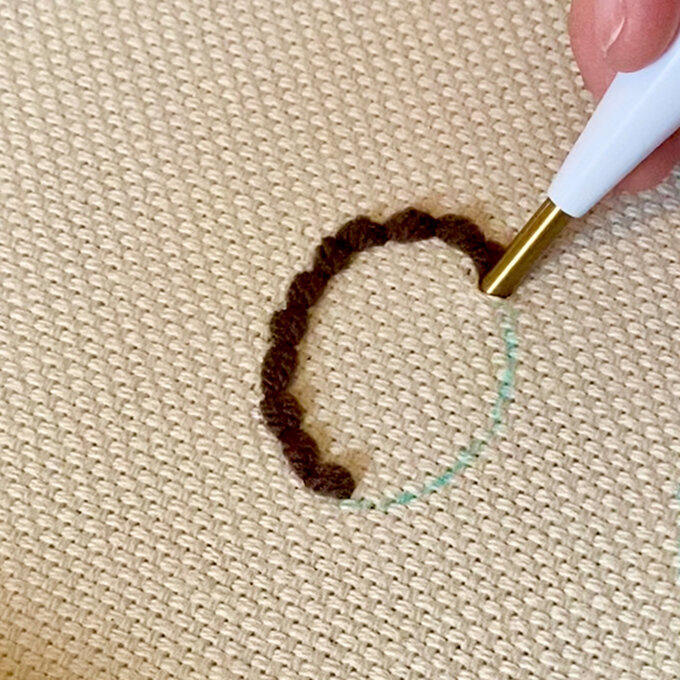
On your last stitch, keep your needle pushed in and with your other hand, slowly pull a short section of yarn through the needle, making sure you don’t pull the yarn from your stitches. Snip the yarn on the front.
Continue punching the other eye and the mouth.
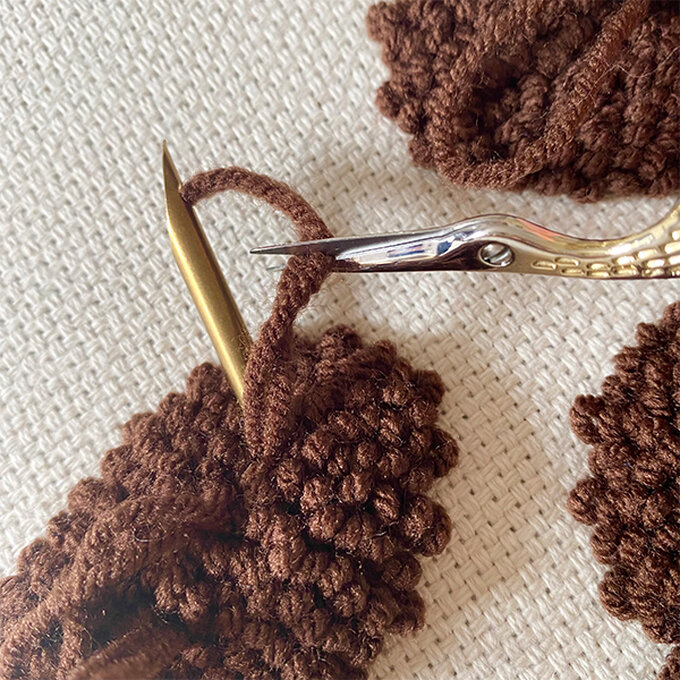
Turn the frame over so you will be punching from the back to create looped stitches on the front.
Set the needle to position B. Thread one strand of the cream yarn.
Begin punching next to the mouth, keeping the yarn tail on this side.
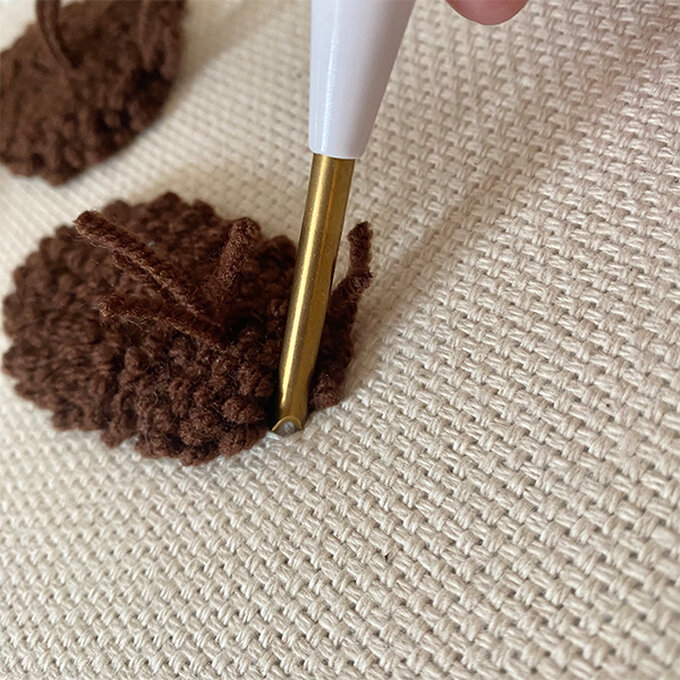
Continue punching around the eyes and then the rest of the ghost shape.
When you need to change to a new ball of yarn, keep the yarn tails on the back. On your last stitch, with the needle pushed in, gently ease a small length of yarn through the needle on the looped side, pull the needle back through so the last stitch remains flush with the rest and snip it off on the back.
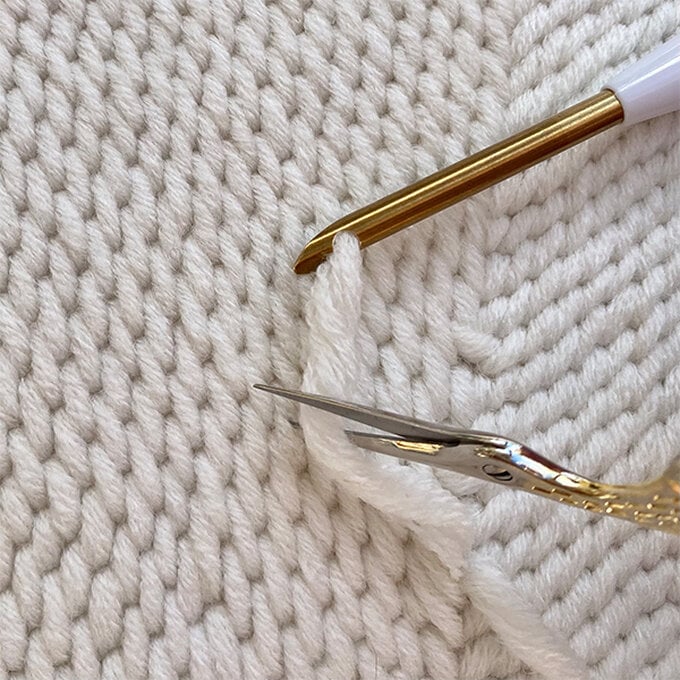
Remove the fabric from the stretcher frame.
Cut a border of about 2” around the punched ghost shape. Press the backing fabric.
With right sides together cut and pin the punched piece and backing fabric together.
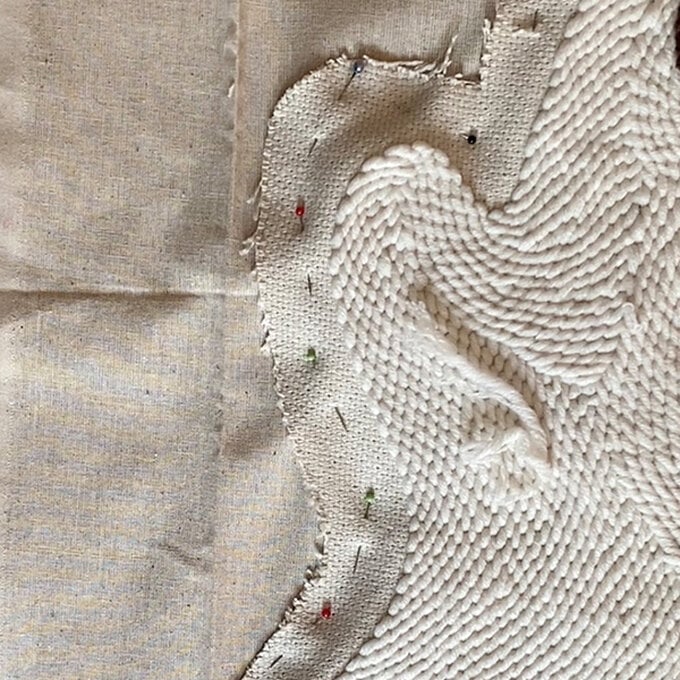
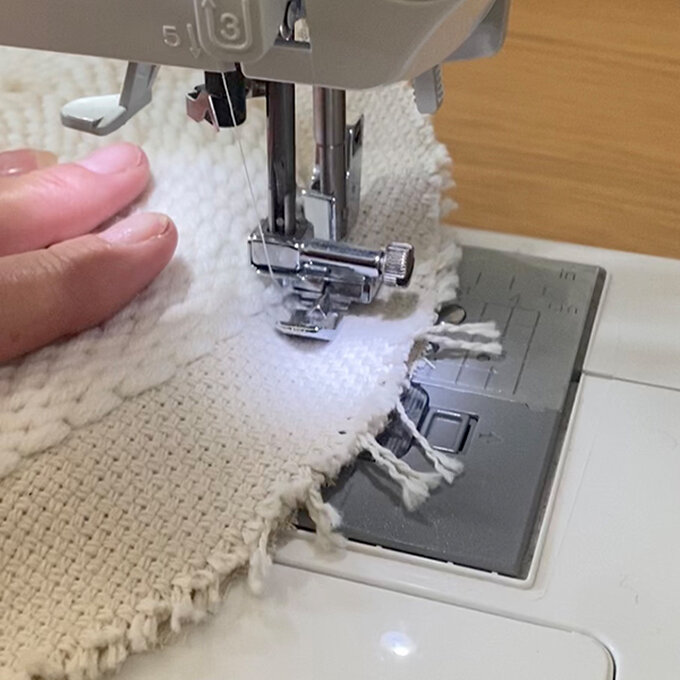
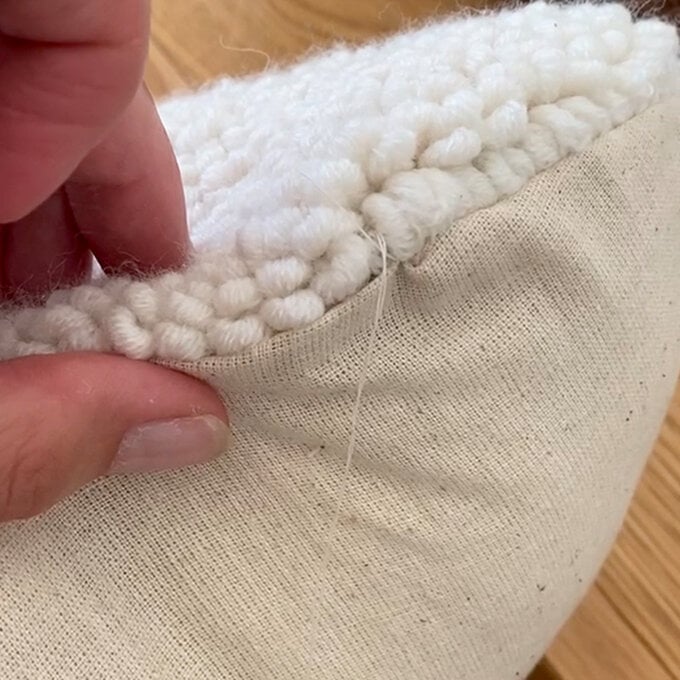
Cut notches around the edge of the cushion and turn it the right way around.
Stuff the cushion and hand stitch the gap.
