How to Use Coloured Resin
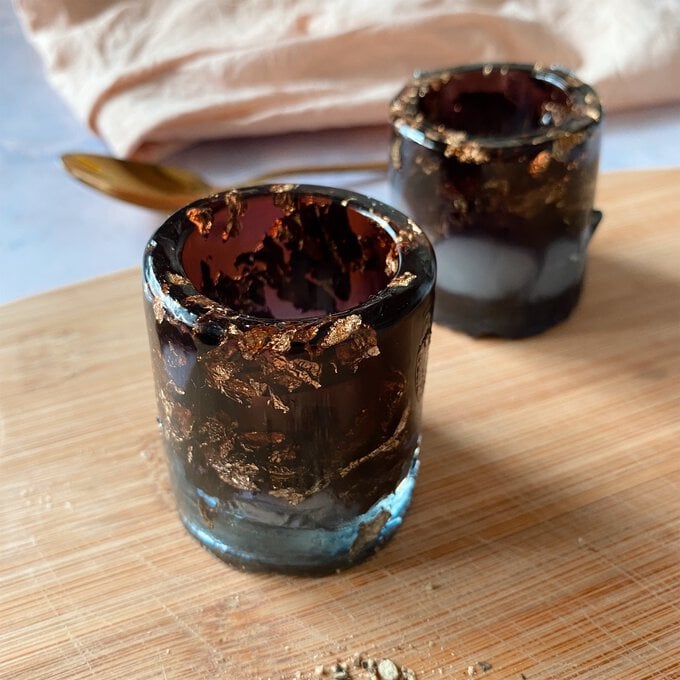
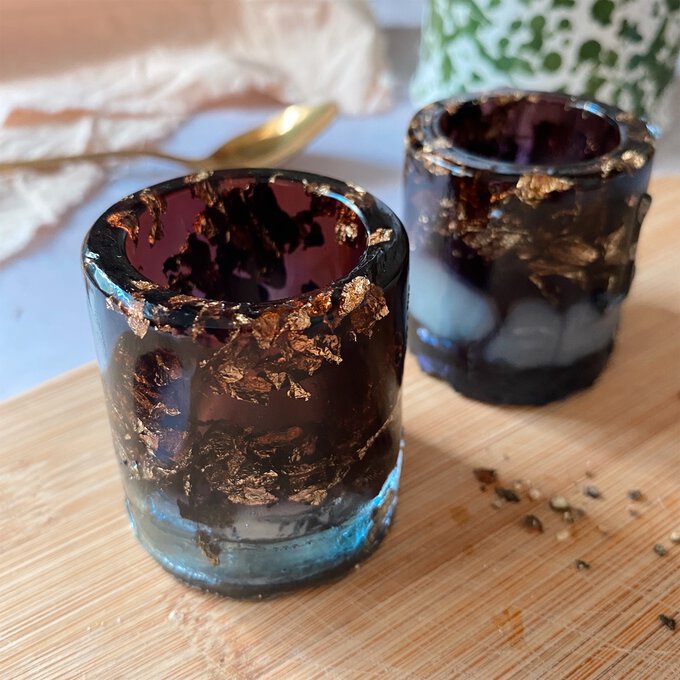
Explore new possibilities with crystal resin by adding in a little colour! These decorative pots can be made using any colours you like. Experiment with mixing and create a unique finish for custom designs using our simple guide.
Find out how to make these pots using coloured resin and silicone moulds.
Project and instructions by Becki Clark
Discover more art projects here >
***This project is for decorative use only***
You will need
Subtotal
Is $ 38.00
Subtotal
Is $ 7.49
Subtotal
Is $ 15.00
Out of stock
Subtotal
Is $ 1.49
How to make
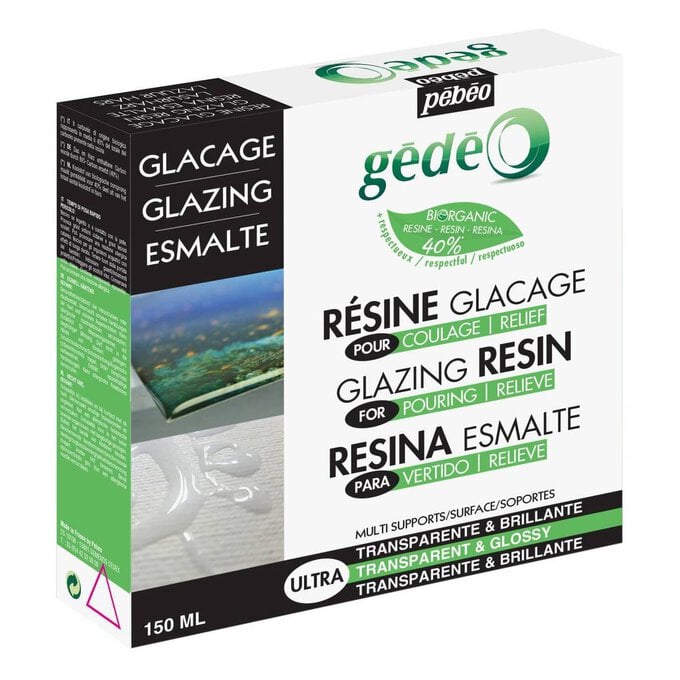
* Pebeo Gedeo Bio-Based Glazing Resin Kit 150ml
* Pebeo Fluid Pigments
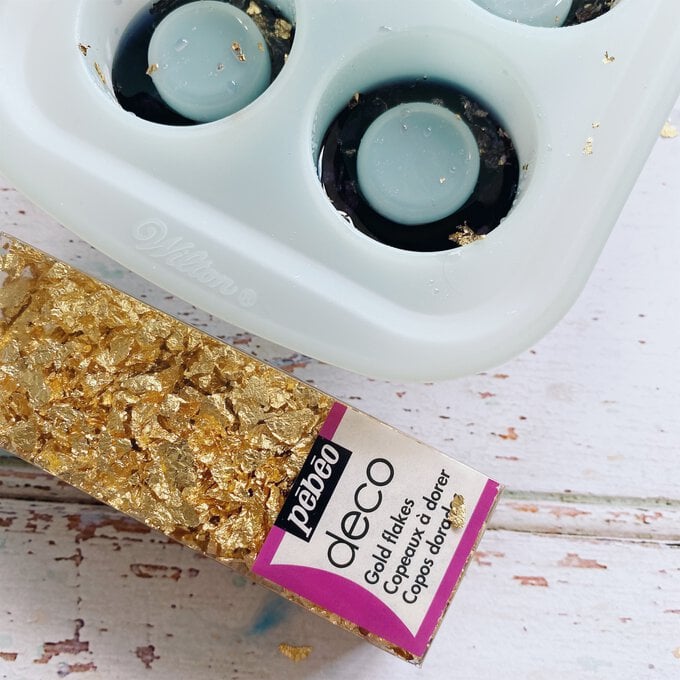
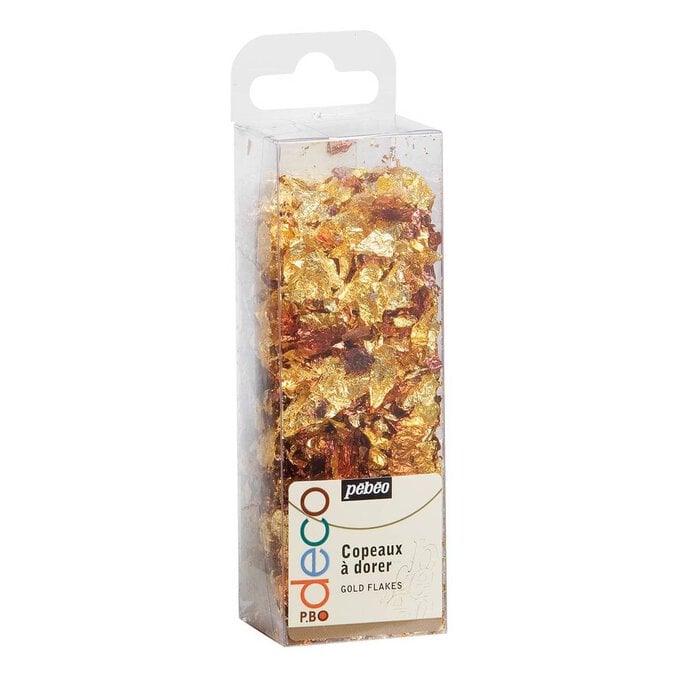
* Gilding Flakes
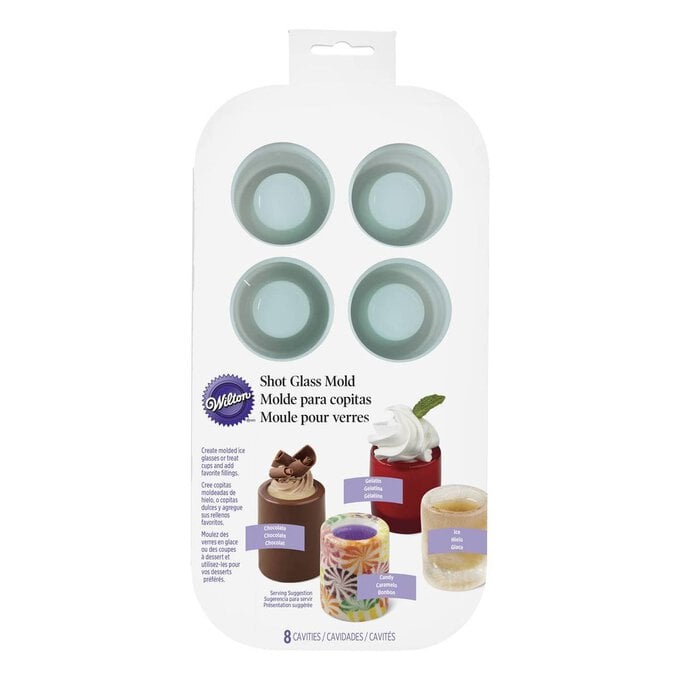
* Shot Glass Mould
* Nitrile Gloves
* Wooden Craft Sticks
* Paper Cups or Old Tupperware Pots (for mixing)

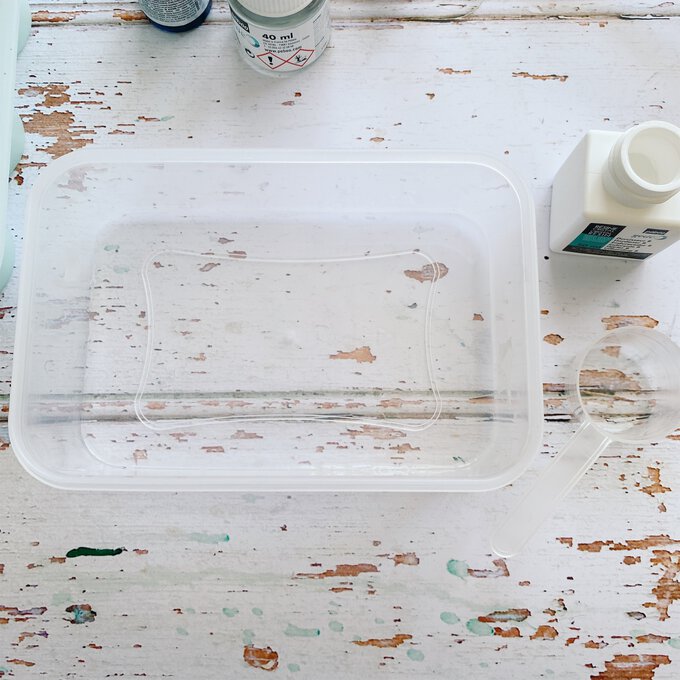
Mix the fluid pigments (start with a few drops) with the resin & hardener – refer to the instruction guide for working out quantities. Experiment with mixing the colours together and creating your own unique combinations.
If you want to create a colour separation with the resin, mixing colours separately is important.
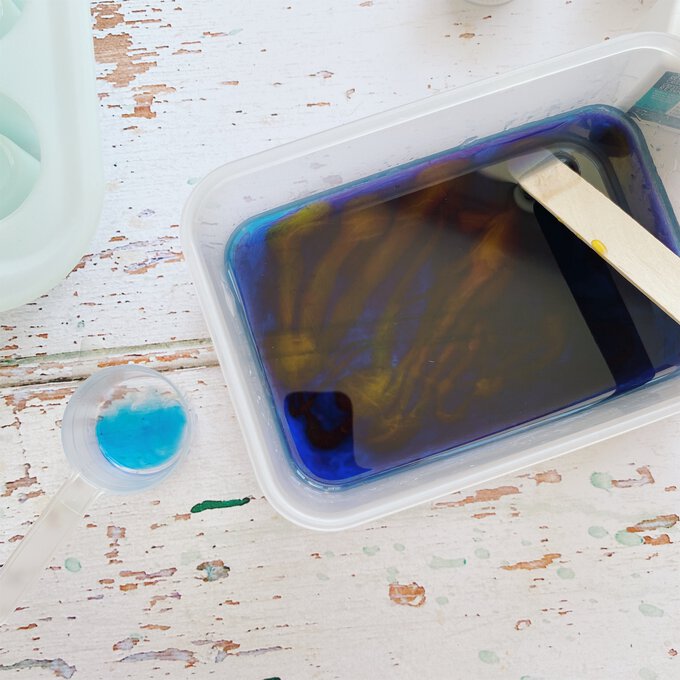
Using one coloured mixture, pour into the mould trays until they are nearly full, leaving the top section free for the next colour.
Add gold flecks into moulds and leave to half-set for around 3 hours.
Mix a lighter coloured resin then pour over the top to cover the moulds.
You may need to test the resin that is already in the moulds has hardened slightly so that there will be a level of separation between the two.
Once your moulds are covered, leave to harden for 24 hours before removing from the tray.
