How to Crochet an Autumn Fox Wreath
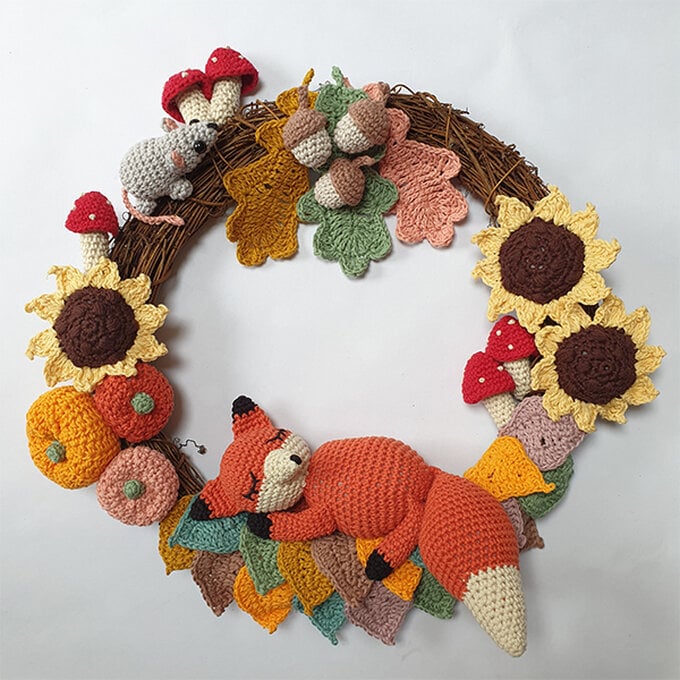
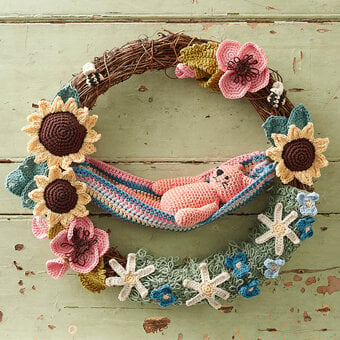
Cosy autumnal days are coming and what better way to get in the spirit than this adorable crochet autumn wreath! With rich colours and cute characters, the crochet wreath will look great wherever it's displayed.
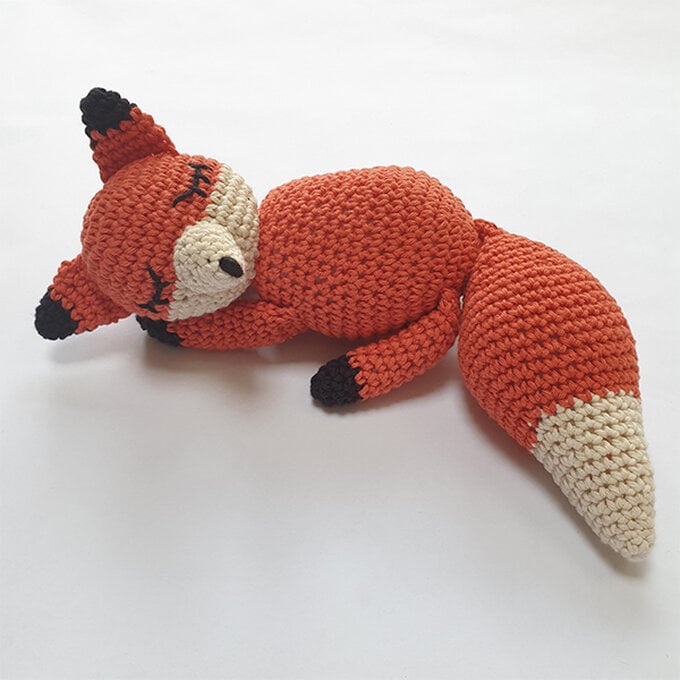
Follow our step-by-step pattern to bring this sleepy fox to life. It couldn't be simpler thanks to our breakdown of common pattern abbreviations!
Pattern by @sewing_the_seeds_of_love
You will need
Subtotal
Is $ 5.49
Subtotal
Is $ 10.00
Subtotal
Is $ 7.49
Subtotal
Is $ 5.49
Subtotal
Is $ 5.49
Subtotal
Is $ 5.49
Out of stock
Subtotal
Is $ 5.49
Out of stock
Subtotal
Is $ 5.49
Subtotal
Is $ 3.49
Out of stock
Subtotal
Is $ 3.49
Subtotal
Is $ 3.49
Subtotal
Is $ 3.49
Please Note: This pattern was originally made using Ricorumi yarns that are no longer stocked. We have suggested suitable replacements, but the colours may differ from the images slightly.
You Will Need
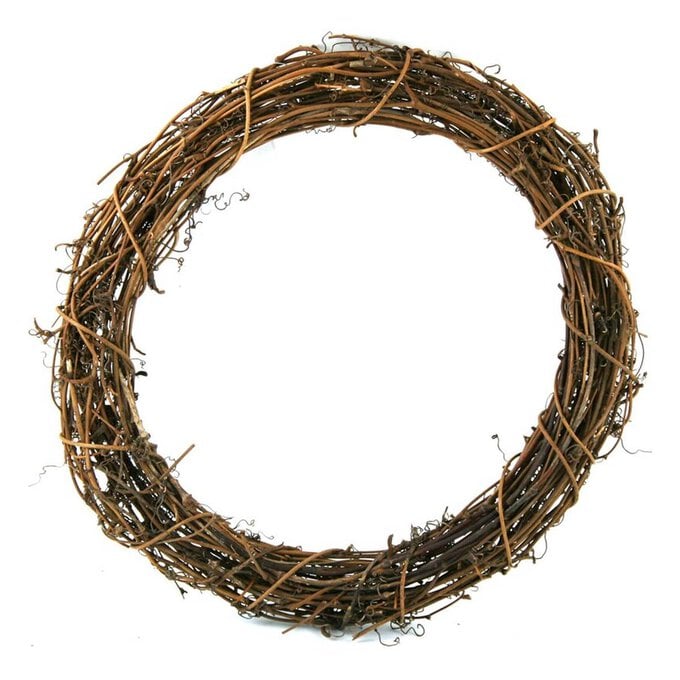
* 30.5cm Rattan Grapevine Wreath
* 3.5mm Crochet Hook
* Safety Eyes
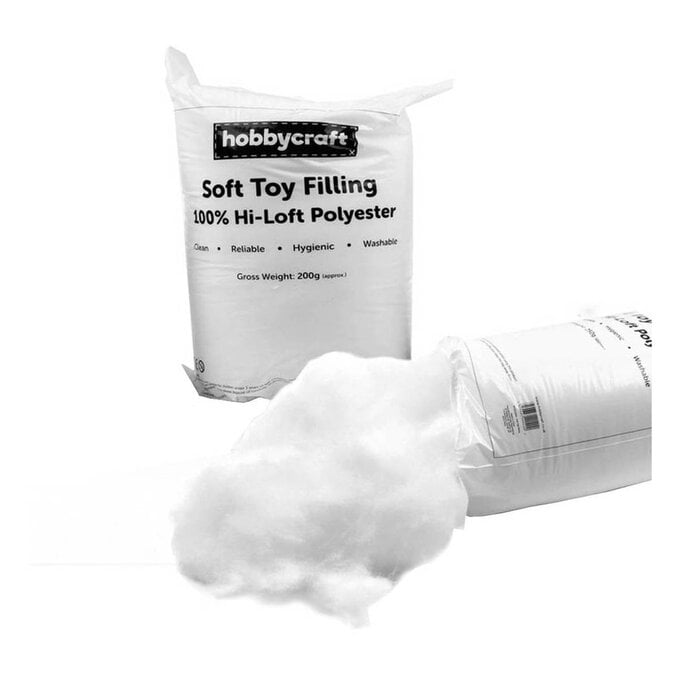
* Toy Stuffing
* Stitch Markers
* Yarn Needles
* Scissors
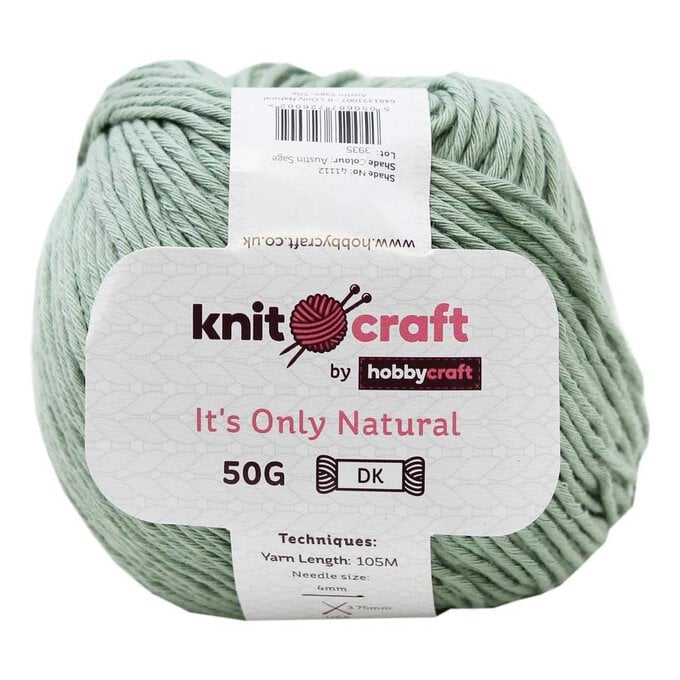
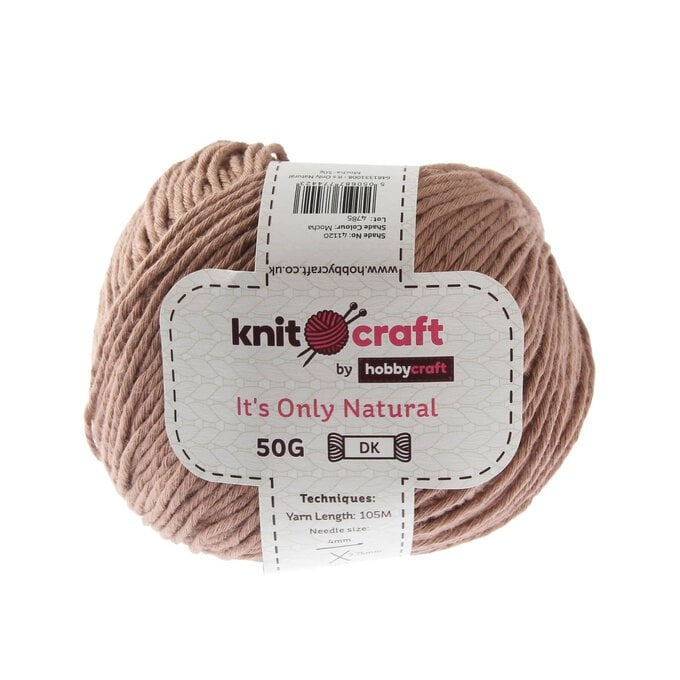
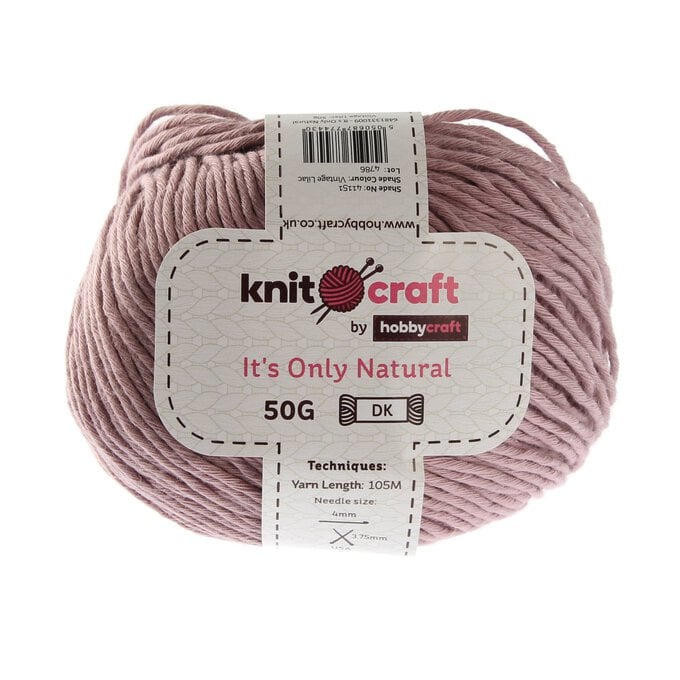
* Cotton DK Yarn 25g - Cream, Black, Red, Brown, Beige, Bright Orange, Dark Orange (x2), Mustard, Yellow, Light Grey, Light Pink, Light Blue, Light Brown, Light Green, Lilac
Abbreviations (UK terms)
Mc – magic circle
St- stitch
Ch- chain
Dc – double crochet
Tr- treble
Htr – half treble
Dtr – double treble
Special Stitches
Pst - Puff stitch - [Yarn over, insert hook and pull up a loop] rep 4 more times (you should have 11 loops on your hook), yarn over and pull through all loops, ch1. (Please note that the ch1 does not count as a separate st.)
How to make
Body
Using 'Dark Orange' and 3.5mm hook, make a MC.
Round 1: 6dc into MC. (6dc)
Rnd 2: 2dc in each st around. (12dc)
Rnd 3: *dc, 2dc in next st* rep around. (18dc)
Rnd 4: *2dc, 2dc into next st* rep around. (24dc)
Rnd 5: *3dc, 2dc into next st* rep around. (30dc)
Rnd 6: *4dc, 2dc into next st* rep around. (36dc)
Rnd 7: *5dc, 2dc into next st* rep around. (42dc)
Rnd 8-11: dc in each st around. (42dc)
Rnd 12: *5dc, dc2tog* rep around. (36dc)
Rnd 13-15: dc in each st around. (36dc)
Rnd 16: *4dc, dc2tog* rep around. (30dc)
Rnd 17-18: dc in each st around. (30dc)
Start to stuff with toy stuffing.
Rnd 19: *3dc, dc2tog* rep around. (24dc)
Rnd 20: dc in each st around. (24dc)
Rnd 21: *2dc, dc2tog* rep around. (18dc)
Rnd 22: *dc, dc2tog* rep around. (12dc)
Rnd 23: *dc2tog* rep around. (6dc)
Fasten off leaving a long tail to sew shut.
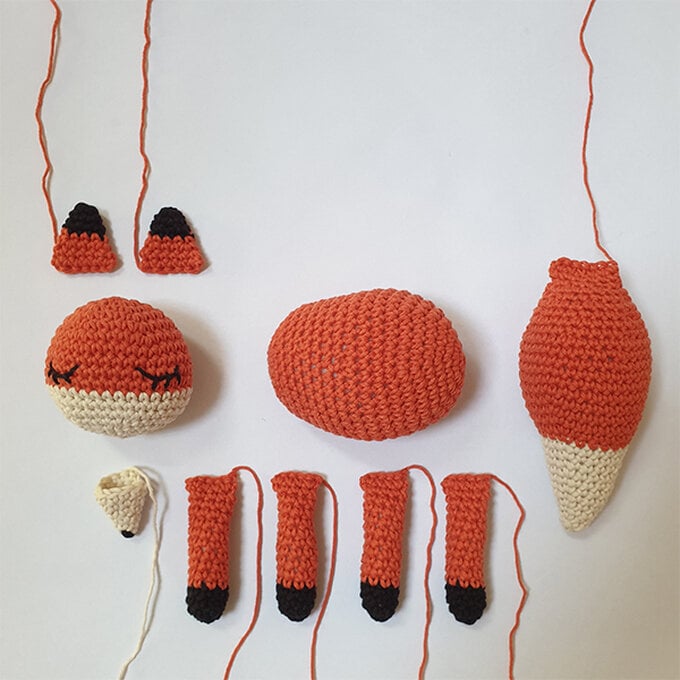
Head
Using 'Dark Orange' and 3.5mm hook, make a MC.
Rnd 1: 6dc in the MC. (6dc)
Rnd 2: *2dc in next st* rep around. (12dc)
Rnd 3: *dc, 2dc in next st* rep around. (18dc)
Rnd 4: *2dc, 2dc in next st* rep around. (24dc)
Rnd 5: *3dc, 2dc in next st* rep around. (30dc)
Rnd 6: *4dc, 2dc in next st* rep around. (36dc)
Rnd 7-10: dc in each st around. (36dc)
Fasten off 'Dark Orange' and attach 'Cream'.
Rnd 11-13: dc in each st around. (36dc)
Rnd 14: *4dc, dc2tog* rep around. (30dc)
Rnd 15: *3dc, dc2tog* rep around. (24dc)
Start to stuff with toy stuffing.
Rnd 16: *2dc, dc2tog* rep around. (18dc)
Rnd 17: *dc, dc2tog* rep around. (12dc)
Rnd 18: *dc2tog* rep around. (6dc)
Fasten off leaving a long tail to sew shut and sew to the body.
Embroider the eyes using the photo as a guide.
Nose
Using 'Cream' and 3.5mm hook, make a MC.
Rnd 1: 6dc in the MC. (6dc)
Rnd 2: dc in each st around. (6dc)
Rnd 3: *dc, 2dc in next st* rep around. (9dc)
Rnd 4: dc in each st around. (9dc)
Rnd 5: *2dc, 2dc in next st* rep around. (12dc)
Rnd 6: dc in each st around. (12dc)
Fasten off leaving a long tail to sew to the head, lightly stuff with toy stuffing and then stitch on to the face.
Ears (make 2)
Using 'Black' and 3.5mm hook, make a MC.
Rnd 1: 6dc in the MC. (6dc)
Rnd 2: dc in each st around. (6dc)
Rnd 3: *dc, 2dc in next st* rep around. (9dc)
Fasten off 'Black' and attach 'Dark Orange'.
Rnd 4: dc in each st around. (9dc)
Rnd 5: *2dc, 2dc into next st* rep around. (12dc)
Rnd 6: *dc in each st around. (12dc)
Rnd 7: Ch1, fold the ear flat and work into both sides of the ear. 6dc (6dc)
Fasten off leaving a long tail to sew to the head
Legs (Make 4)
Using 'Black' and 3.5mm hook, make a MC.
Rnd 1: 6dc in the MC. (6dc)
Rnd 2: *dc, 2dc into next st* rep around. (9dc)
Start to lightly stuff with toy stuffing.
Rnd 3-4: *dc in each st around. (9dc)
Fasten off 'Black' and attach 'Dark Orange'.
Rnd 5-14: dc in each st around. (9dc)
Rnd 15: Ch1, fold the leg flat and work into both sides of the leg. 4dc, dc into the last st. (5dc)
Fasten off leaving a long tail to sew to the body.
Tail
Using 'Cream' and 3.5mm hook, make a MC.
Rnd 1: 6dc in the MC. (6dc)
Rnd 2: dc in each st around. (6dc)
Rnd 3: dc, 2dc in next st* rep around. (9dc)
Rnd 4: dc in each st around. (9dc)
Rnd 5: *2dc, 2dc in next st* rep around. (12dc)
Rnd 6: dc in each st around. (12dc)
Rnd 7: *3dc, 2dc in next st* rep around. (15dc)
Rnd 8: dc in each st around. (15dc)
Rnd 9: *4dc, 2dc in next st* rep around. (18dc)
Rnd 10: dc in each st around. (18dc)
Rnd 11: *5dc, 2dc in next st* rep around. (21dc)
Rnd 12: dc in each st around. (21dc)
Fasten off 'Cream' and attach 'Dark Orange'.
Rnd 13: *6dc, 2dc in next st* rep around. (24dc)
Rnd 14: *7dc, 2dc in next st* rep around. (27dc)
Rnd 15: *8dc, 2dc in next st* rep around. (30dc)
Rnd 16: *9dc, 2dc in next st* rep around. (33dc)
Rnd 17: *10dc, 2dc in next st* rep around. (36dc)
Rnd 18-23: dc in each st around. (36dc)
Rnd 24: *4dc, dc2tog* rep around. (30dc)
Rnd 25: dc in each st around. (30dc)
Start to stuff with toy stuffing.
Rnd 26: *3dc, dc2tog* rep around. (24dc)
Rnd 27: dc in each st around. (24dc)
Rnd 28: *2dc, dc2tog* rep around. (18dc)
Rnd 29-30: dc in each st around. (18dc)
Rnd 31: ch1, fold the tail flat and work into both sides of the tail. 9dc across. (18dc)
Fasten off leaving a long tail, and then sew to the body.
Cap (make 5)
Using 'Red' and 3.5mm hook, make a MC.
Rnd 1: 6dc in the MC. (6dc)
Rnd 2: *dc, 2dc into next st* rep around. (9dc)
Rnd 3: *2dc, 2dc into next st* rep around. (12dc)
Rnd 4: *3dc, 2dc into next st* rep around. (15dc)
Rnd 5: *4dc, 2dc into next st* rep around. (18dc)
Rnd 6: *5dc, 2dc into next st* rep around. (21dc)
Rnd 7: *6dc, 2dc into next st* rep around. (24dc)
Rnd 8: *dc in each st around. (24dc)
Fasten off and sew in the ends.
Stalk (make 5)
Using 'Cream' and 3.5mm hook, make a MC.
Rnd 1: 6dc in the MC. (6dc)
Rnd 2: *dc, 2dc into next st* rep around. (9dc)
Rnd 3-13: dc in each st around (9dc)
Start to stuff with toy stuffing.
Rnd 14: *dc, dc2tog* rep around. (6dc)
Fasten off leaving a long tail and sew shut.
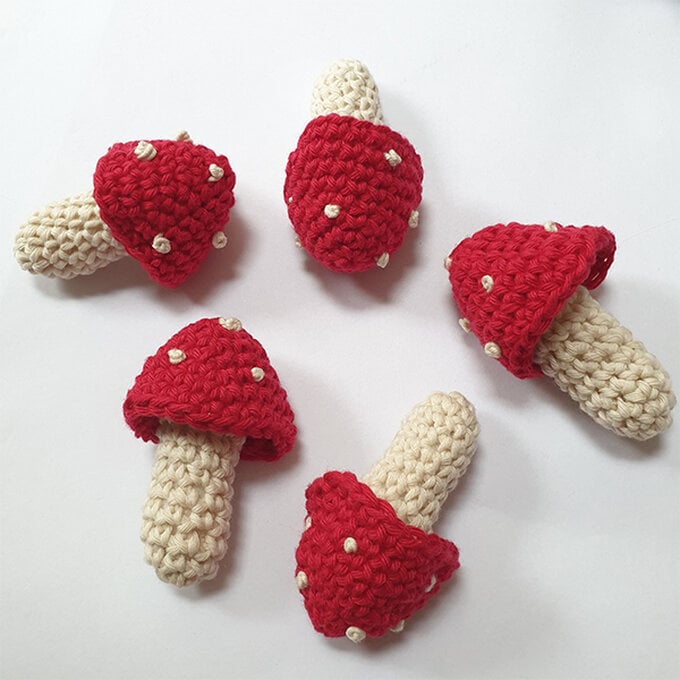
Sew the stalks to the inside of the toadstool caps.
Using 'Cream' embroider/french knot ‘spots’ onto the cap.
(Make 3)
Centre (Back)
Using 'Brown' and 3.5mm hook, make a MC.
Rnd 1: 6dc in the MC. (6dc)
Rnd 2: *2dc in next st* rep around. (12dc)
Rnd 3: *dc, 2dc in next st* rep around. (18dc)
Rnd 4: *2dc, 2dc in next st* rep around. (24dc)
Rnd 5: *3dc, 2dc in next st* rep around. (30dc)
Fasten off.
Centre (Front)
Using 'Brown' and 3.5mm hook, make a MC.
Rnd 1: 6dc in the MC. (6dc)
Rnd 2: *2dc in next st* rep around. (12dc)
Rnd 3: *pst, 2dc in next st* rep around. (18dc)
Ch1's made as part of the puff stitches in the previous round do not count as a st.
Rnd 4: *2dc, 2dc in next st* rep around. (24dc)
Rnd 5: *pst, 2dc, 2dc in next st* rep around. (30dc)
Do not fasten off.
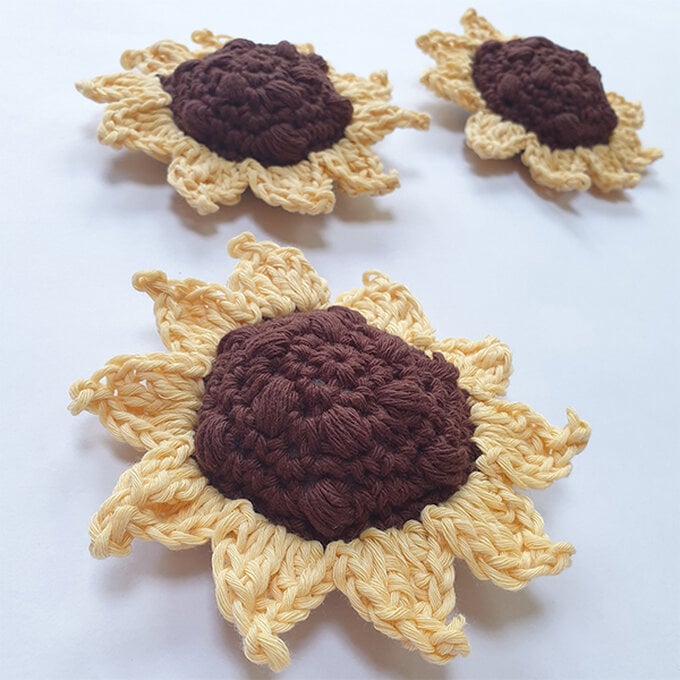
Place the 2 centres of the sunflower RS facing out, on top of each other & ch1, dc through both pieces in each st around them. Before you dc shut, lightly stuff with toy stuffing.
Fasten off and sew in the ends.
Petals
Join 'Yellow' in any stitch.
Rnd 1: *[dc, htr, tr, dtr, picot] in the 1st st, [dtr, tr, htr, dc] in the next st, slst in the next st.* rep around. (10 petals)
Fasten off and sew in the ends.
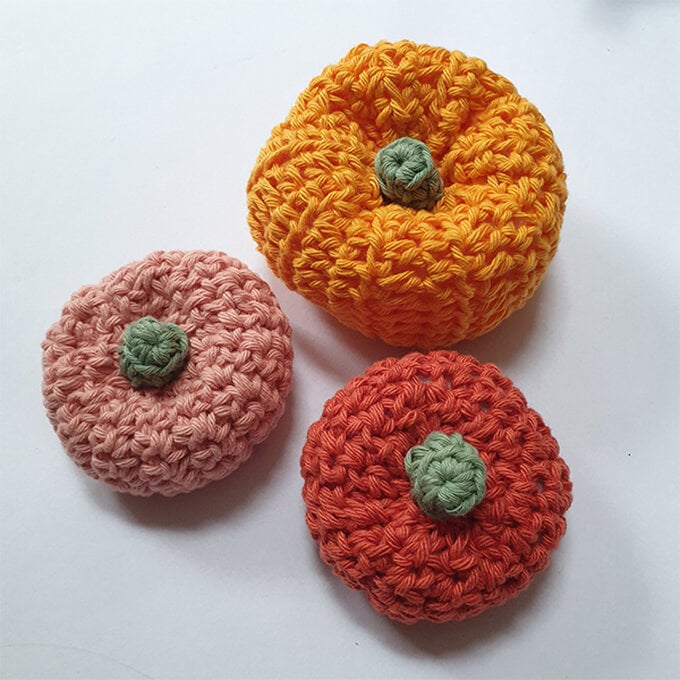
Small Pumpkin (make 1 in each colour)
Using 'Dark Orange' or 'Light Pink' and 3.5mm hook, ch 11.
Row 1: dc in 2nd ch from hook, and in each st across. (10dc)
R2-25: ch1, turn, dc in each st across. (10dc)
Fasten off, leaving a long tail to sew shut.
Small Stalk (make 2)
Using 'Light Green' and 3.5mm hook, make a MC.
Rnd 1: dc in each st around. (6dc)
Rnd 2: working in BLO, dc in each st around. (6dc)
Fasten off, leaving a tail to sew to the top of the pumpkin.
Medium Pumpkin
Using 'Bright Orange' and 3.5mm hook, ch 17.
R1: htr in 3rd ch from hook, htr in each st. (15htr)
R2-20: ch2, turn, htr in each st across. (15htr)
Fasten off, leaving a long tail to sew shut.
Medium Stalk
Using 'Light Green' and 3.5mm hook, make a MC.
Rnd 1: dc in each st around. (6dc)
Rnd 2: working in BLO, dc in each st around. (6dc)
Rnd 3: dc in each st around. (6dc)
Fasten off, leaving a tail to sew to the top of the pumpkin.
Assembly
Sew the 1st row to the last row on each of the pumpkins to create a loop. Use a running stitch, sew around the top edge of the pumpkin and gently pull tight to close the hole. Stuff with toy stuffing and then repeat for the bottom edge.
Lastly, sew the stalk in place on the top of each pumpkin.
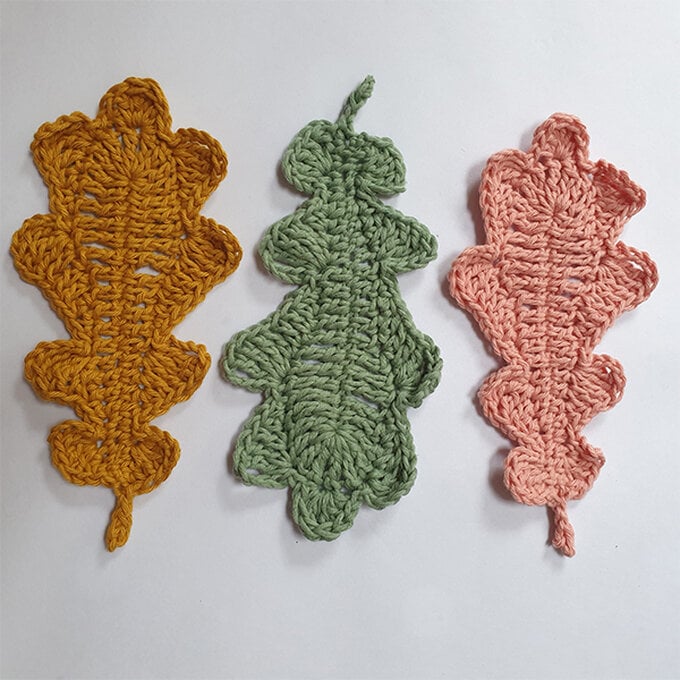
(Make 1 in each colour)
Using 'Mustard', 'Beige', or 'Dark Orange' and 3.5mm hook, ch20.
Rnd 1: dc in the 2nd ch from the hook, 3dc, 4htr, 5tr, 5dtr, [8dtr] in the last ch. Continue working along the other side of your foundation ch: 5dtr, 5tr, 4htr, 4dc. To make the stem, sl st in the 1st ch, ch5, dc in the 2nd ch from the hook, slst in 1st st.
Rnd 2: ch1, htr, miss a st, 3tr, ch3, 2slst, dc, htr, tr, [3dtr, ch4, slst] in the next st, slst, dc, htr, 3tr, [3dtr, ch4, slst] in the next st, slst, dc, htr, tr, [2dtr, ch4, slst] in the next st, slst, [htr, tr, 2dtr, tr, htr] in the next st, slst, [slst, ch4, 2dtr] in the next st, tr, htr, dc, slst, [slst, ch4, 3dtr] in the next st, 3tr, htr, dc, slst, [slst, ch4, 3dtr] in the next st, tr, htr, dc, slst, [slst, ch3, 3tr] in the next st, htr, 2slst.
Fasten off and sew in the ends.
With a contrasting colour, embroider with a simple back stitch.
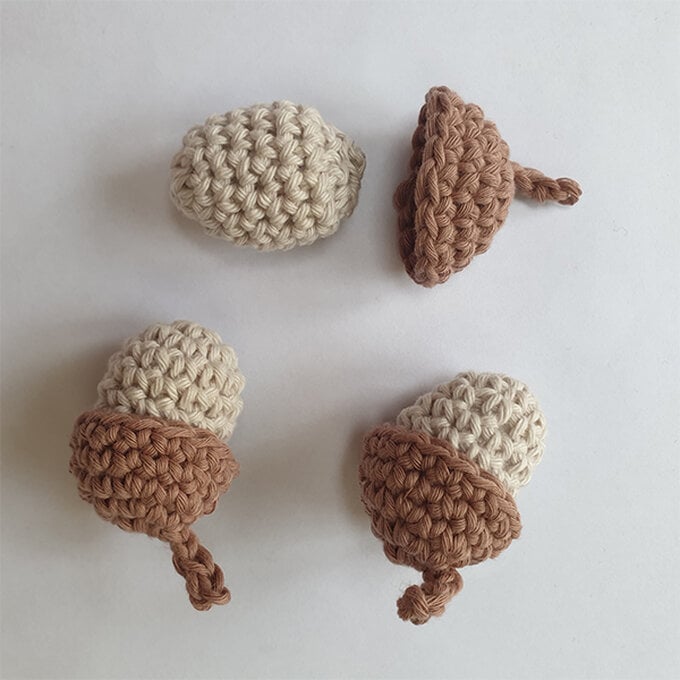
Acorn (make 3)
Using 'Light Grey' and 3.5mm hook, make a MC.
Rnd 1: 6dc in to the MC. (6dc)
Rnd 2: 2dc in each st around. (12dc)
Rnd 3-8: dc in each st around. (12dc)
Start to stuff with toy stuffing.
Rnd 9: *dc2tog* rep around. (6dc)
Fasten off and sew shut.
Acorn Cup (make 3)
Using 'Light Brown' and 3.5mm hook, make a MC.
Rnd 1: ch5, dc in the 2nd ch from the hook, slst in the next 3 ch. Work 6dc in the MC.
Rnd 2: 2dc in each st around. (12dc)
Rnd 3: *dc, 2dc into next st* rep around. (18dc)
Rnd 4-5: dc in each st around. (18dc)
Fasten off and sew in the ends.
Assemble with a glue gun, glue the acorn in its cup to secure.
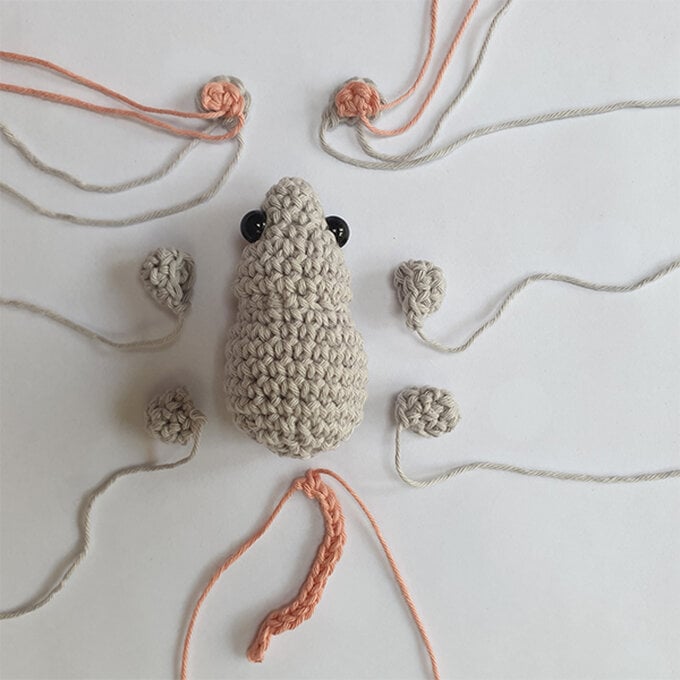
Head and Body
Using 'Light Grey' and 3.5mm hook, make a MC.
Rnd 1: 6dc in to the MC. (6dc)
Rnd 2: dc in each st. (6dc)
Rnd 3: *dc, 2dc into next st* rep around. (9dc)
Rnd 4: dc in each st. (9dc)
Rnd 5: *2dc, 2dc into next st* rep around. (12dc)
Rnd 6: *dc, 2dc into next st* rep around. (18dc)
Insert safety eyes between R4 and R5, 4sts apart.
Rnd 7-8: dc in each st. (18dc)
Rnd 9: *dc, dc2tog* rep around. (12dc)
Rnd 10: *dc, 2dc into next st* rep around. (18dc)
Rnd 11: *2dc, 2dc into next st] (24dc)
Rnd 12-15: dc in each st (24dc)
Start to stuff with fibre filling.
Rnd 16: *2dc, dc2tog* rep around. (18dc)
Rnd 17: *dc, dc2tog* rep around. (12dc)
Rnd 18: *dc2tog* rep around. (6dc)
Fasten off and sew shut.
Ears (Make 2)
Using 'Light Grey' and 3.5mm hook, make a MC.
Rnd 1: 6dc in to MC. (6dc)
Fasten off and sew to the top of the head.
Using 'Light Pink' and 3.5mm hook, make a MC.
Rnd 1: 3dc in to the MC. (3dc)
Fasten off, leaving a long tail and attach the pink part to the front of the grey part of the ear by stitching the pieces together.
Tail
Using 'Light Pink' and 3.5mm hook, ch15.
Rnd 1: dc in the 2nd ch from the hook, sl st in each st to the end (14sts)
Fasten off, leaving a long tail to sew on to the mouse’s body.
Legs (make 4)
Using 'Light Grey' and 3.5mm hook, make a MC.
Rnd 1: 6dc in to the MC. (6dc)
Rnd 2-3: dc in each st (6dc)
Fasten off, leaving a long tail to sew on to the mouse's body.
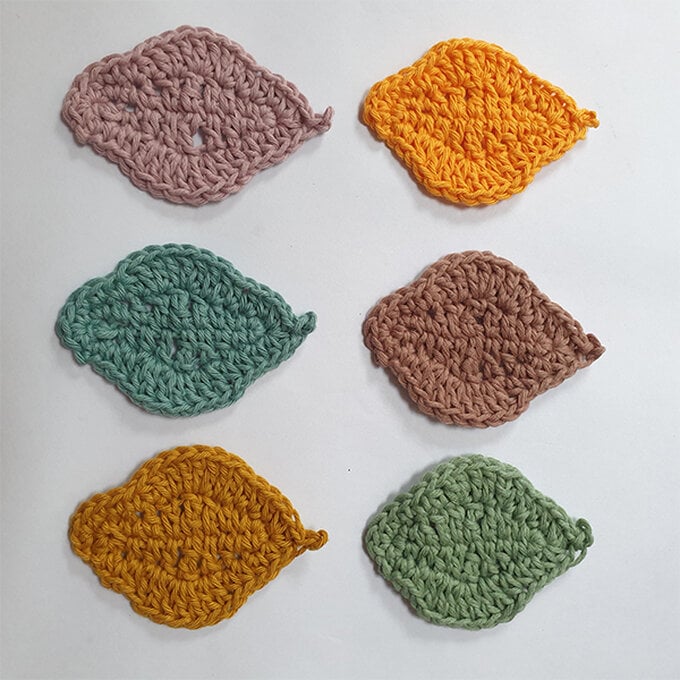
(Make 3 of each colour)
Using 'Lilac', 'Light Brown', 'Light Green', 'Light Blue', 'Bright Orange', or 'Beige' and 3.5mm hook, ch10.
R1: dc in the 2nd ch, dc, htr, tr, dtr, tr, htr, dc, [3dc] in the last ch. Now work along the other side of the ch, dc, htr, tr, dtr, tr, htr, dc, [2dc] in the last ch slst in the 1st dc.
R2: ch1, dc in the same st, dc, htr, [2tr] in next, [3tr], [2tr], 3htr, [2htr, picot, 2htr], 3htr, [2tr], [3tr], [2tr], htr, 3dc, [3dc], slst in the 1st st.
Fasten off and sew in the ends.
