Bullet Journaling for Beginners
Creating and keeping a bullet journal is all about staying organised. It uses a simple system to help you manage what you need to do on a daily, weekly and monthly basis.
Use it to organise your chores at home, projects at work or school, social events and your personal goals, to keep you focused on what’s important to you.
Project and instructions by Caroline Shard
Did you know Bullet Journal® (or BuJo® for short) was created by Ryder Carroll, a digital product designer and author living in Brooklyn, NY. Find out more >
You will need
Subtotal
Is $ 11.00
Subtotal
Is $ 4.49
Subtotal
Is $ 5.49
Subtotal
Is $ 74.00
Subtotal
Is $ 12.00
Subtotal
Is $ 18.00
How to Make
Lined, grid or dotted notebooks can help to keep pages tidy and structured whereas plain pages and thicker paper are better for wet or heavy mediums such as watercolour or alcohol markers.
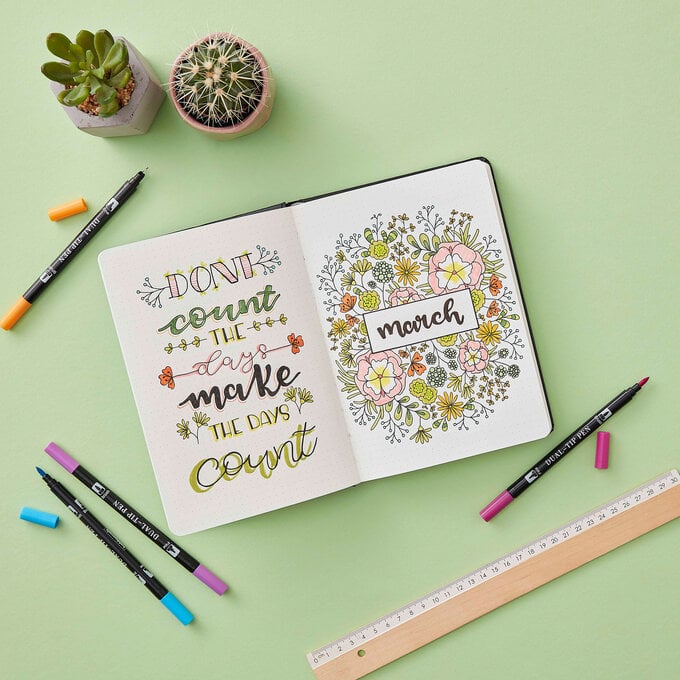
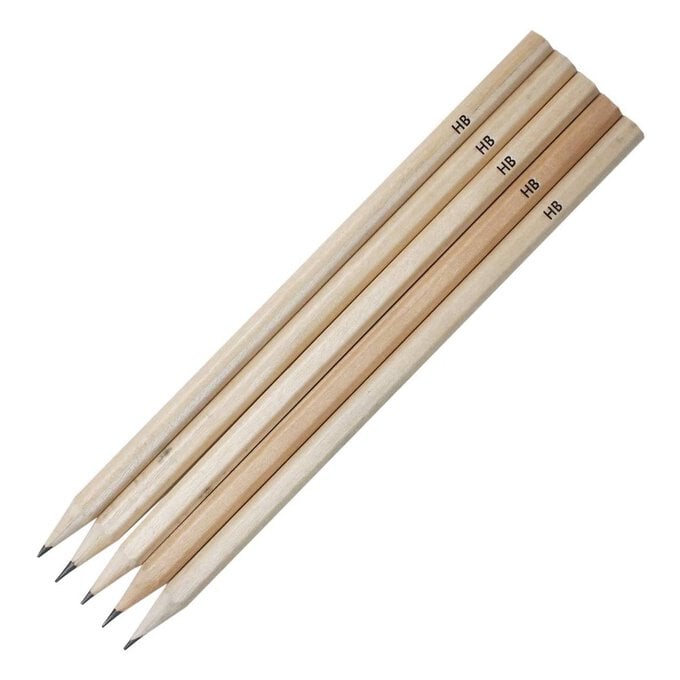
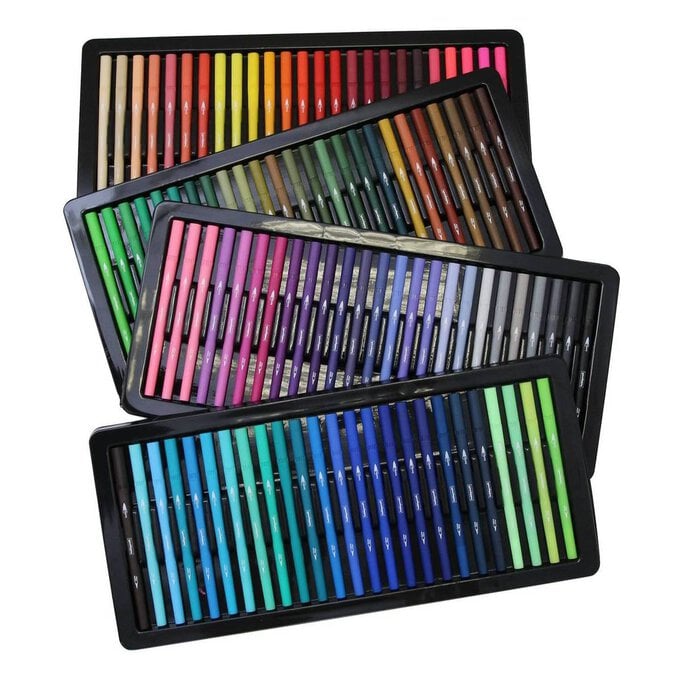
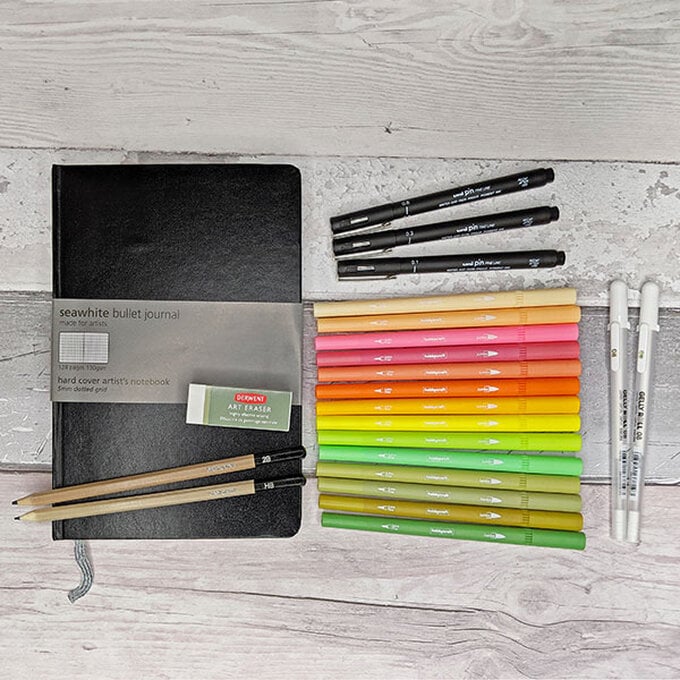
Assigning specific colours to different types of tasks and goals can help keep them organised, coloured pencils and markers are a great starting point. Sketch out pages using a pencil first and use brush pens or markers on top.
Try using a waterproof pen to avoid smudging. Use a glue stick or tape to add in personal touches like shopping lists, old tickets, notes, photos, magazines etc
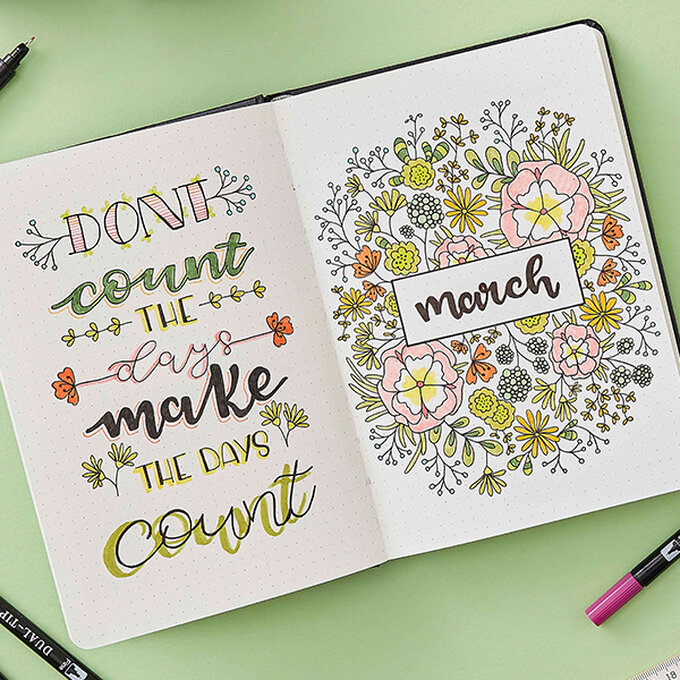
To set up your bullet journal, create a double page spread at the front of the book and split it into 12 sections, one for each month.
Label each section with the month and add any special tasks, birthdays or projects that will need to be completed for that month. These will be used to create your monthly task list.
After the future log, create a calendar page for the first month and add a list of all tasks for that month from your future log.
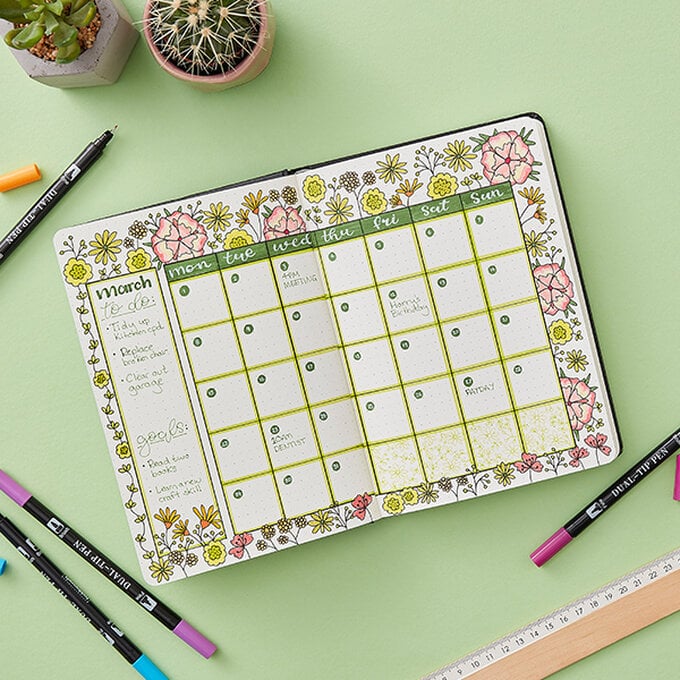
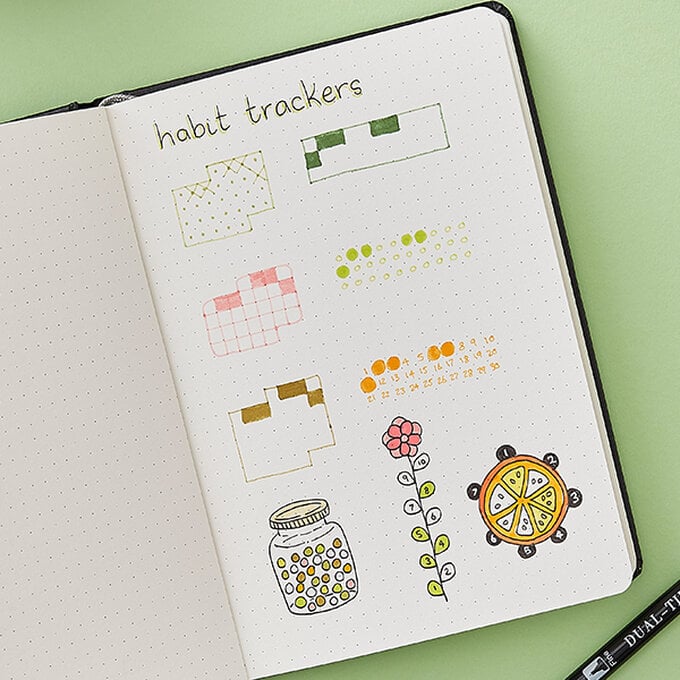
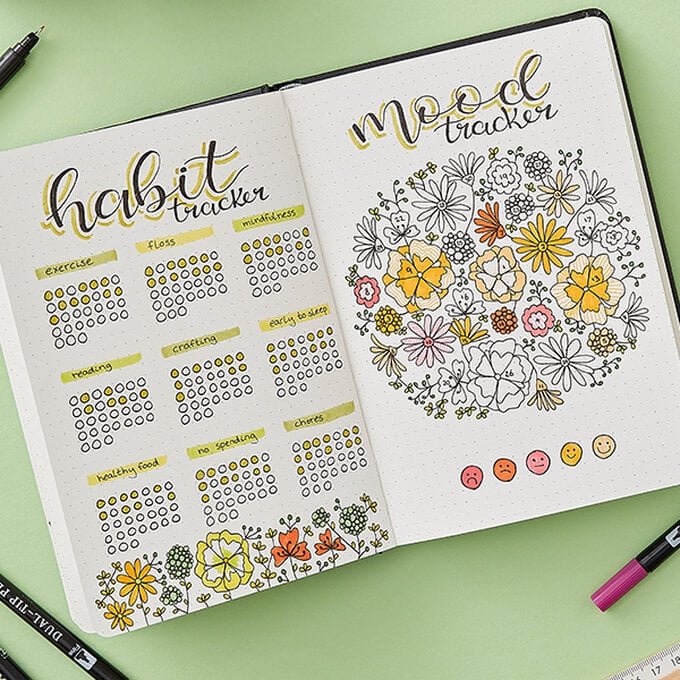
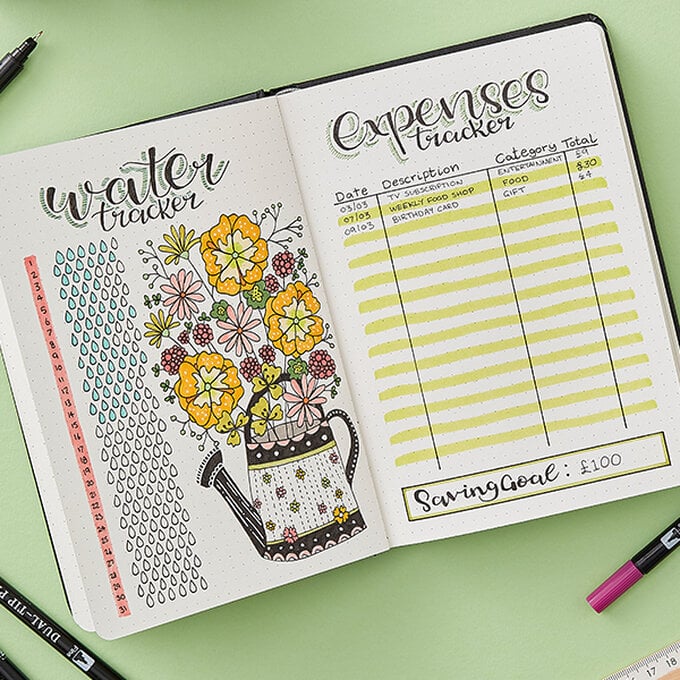
Habit trackers are a great way of monitoring daily activities that you don’t want to add to your task list every day; flossing your teeth, exercise, washing the dishes, doing laundry, taking vitamins etc.
Mark off or colour in the boxes for each day you complete the task and see how you’ve done at the end of the month.
Trackers are also a great way of checking in with yourself, tracking your mood, practising mindfulness, tracking meditation and self care.
Create a page for your self care pick me ups or create a gratitude page to remind yourself what you are grateful for.
Experiment with different shapes and types of trackers to find what works for you
Download the mood tracker template here >
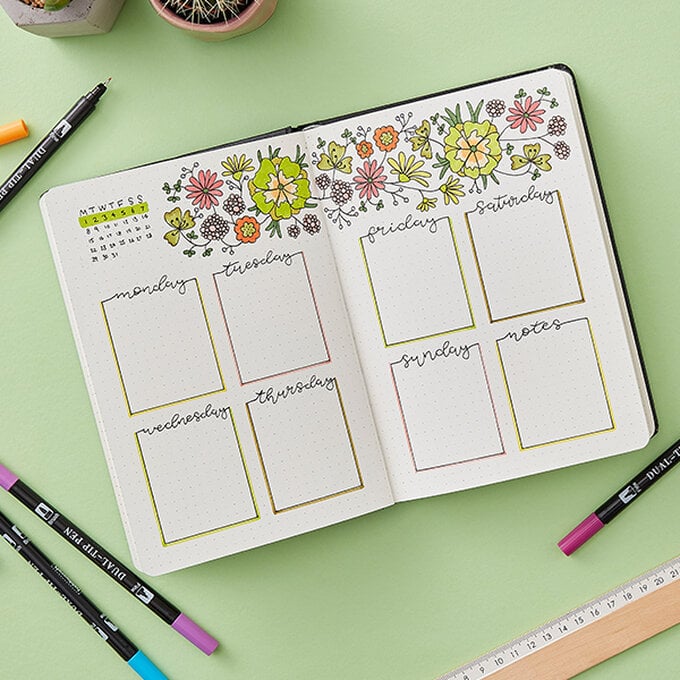
After your monthly pages, create the first weekly spread. Add in any tasks you need to do for that week from the monthly list and add to your daily lists as you go.
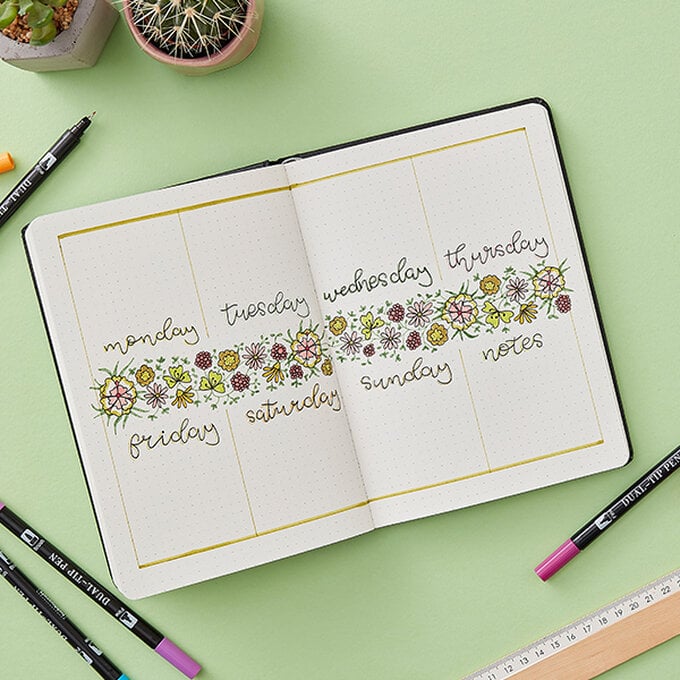
If you have a busy week, you may also want to create a page for each day divided into time slots. If you have less to do you may want each week on a single page.
Change your layouts to fit your schedule and experiment with space to see what works best.
At the end of the month, set up the next month as before and pull through tasks from the future log. Try not to set up pages too far ahead, or you may create pages that don’t have enough space or have too much space.
Try creating the next weekly or monthly spread only a few days before.
Add a new task as a simple bullet point ‘•’. If the task needs to be moved forward to another day, change the bullet point into a forward arrow, ‘>’ and then write the task on the day it has been moved to.
If the task needs to be rescheduled, move the task back to the future log or monthly tasks list and change it to a backwards arrow ‘<’.
Once a task is complete, turn the bullet point into a cross to show it’s completed ‘x’. Use other symbols to mark tasks that are important or for different types of events.
Download design one template >
Downlaod design two template >
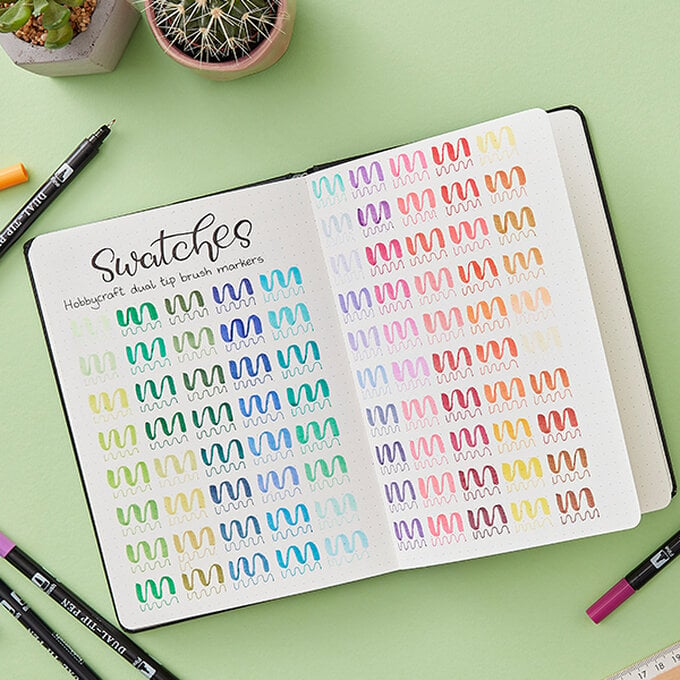
Use a page at the back of your notebook to swatch your pencils, pens and markers to see how they work on the paper; some markers may bleed through.
Write down any brands or colour names so you can quickly select the right colour.
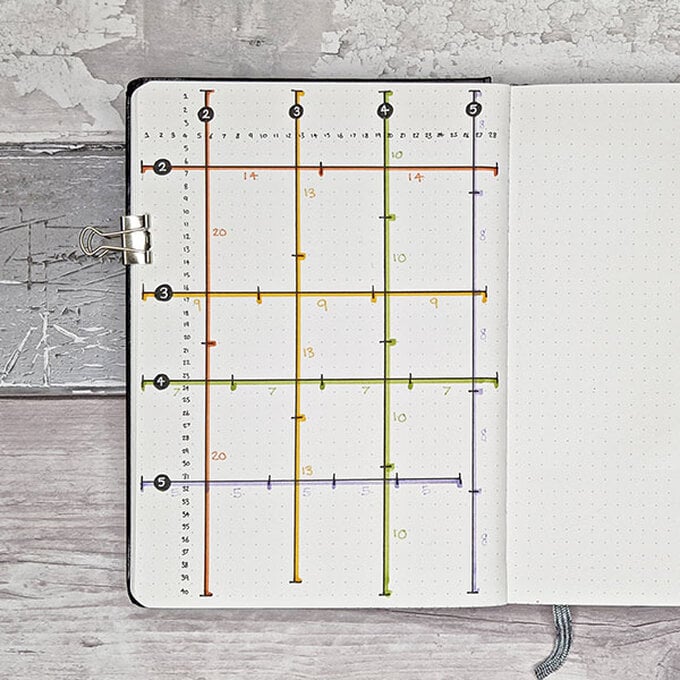
Create a spacer guide on a single page on the left hand side of your notebook.
Use this guide to set up new layouts to quickly see how to divide your page up.
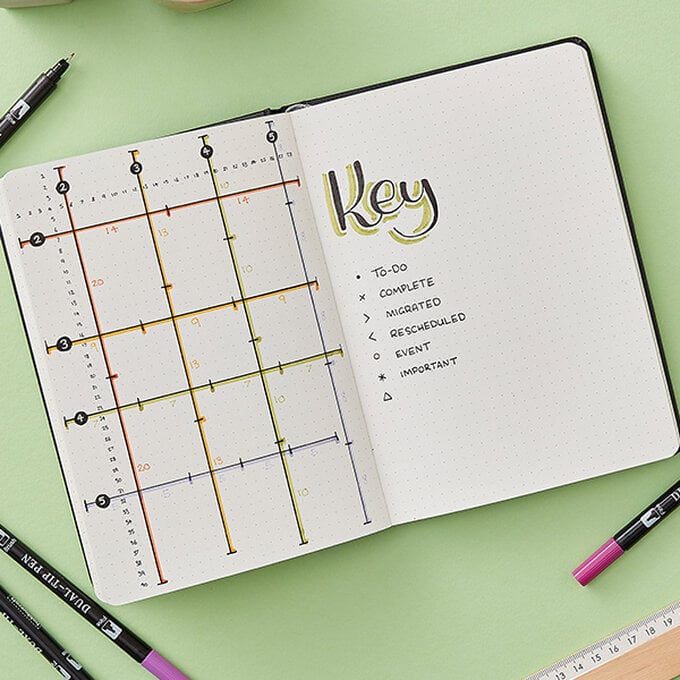
Creating a ‘key’ page for tasks in your notebook.
You can add to this list, change the symbols or add colour on this page and refer back to at any time
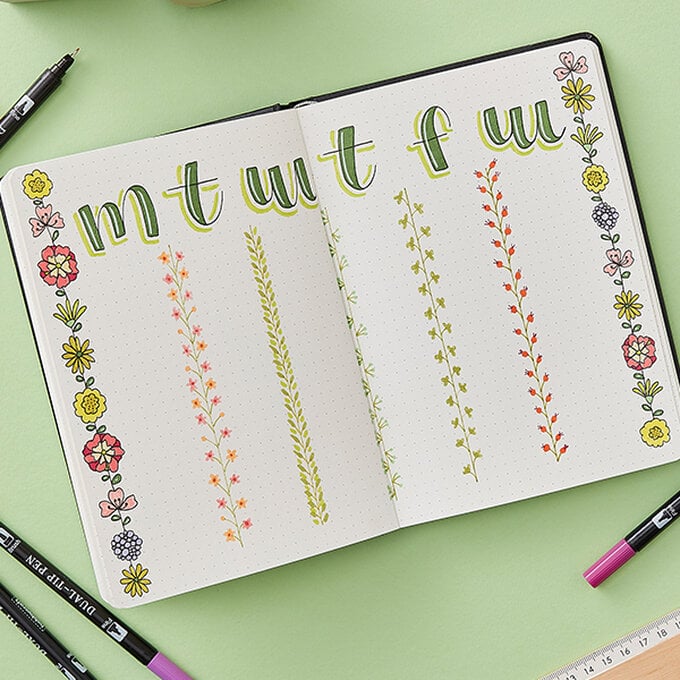
* Be creative! Use your journal as a way to draw, doodle and be creative. Creating a theme and illustrating your pages each month is a great way to be creative every week; add an inspirational
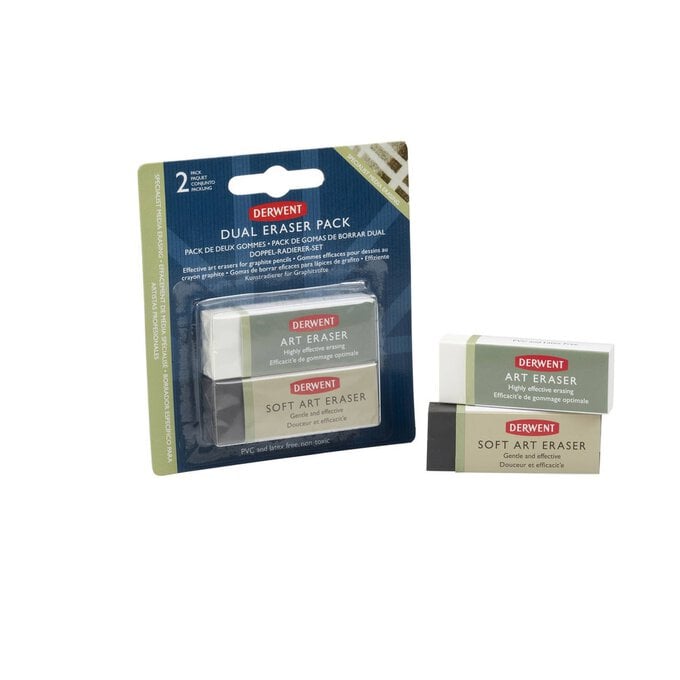
* Mistakes happen. Cover it with some washi tape, stick in a photo or colour over it in a dark colour and draw over the top to cover the mistake. Add an index page at the front of your journal so you can easily find any key pages in the future. You may want to leave two pages for this as it can fill up fast.
* Make it your own! Create your own pages that are specific to you. Track a big project over a double page spread or leave pages for yourself to just doodle in.
* Be creative! Use your journal as a way to draw, doodle and be creative. Creating a theme and illustrating your pages each month is a great way to be creative every week; add an inspirational
