Cricut: How to Make a Reindeer Christmas Jumper
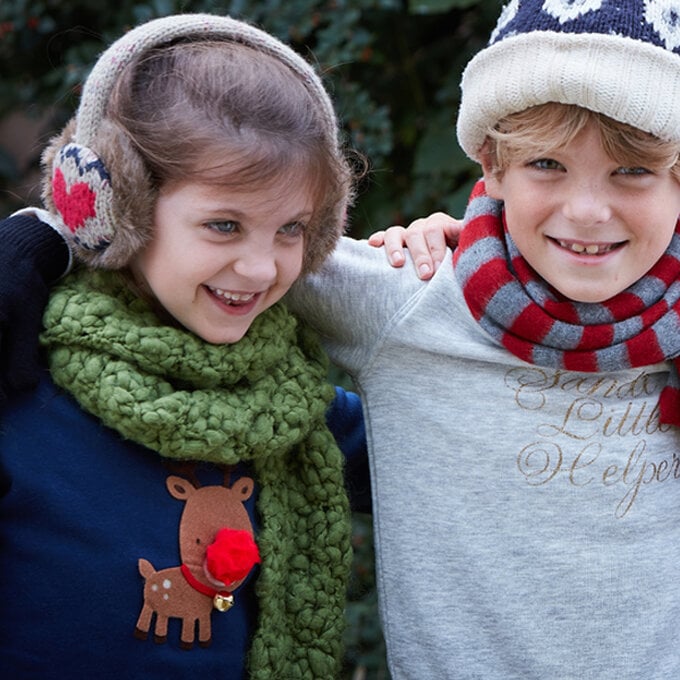
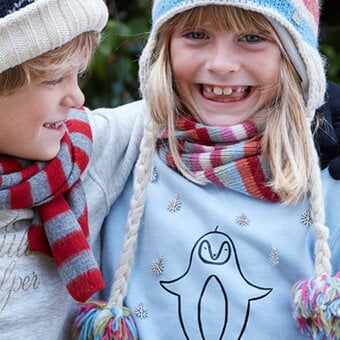
Bring a smile to any child's face with this super-cute Christmas jumper made using felt cut with the Cricut Explore or Maker and the online software, Design Space™. Using fabric stabiliser with the felt means there is no sewing ; a quick and easy ironable project! this design would also look great adorning the front of an adult's jumper, simply re-size the design to suit.
You will need
Subtotal
Is $ 662.00
Subtotal
Is $ 4.49
Subtotal
Is $ 34.00 , was $ 42.00
Subtotal
Is $ 25.00 , was $ 31.00
How to make
You will also need:
A child's sweatshirt pre-washed
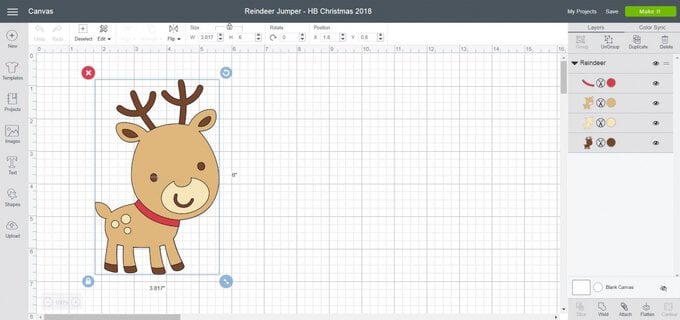
Using a laptop/Mac/iPad/iPhone/Android device, log on to your Design Space™ account and make sure you are connected to your Cricut Explore™ / Maker™ machine. Open a new project. Search for 'reindeer' in the image library and select your chosen image. This project used 'Reindeer' #M3CBAB (from Create A Critter 2 cartridge).
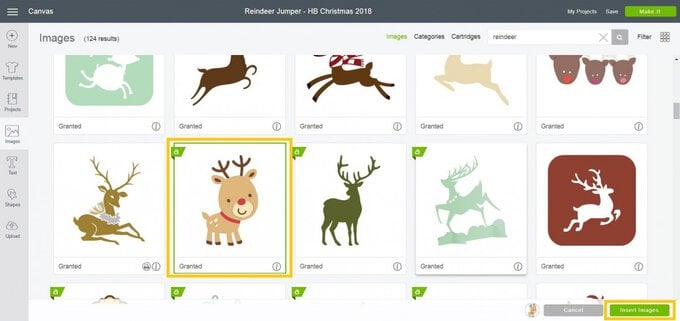
Resize the image to fit the sweatshirt: approximately 6” high x 3.8” wide / 15.4cm high x 9.7cm wide.
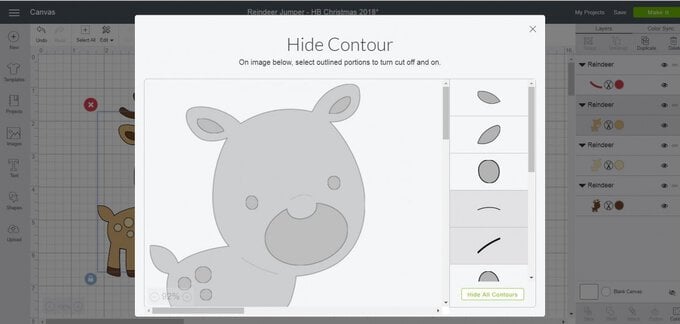
Ungroup the layers and use 'hide contour' to remove any cut lines not required including the placement lines for each layer.
Cut the felt into pieces slightly larger than required, referring to the cut preview screen for the sizing. Use the Easy Press™ or an iron and press cloth to apply Heat n Bond Ultra to the back of the felt pieces.
Cut the reindeer layers from the appropriate coloured felt.
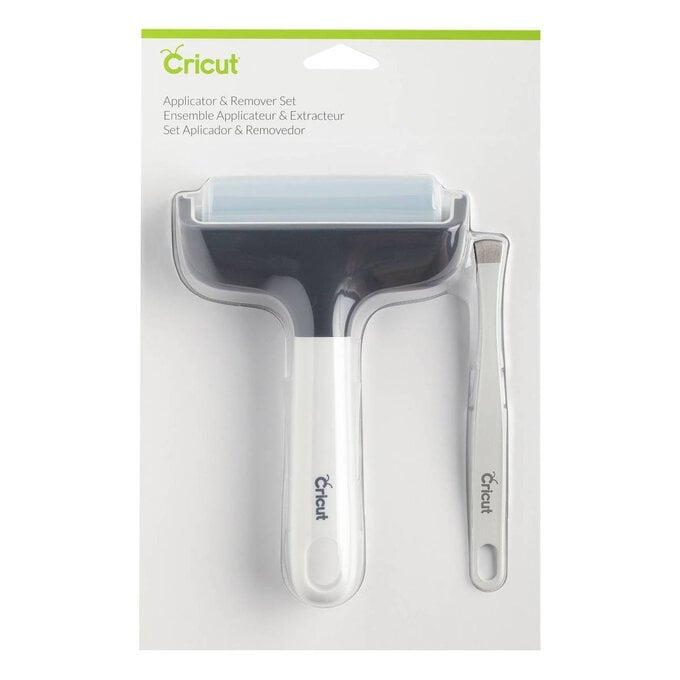
Use the remover tool to carefully lift the cut images from the cutting mat.
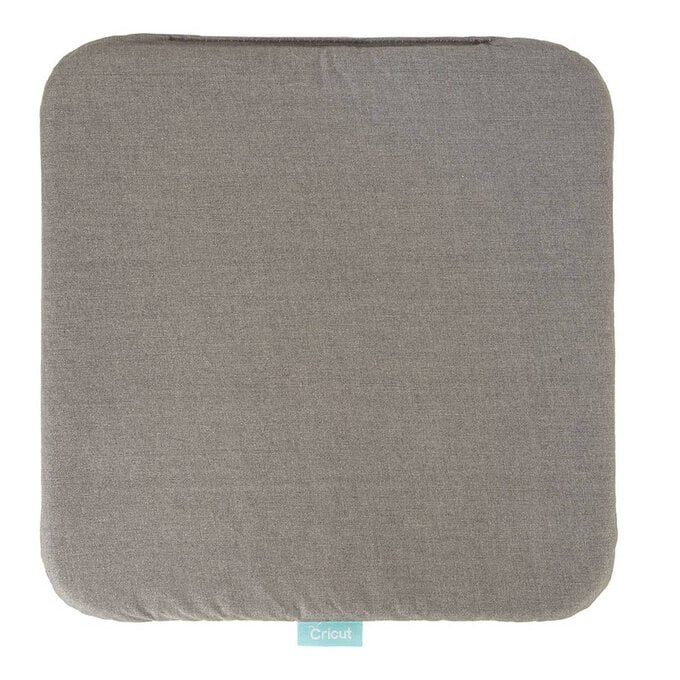
Use the Easy Press™ (or an iron and press cloth) to apply the images in order to the pre-washed sweatshirt. Making sure to follow the Easy Press™ heat setting details located on the Cricut website »
Sew a red pom pom to the nose of the reindeer and a bell on the collar.
