Cricut: How to Make an Adventure Fund with Adhesive Vinyl
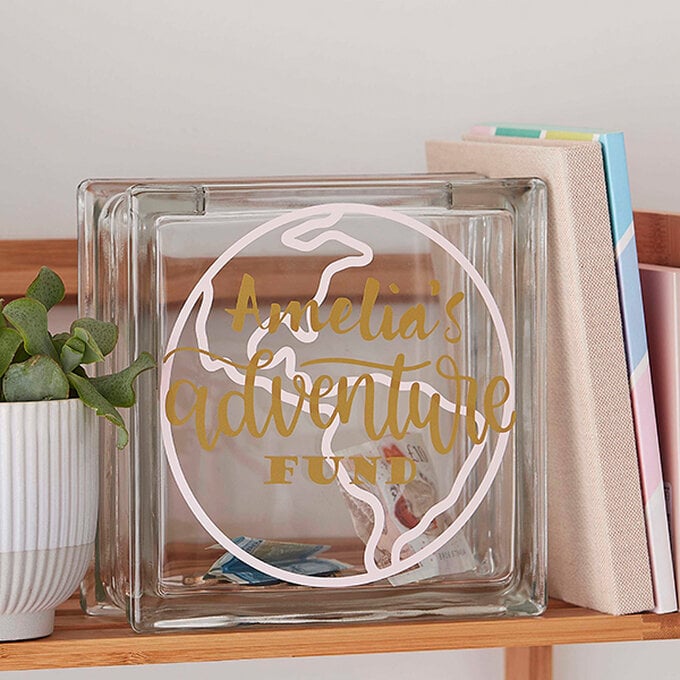
Put a fun spin on a classic money box as you start saving for your next travels! You'll be all set to make all kinds of plans for your next adventure with this easy Cricut project.
The completed glass block makes the perfect gift or could even be something to help inspire the saver in you! Simply personalise with your name or the name of a friend, then it's time to get the fund started.
Project and instructions by Hobbycraft Artisan Joey Daley
Please note: This project contains paid-for content from Cricut's Design Space app. Screen reference images are taken from the desktop version of Design Space. The Cricut Maker was used to create this project; however, this project can also be created using a Cricut Explore.
Due to the nature of the glass block, surfaces and sizes may vary slightly.
You will need
Subtotal
Is $ 11.00 , was $ 14.00
Subtotal
Is $ 24.00
Out of stock
Subtotal
Is $ 9.49 , was $ 12.00
Subtotal
Is $ 658.00
How to make
You will also need:
* Basic Cricut tools
* Cricut Cutting Mat 12 x 12 Inches
* Cricut Design Space app installed on a laptop, PC, Tablet or mobile device
Open the Cricut Design Space app and start a new project, opening a blank canvas.
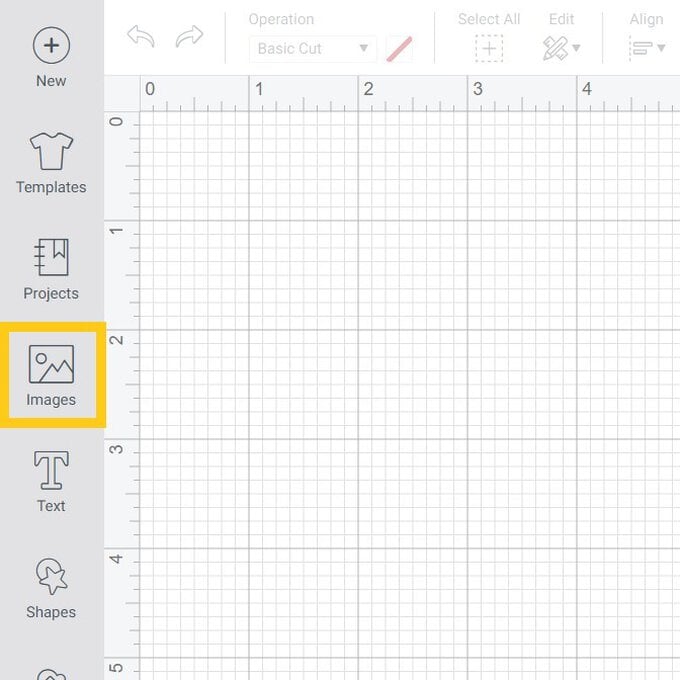
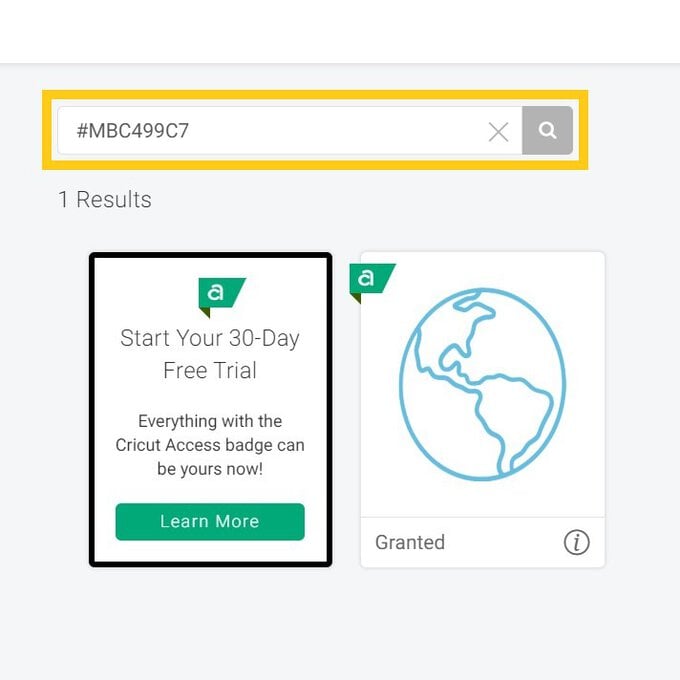
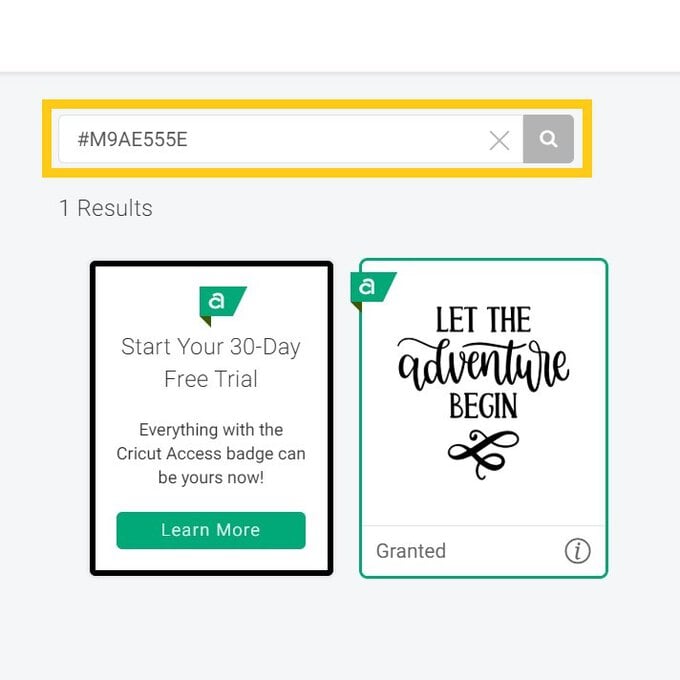
Click the image menu from the menu toolbar on the left-hand side of the screen, then search for the following images
Earth Outline: #MBC499C7
Let the adventure begin: #M9AE555E
Once both images have been selected, click 'Insert'.
Top Tip: When searching for image numbers you must use uppercase and include the #.
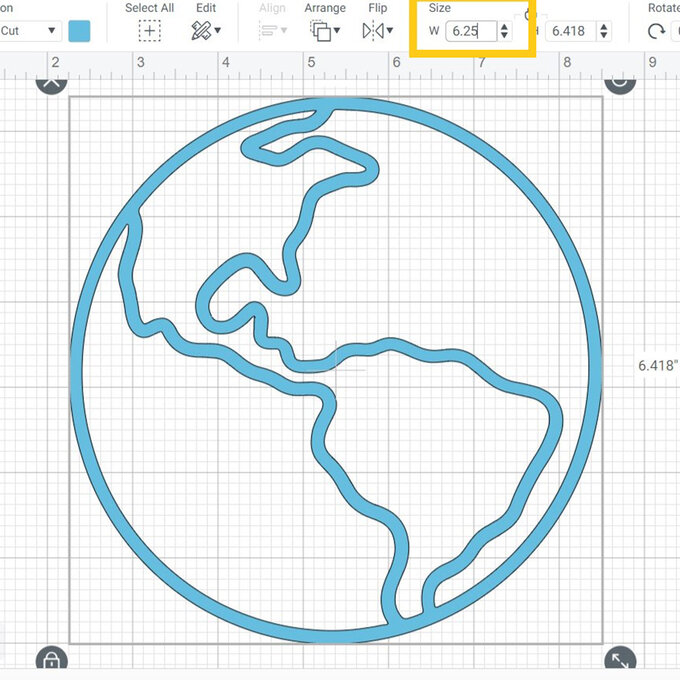
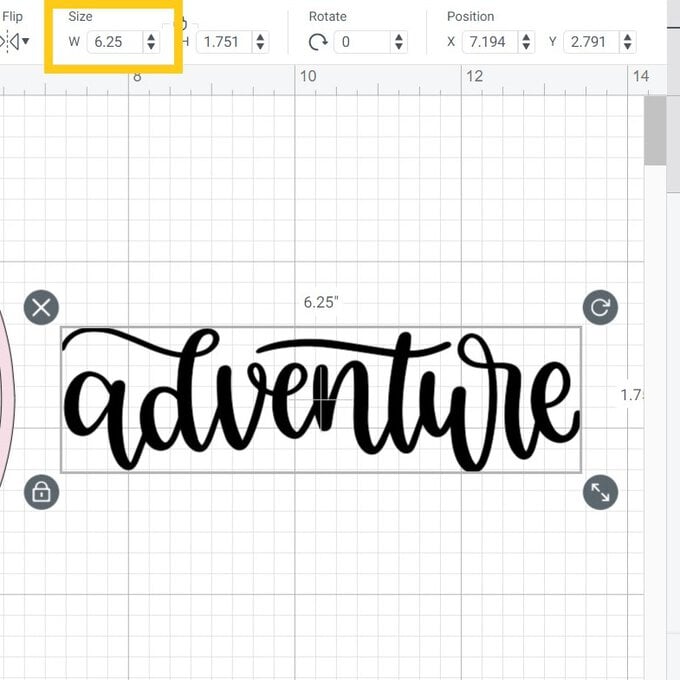
On the canvas, select the Earth image and resize to 6.25” in width.
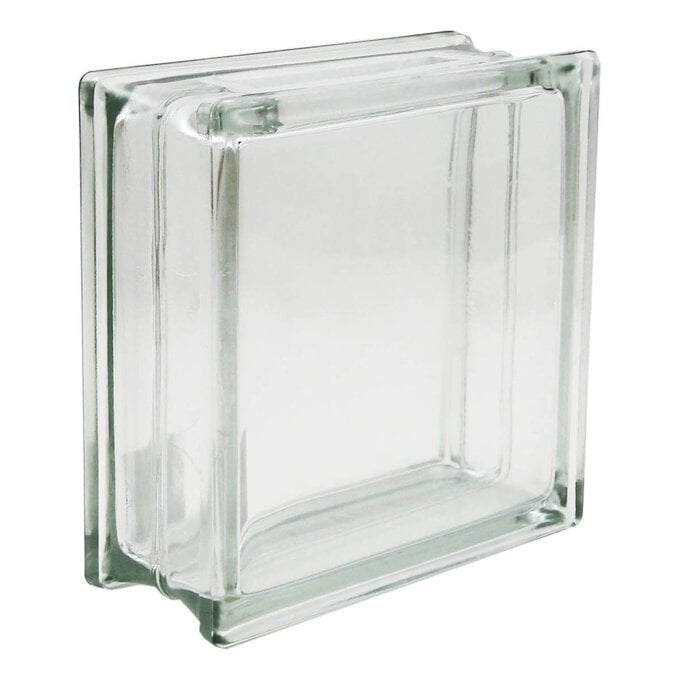
Top Tip: Make sure you measure the block, due to the nature of the glass, each block may vary slightly.
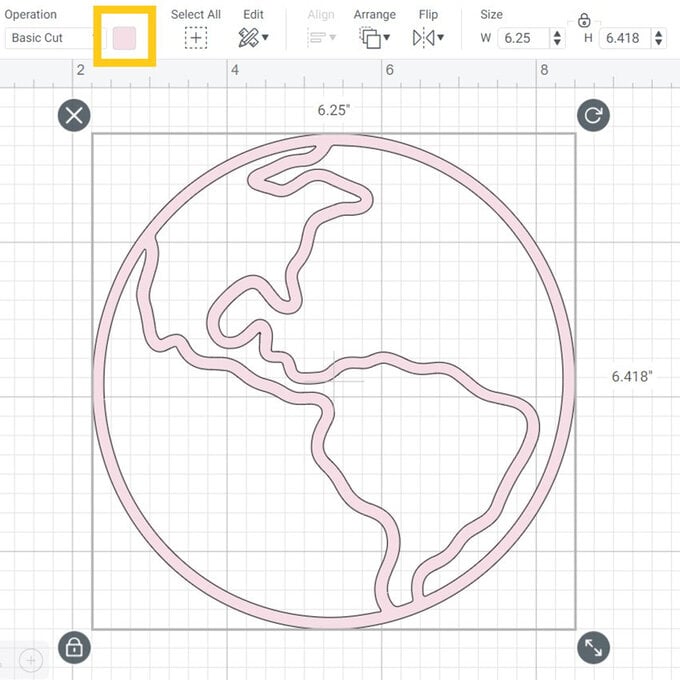
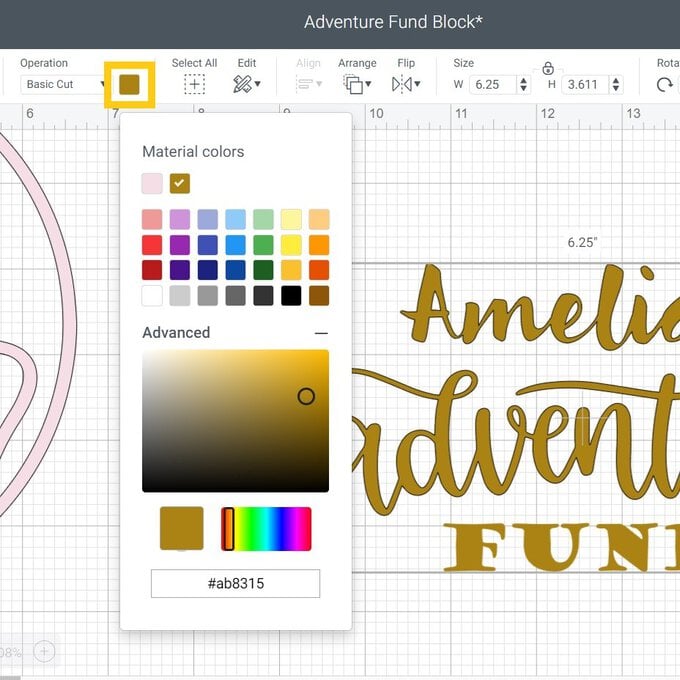
After re-sizing the image, change the colour of the image in the operation section, to match the colour of vinyl you are using.
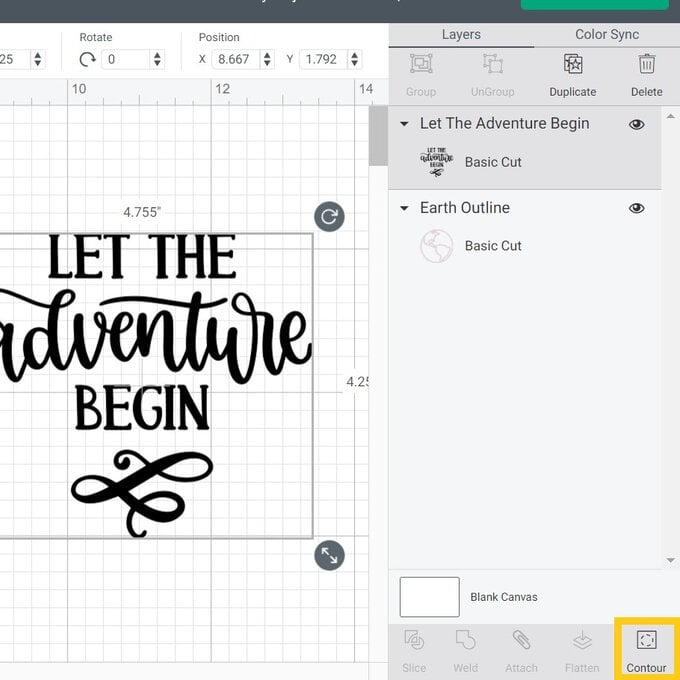
Select the Adventure image and on the layers panel click the 'Contour' button.
A pop-up will appear on screen, click all the parts of the image that are not part of the “adventure” word.
Top Tip: The contour tool allows you to hide elements of a design, where possible, that you do not wish to use in an image.
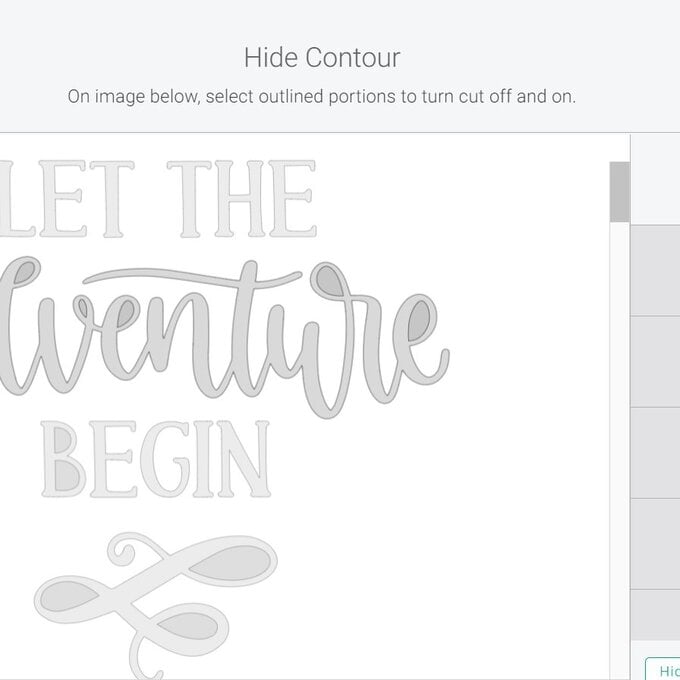
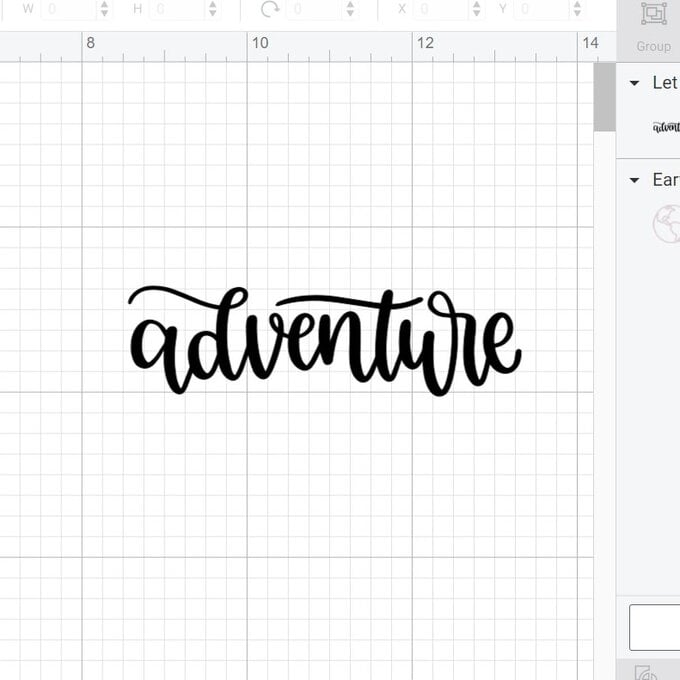
Resize the adventure image to match that of the Earth image.
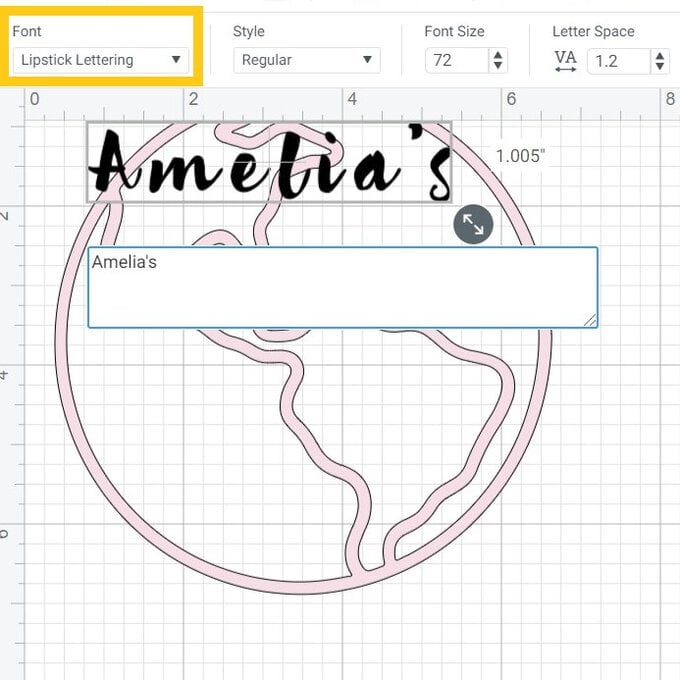
Using text function, type your chosen name and change the font as desired - we used Lipstick Lettering.
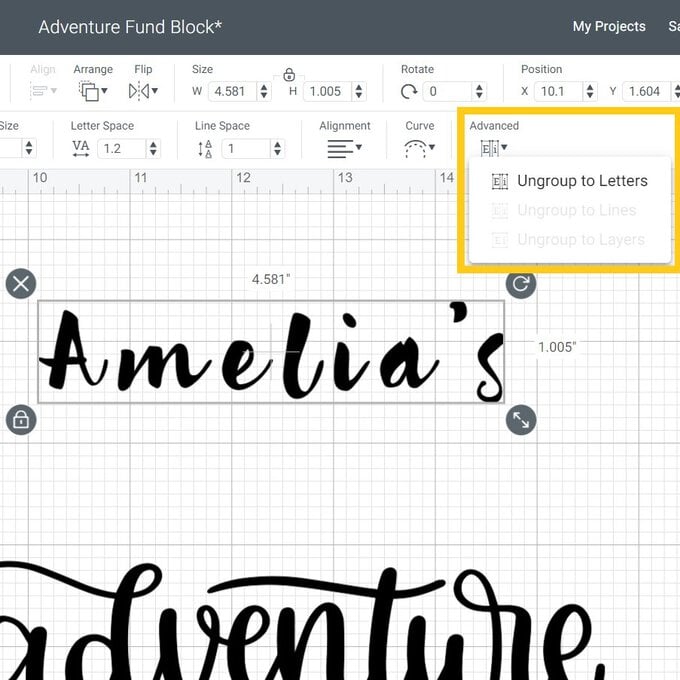
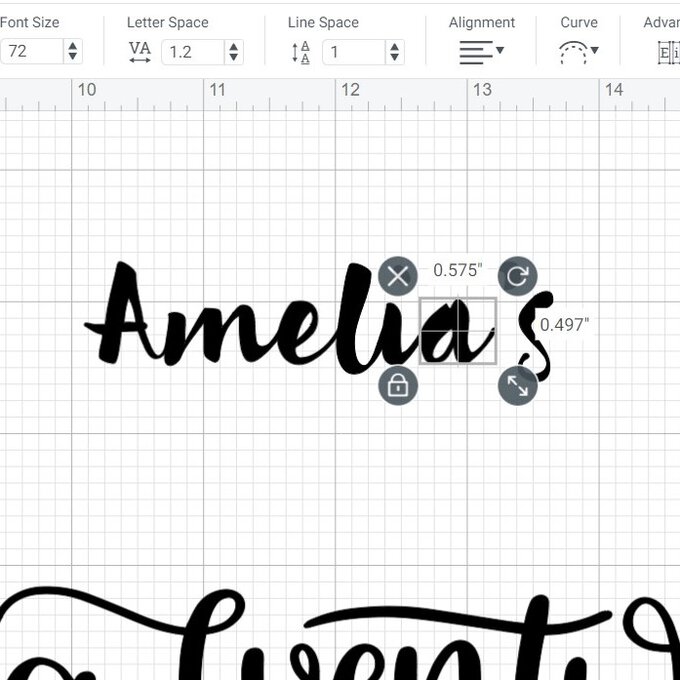
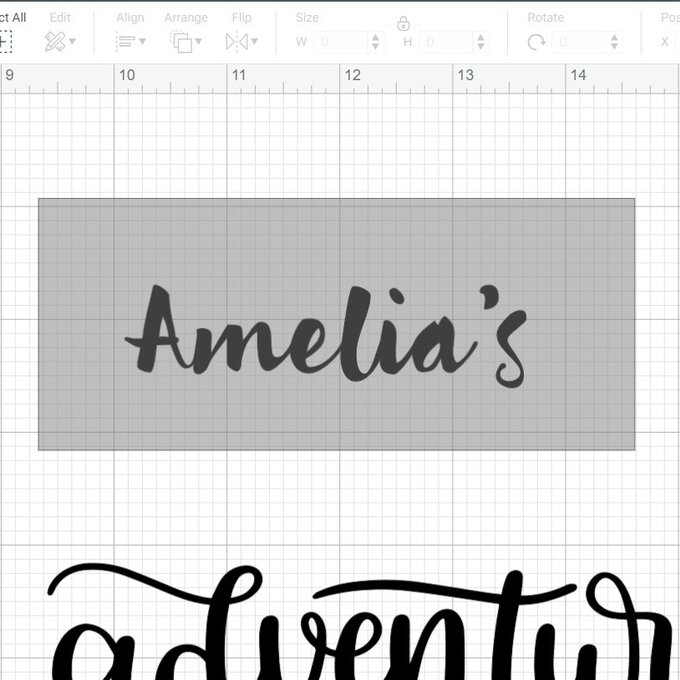
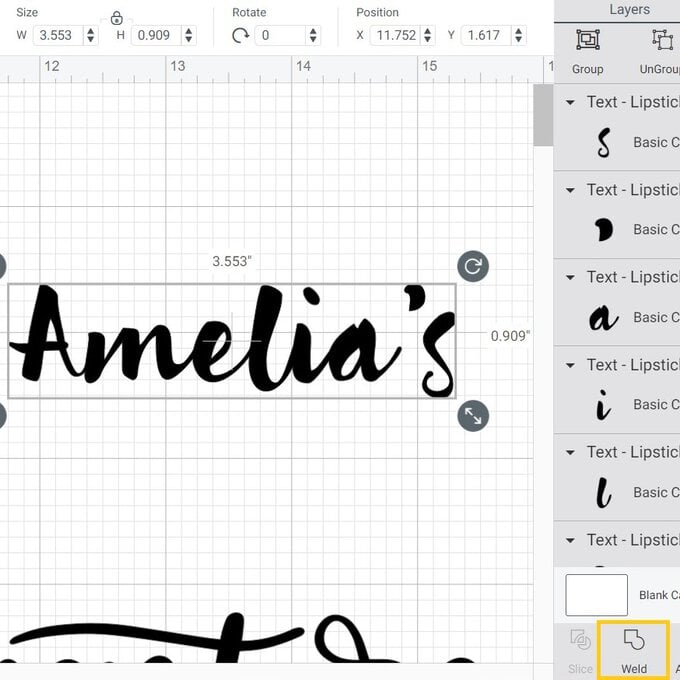
Optional: When using a cursive text you may like to join the lettering; using the edit menu, and the 'Advanced' option, ungroup the name to individual letters. Move each letter to overlap slightly with each letter. Once happy with the position, select all the individual letters and 'Weld' the letters to become one image.
Resize the name as desired.
Select the 'Text' function once more and type the word fund, change the font style, then resize as desired.
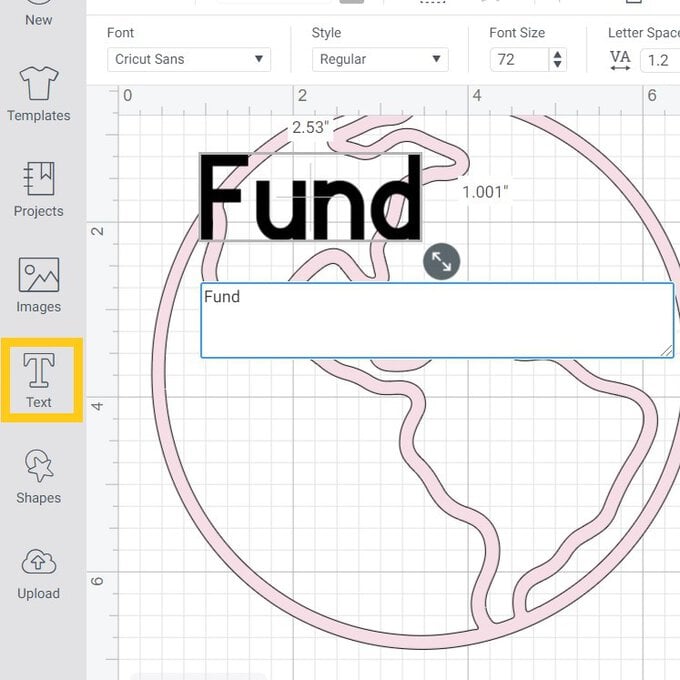
Position the name above the 'adventure' image and 'Fund' below it.
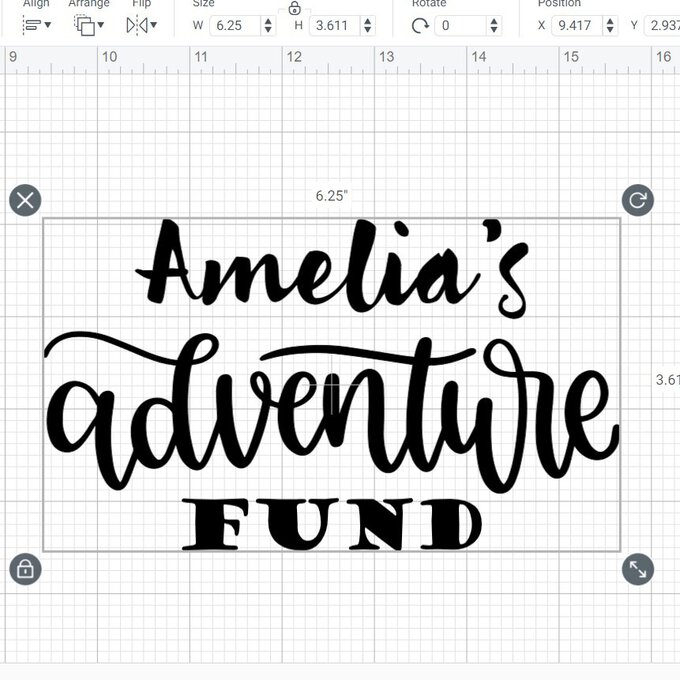
Select all three images and 'Align' to 'Center Horizontal'.
Once aligned 'Attach' the three elements together, this ensures they cut as one, in the format you have set.
Here you can also change the colour in the 'Operation' section to match your vinyl selection.
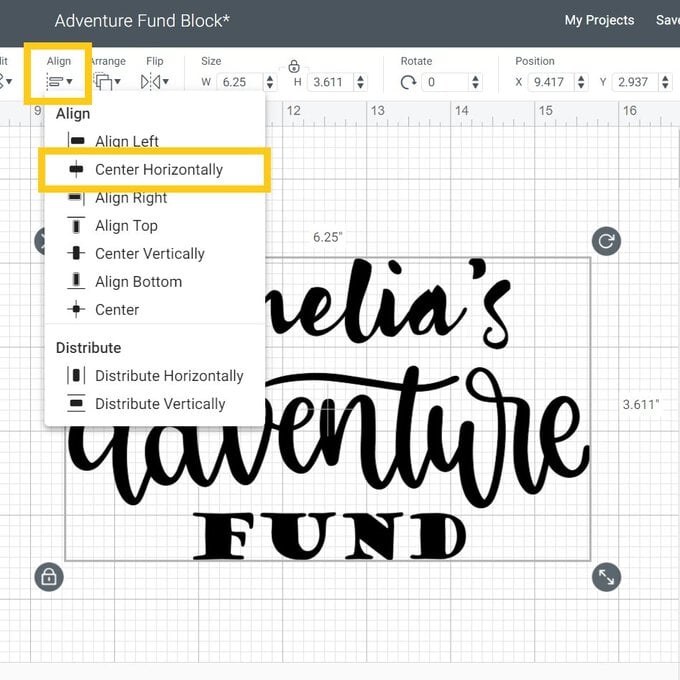
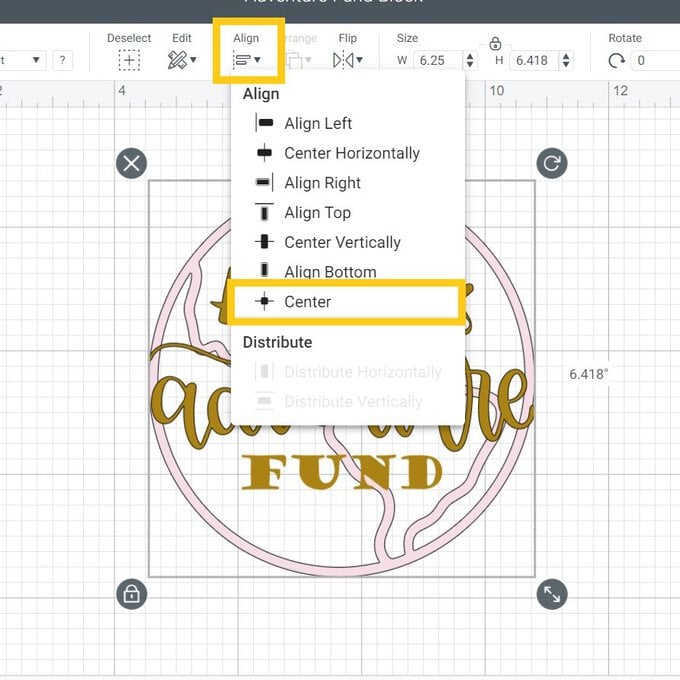
Place the text over the Earth image and 'Align' to 'Center'. Ensuring you are happy with the sizing.
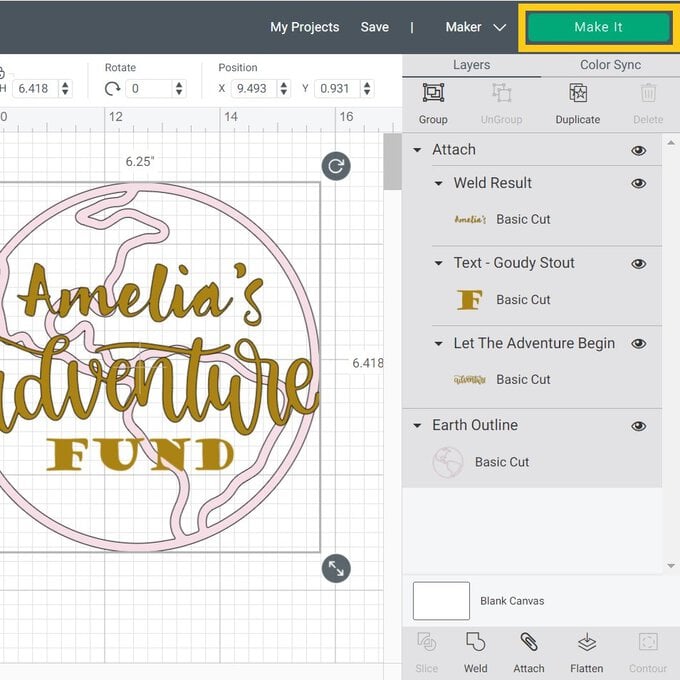
Once happy with the design, click the 'Make it' Button and then 'Continue' on the mat preview screen.
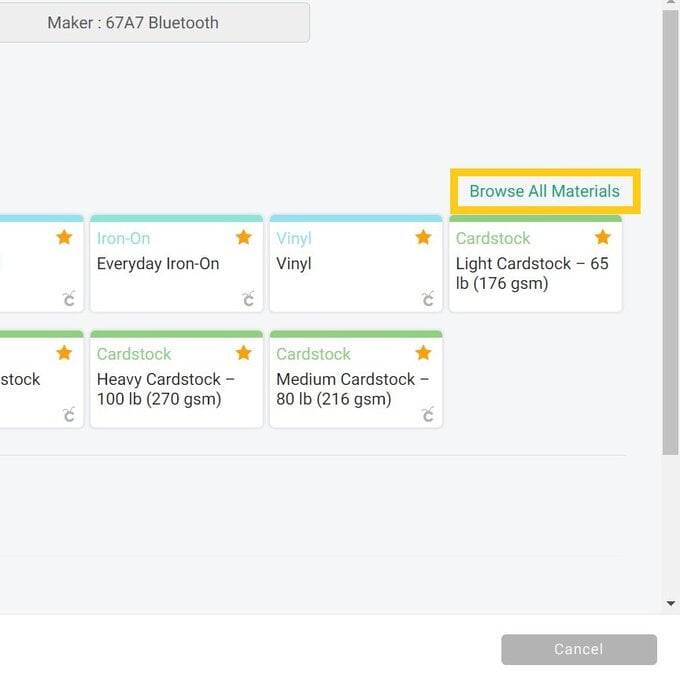
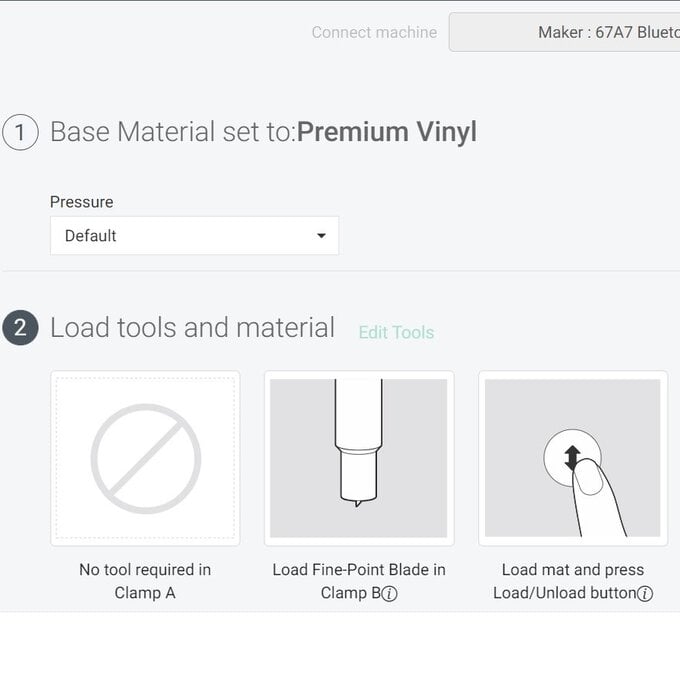
Once through to the machine set up screen select the material setting for the vinyl you are using for your project, the quickest way to do this is by clicking 'Browse all materials'.
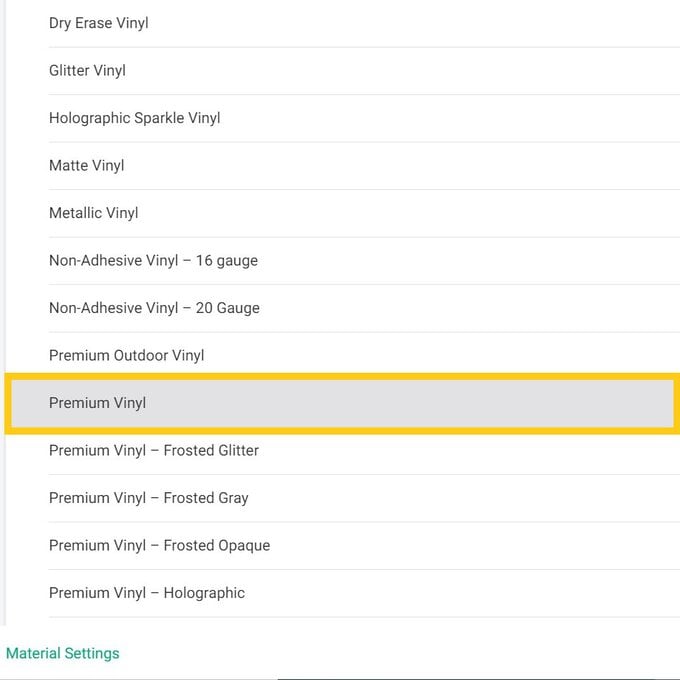
We used the Premium Vinyl setting.
Follow the on-screen instructions to cut out the design.
Once the cut is complete, carefully remove the vinyl from your cutting mat, before weeding the design.
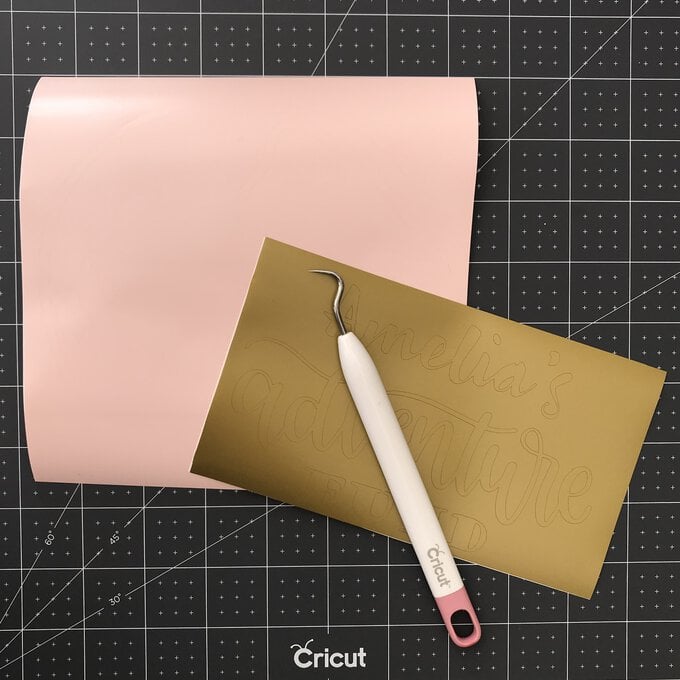
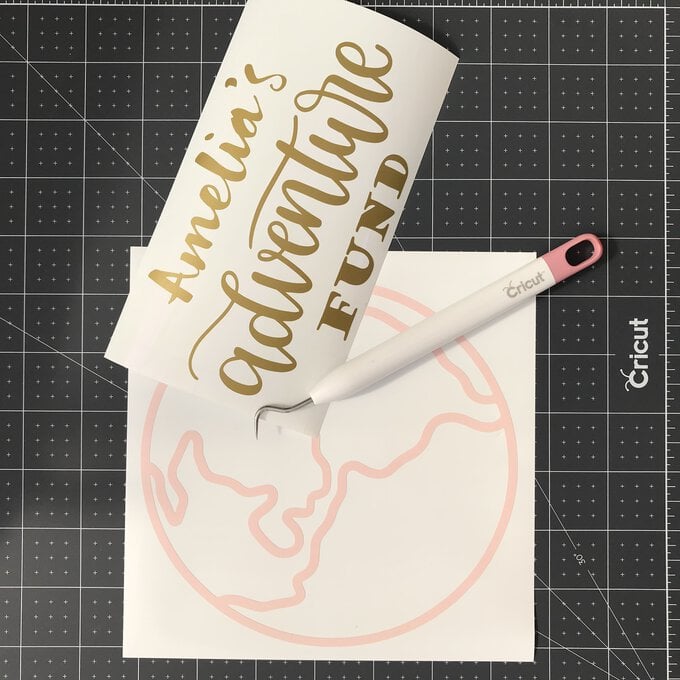
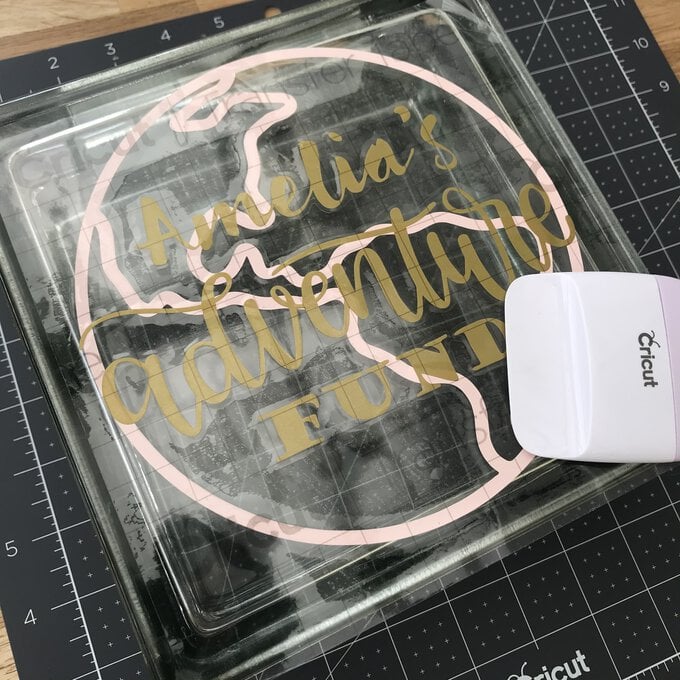
Trim a piece of Transfer Tape to slightly larger than your design, lift the Earth element from the backing paper and transfer to the glass block; use the scraper tool to burnish the vinyl well onto the Glass surface.
Top Tip: Make sure the glass surface is clean and dust free for the best application.
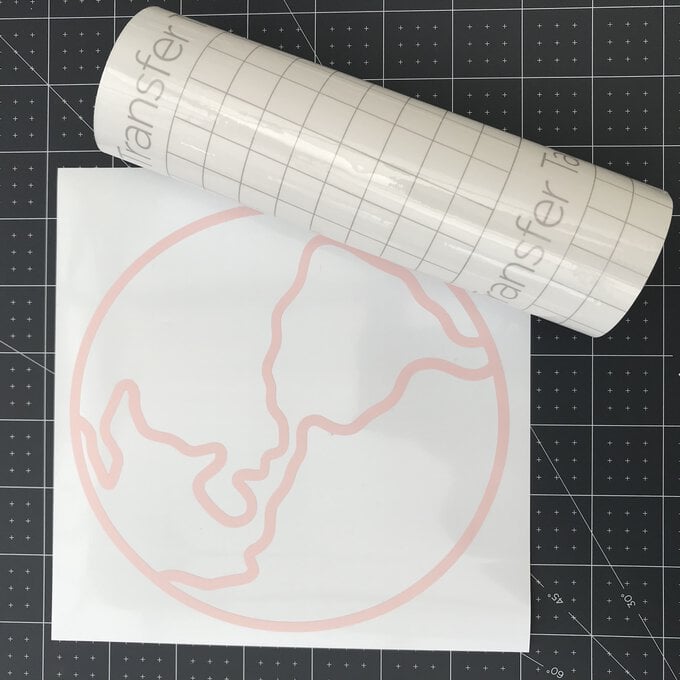
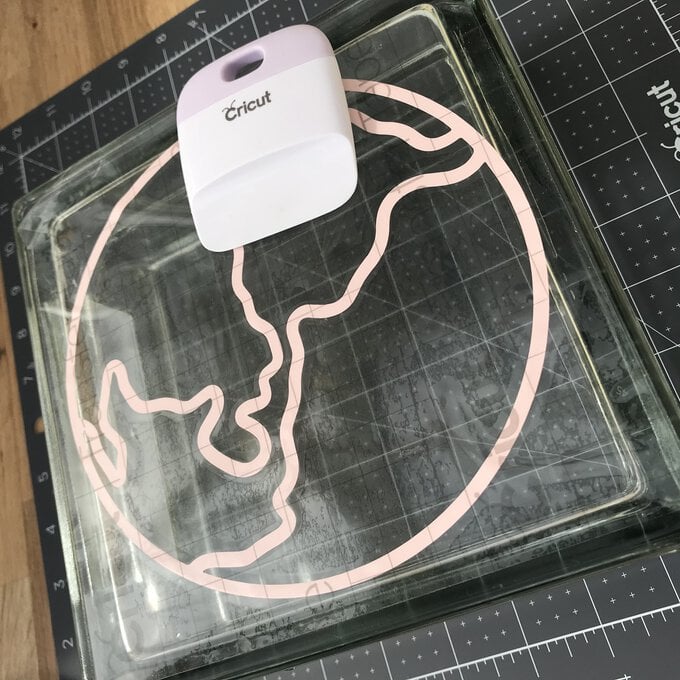
Repeat the same process with the written element, lining the design up centrally before layering it on top of the Earth image.
