Cricut: How to Create a Mug with Infusible Ink Pens
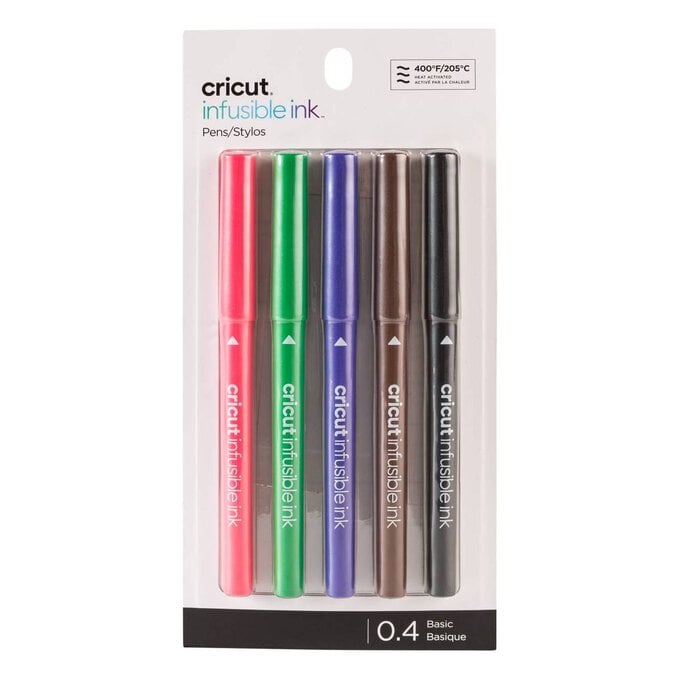
Create a beautiful drawn mug, perfect for gifting to a loved one. Add a charming design using Cricut Infusible Ink Pens and the Cricut Mug Press, which combine to leave you with a professional-looking, long-lasting design.
This project can be made with any of the Cricut machines, though we've used the Cricut Maker 3.
Project and instructions by Hobbycraft Artisan Chrissie Ellson.
Discover other projects by this maker:
Cricut: How to Personalise a Mug Using Infusible Ink Sheets
Please note: This project contains paid-for content from the Cricut Design Space app. Screen reference images are taken from the desktop version of Design Space.
You will need
Subtotal
Is $ 600.00
Subtotal
Is $ 26.00 , was $ 32.00
Subtotal
Is $ 11.00 , was $ 14.00
Subtotal
Is $ 25.00 , was $ 31.00
Subtotal
Is $ 21.00 , was $ 26.00
Subtotal
Is $ 10.00 , was $ 13.00
Subtotal
Is $ 8.49 , was $ 11.00
You will also need:
* Cricut design space app installed on a laptop, PC, Tablet or Mobile device.
2 Sheets of A4 laser copy paper
Open Design Space and click “New Project”
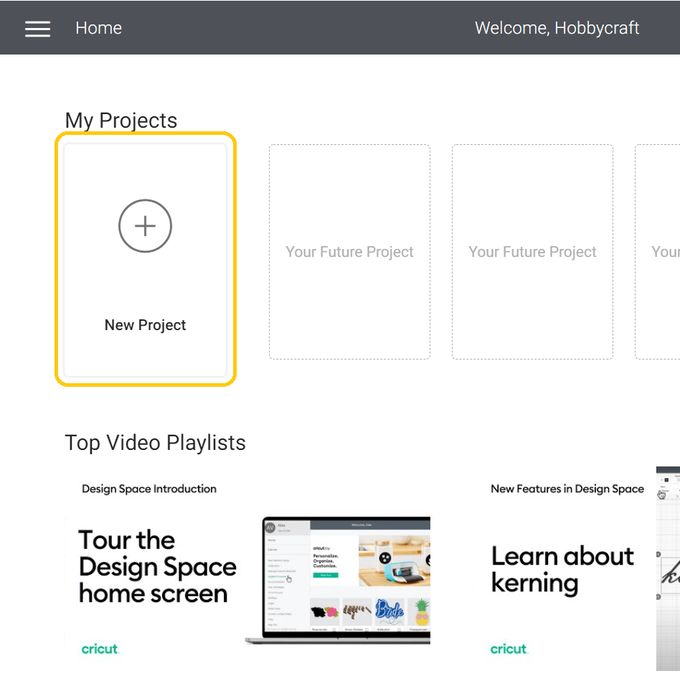
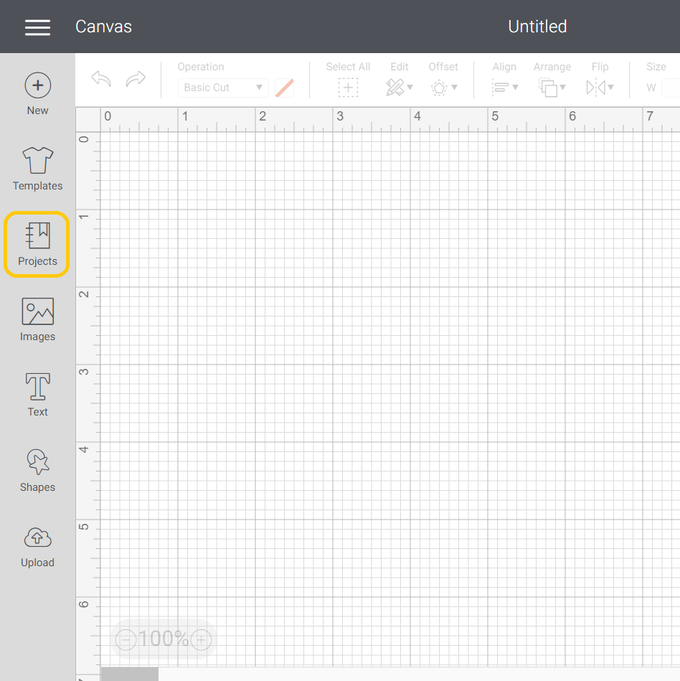
Once in a new blank canvas click on “Projects”
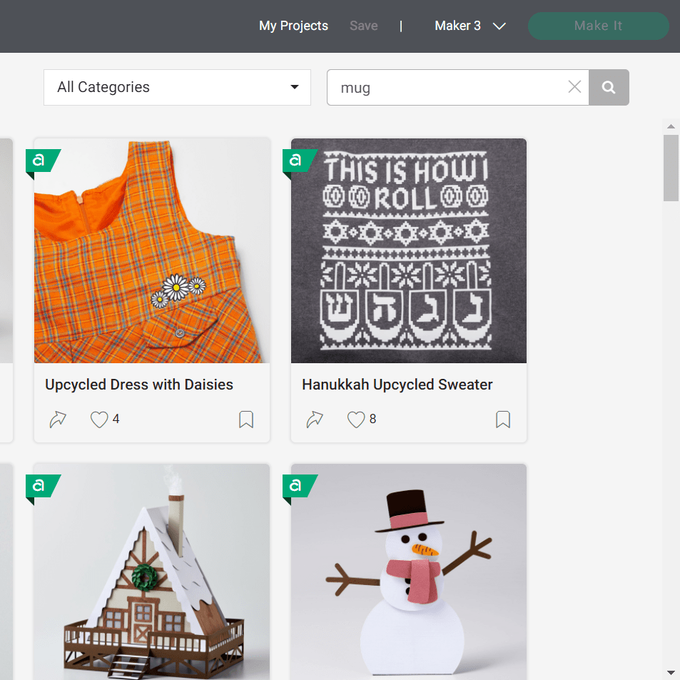
Search “Mug”
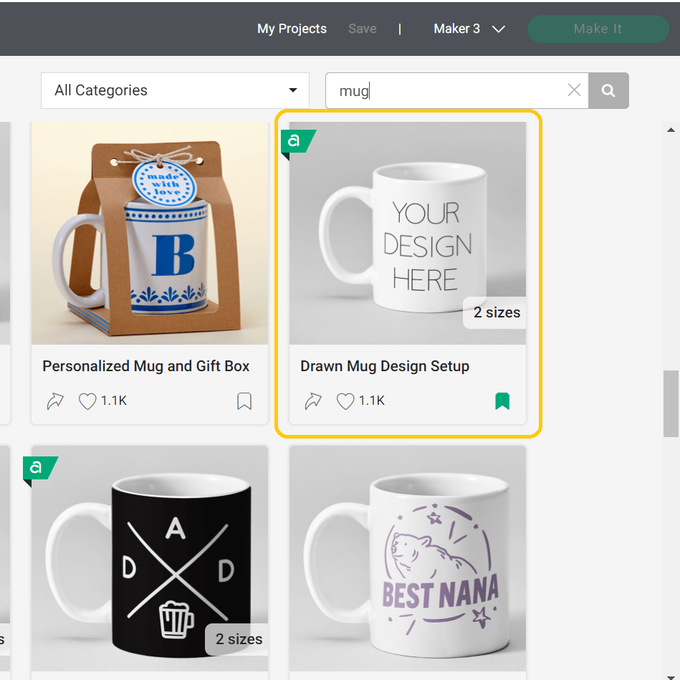
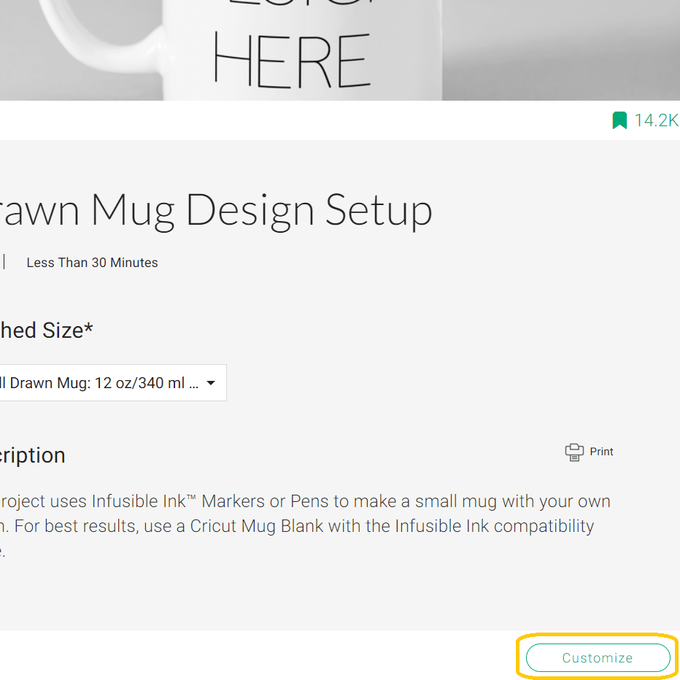
Scroll and find the project named “Drawn Mug Design Set-up”
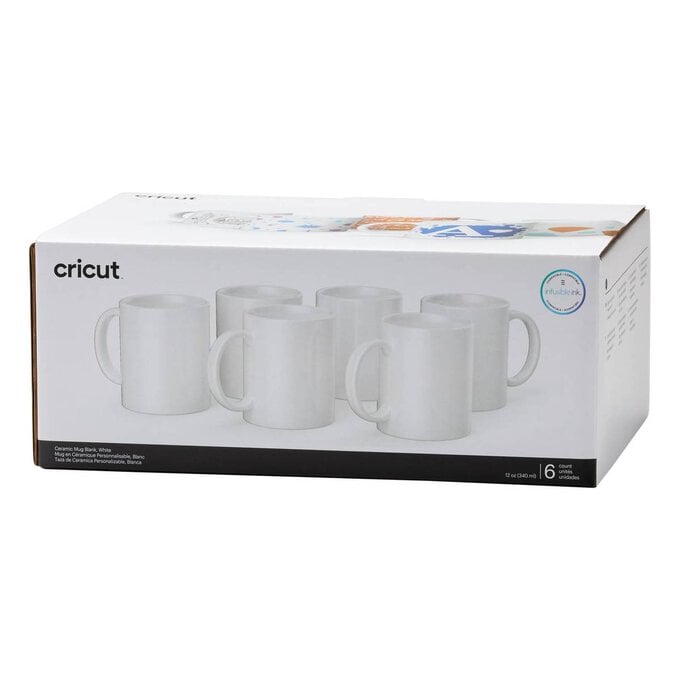
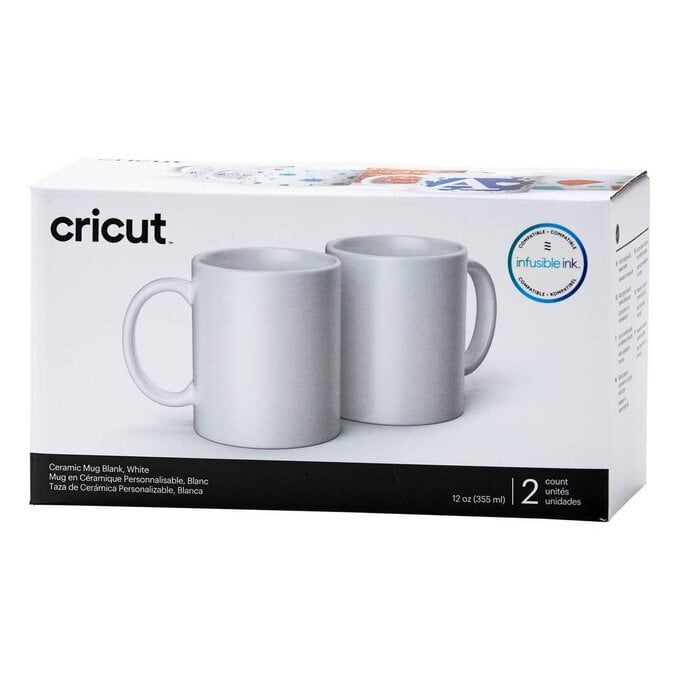
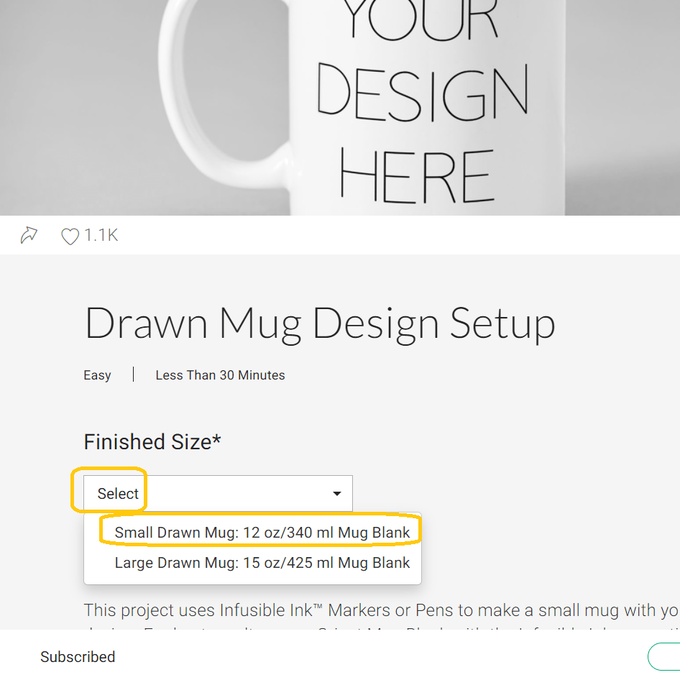
Select your correct size of mug. I'm using the “Small Drawn Mug: 12oz/340ml Mug Blank.
Once you have your mug size selected click “Customise”
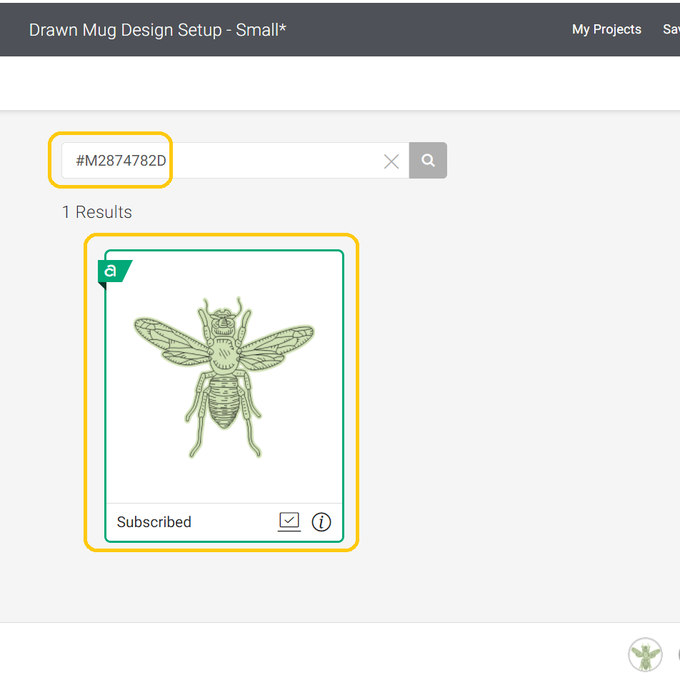
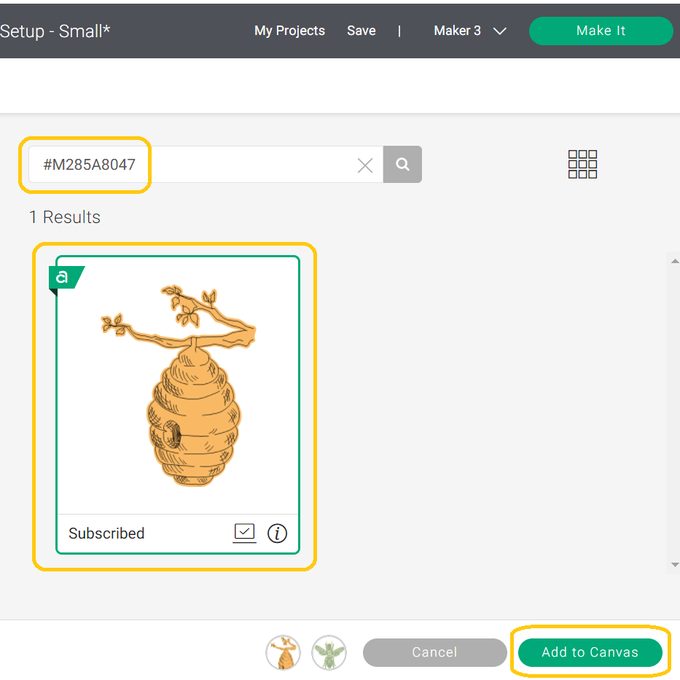
To add your image click on “Image” and find your required designs. I have used Linocut Bee, Draw Image Number #M2874782D and Beehive On A Branch, Draw Image Number M285A8047
Once you have got your chosen designs click on “Add To Canvas”
We don't need the basic cut part of the two designs so delete these two layers
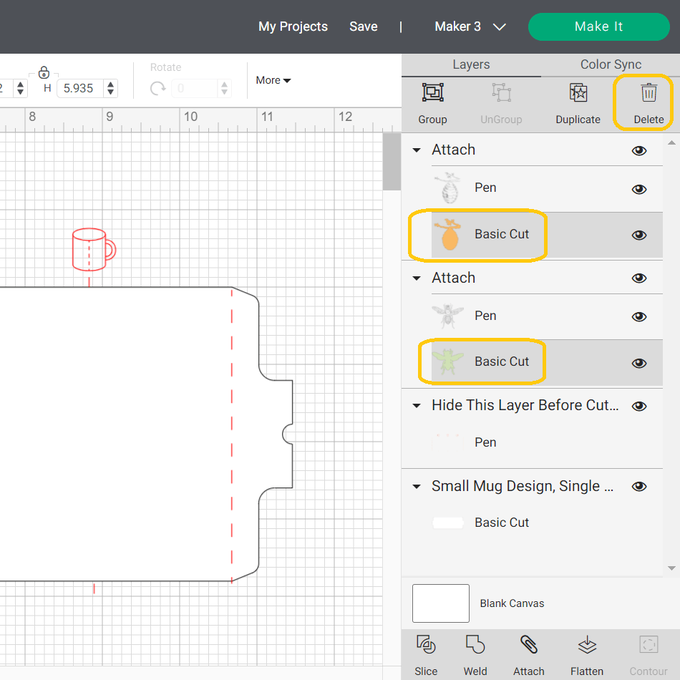
Resize and position your images where you would like them using the red mugs and lines as a guide. I have rotated the bee design slightly too using the rotation button
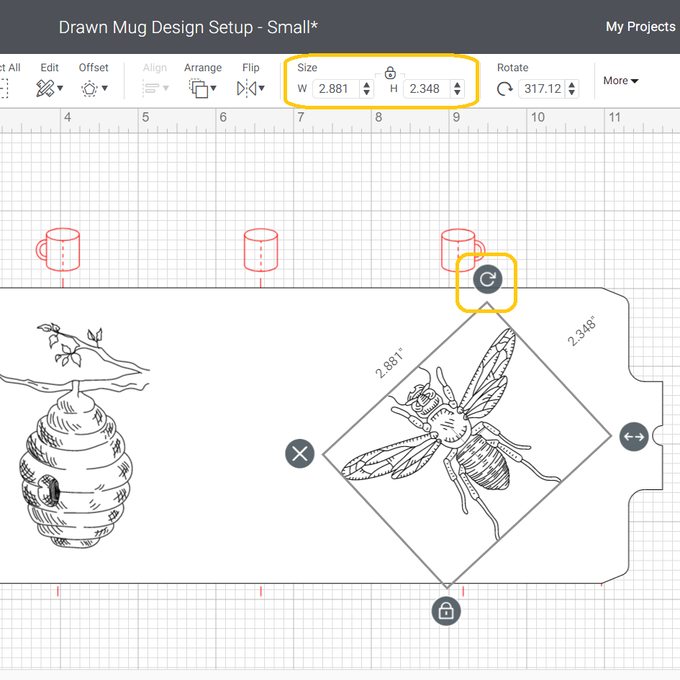
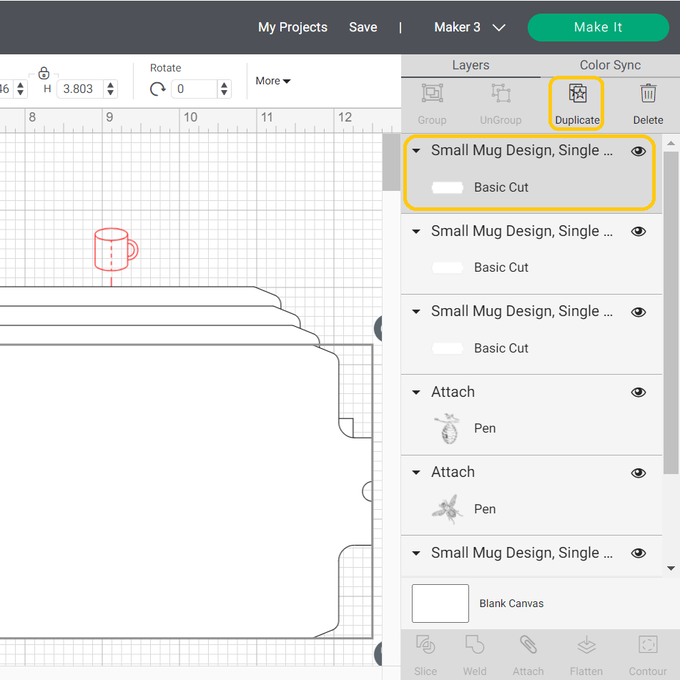
Before we finish editing our design we will need three extra blank mug templates cut. This is because the Infusible Ink will bleed through our one layer of paper and would leave an imprint on the Mug Press unless we protect it. To do this select the mug template layer in your layers panel and duplicate it three times
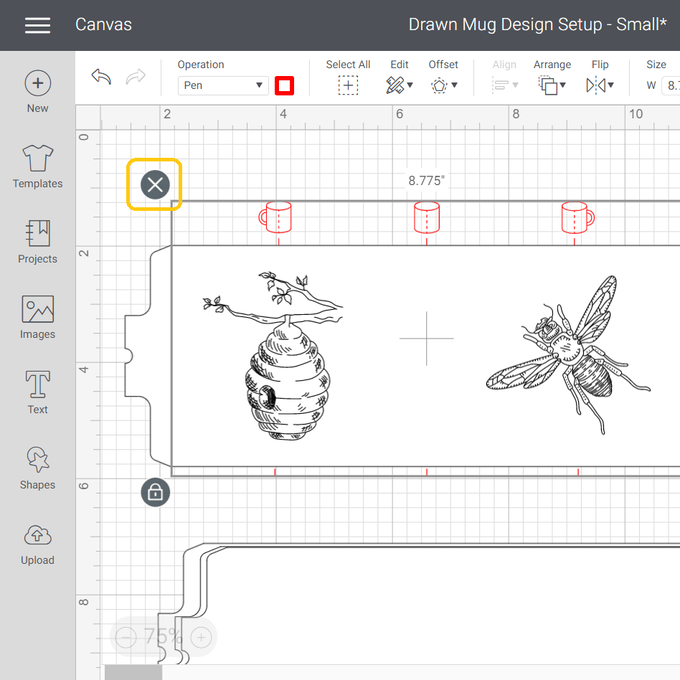
To finish creating our design move the three extra layers out of the way and then delete the red guidelines
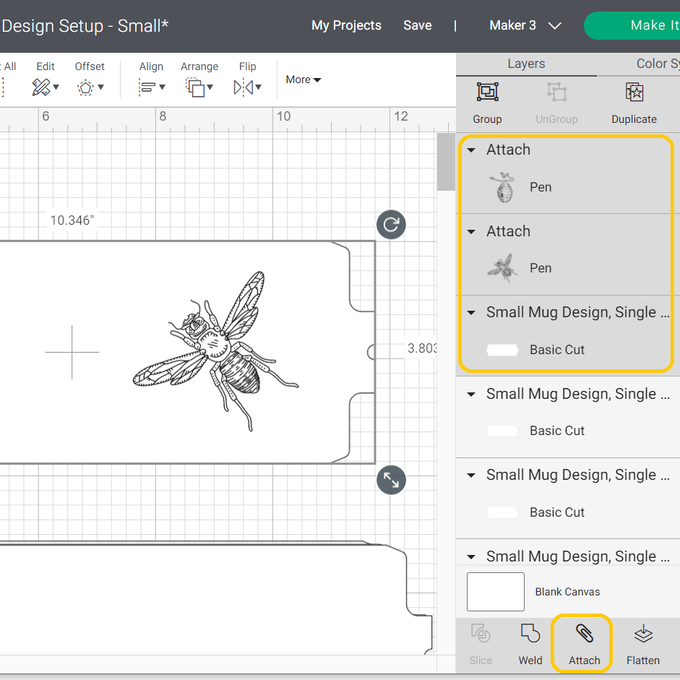
All that is left to do now is to select the three elements of our design (the bee, beehive and the mug template), click “Attach” and then you are ready to “Make It”
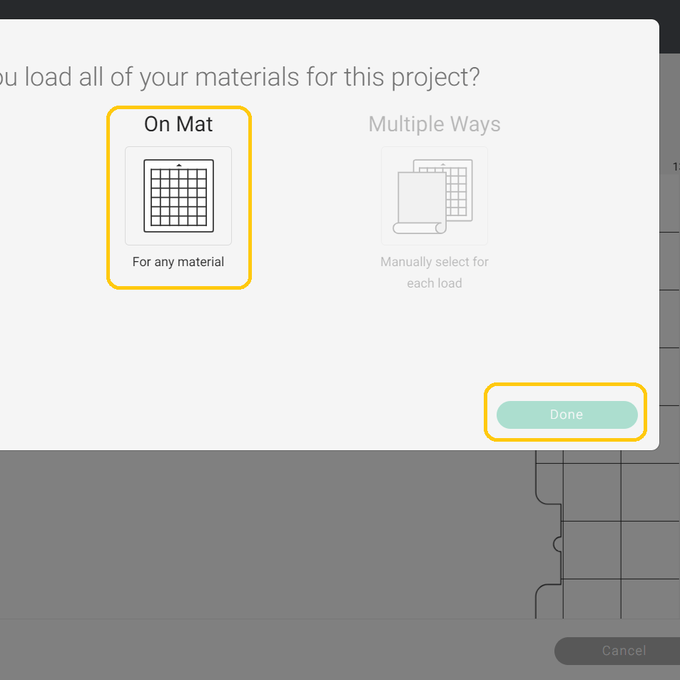
If you are working with a Maker 3, Explore 3 or a Joy select “On Mat” and then “Done”
You might not need to mirror your image but if you want to or if you have added text and need to do this now
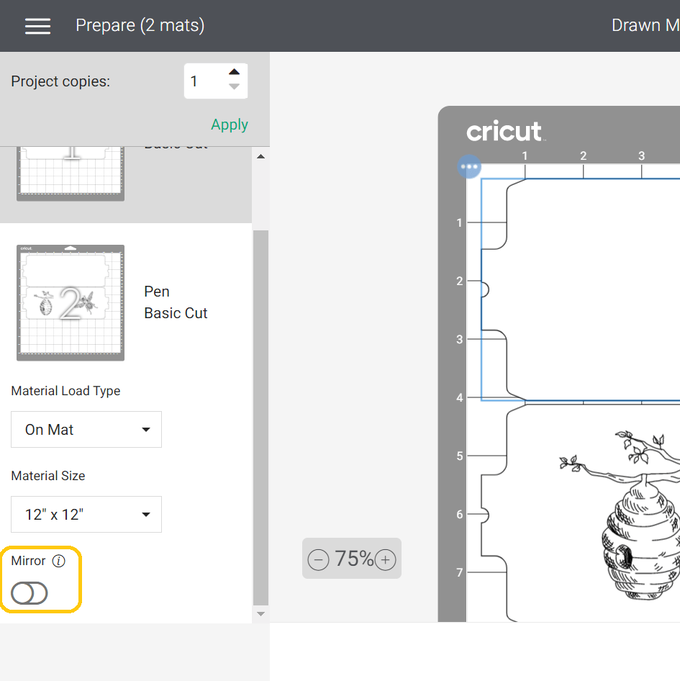
You might not need to mirror your image but if you want to or if you have added text and need to do this now
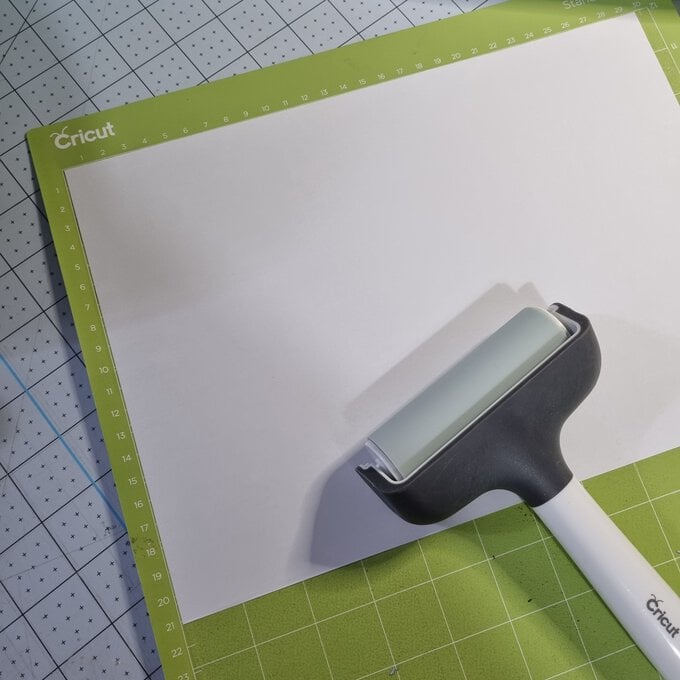
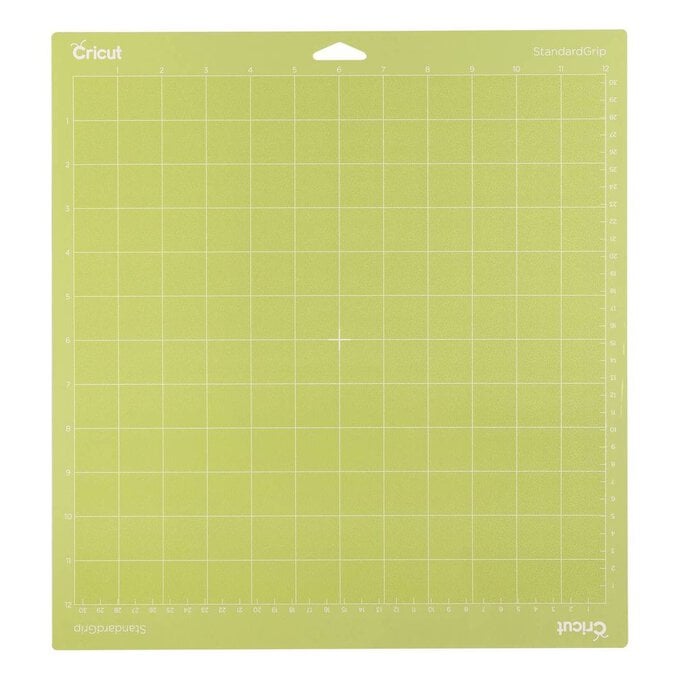
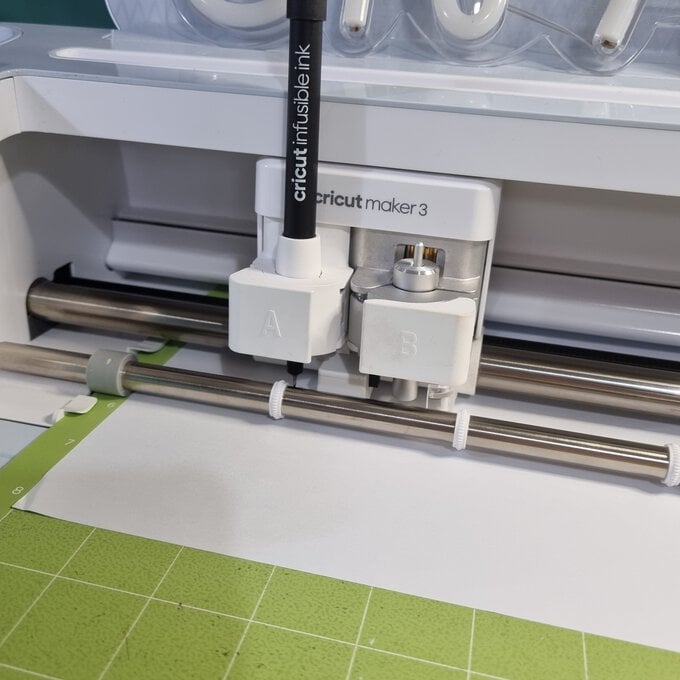
Load your mat into your machine and work your way through cutting each mat remembering to insert your Infusible Ink Pen in to place when you need to
Wrap your design around your clean mug (you may want to use a lint roller to make sure it is extra clean and dust free) with your ink facing the mug. Add the plain cut templates on top and secure in place with heat resistant tape
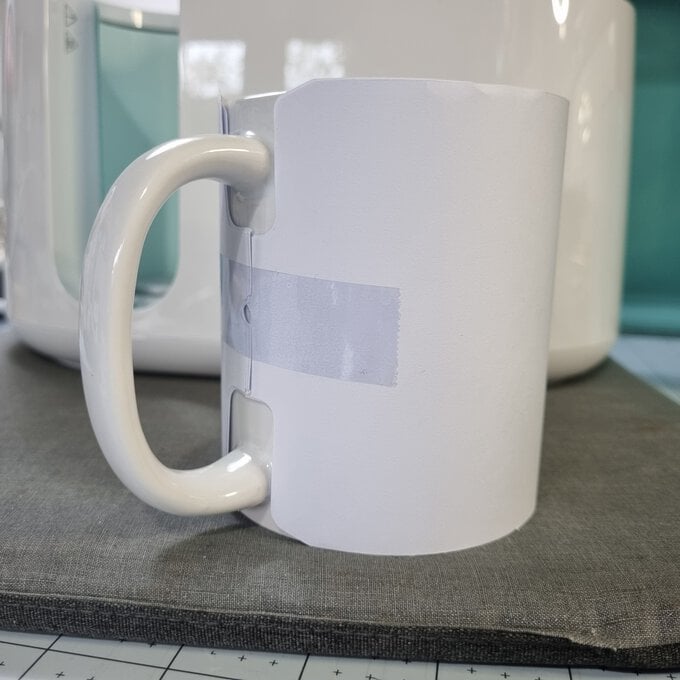
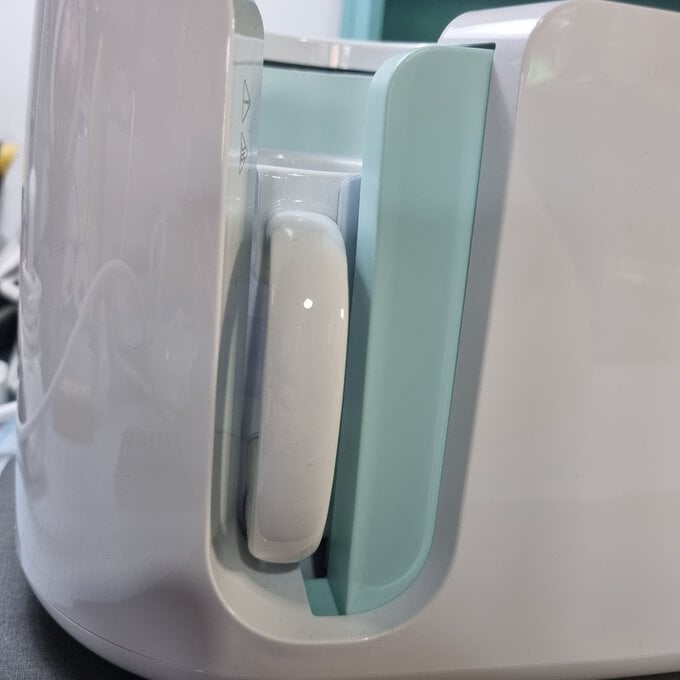
Place your mug into your pre-heated Mug Press and close down the lever. Ensure that the press covers the sides of the design
