How to Make Bright Christmas Crackers
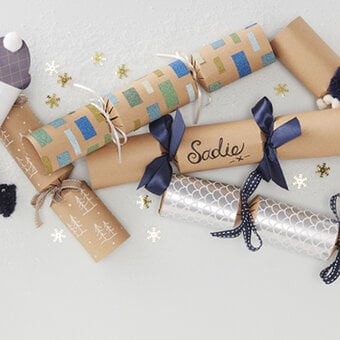
Brighten up everyone's day with these bright Christmas crackers! These extra special, handmade crackers are the perfect accessory to make your dining table pop with colour this Christmas.
Choose whatever papers and ribbons match your colour scheme and get creative!
Project and instructions by Sarah Jackman Read
You will need
Subtotal
Is $ 2.49 , was $ 3.49
Subtotal
Is $ 10.00
Subtotal
Is $ 7.49
Subtotal
Is $ 9.49
Subtotal
Is $ 6.49
Subtotal
Is $ 7.49
Subtotal
Is $ 9.49
How to make
You will also need
* Pencil
* Scissors
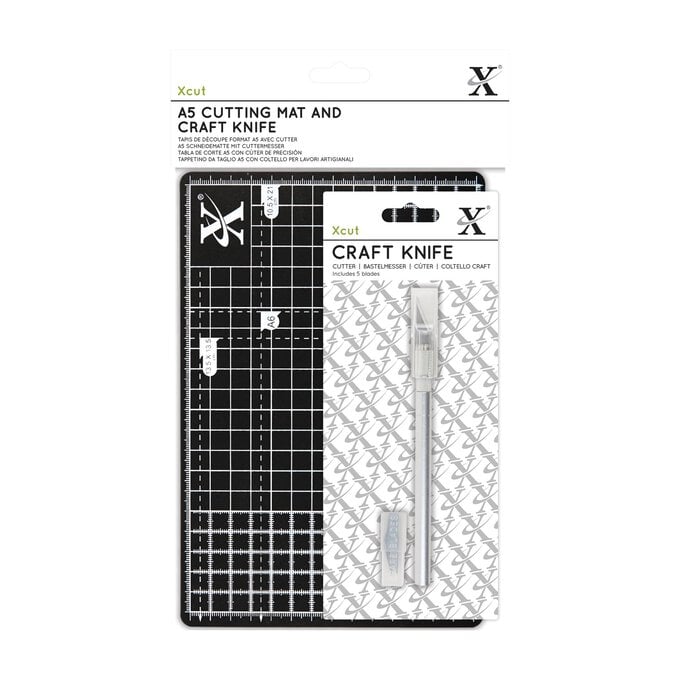
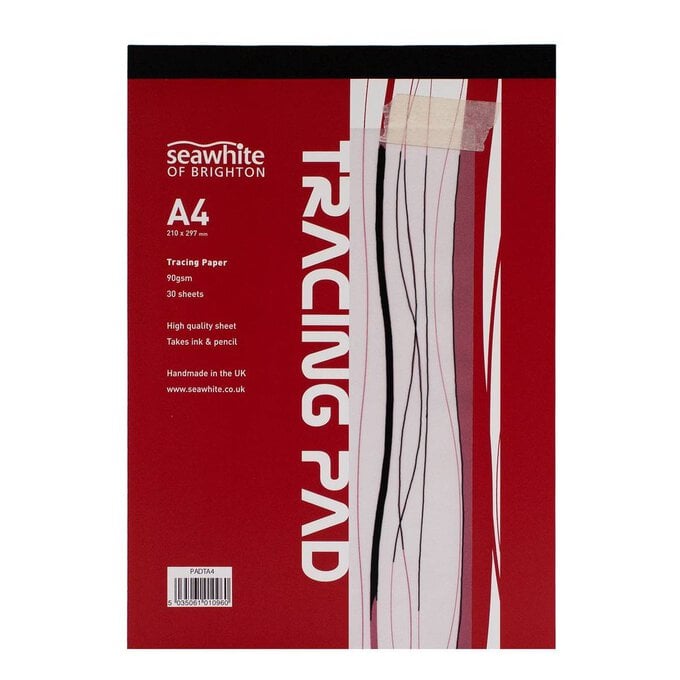
Trim Christmas paper 29 x 15cm then lay face down. Trace the template provided on to the back of the paper then cut out the diamond shapes with a craft knife.

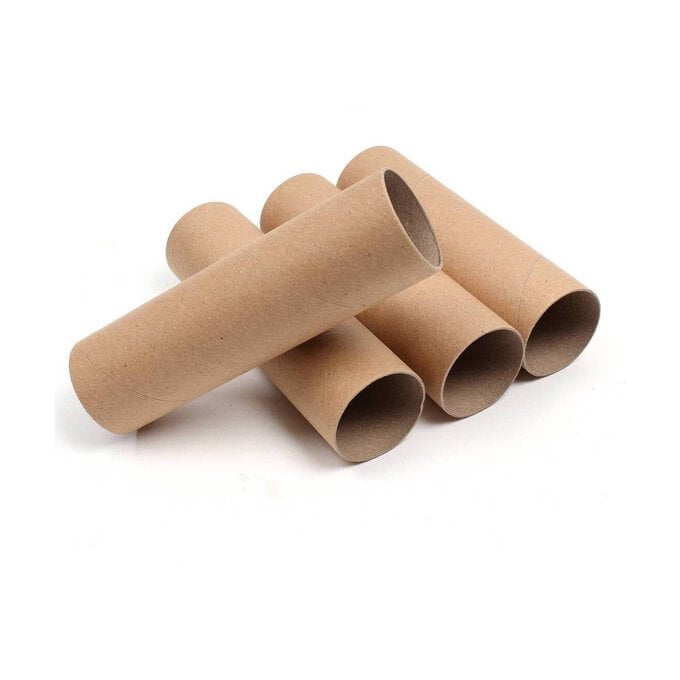
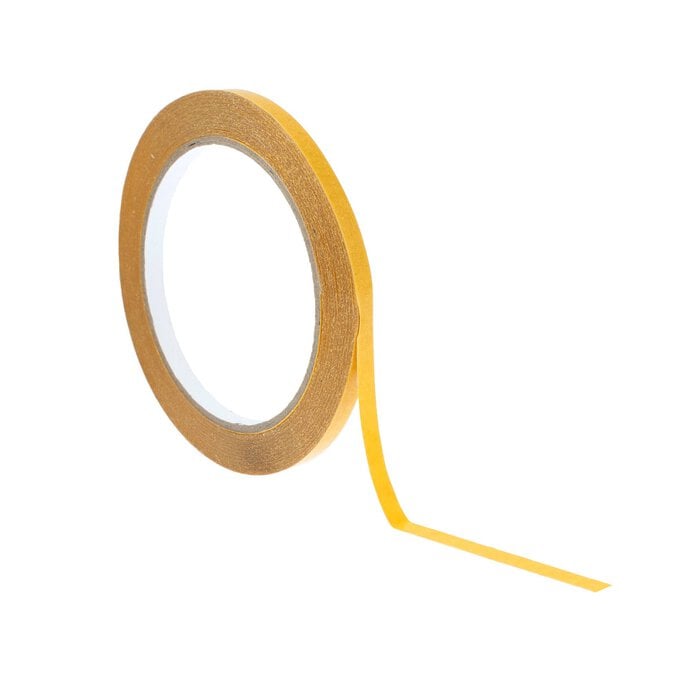
Run thin double-sided tape along one edge of the paper on the wrong side then roll around a cardboard tube.

Remove the backing from the double-sided tape then attach the edges of the cracker together. Once secure, remove the cardboard tube.
Repeat this process for all of your cracker bases.

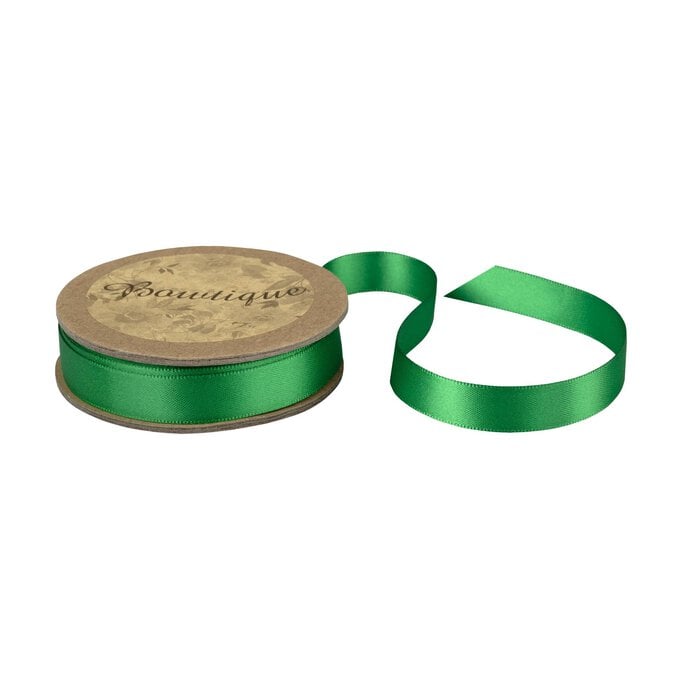
For the striped cracker, wrap green ribbon around one end where the diamonds are, then pull tight. Tie in a double knot then trim off any excess at an angle.
Wrap ribbon around the other end and tie one knot. Thread a ceramic tree with twine, place the twine on the knot then tie another knot. Trim off any excess so the ribbons are symmetrical.
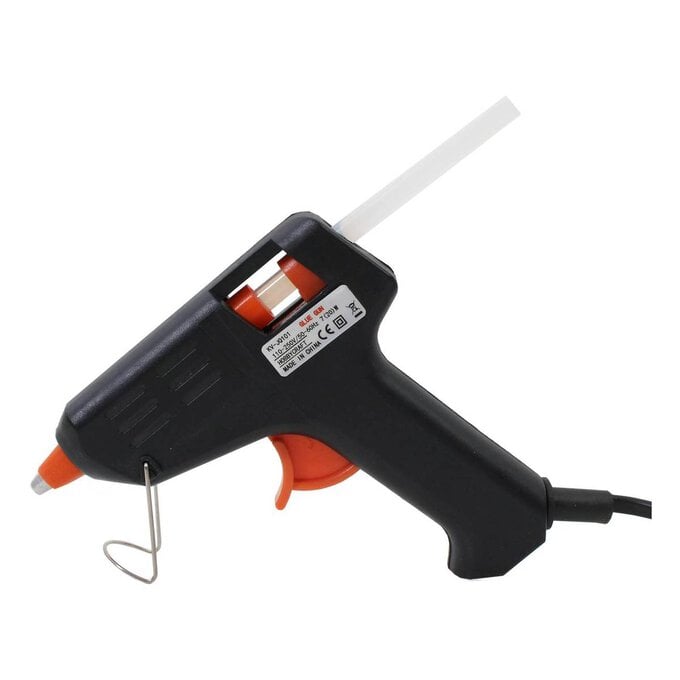
Attach a Santa sticker above the ceramic tree with a glue gun.


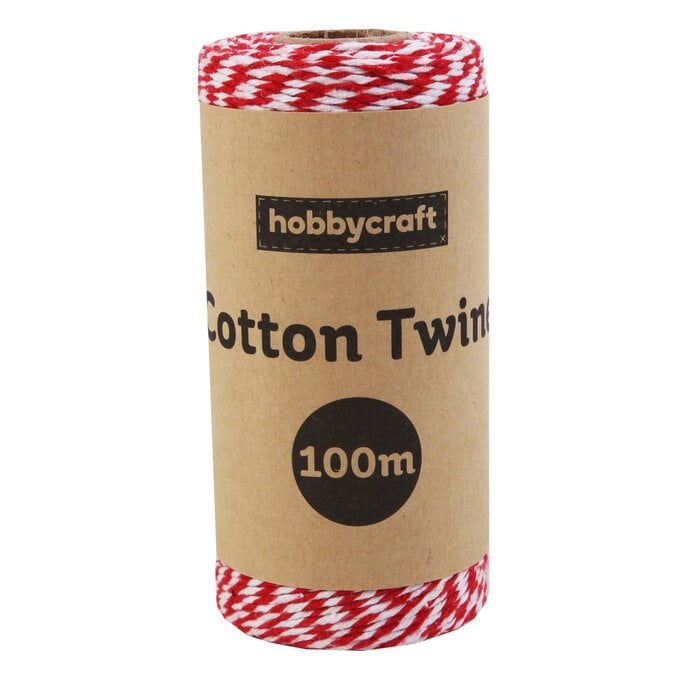
For the bauble cracker, wrap red and white cotton twine around one end where the diamonds are then pull tight. Tie in a double knot then trim off any excess. Repeat on the other end.
Wrap green ribbon around the centre of the cracker then glue in place. Attach a wooden shape envelope on top with a glue gun.
Attach tree stickers at an angle where the crackers are pulled in.


For the Santa cracker, wrap red and white cotton twine around one end where the diamonds are then pull tight. Tie in a double knot then trim off any excess. Repeat on the other end.
Trim a strip of striped paper to 15 x 5cm and wrap around the centre, then glue in place.
Glue two wooden trees behind the face of a Santa sticker (as pictured) then adhere to the centre of the cracker.


For the star cracker, wrap red ribbon around one end where the diamonds are then pull tight. Tie in a double knot then trim off any excess at an angle. Repeat on the other end.
Adhere wooden stockings above the knots in the ribbon with a glue gun.
Attach a wreath sticker in the centre of the cracker then add a stocking topper on top.


