How to Make Clay Wall Hangings
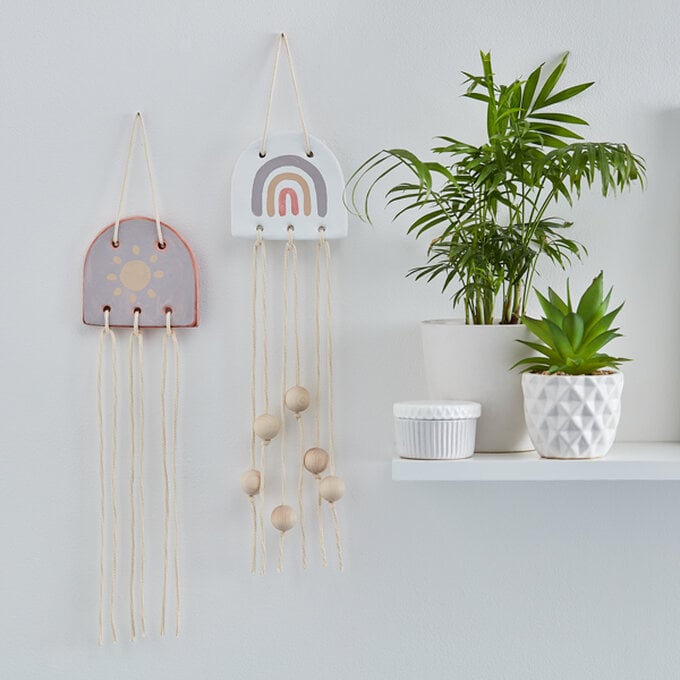
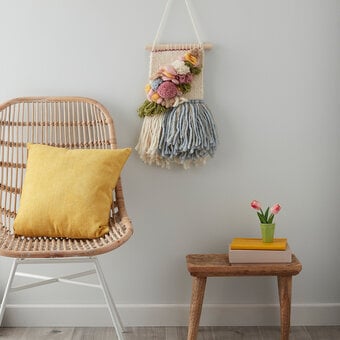
Create modern wall hangings for your home in a neutral colour palette easily with air drying clay. These make a perfect gift – keep the designs simple or use your imagination to come up with something totally unique!
You will need
Subtotal
Is $ 5.49
Subtotal
Is $ 5.49
Subtotal
Is $ 5.49
Subtotal
Is $ 13.00
Subtotal
Is $ 15.00
Out of stock
Subtotal
Is $ 7.49
Subtotal
Is $ 7.49
How to make
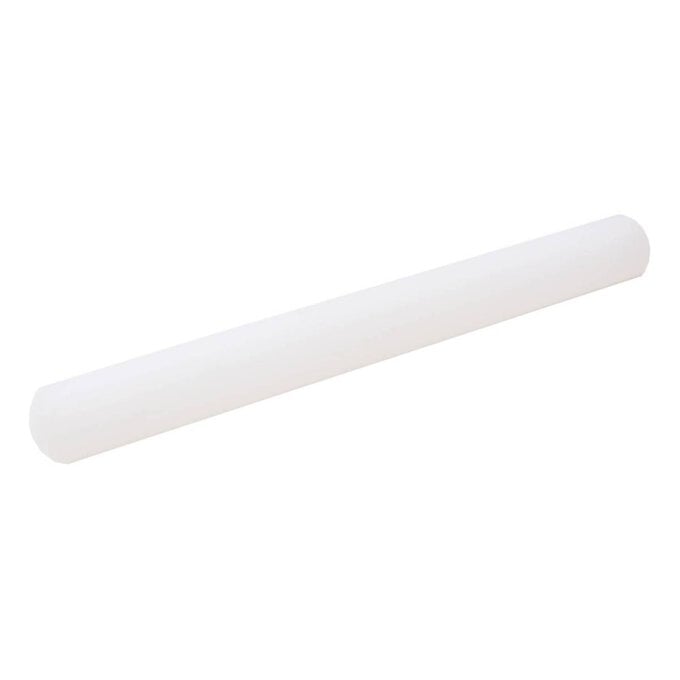
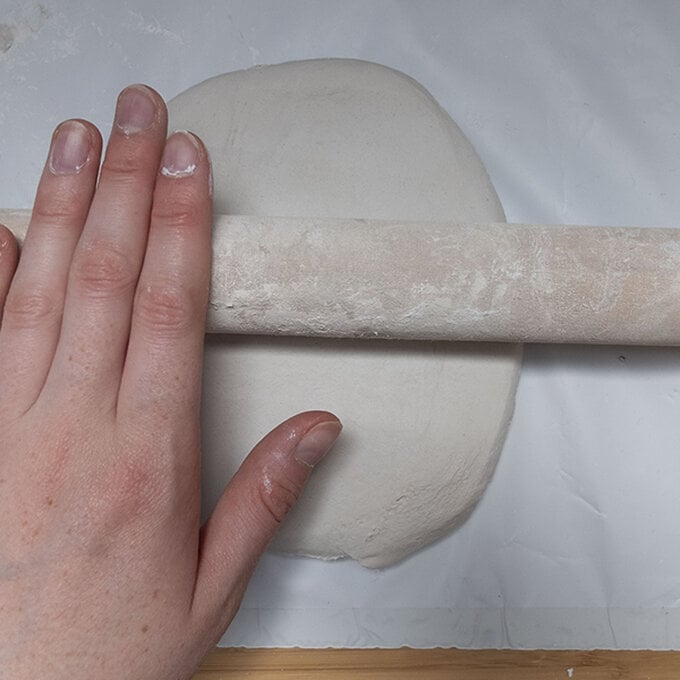
Take roughly 500g grams of clay in either colour and roll out until 2cm thick using the rolling pin.
Print and cut out the template, place onto the rolled out clay and carefully cut around the outside
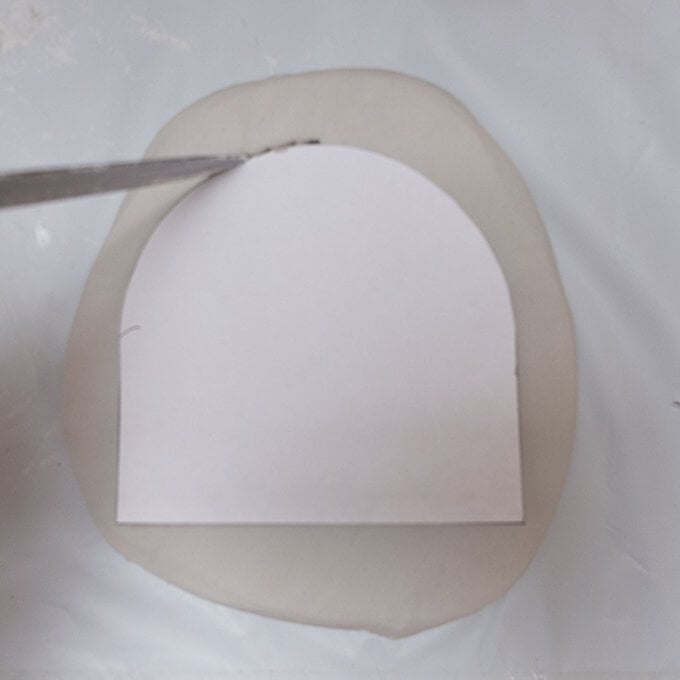
Remove the excess clay from around the template.
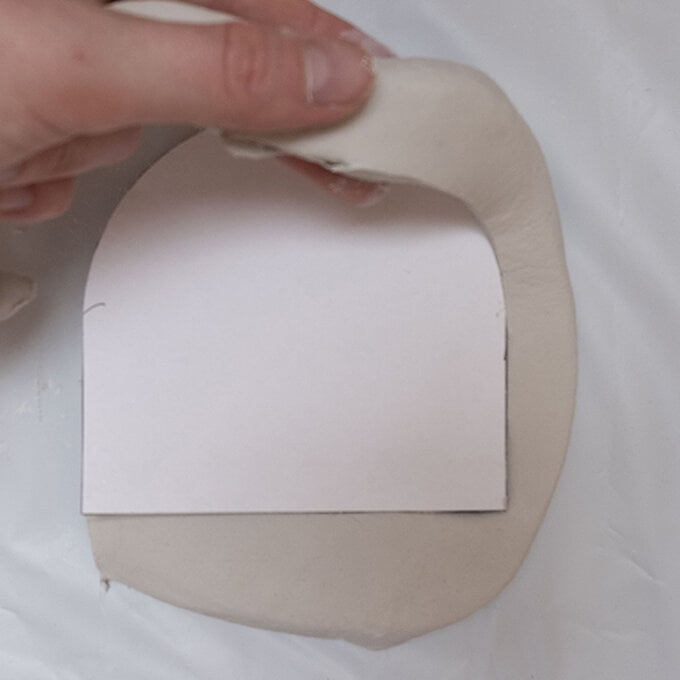
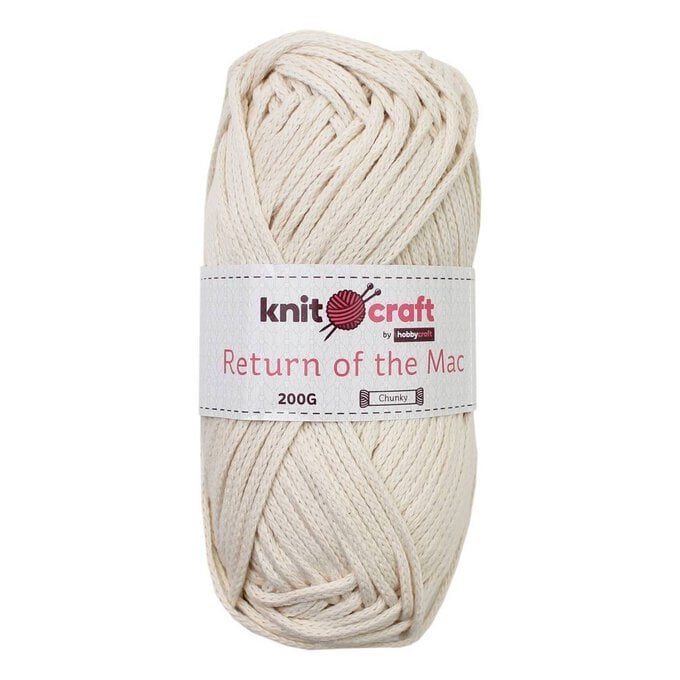
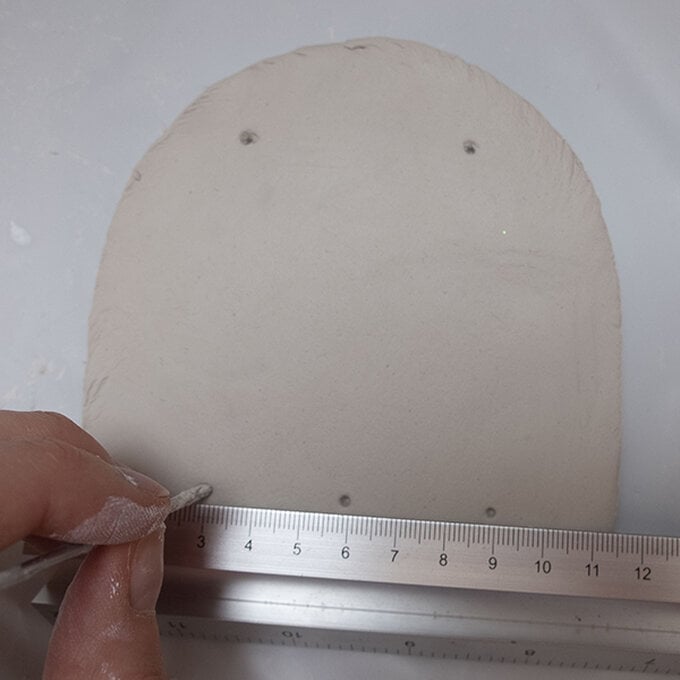
Measure out some holes using a ruler. Add marks for two at the top roughly 1.5cm away from the edge. Add three marks at the bottom – one in the centre and two roughly 3cm away on either side of the central mark. Use a knitting needle or pencil to widen these holes so that they are big enough to fit macrame yarn through
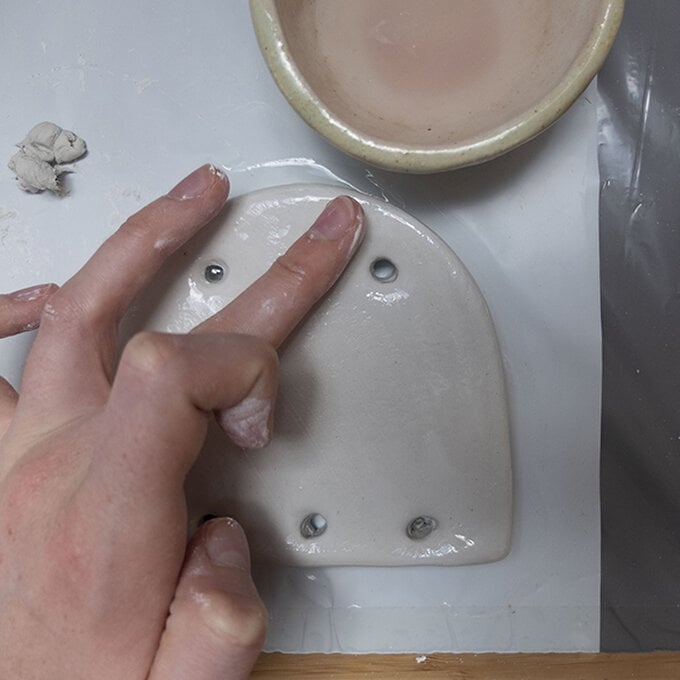
Add some water to a small pot and smooth over the clay design using your finger to soften the corners and remove any lumps and bumps. Then leave the clay to dry for at least 24 hours.
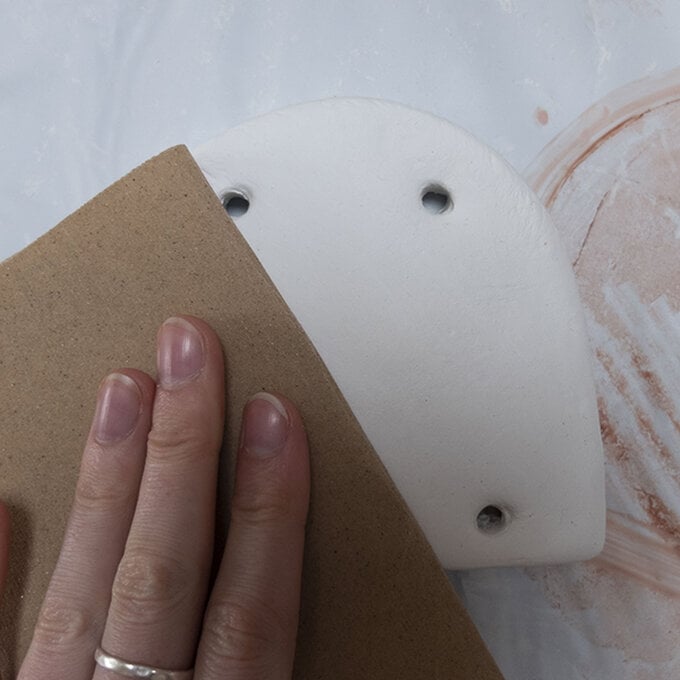
Once the clay is completely dry, use sandpaper to smooth the clay out some more, concentrating on the edges.
Paint your designs! For the white clay, first coat the clay with white acrylic and wait to dry. Then, paint three curved lines with varying thickness and colour, starting with the largest curve. End the lines at the same level, around 1cm above the bottom holes. For the terracotta clay, paint in concrete over the front, leaving a 0.5cm gap around the edge and around the outside of all holes. Then, paint a circle in the centre and add some sun rays around the edge.
Thread the macrame through the front of the top two holes, and tie a double knot in each end to secure. Then, thread through a long thread through each hole and tie in a knot. Cut all ends to the same length. If you'd like, add some beads to the end and tie a knot.
