How to Make Terrazzo Jewellery
Terrazzo is a really simple technique where small chips of one material are embedded into another. You can recreate the effect using polymer clay, such as Fimo.
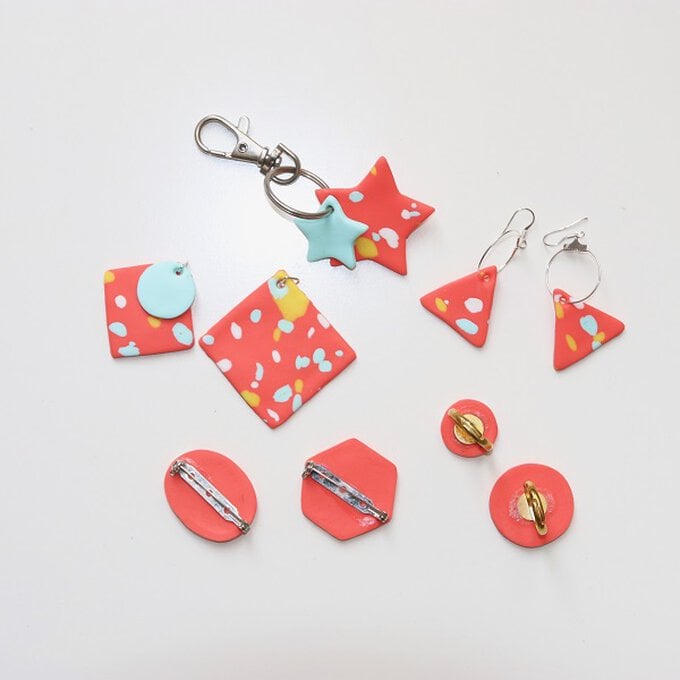
The wonderful thing about making terrazzo this way is that once you have rolled out the clay you can make loads of pieces from just one rolled out piece, making it a quick and fun craft. We have gone for speckled flamingo pink but you can use any colours you like for this project.
You will need
Subtotal
Is $ 5.49
Subtotal
Is $ 5.49
Subtotal
Is $ 5.49
Subtotal
Is $ 5.49
Subtotal
Is $ 7.49
How to make
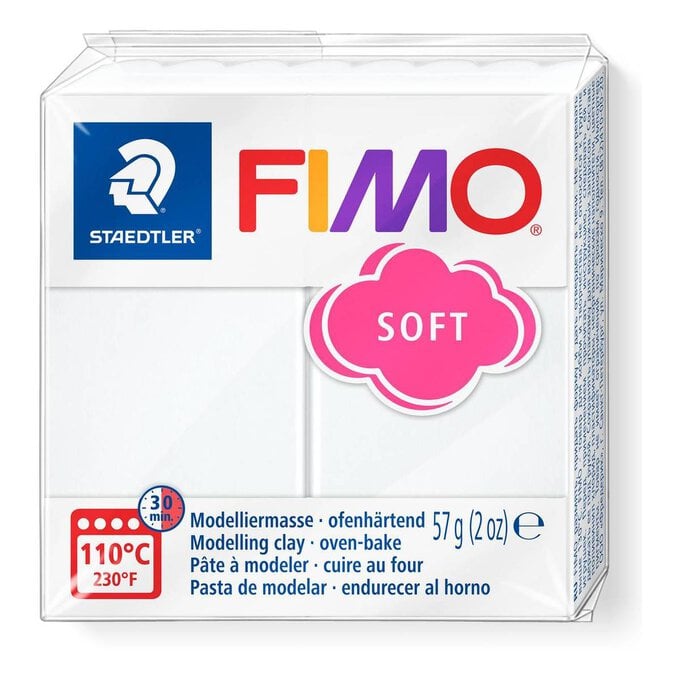
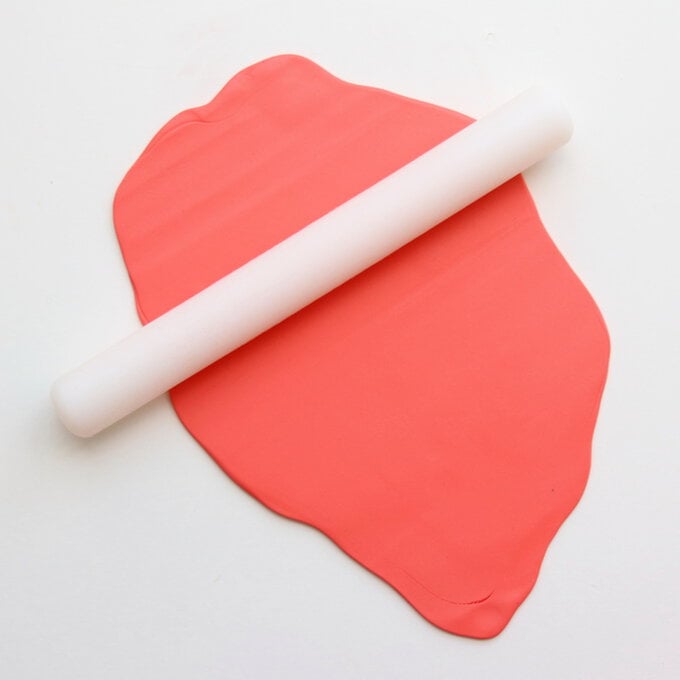
With clean hands, take the two blocks of flamingo Fimo and squash them together. Roll them into a ball, then roll out to a thickness of about 2-3 mm on a smooth clean surface. Lift up and turn the clay regularly to ensure it does not stick to the work surface.
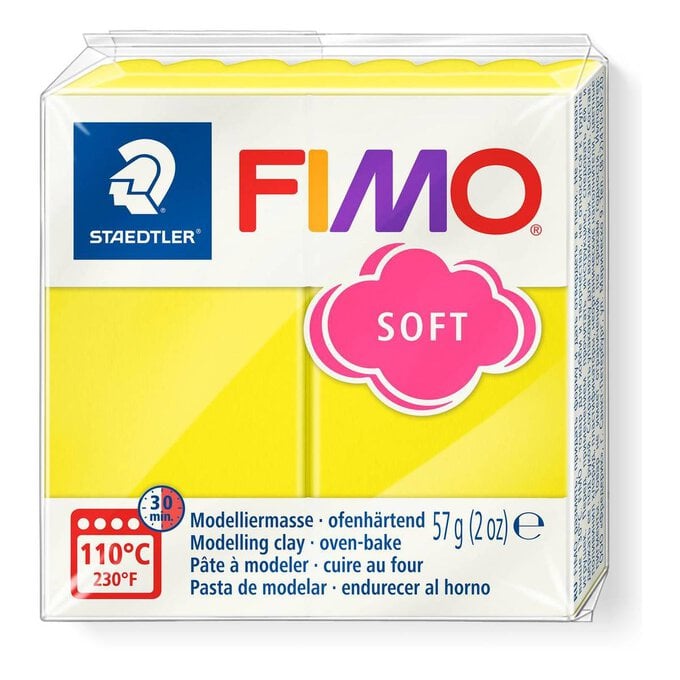
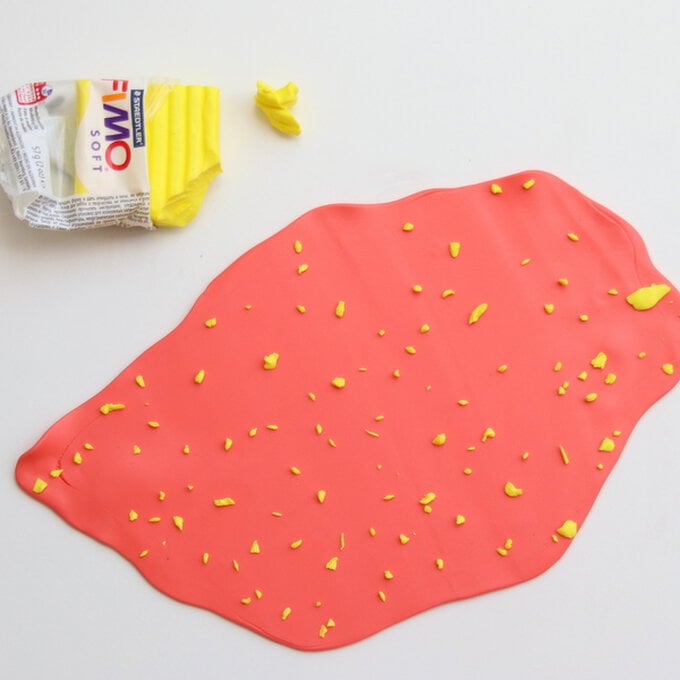
Break off tiny flecks of lemon Fimo and dot them randomly all over the coral clay. Doing this from a height helps to make the effect more random.
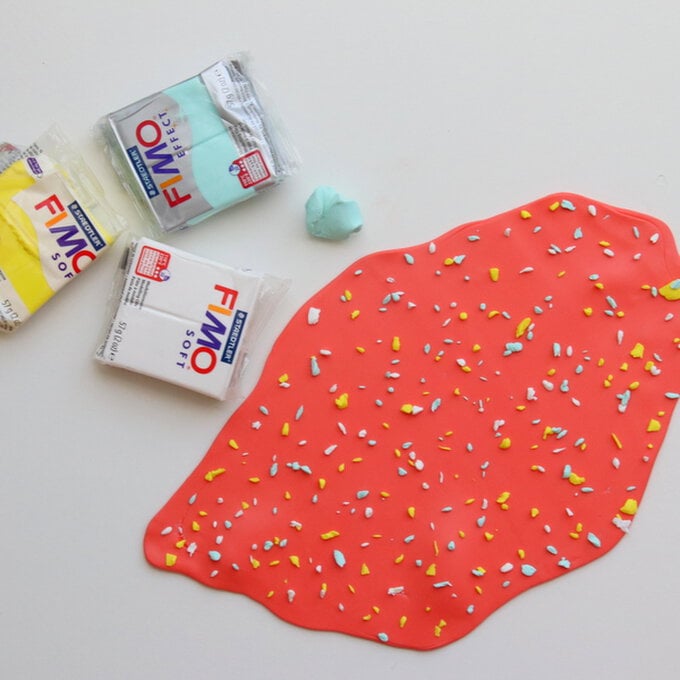
Repeat with the white and peppermint clay so that the coral clay is covered with splodges of colourful clay.
Give the clay a gentle roll to blend the clays together until the surface is smooth. Again, pick up the clay regularly to ensure it does not stick.
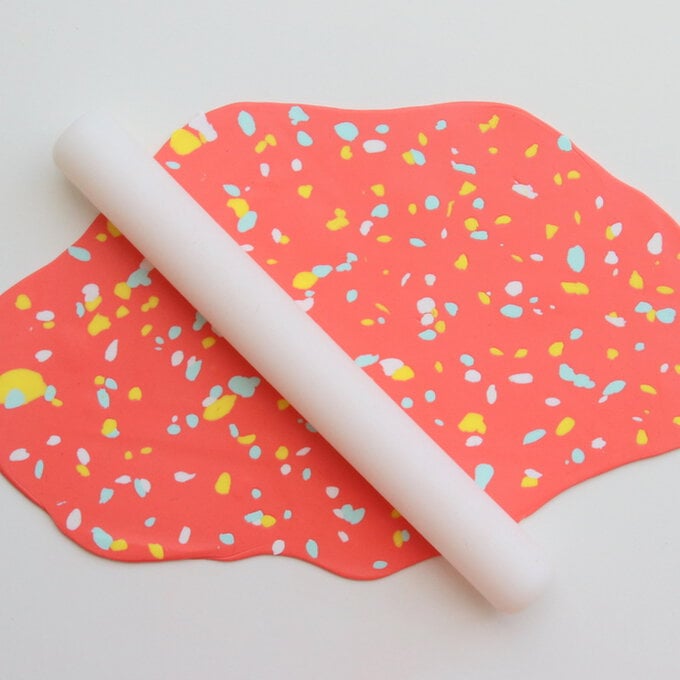
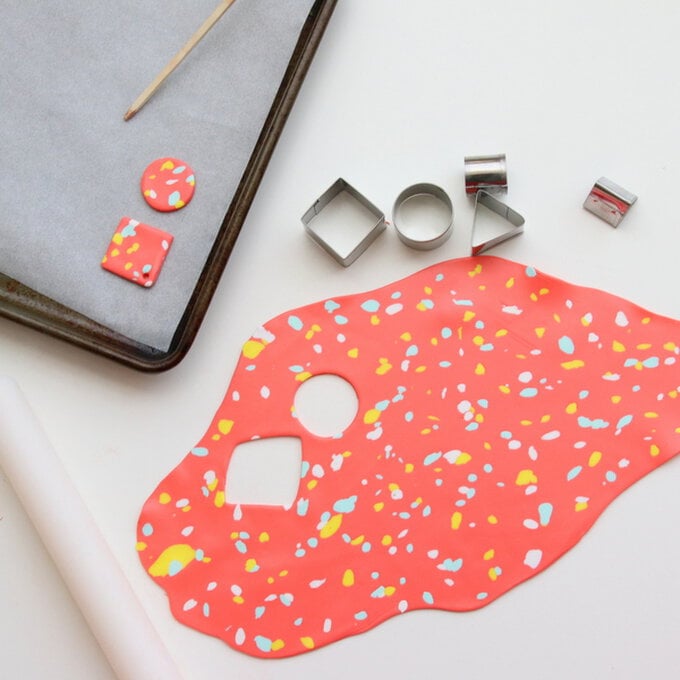
Use small metal cutters (or you could use a knife if you prefer) to cut out shapes from the clay. Think about what each finished piece will be as you cut it, noting that for earrings you will obviously need two pieces the same. Use a wooden skewer to make holes in any pieces that will be hanging. Place each piece on a baking tray lined with parchment paper.
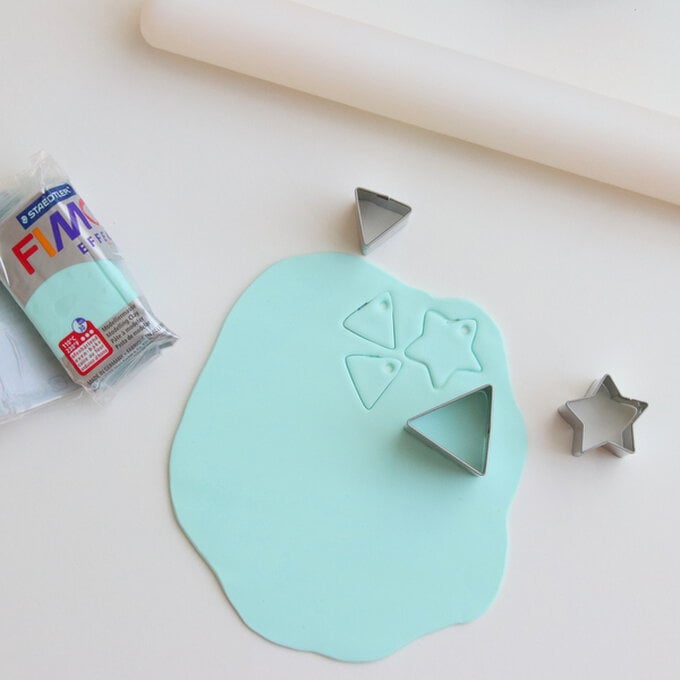
If you like you can roll out the remaining mint Fimo as before and use cutters to make matching shapes.
Bake the Fimo at 110c for 30 minutes. Remove and leave to cool.
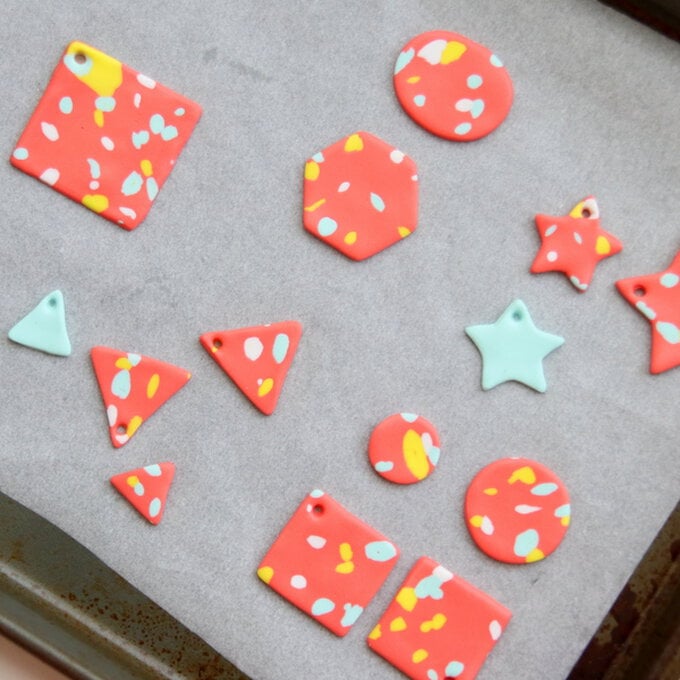
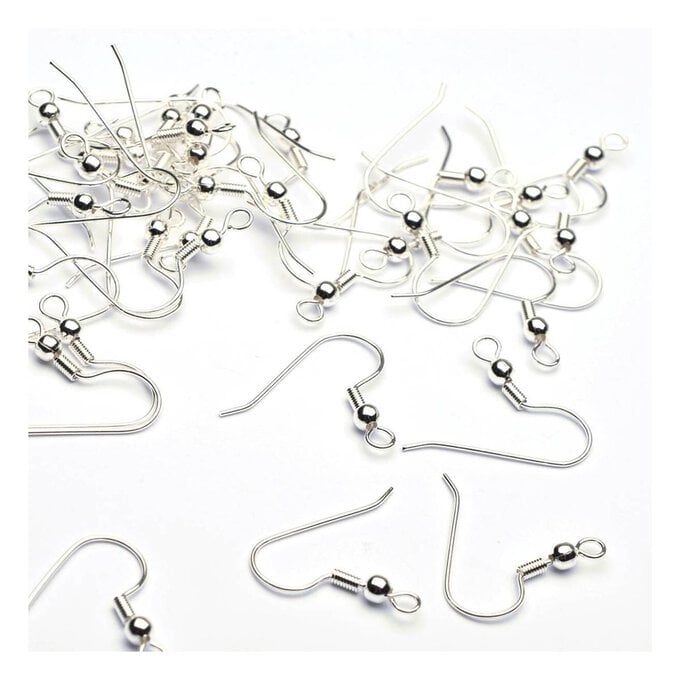
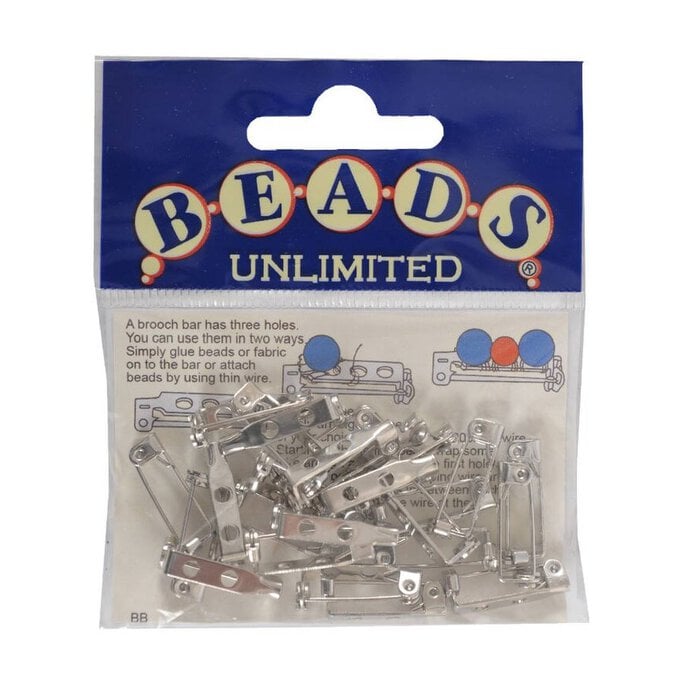
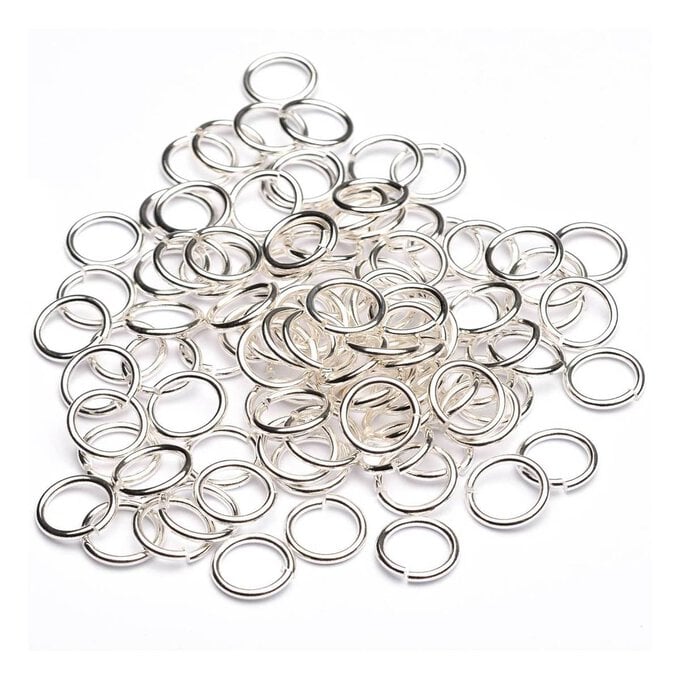
Glue the findings onto the back to create your jewellery collection. Here we have glued the clay onto silver brooches and ring backs, attached them to necklaces using jump rings and threaded them onto hanging hoops which we attached to earring hooks.
