How to Draw a Flamingo with POSCA Pens
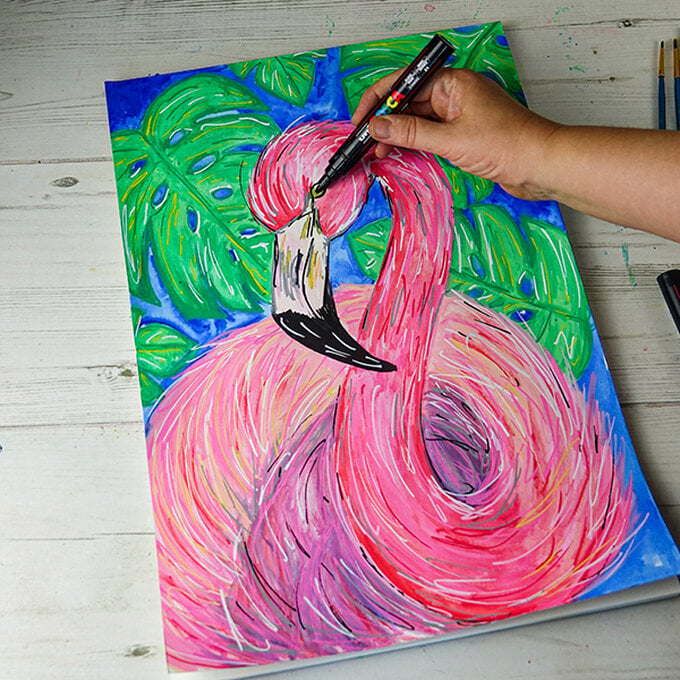
Discover easy illustration techniques that you can try with POSCA Pens to recreate this iconic animal. This step-by-step tutorial helps you hone your drawing skills, with a simple guide to creating the flamingo and monstera leaf shapes.
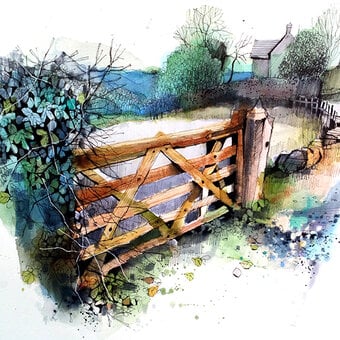
You can even dilute the pens by dipping your pens in water or making a mark with your pen and using a brush to dilute the colour. This technique works well on canvas, but it is also incredibly effective on watercolour paper as we've shown you here. Time to unleash your inner artist!
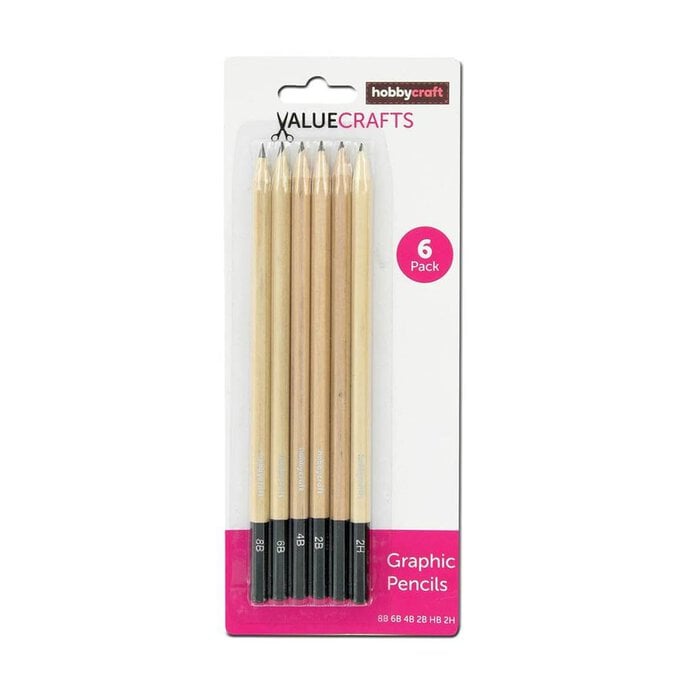
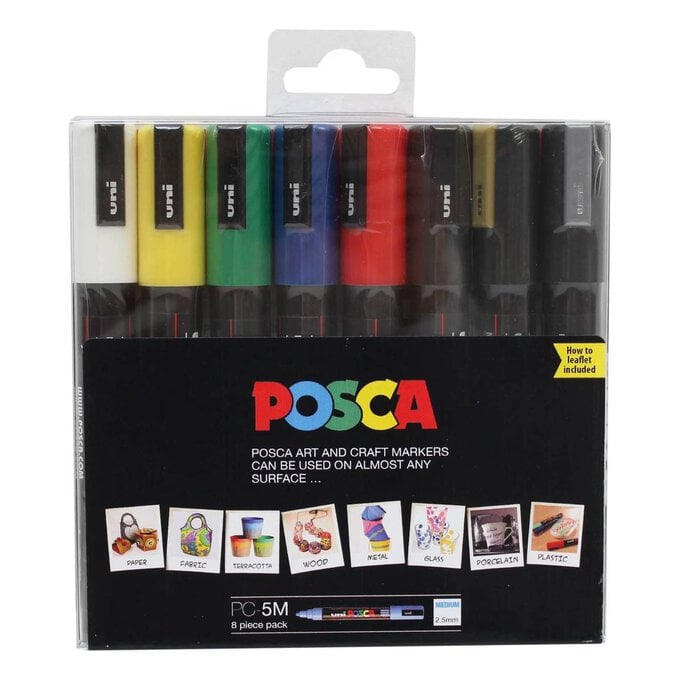
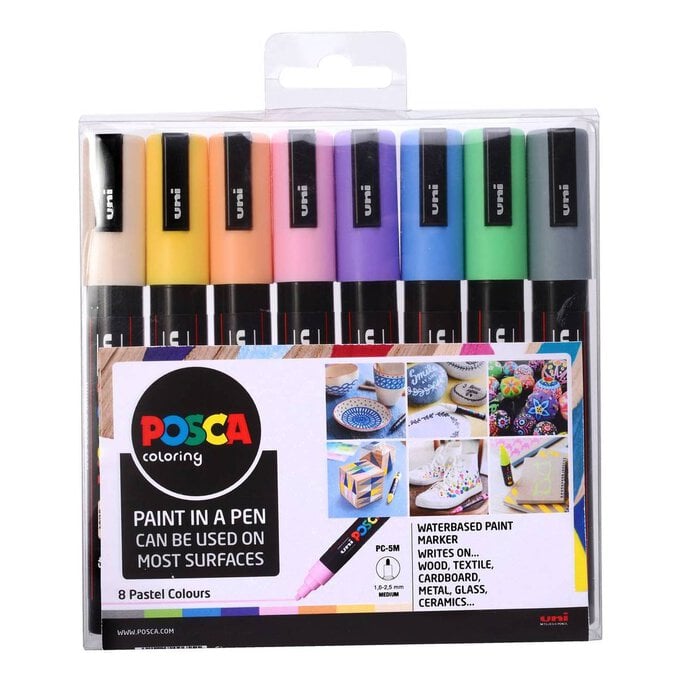
You will need
Subtotal
Is $ 9.49
Subtotal
Is $ 33.00
Subtotal
Is $ 33.00
Subtotal
Is $ 23.00
Subtotal
Is $ 6.49
You will also need:
*A container of water
Use your pencil to create basic shapes for your flamingo. Sketch a circle for the head and an 's' shape for the neck. Then connect triangles and rectangles for the flamingo bill.
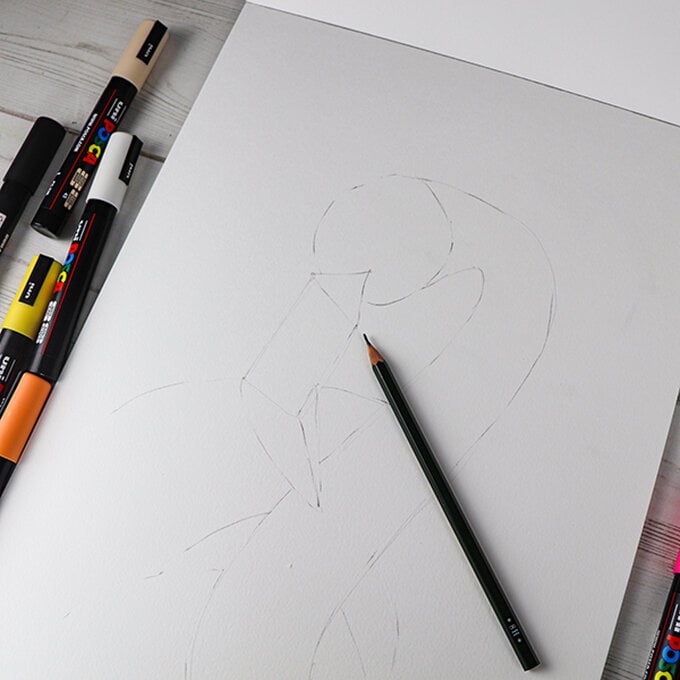
Keeping with the pencil, fill out and soften your basic shapes to make your flamingo shape look more natural.
Draw monstera leaves by sketching a simple leaf shape, then draw 'cut-out' sections along the edge of the leaf and some holes in the centre.
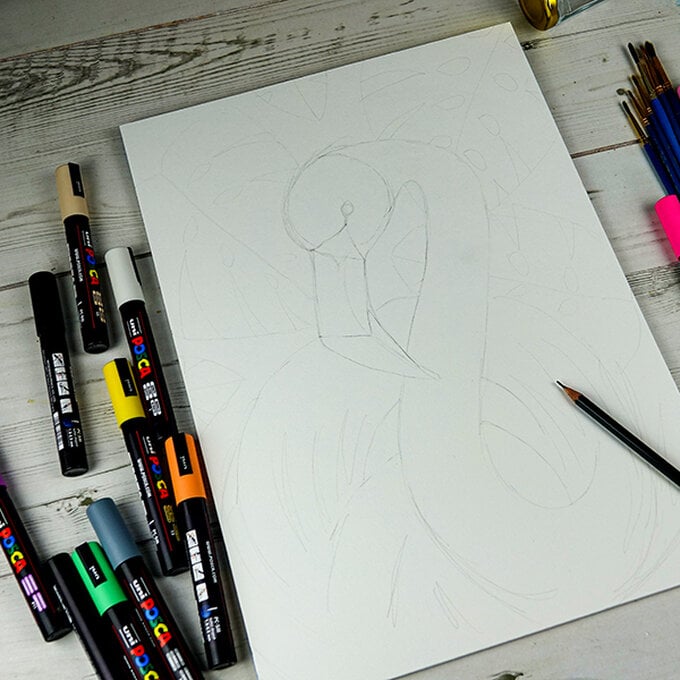
Now fill in your background. Make a mark with your blue 5M POSCA and blend with a wet brush. Drag the colour around and when you feel the colour is too light, apply your blue POSCA to the area again.
For the leaves, use both the regular green and the pastel green 5M POSCAs by applying both colours to the leaf shapes and blending with a wet brush.
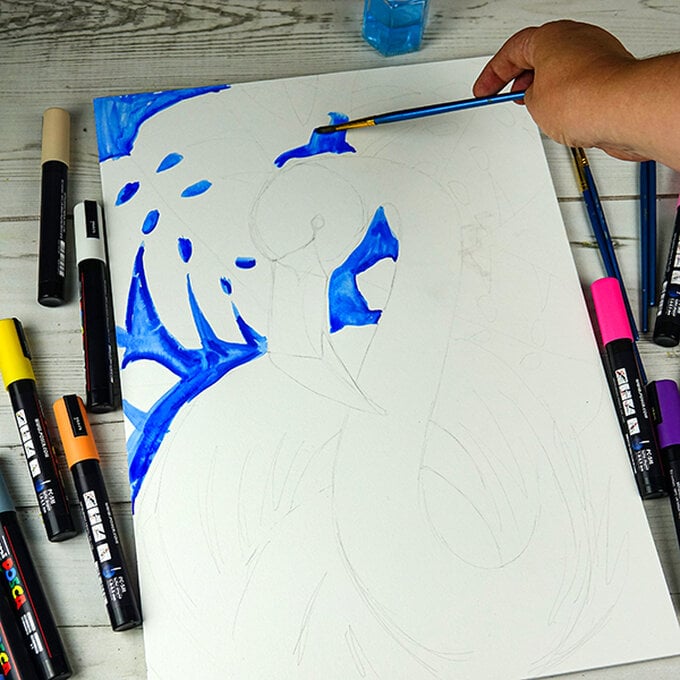
Colour in the top of the bill with the ivory, light pink and yellow POSCAs and dilute with a wet brush to fill the area.
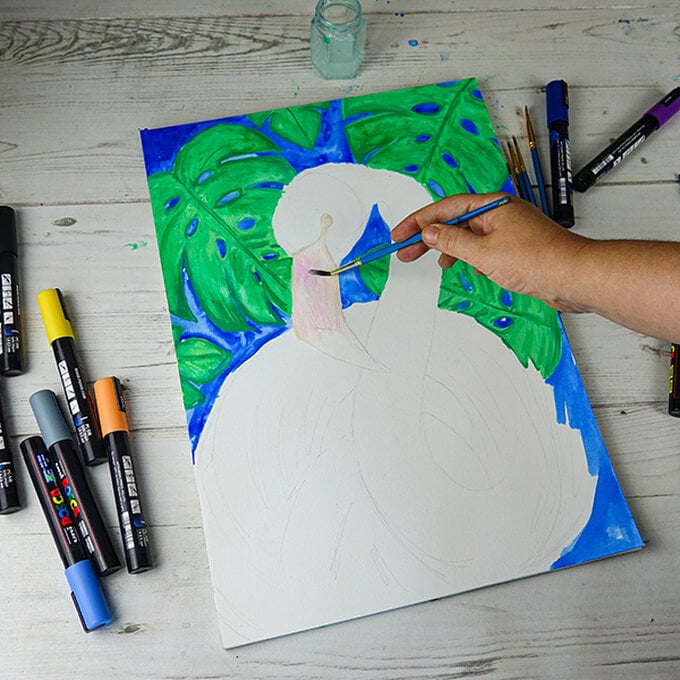
Use all your pink POSCA shades and your red and white POSCAs to fill in the head and neck of your flamingo.
Combine diluted blended colours and overlay with straight POSCA pen strokes to increase the colour intensity and texture.
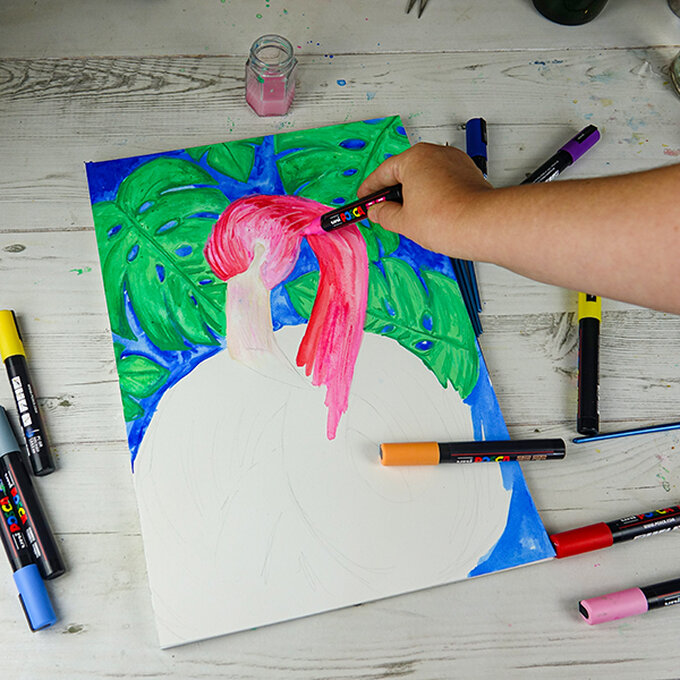
Cover the lighter area of your flamingo using pastel ivory, orange and pink shades with a little of the regular pink POSCA. Take this all the way around the body. As you've done with the neck, combine diluted POSCA and pen strokes for further definition.
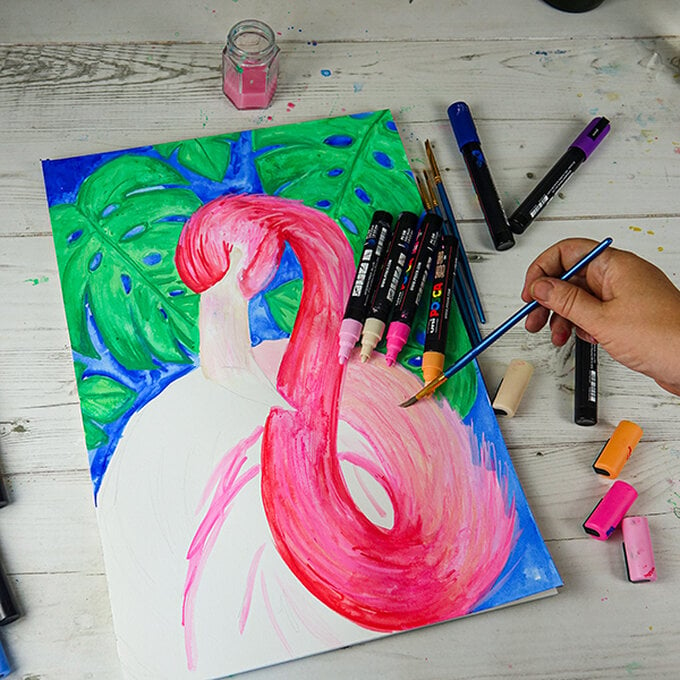
Blend your purple and blue POSCA pens with your pink POSCA shades for the darker areas.
First, blend the straight pen colour then drag the shades with a wet brush.
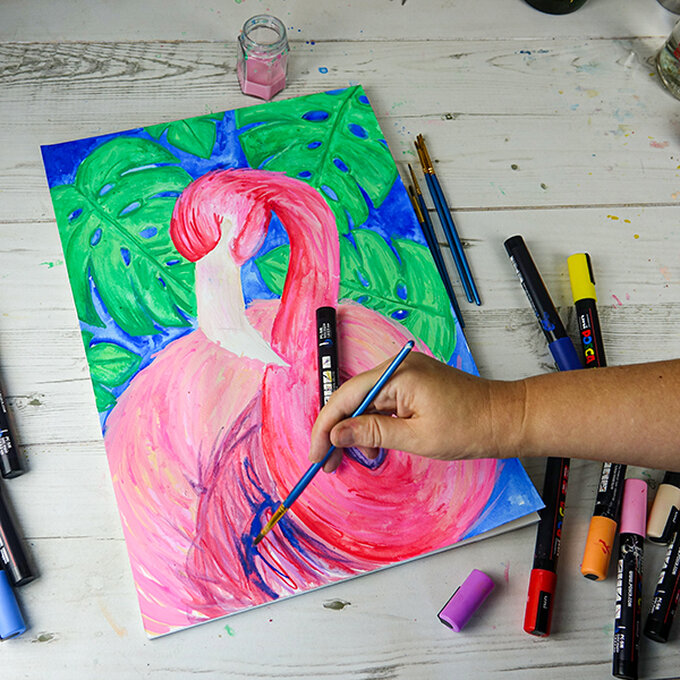
Now start to add details and definition.
First fill in the black area of the bill with a black POSCA. Use the grey, yellow and white POSCA strokes to add texture to the flamingo body. Use the darker green and white POSCAs to further shape the leaves.
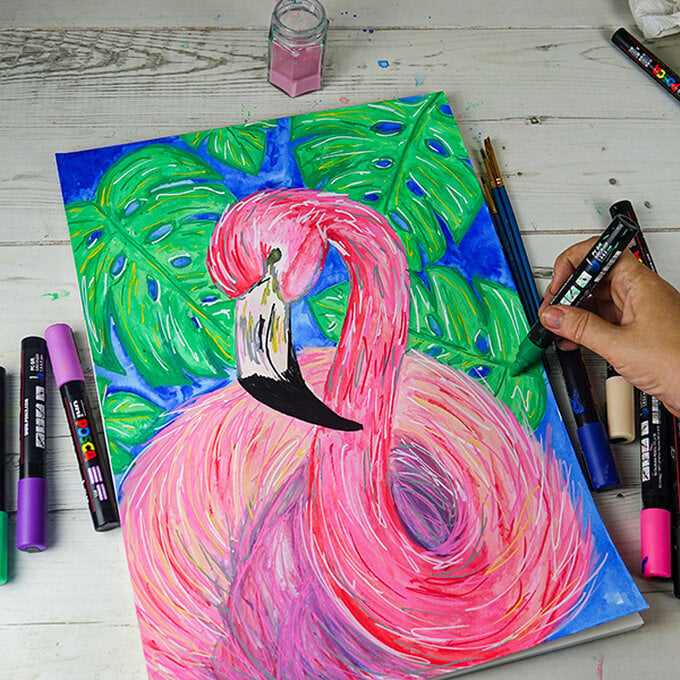
Finish by adding further definition with your black POSCA.
