How to Experiment with Watercolour Paints
Translate what you hear, see and feel into your artwork with the powers of watercolour. It's such a fantastic medium, as it offers a fine balance between control and abstraction.
See the tips and tricks below to get on your way unleashing an abstract masterpiece!
Instructions by Emma Howell
You will need
Subtotal
Is $ 25.00
Subtotal
Is $ 22.00
Subtotal
Is $ 16.00
Subtotal
Is $ 37.00
How to make
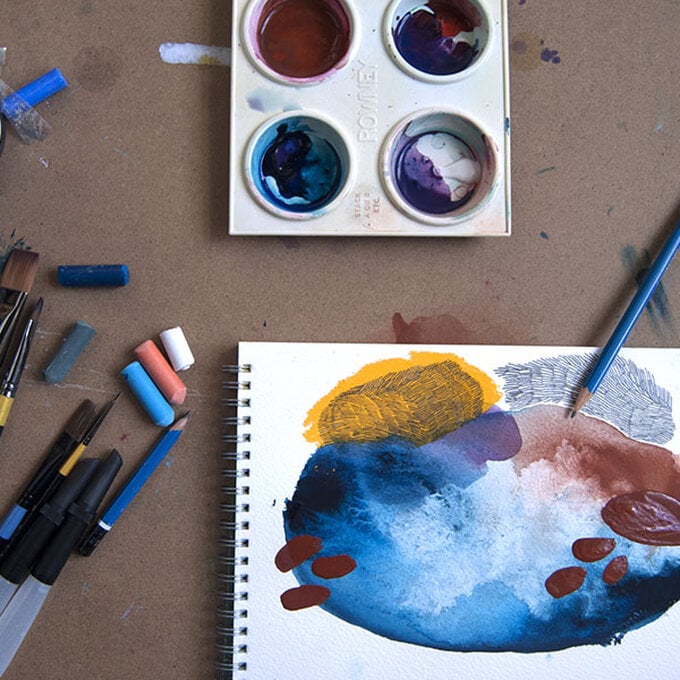
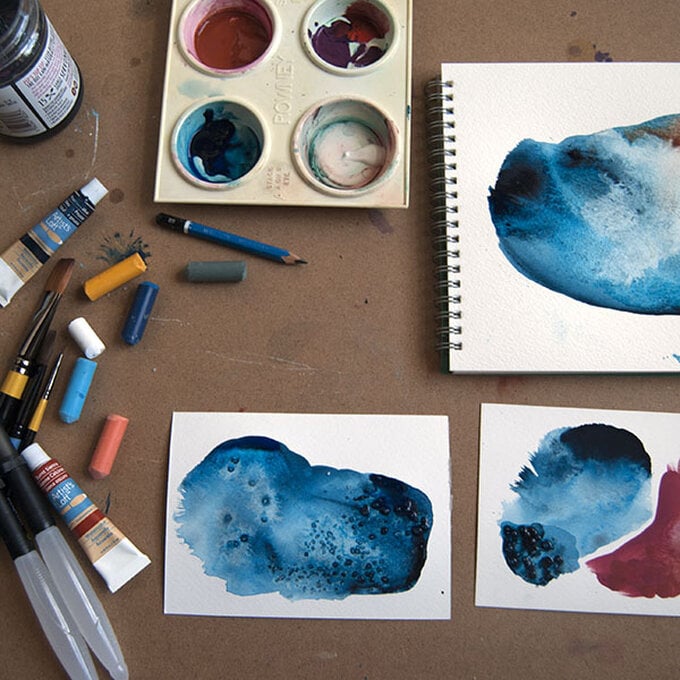
Set up your working area so that you've got all products you need in front of you. Try to keep it organised and tidy to prevent mess happening - this could disrupt your creative flow.
Decide what you're going to paint... Are you more realistic or abstract? Do you want to work from a photograph, from real life or from your mind?
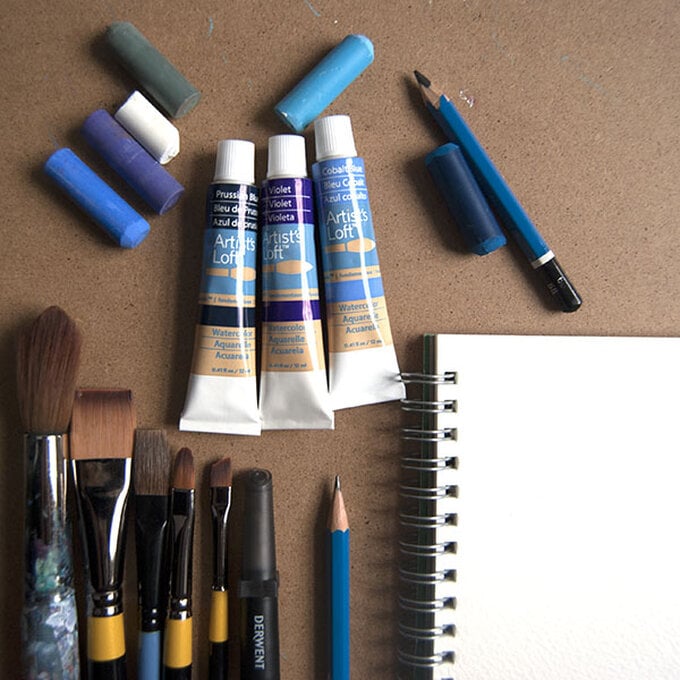
Once you've decided what you're going to paint, gather what colours and tools you need to create your artwork. Line up the appropriate brushes and paints, fill your water jars and lay out the surface you're working on.
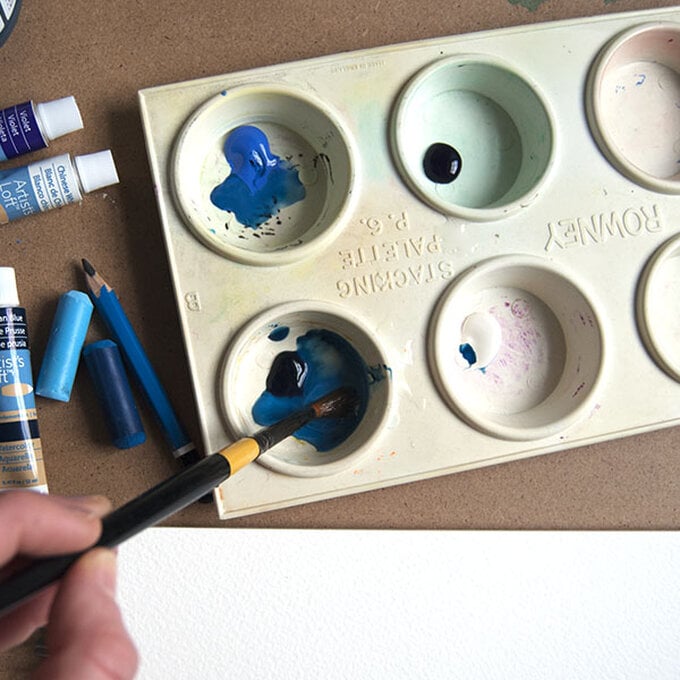
You can either mix your colours on a palette with a paintbrush or dive straight in and squeeze the paint directly onto your surface.
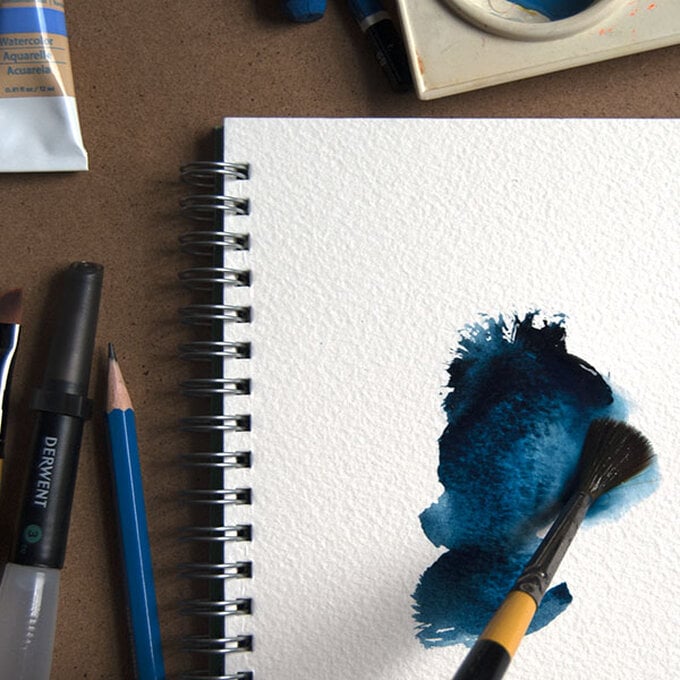
I find that with watercolours, it's important to get your water quantity right with each application. Too little and the paint will stick to the brush, creating very dry and stiff brush strokes on the paper – too much and the paper may not be willing to absorb it all, causing the surface to bow or disintegrate.
You may in fact like to use a waterbrush because they give you a little more control.
It all depends on the effect you want – hard and grainy brushstrokes from too little water looks raw and beautiful, and a light wash of heavily watered down paint can look calm and delicate.
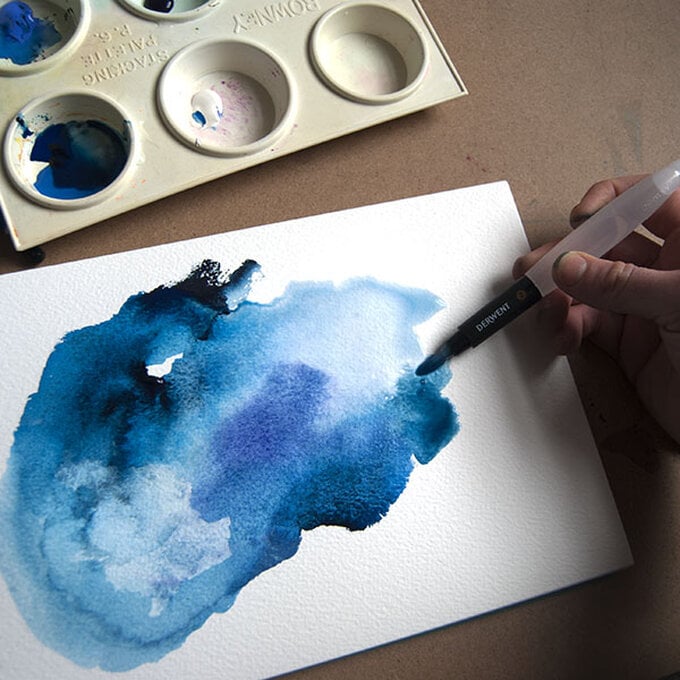
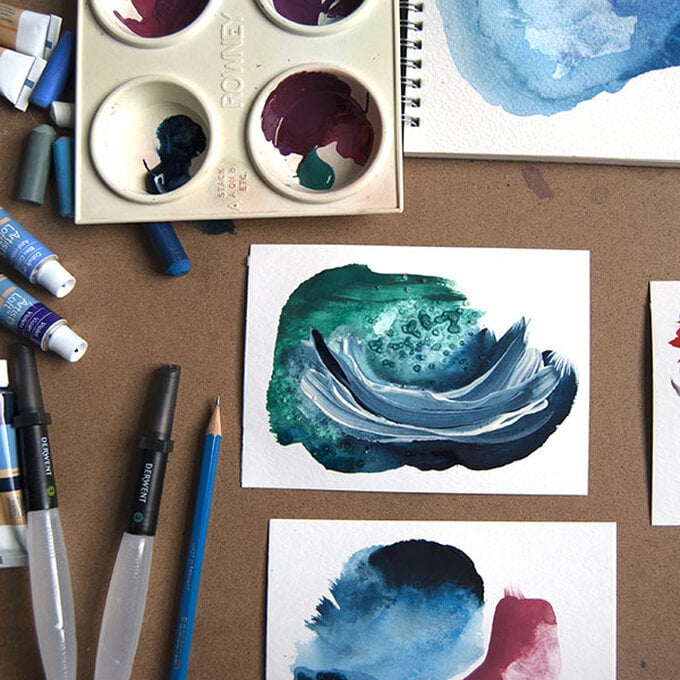
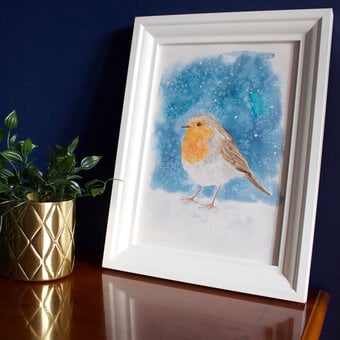
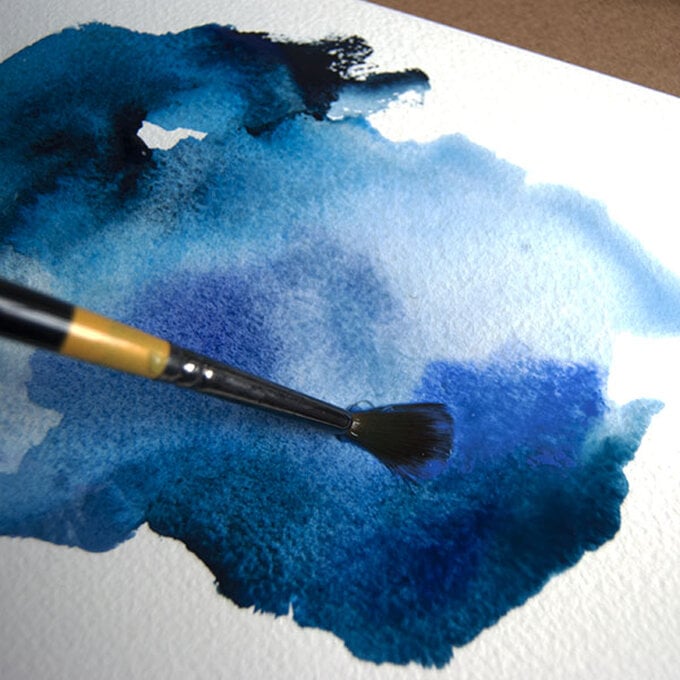
Watercolours blend together really well. When you're wanting to make an ombre effect with your colours, very slowly massage water with your brush between the two colours you want to blend together.
This technique is great when you're trying to recreate a sunset, a skin tone or a contour.
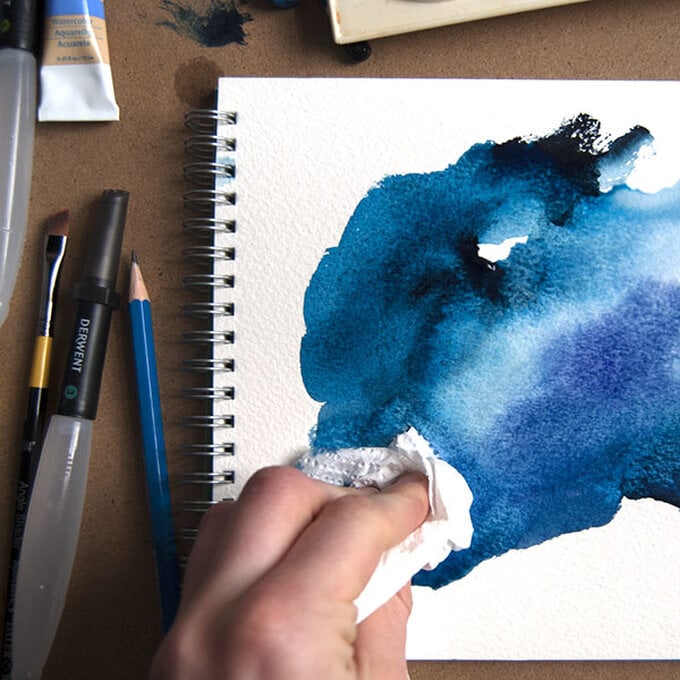
You can also use kitchen roll to soak up excess water, blend colours together and to create soft textured effects on the paper. For layering paint, you must be patient.
Leave one layer to fully dry before adding the next. Usually, whilst I wait for a layer of paint to dry, I start on a new piece of art.
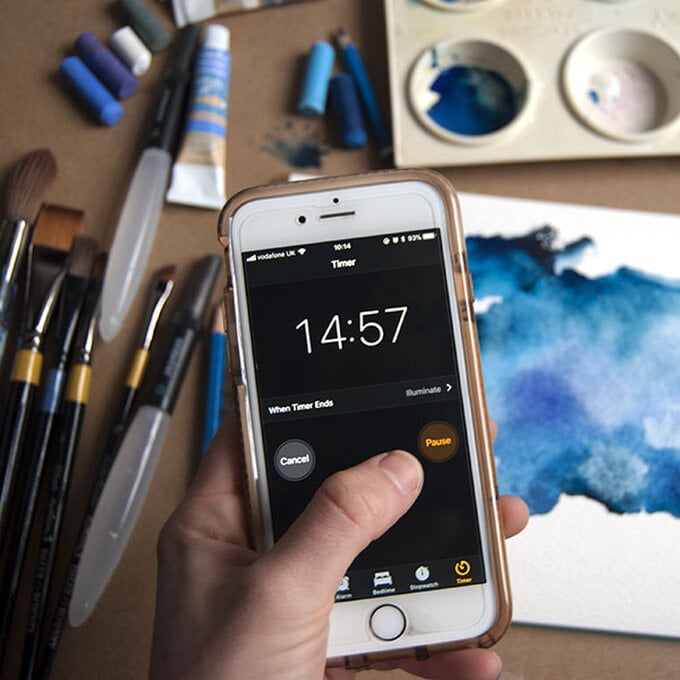
Once the first layer has dried, you can now add the next – it's usually better to make this one a little more transparent (use more water), so that you can see the first layer underneath.
The great thing about watercolours is that they're very versatile – depending on the amount of water and paint, you can adapt the transparency accordingly, ranging from a very light wash to thick and fully opaque.
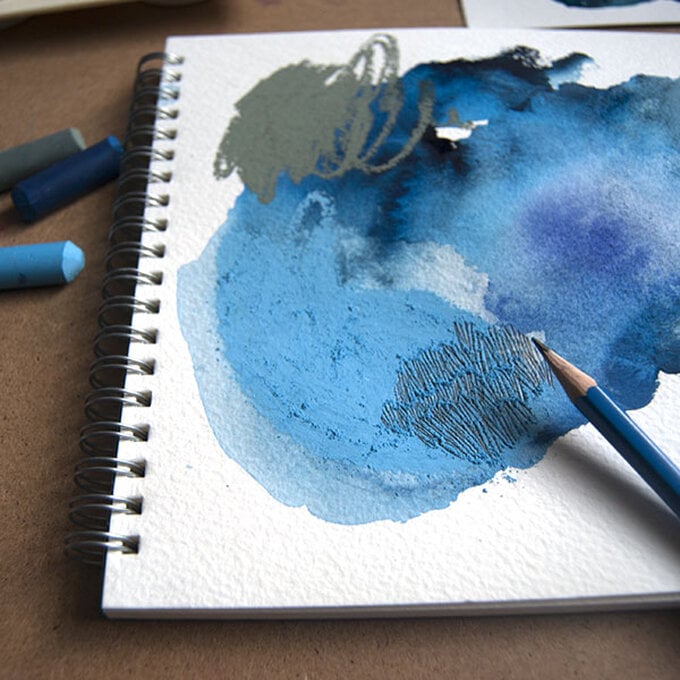
Once all the paint layers have dried, you can now take this opportunity to introduce some other mediums.
