Skip to Content (Press Enter) Skip to Footer (Press Enter)

How to Make 3D Papercraft Eggs for Easter

Level
Beginner
Time
1 hour
Budget
10 - 30

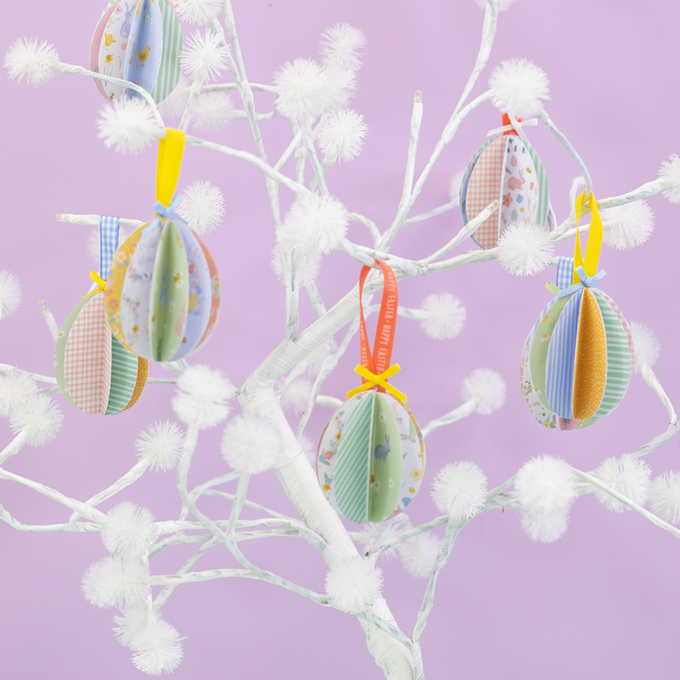
An Easter tree isn’t complete without Easter eggs! These eggs make wonderful table decorations and hanging decorations – plus, if you keep half, you can make a fabulous pop-up centre for an Easter card.

All you’ll need is paper, scissors, glue, your favourite paper pad and ribbon. For inspiration, we love the new Easter collection from Violet Studio Farmstead Easter.

Project and instructions by Violet Studio.

You will need

Is $ 1.49 , was $ 3.49

Quantity: 1

Subtotal

Is $ 1.49 , was $ 3.49

Is $ 3.49

Quantity: 1

Subtotal

Is $ 3.49

Out of stock

Is N/A

Quantity: 1

Subtotal

Is N/A

Out of stock

Is N/A

Quantity: 1

Subtotal

Is N/A

Out of stock

Is N/A

Quantity: 1

Subtotal

Is N/A

Out of stock

Is $ 6.49

Quantity: 1

Subtotal

Is $ 6.49

You’ve viewed 2 of 6 products

You’ve viewed 4 of 6 products

Total:

You will also need:

  • FREE downloadable template
Step 1
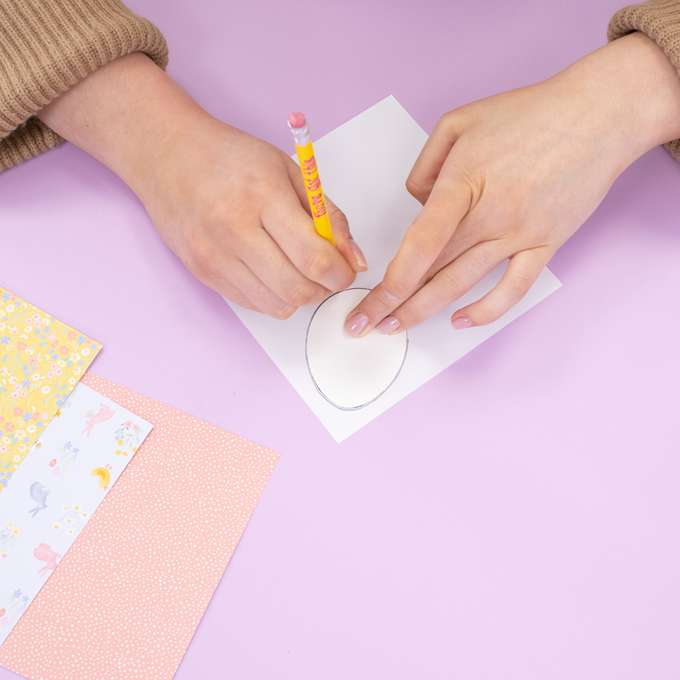
Print out your egg template onto a piece of plain card, choose which size you'd like your egg decoration to be and cut out the template. Draw around your chosen egg template onto a sheet of Easter patterned paper. For each honeycomb egg you will need ten egg-shaped paper pieces of the same size. If you're working with patterned paper, remember to draw your shape on the blank side.
Idea_how-to-make-3d-paper-eggs_step1.png?sw=680&q=85
Step 2
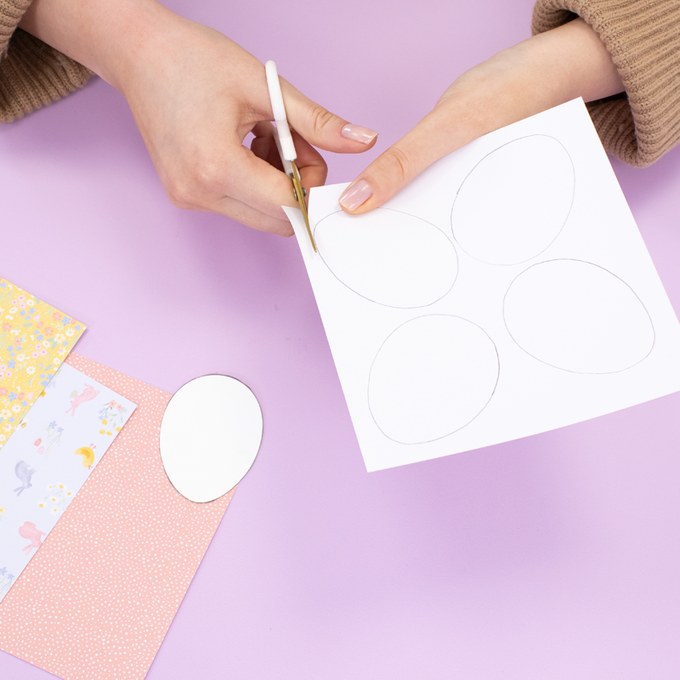
Cut out each egg shape from your patterned paper. Choose a range of different patterns to create a colourful effect or go for a matching colour scheme.
Idea_how-to-make-3d-paper-eggs_step2.png?sw=680&q=85
Step 3
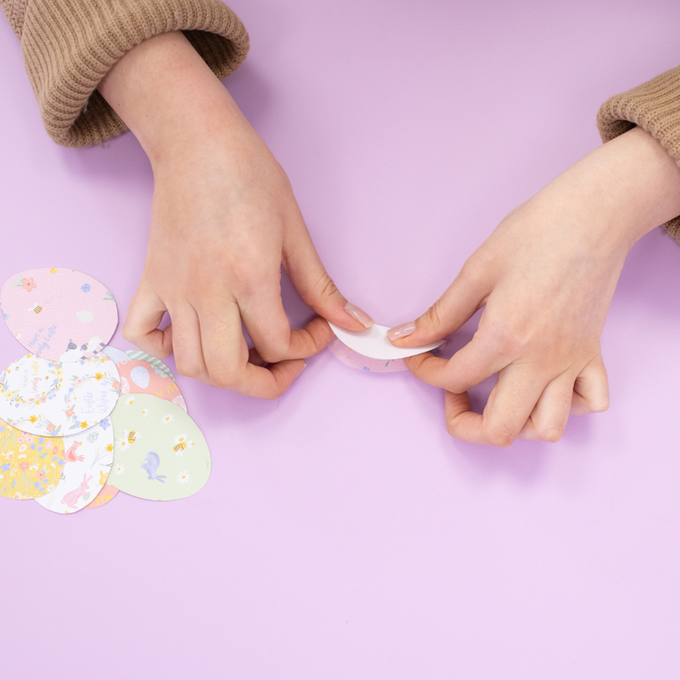
Once all of your egg shapes are cut out, fold each in half lengthways. If you are using patterned paper, make sure that the pattern is on the inside of the fold.
Idea_how-to-make-3d-paper-eggs_step3.png?sw=680&q=85
Step 4
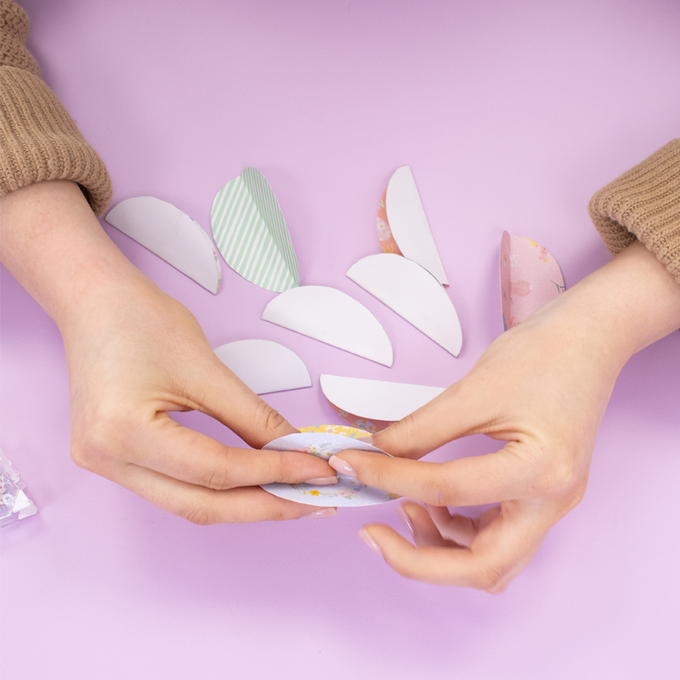
Next, take two of your egg shapes and use a tape pen to stick a folded side of each piece together so that the blank sides are attached and the narrow ends of each shape meet. Continue to attach another 3 pieces in the same way to create one half of your 3D decoration. Repeat the process to create the second half of your decoration using the remaining 5 shapes.
Idea_how-to-make-3d-paper-eggs_step4.png?sw=680&q=85
Step 5
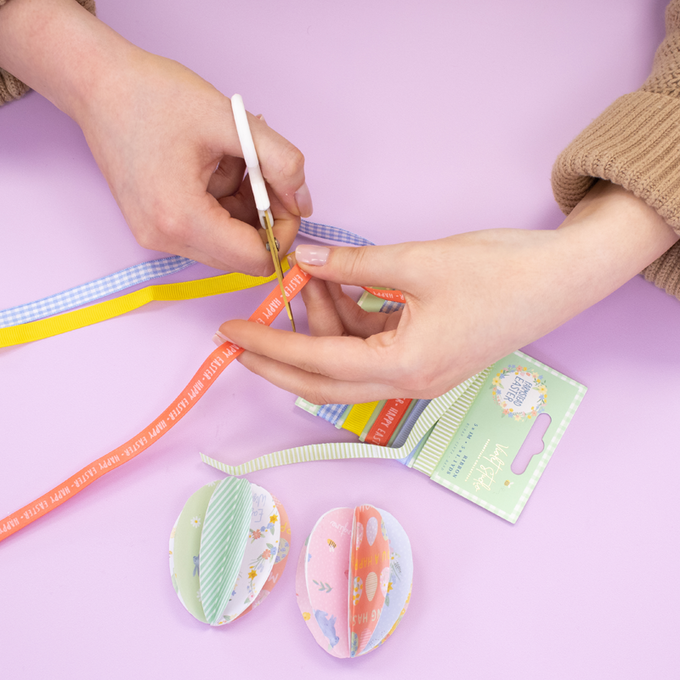
Choose your ribbon and cut a piece approximately 15cm long.
Idea_how-to-make-3d-paper-eggs_step5.png?sw=680&q=85
Step 6
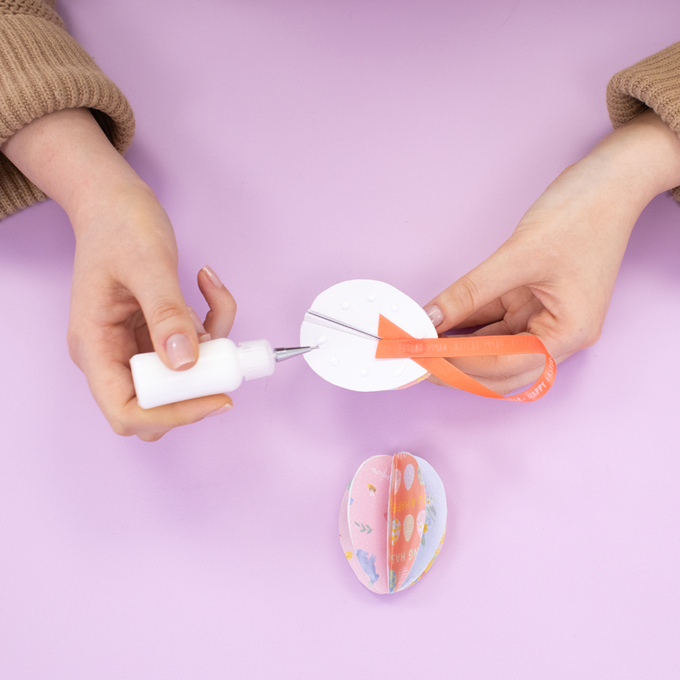
Carefully glue the ribbon in place on the reverse of one half of your egg decoration, apply glue all over ready to stick the two halves together.
Idea_how-to-make-3d-paper-eggs_step6.png?sw=680&q=85
Step 7
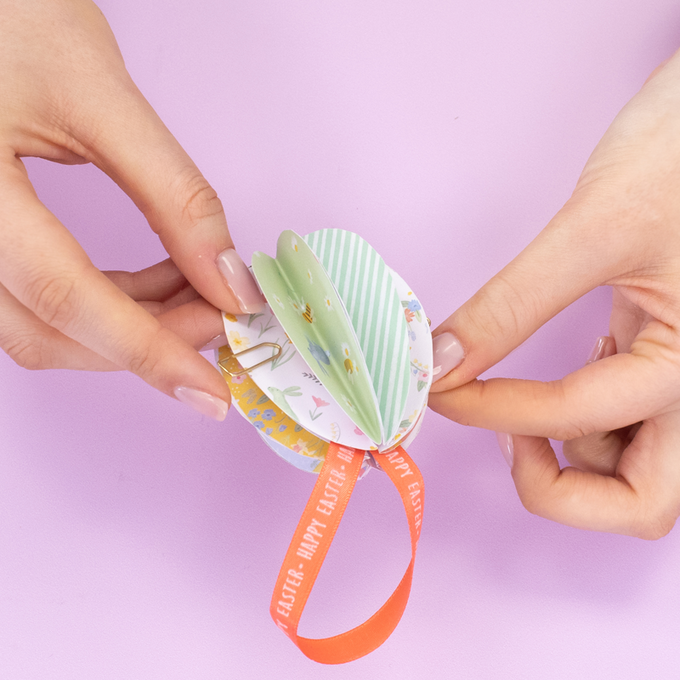
Put the two egg halves together and hold in place with paperclips while the glue dries.
Idea_how-to-make-3d-paper-eggs_step7.png?sw=680&q=85
Step 8
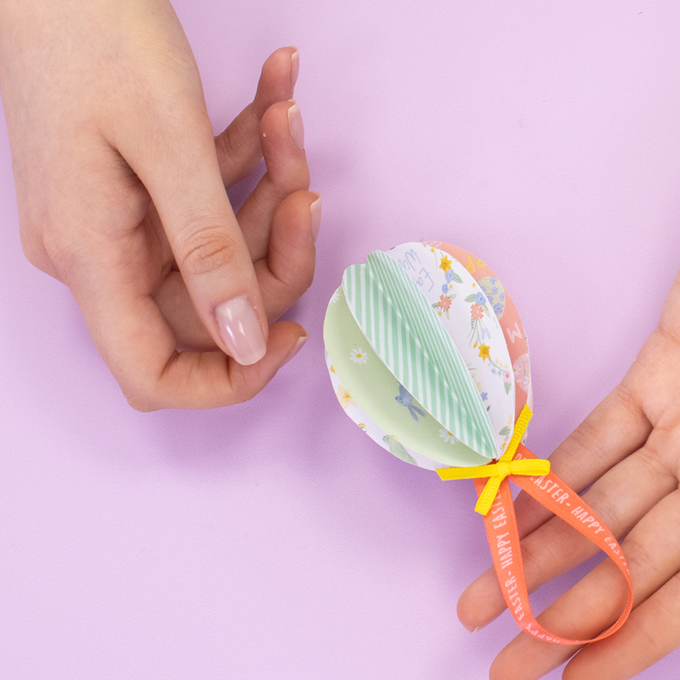
It's time to add a colourful bow! Glue your bow in place and allow to dry completely.
Idea_how-to-make-3d-paper-eggs_step8.png?sw=680&q=85
Step 9
Why not make more to cover an entire tree? You can switch up the ribbon, bows and paper to create different designs!
Idea_how-to-make-3d-paper-eggs_step9.png?sw=680&q=85
  • bvseo_sdk, dw_cartridge, 18.2.0, p_sdk_3.2.0
  • CLOUD, getReviews, 4ms
  • reviews, product
  • bvseo-msg: Unsuccessful GET. status = 'ERROR', msg = 'Not Found.'; Unsuccessful GET. status = 'ERROR', msg = 'Not Found.';

Related Products

Top