How to Make a Christmas Paper Bag
Discover how to create a Christmas paper bag with this quick and easy project guide. Perfect for beginners, this paper bag can be used as a gift bag for the big day – or for making a fun advent calendar!
To create a paper bag advent calendar, simply create 24 paper bags and number them from 1 to 24 on a slice of wood. Then, fill with your favourite treats and give to a loved one as a special surprise!
Project and instructions by Perrine Barraud.
You will need
Subtotal
Is $ 4.49
Subtotal
Is $ 4.49
Subtotal
Is $ 3.49
Subtotal
Is $ 26.00
Subtotal
Is $ 7.49
You will also need:
* Fresh twigs/branches such as rosemary, pine, yew
Cut a 30 x 22 cm rectangle in the kraft paper.
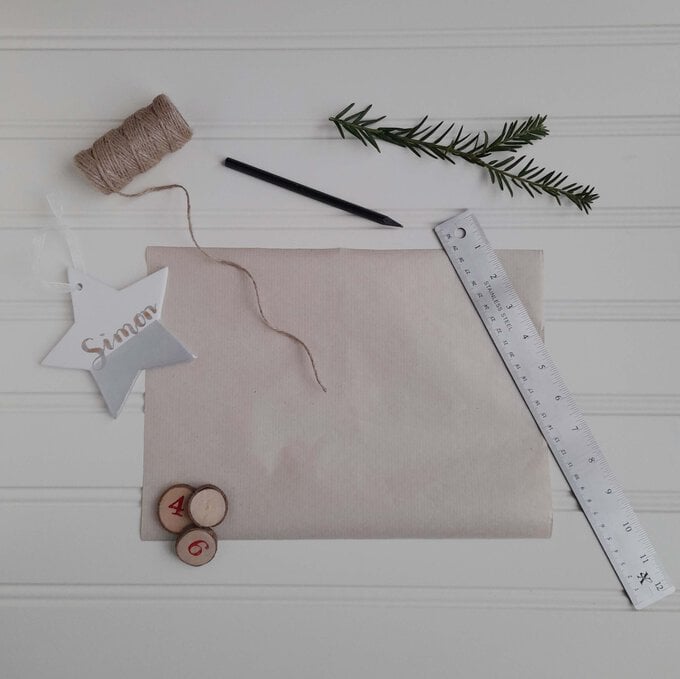
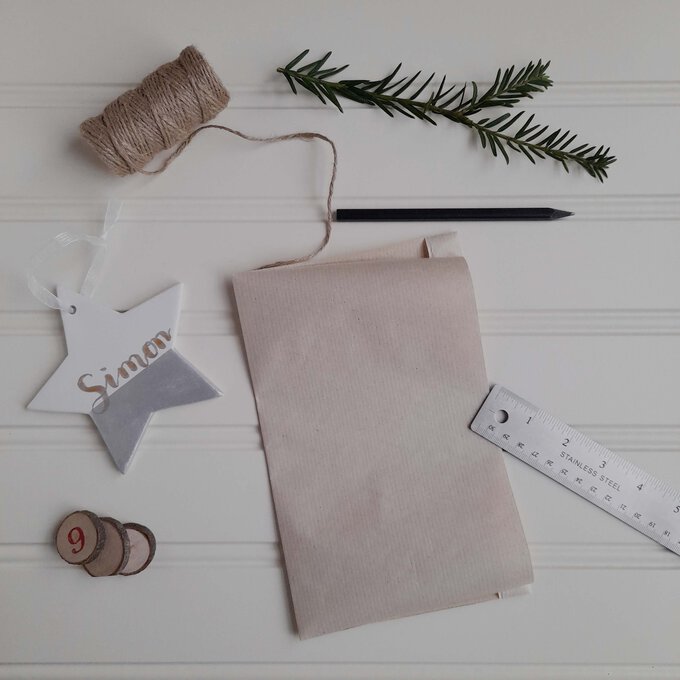
Hold the paper so that the length is in a landscape orientation. Fold 2 cm away from the right-side edge, keep it folded and then hold the left side edge and fold again in half, making sure that the left side overlaps with the 2 cm fold (see photo on the right). You should have a 22 x 14 cm rectangle at this stage.
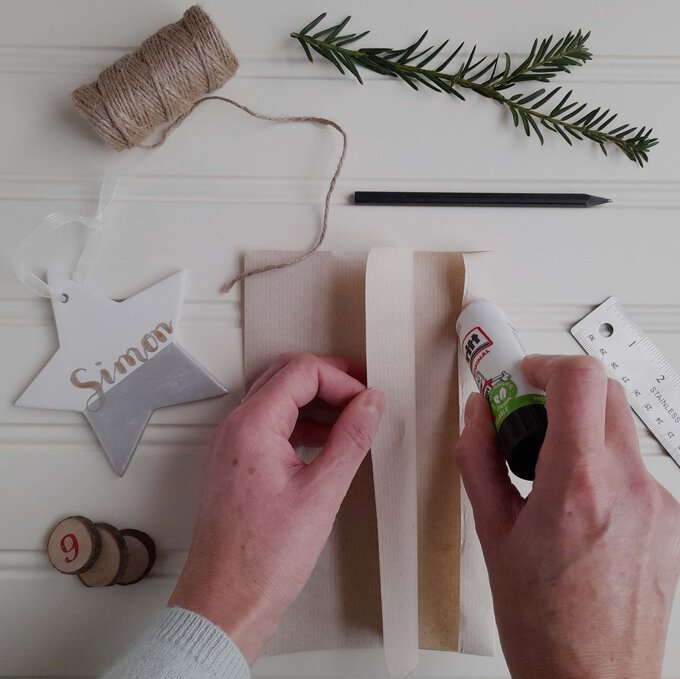
Glue the left side edge onto the 2 cm fold made from the right-side edge. This will form the sides of the bag.
Keep the paper bag in the same position i.e., it should now be in a portrait orientation, with the glued side kept on the right. To close the base of the bag, make a 2 cm fold.
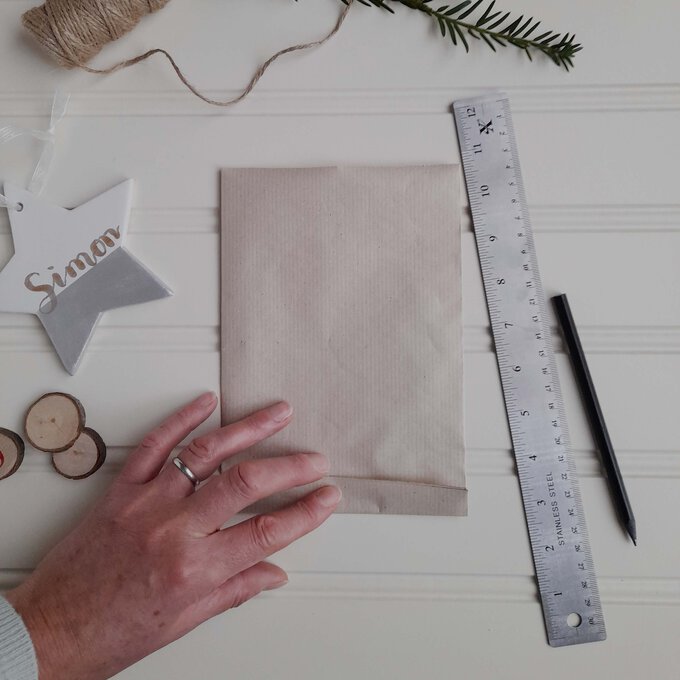
Undo this fold and cut both sides of this 2 cm stripe.
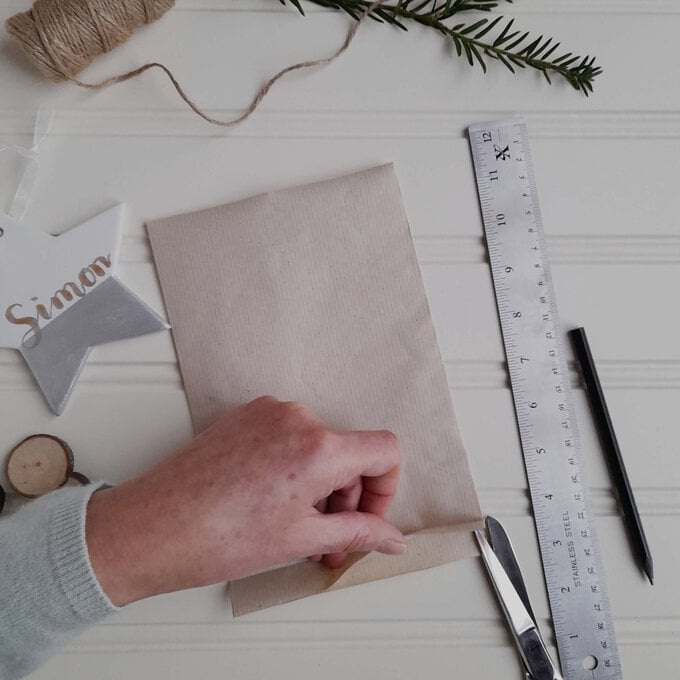
Then cut out the top stripe. Note that the top stripe of paper has the extra piece of paper glued to it from step 3.
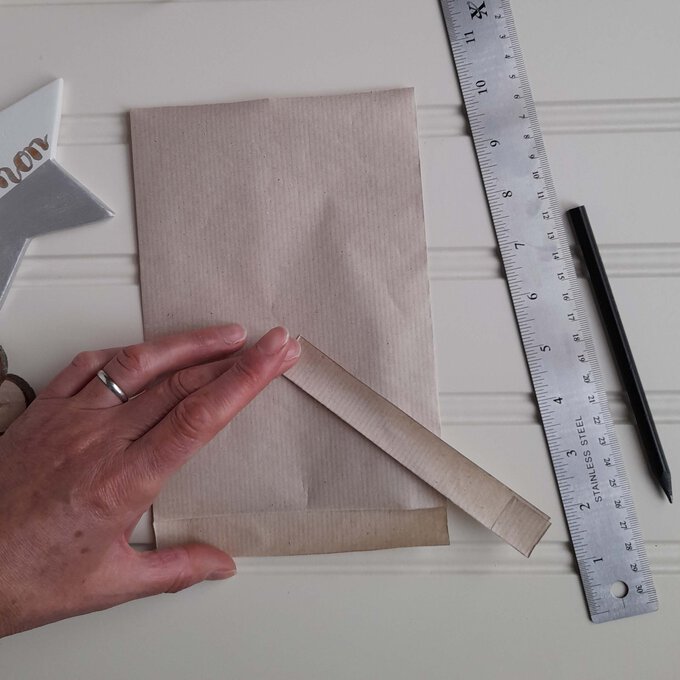
With the scalloped edge scissors, cut 1 cm away from the border of the remaining 2 cm stripe.
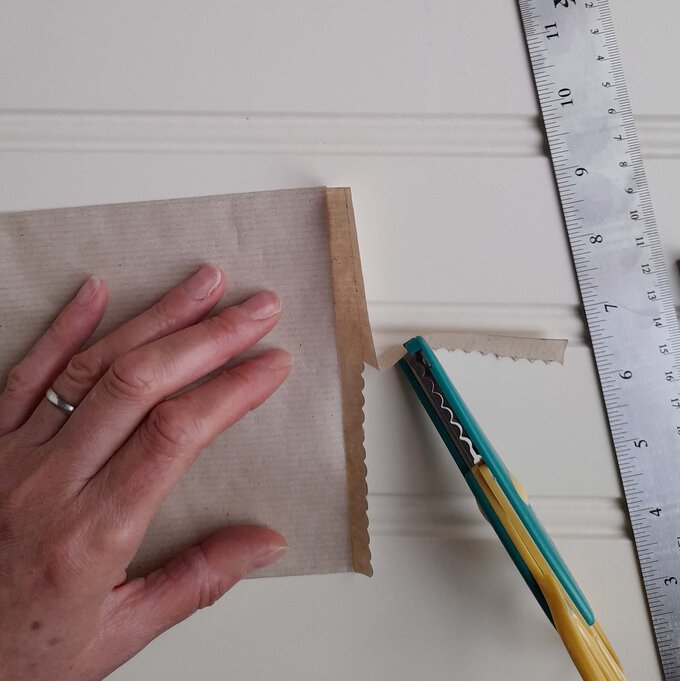
Glue to close the base of the bag.
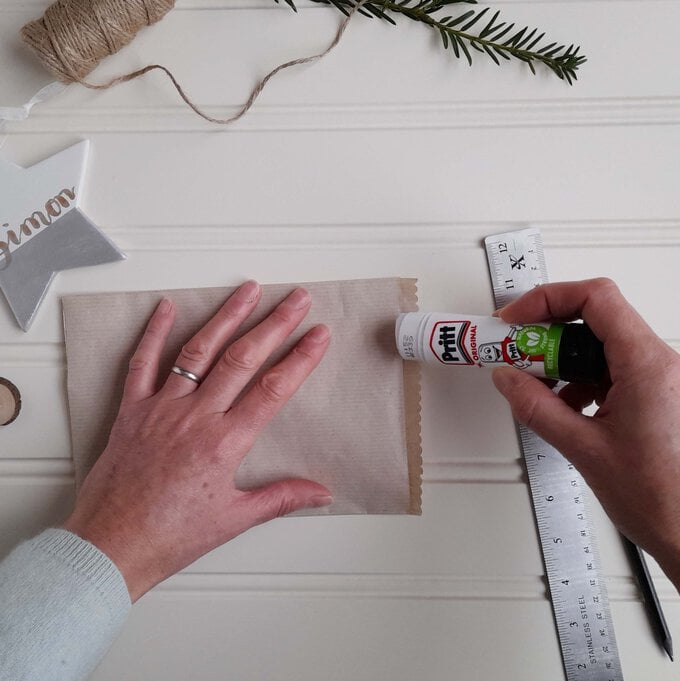
To close the bag, fold twice 2 cm away from the top border. Make two holes 1 cm apart from each other around the middle line. These will be to close the bag with the jute twine.
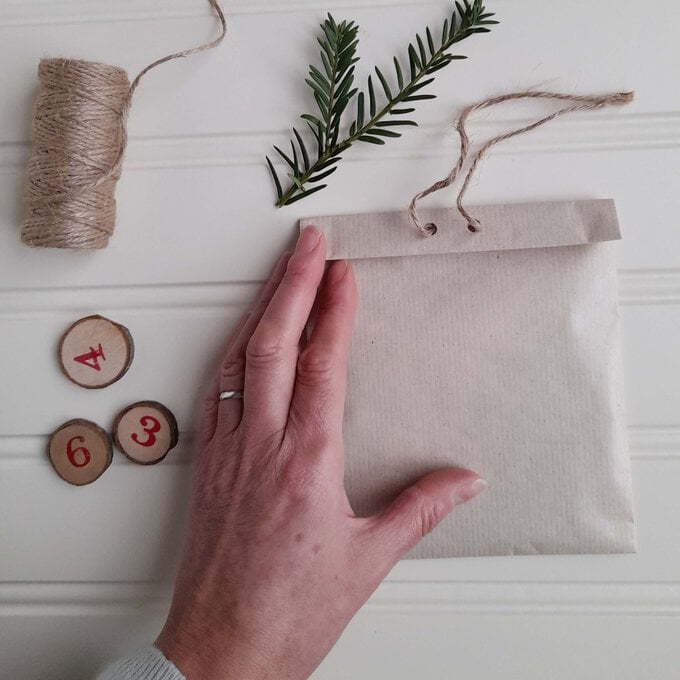
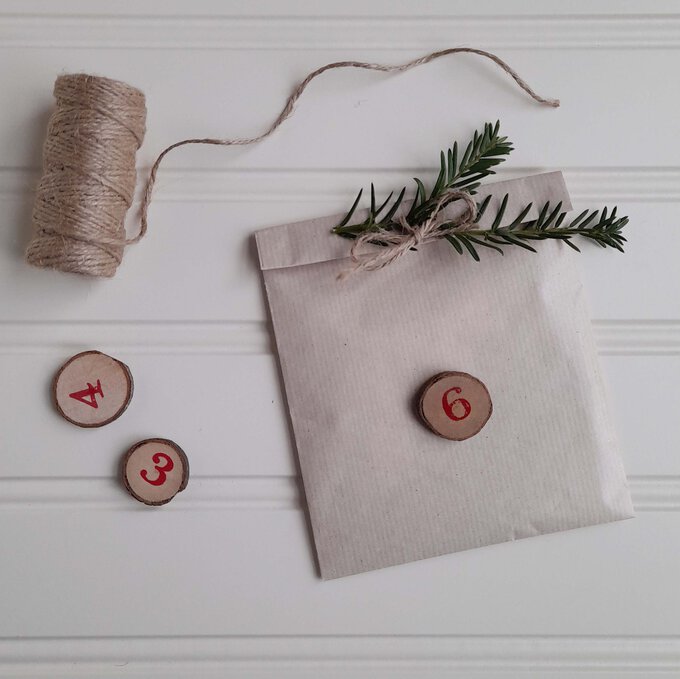
On a slice of wood, write either the initial of a name or a number. Add two glue dots and stick it in front of the bag.
Pass a 30 cm long jute twine through the two holes at the top of the bag. Make a knot and attach the small twig or branch.
Your festive paper bag is now complete!
