How to Make a Fabric Lampshade
Lampshades are a fun way of updating any space in your home, adding a pop of colour and personality!
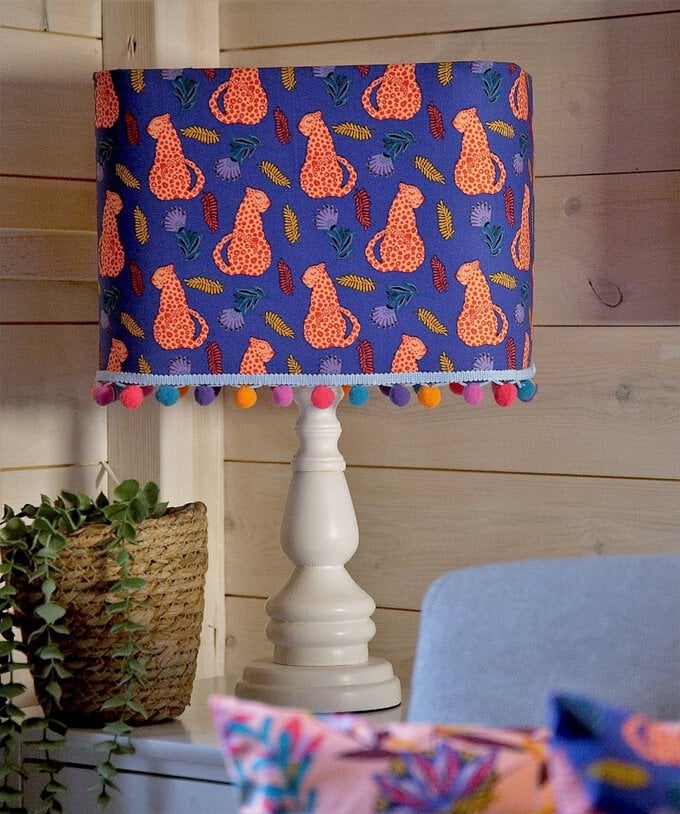
With no sewing required, this unique lampshade is easy to make using a lampshade kit, or you can upcycle an old lampshade. It's the perfect way to create a lampshade that's personalised to suit the decor in any room of your home. For an extra-personal touch, add a fringe trim or pom poms.
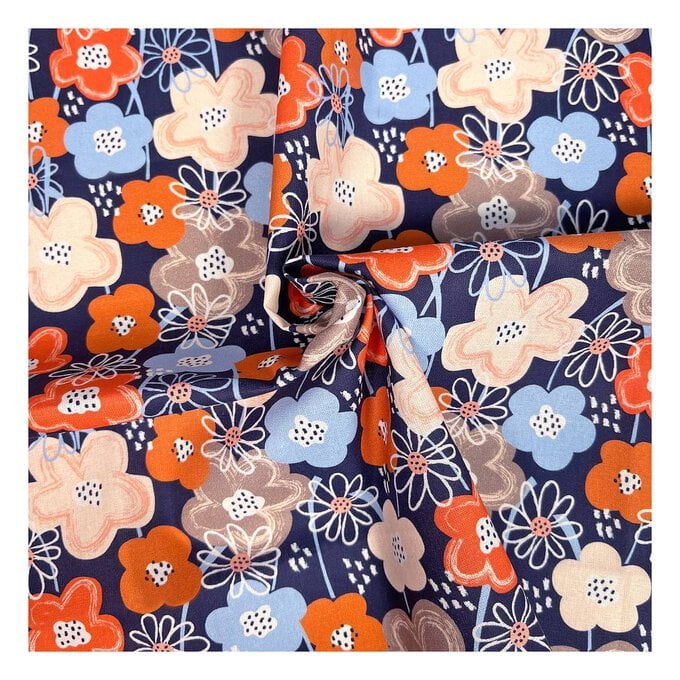
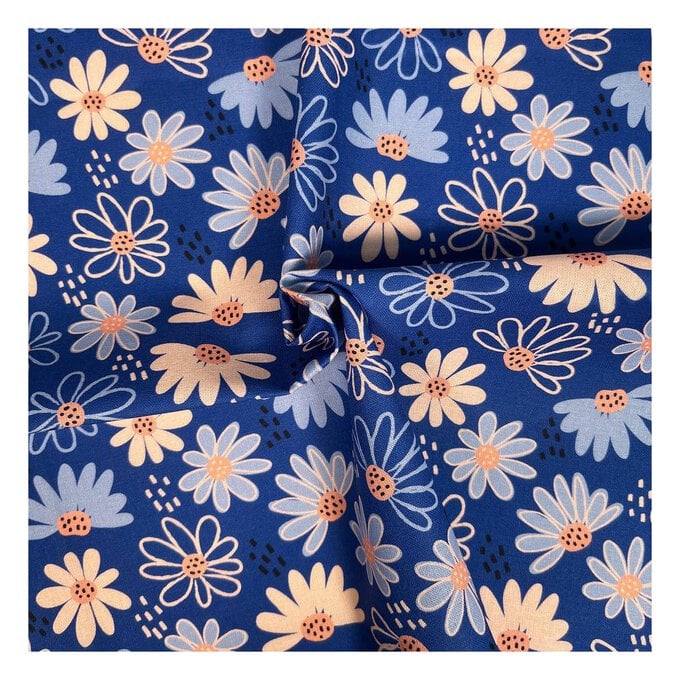
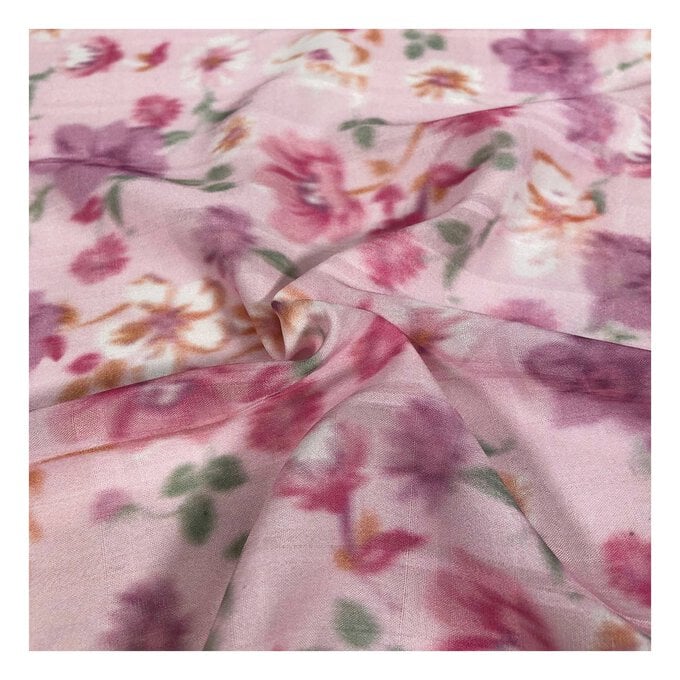
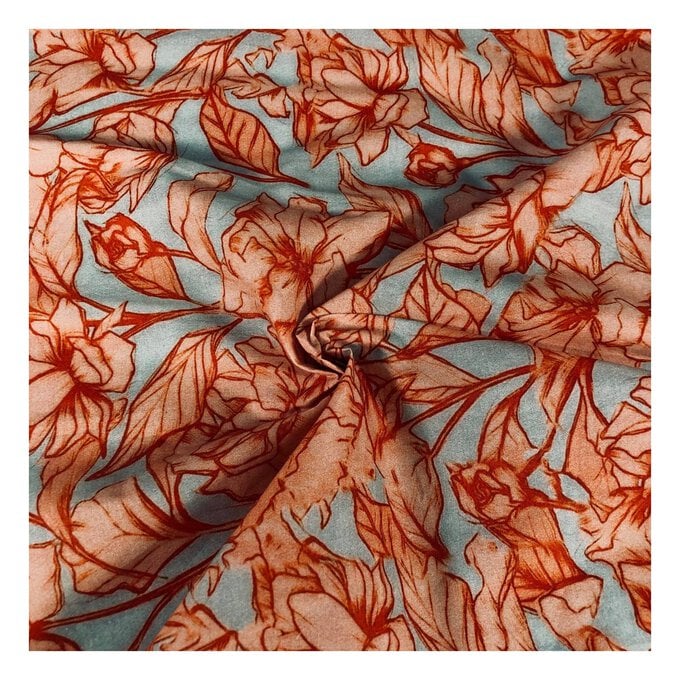
Top Tip: It is recommended that you use a non-stretch cotton fabric for best results when making a lampshade.
You will need
Subtotal
Is $ 7.49
Subtotal
Is $ 17.00
Subtotal
Is $ 4.49
Subtotal
Is $ 17.00
Out of stock
Subtotal
Is $ 17.00
Subtotal
Is $ 20.00
Out of stock
Subtotal
Is $ 20.00
How to make
Working out how much fabric you'll need -
My lampshade measured 30cm x 15cm so I'll need a strip of fabric measuring a few inches bigger on both the long and short sides.
You will also need -
* Lampshade making kit
* Trim (optional)
* Lamp stand (if making a table lamp)
Place the self-adhesive panel on the back of your fabric. Making sure your pattern is straight, peel back the paper and stick the panel in place.
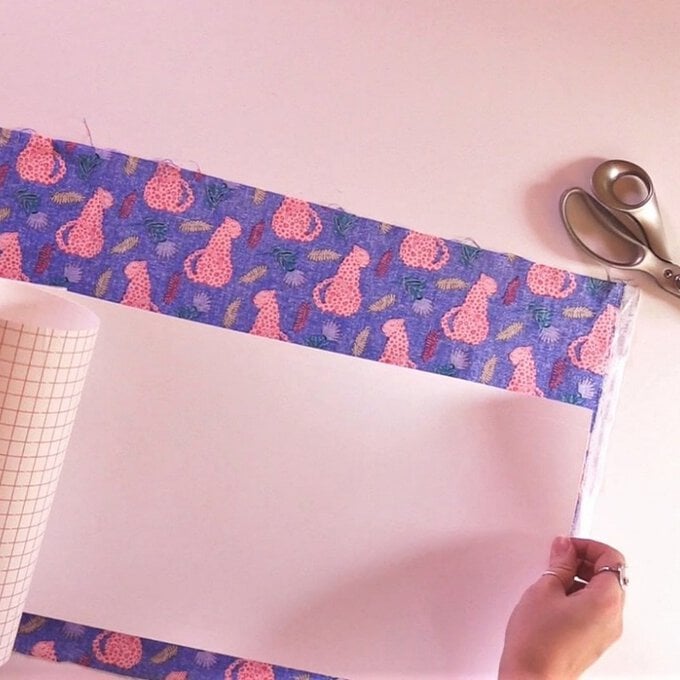
Cut your fabric to the size of the panel.
Top Tip: Use weights to help keep the panel flat as it tends to curl!
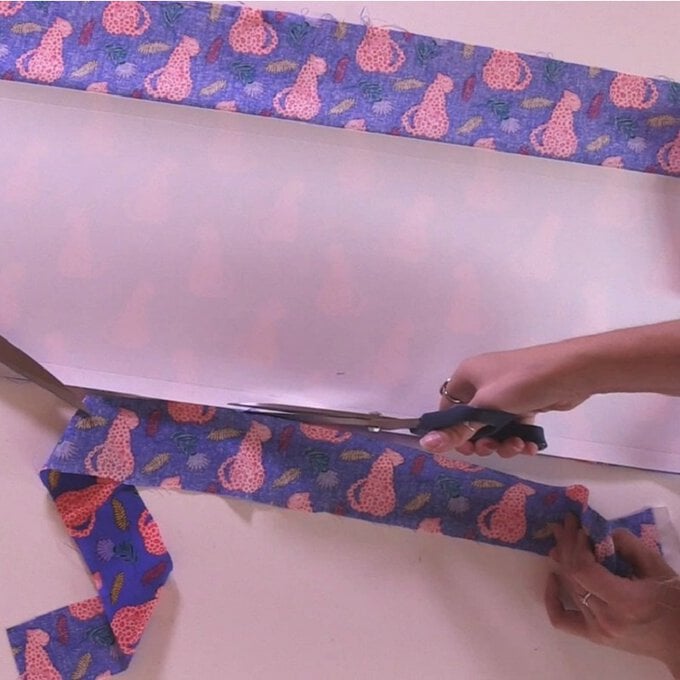
Snap back the top and bottom edges of the panel until they break.
Top Tip: Use something such as the handles of your scissors to crease the edges if they don't snap straight away.
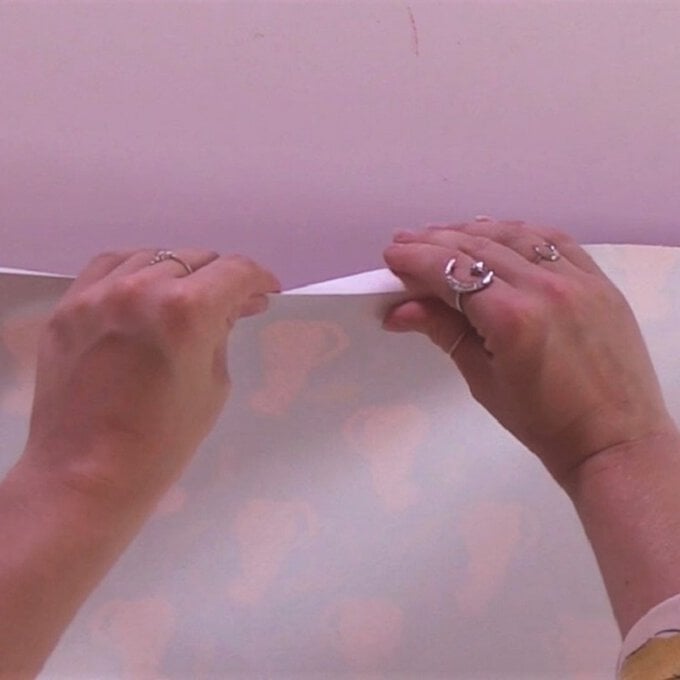
Carefully peel back the edges of the tape, trying to avoid the fabric fraying. Trim away any frayed ends if they appear.
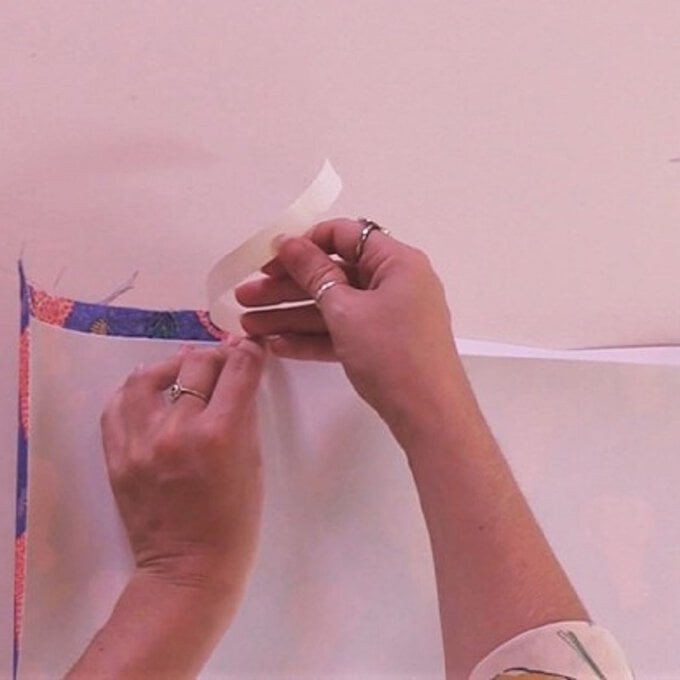
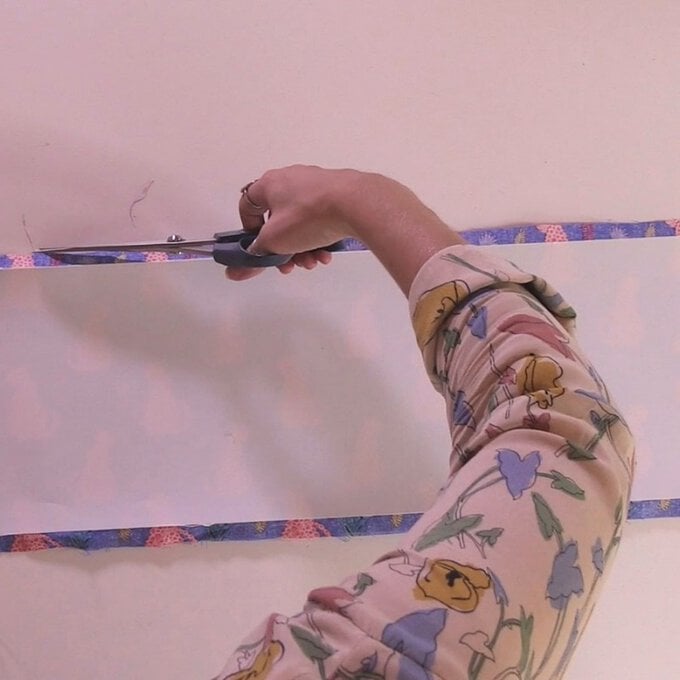
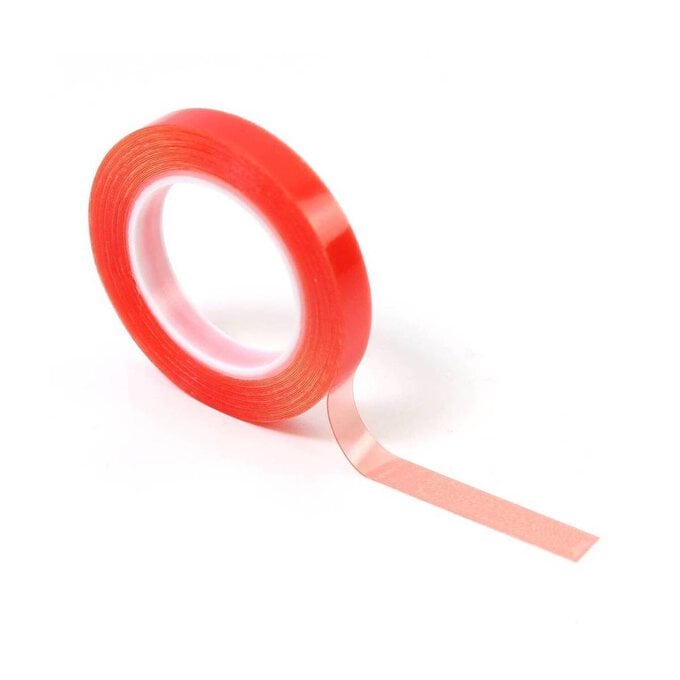
Stick a strip of double-sided tape along one short edge of the lampshade, only sticking to the panel. Peel back the top of the tape.
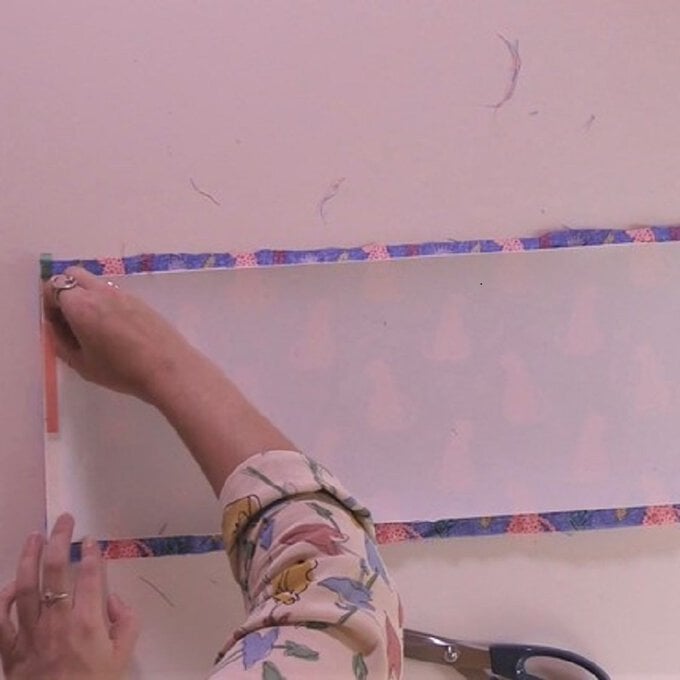
Using the double-sided tape again, stick it around the circumference of the two frame pieces.
Fold the tape around the frame and remove the tape backing.
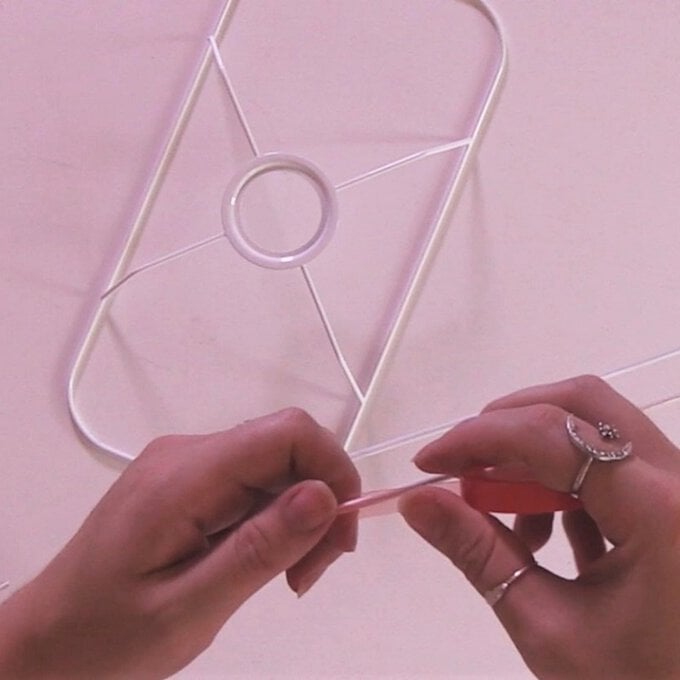
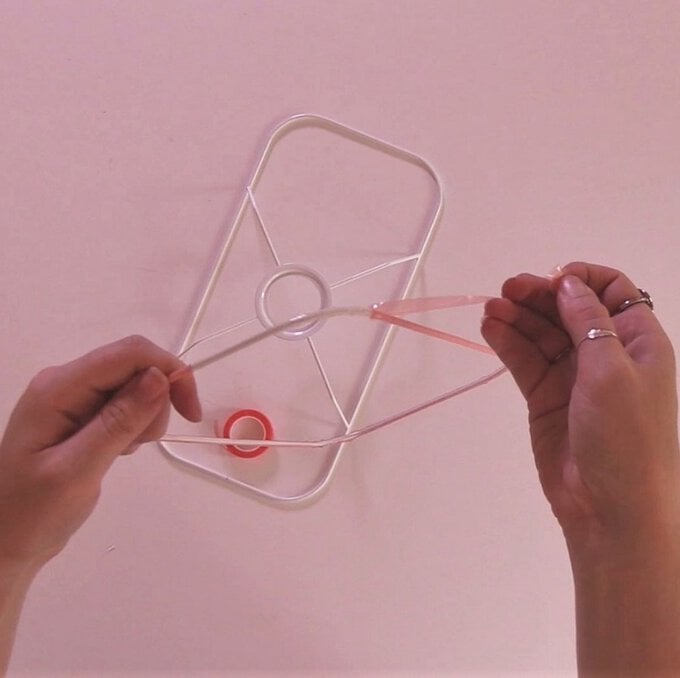
Lay the lampshade panel out flat, wrong side up (using weights to keep it flat), and place the two frames on either side of the middle panel - you'll see two grooves in the frames, use these as the starting point.
Top Tip: Make sure the 'bulb' frame is in the correct place depending on how you're hanging your lampshade.
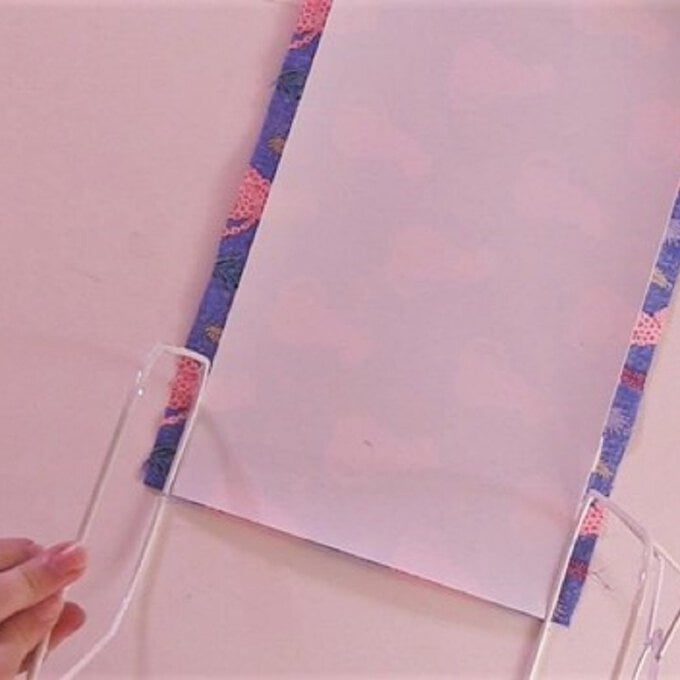
Roll the frames along the edges of the middle panel until you reach the end, sticking the frame to the fabric as you go.
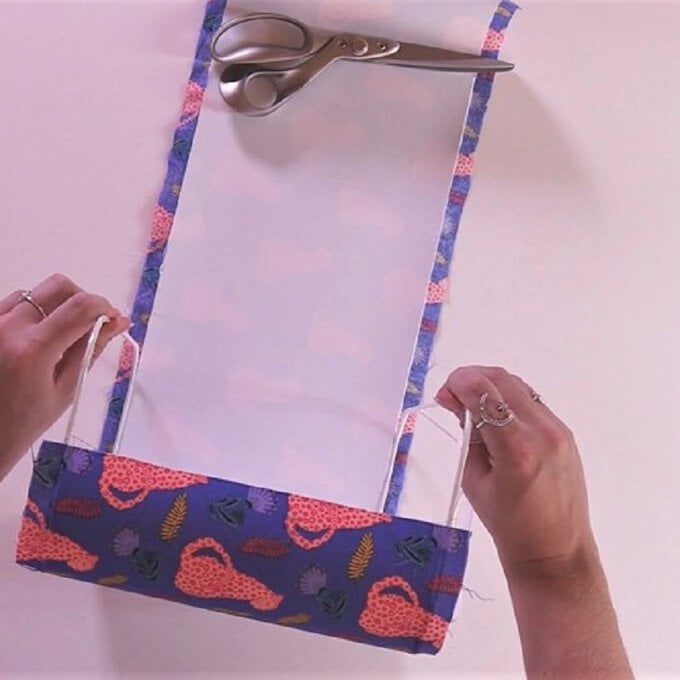
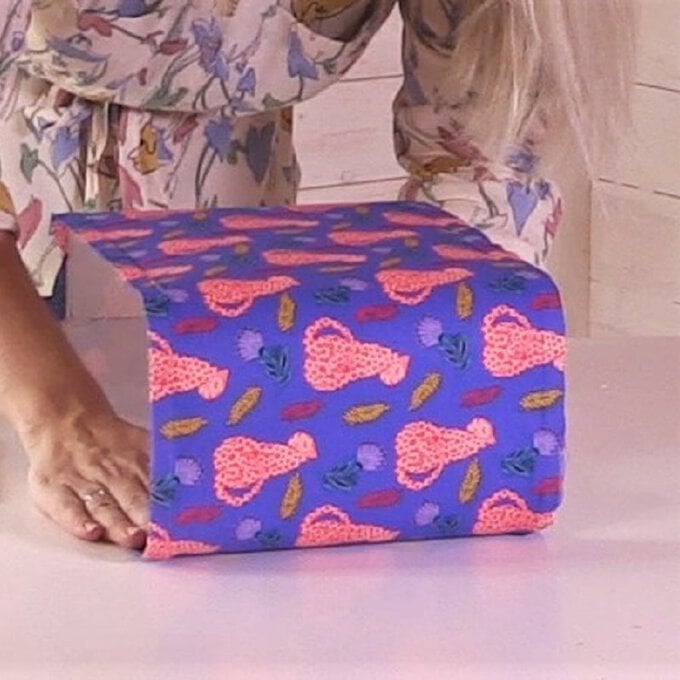
Use the finishing tool to tuck in the fabric underneath the frame to neaten the edges.
Snip a line where the lightbulb support part of the frame is, so that the fabric can be wrapped around this area.
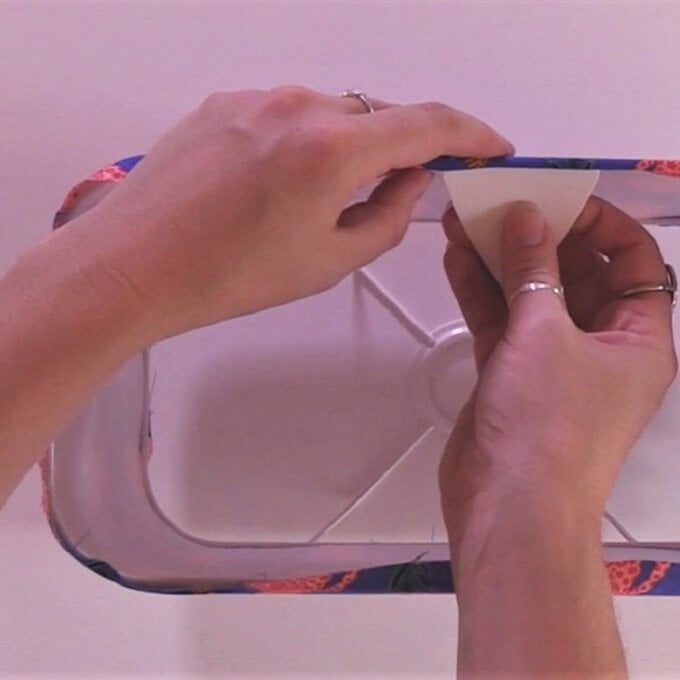
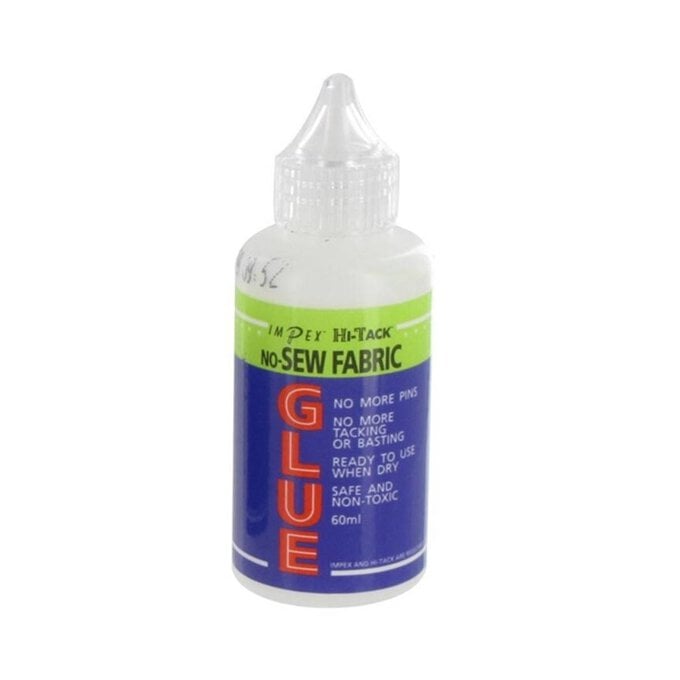
Use a textile glue to adhere your trim to the lampshade.
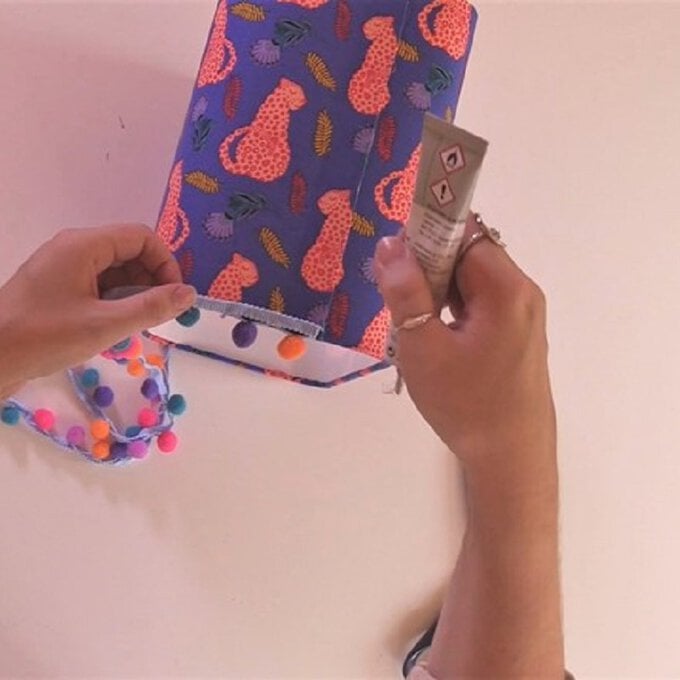
Once the glue is dry, the lampshade is then ready to be used!
