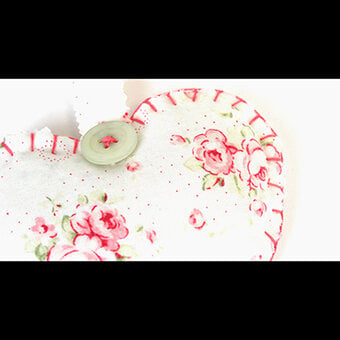
How to Make a Fabric Napkin
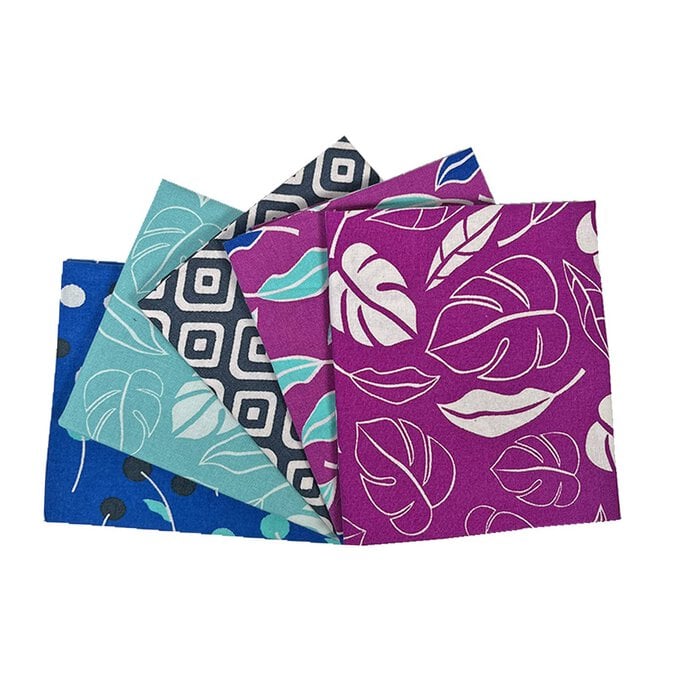
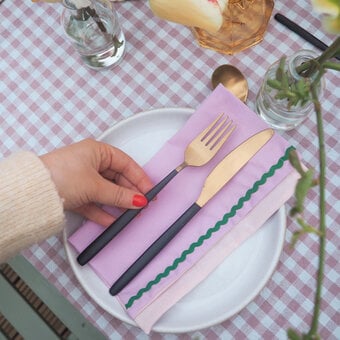
You can whip up a pretty fabric napkin in no time, and refresh your dinner table or impress your guests. All you need are some fat quarters, bias binding and a button to make something wonderful!
Choose whatever patterned fat quarters you like to create this beautiful table accessory. Make ones that match your colour scheme or be bold and make a statement! Follow the instructions below to find out how to make.
You will need
Subtotal
Is $ 126.00
Subtotal
Is $ 5.49
Subtotal
Is $ 4.49
Subtotal
Is $ 13.00
Out of stock
How to make
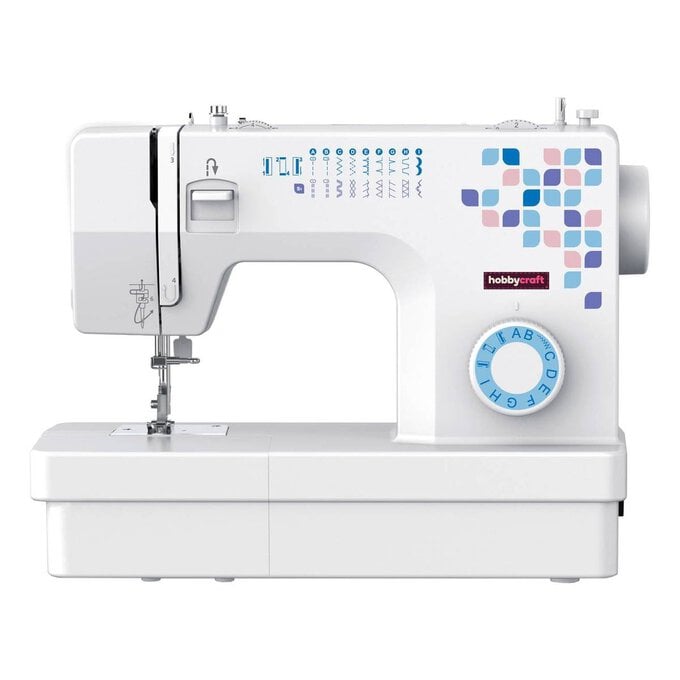
* Sewing Machine
* Sewing Kit
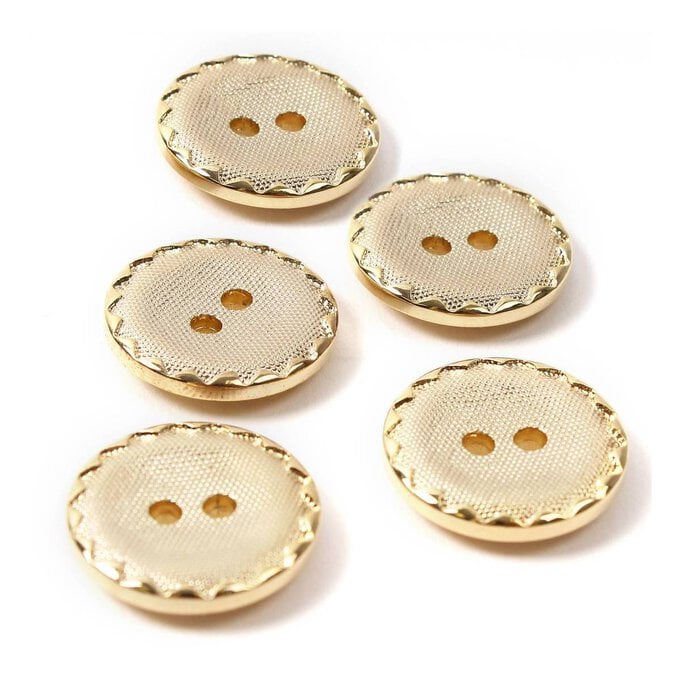
* Buttons
* Bias Binding
* Fabric Scissors or Rotary Cutter
* Fat Quarters
* Ruler/Tape Measure

Iron a fat quarter and cut out an 18.5 inch square.
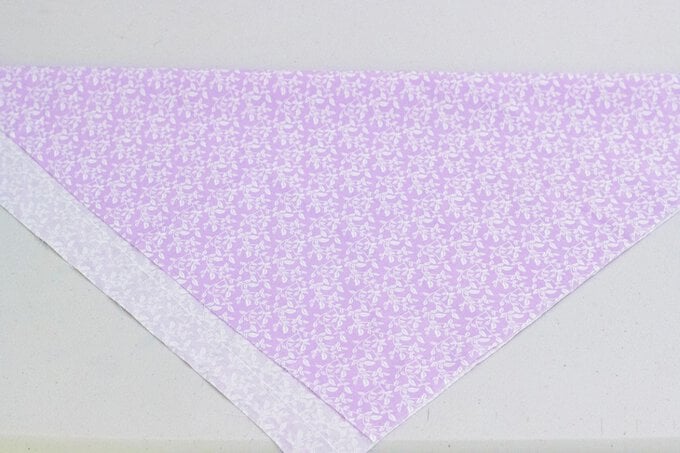
Fold over one of the edges by 5/8 of an inch and press.
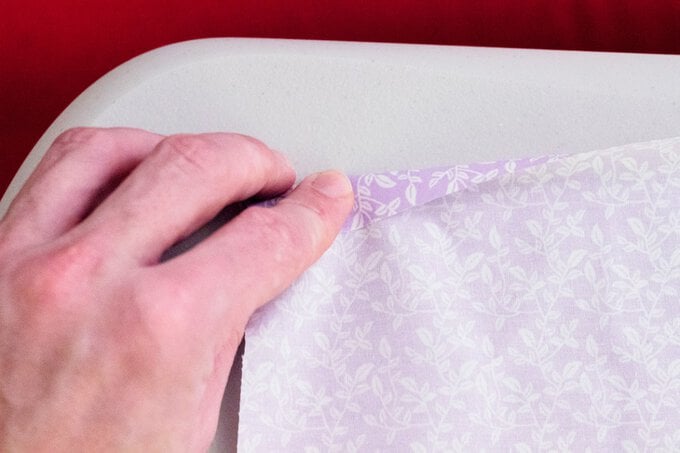
Fold the edge over again another 5/8 of an inch and press, this creates a double folded seam and hides the raw edges.
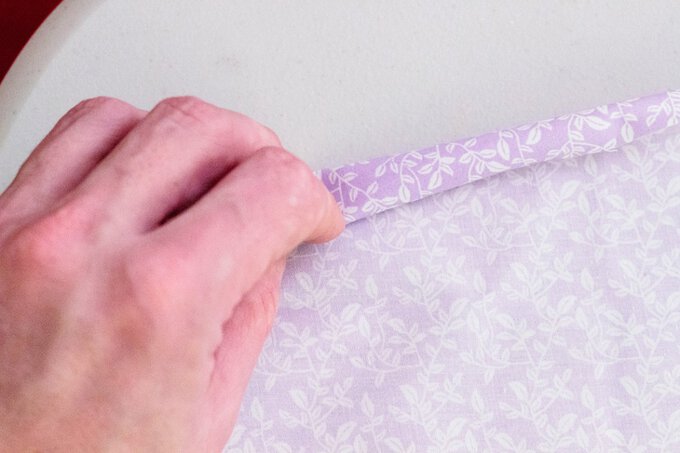
Continue doing this for the other 3 sides in a clockwise direction.
Once you have finished, turn the napkin over so that the wrong side is facing up.
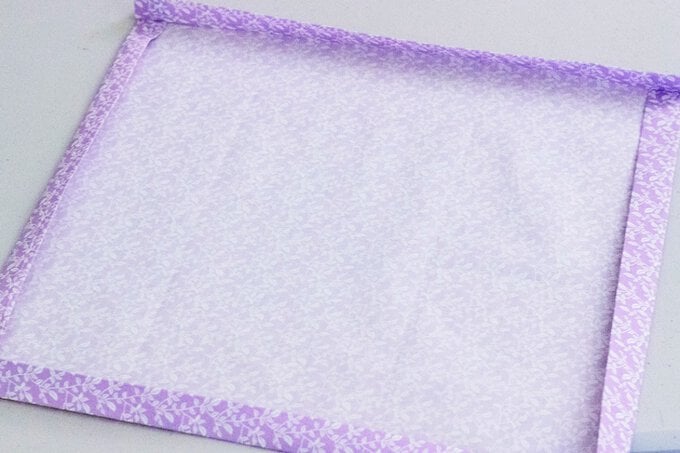
Sew as close as you can to the inside edge using a straight stitch.
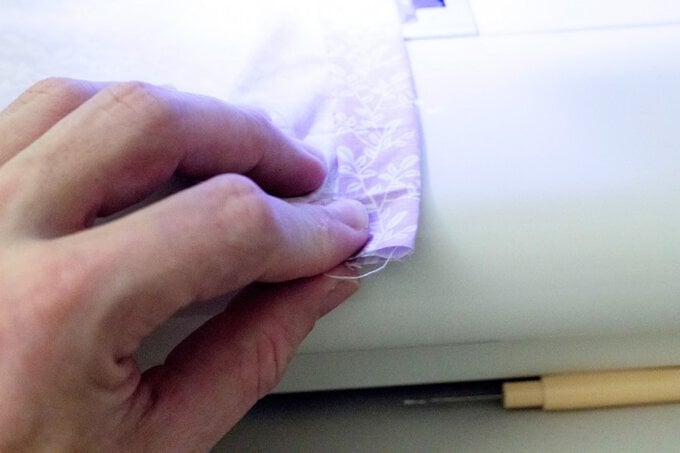
Stop about an inch and a half before you get to the corner, unroll the side fabric and fold the corner in, then fold the edge back over to form a mitre.
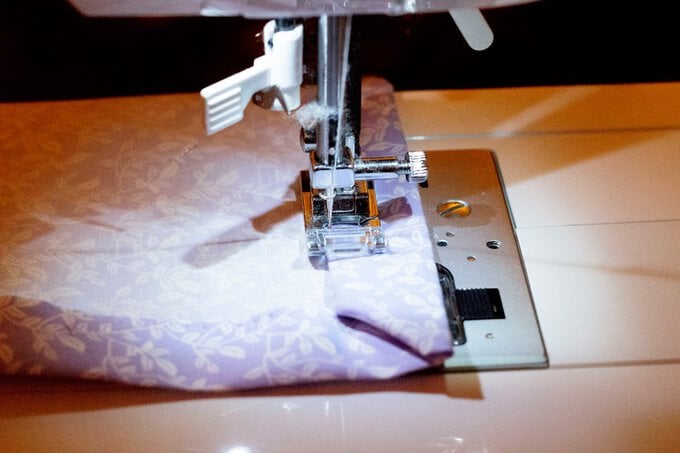
Once you have sewn 3 sides, take a 4 inch piece of double folded bias tape and tuck it into the fourth mitred corner to make a loop.
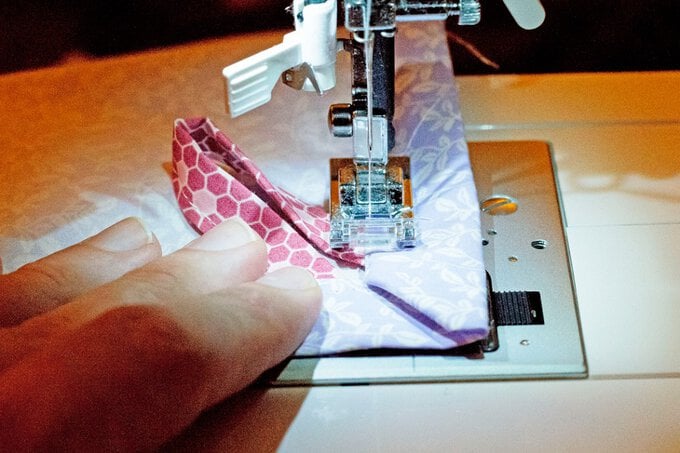
Continue sewing until you reach where you started, back stitch and cut the threads.
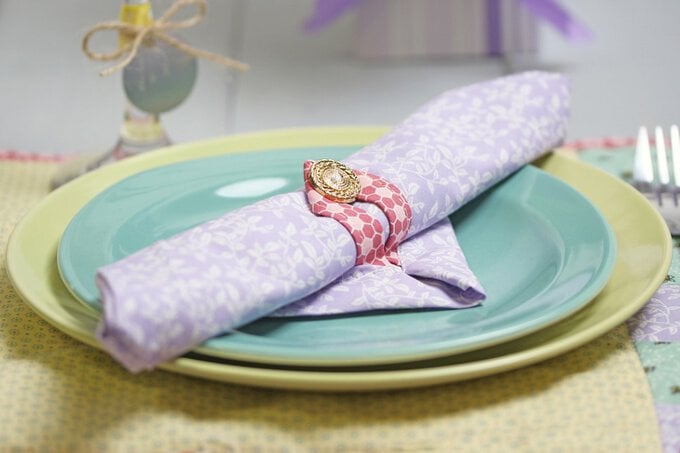
Fold the napkin into four, then fold the corner in and roll it halfway. Take the other three corners (leaving the loop exposed) and fold them into the centre, then complete the roll.
You should end up with a rolled napkin and the corner loop sticking up.
Fold the corner with the loop over the top and mark inside the loop centre to position the button.
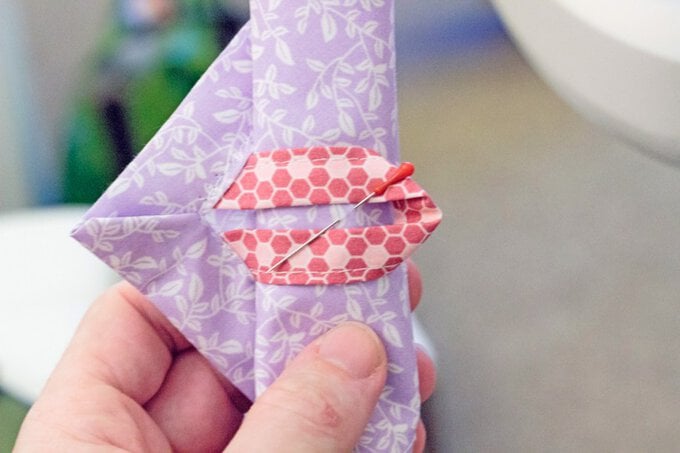
Unfold the napkin and sew on a button where you made your mark.
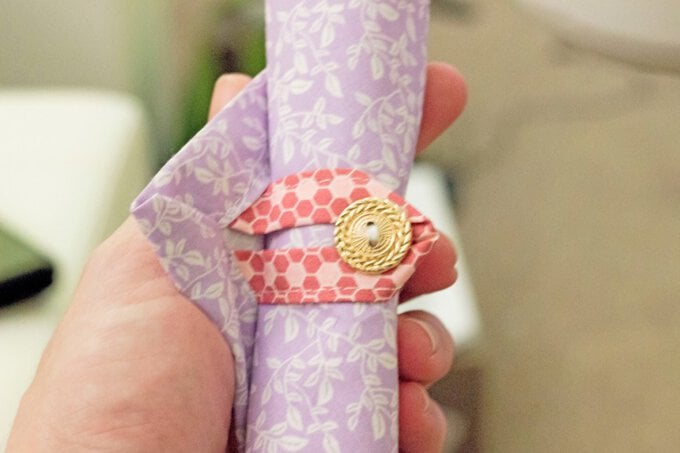
Once you have attached the button, roll up the napkin as before and anchor it closed with the loop.
