4 Autumn Embroidery Projects to Try
Transform your home this Autumn with four inspiring embroidery projects.
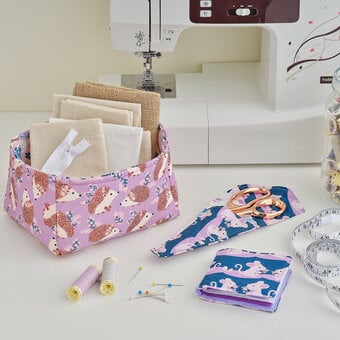
From an eye-catching embroidered pumpkin cushion cover to gorgeous autumn-themed napkins, you'll find creative ideas that will brighten up your space and elevate your embroidery skills.
Add a cosy, handmade feel to your living space this autumn and get crafting now!
Project and instructions by Katherine Lucy
You will need
Subtotal
Is $ 7.49
Subtotal
Is $ 12.00

Subtotal
Is $ 2.49
Subtotal
Is $ 4.49
Subtotal
Is $ 8.49
Subtotal
Is $ 2.49
Autumn Cushion Template 1:
Download the PDF template here
Autumn Cushion Template 2:
Download the PDF template here
Autumn Napkin Template:
Download the PDF template here
Autumn Hoop Template:
Download the PDF template here
4 Autumn Embroidery Projects to Try
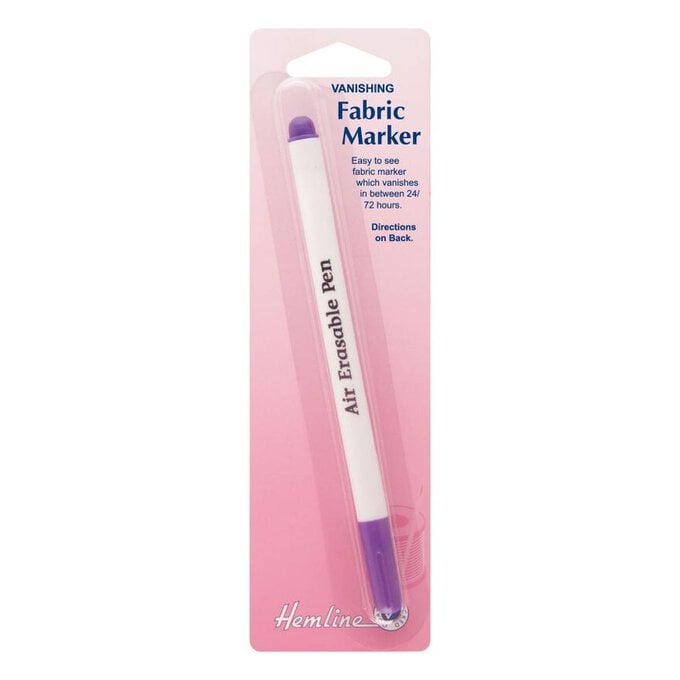
Download and print the black and white design templates, then use a good light source and an erasable fabric pen to trace the design onto the fabric stabiliser.
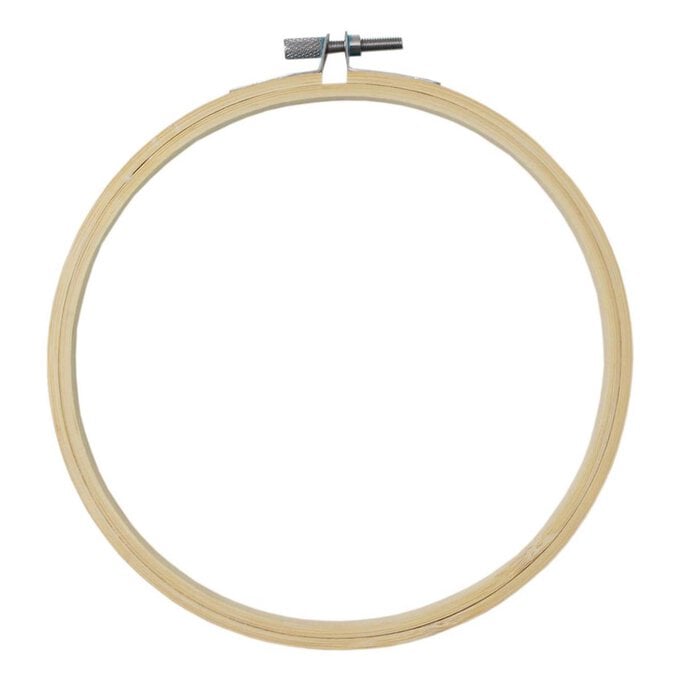
Place into the 8” Hoop.
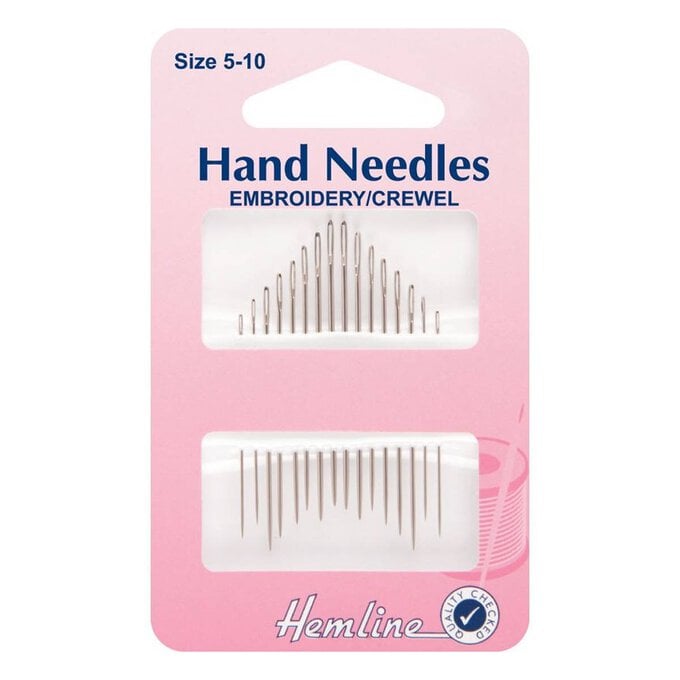
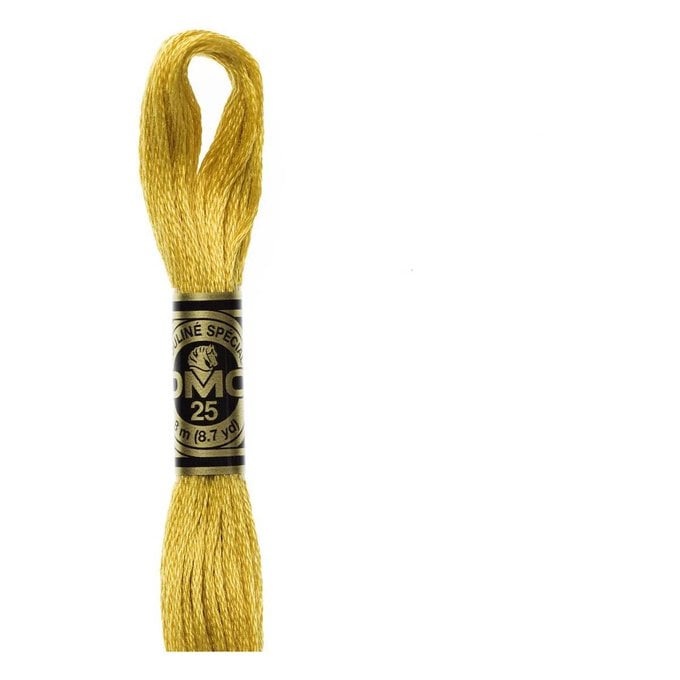
Gather all threads and needles. For all of the stitches use 3 strands of the embroidery thread.


We will start by creating a chain stitch.
Do one small stitch, then bring the needle up a short distance above, and thread under the stitch.
Next, pull through and insert the stitch back through at the same point above.
Pull through, then thread the needle through the last looped stitch.
Repeat the stitches until you have completed the full pumpkin.


Next you need to create your stem stitch.
Starting at the base, bring the needle up through the fabric and back through a short distance along the line.
Bring the needle back up through the fabric about halfway between, to the side of the stitch.
Then insert the needle back through, at the same distance as the first.
Repeat until the length is fully stitched.


Now we will create the fish bone stitch!
Bring the needle up at the top of the leaf shape, insert back in just below.
Next, bring the needle back up just next to the top, insert back in just under the stitch.
Move over to the other side and repeat.
Continue and fill the shape, alternating sides until you get to the bottom.


It's time to create your French Knot!
Stem stitch the bases.
Bring the needle up at the base of the shape. Wrap the thread twice around the needle and insert back into the fabric.
Pull through holding the thread tight.
Repeat for all the dots.


Finally create your satin stitch!
Bring the needle up at the centre of the flower and Insert directly across. Pull the thread all the way through.
Bring the needle back up, very close to the first stitch, again insert directly across.
Repeat until you have filled the centre, then repeat for the petals other flowers.


Now it's time to finish your stitching!
When the stitches are complete, take it out of the hoop.
Wash away with fabric stabiliser, following the packet instructions.
Leave to dry naturally and press well with an iron.


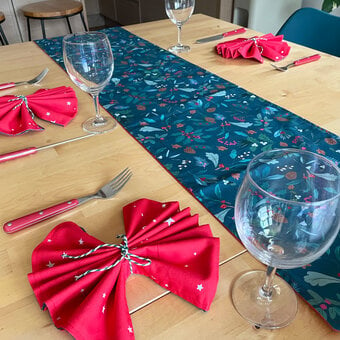
To begin, download and print out the provided embroidery template.
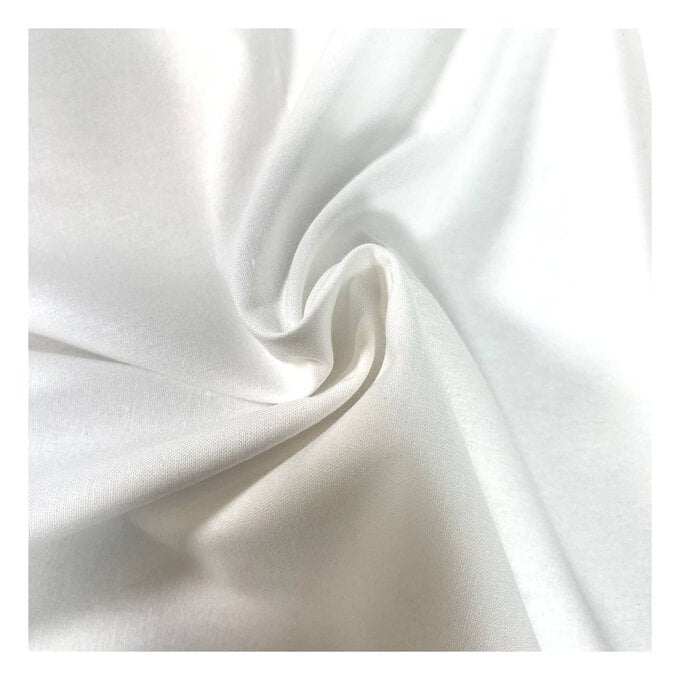
Press the cotton fabric well, take a ruler and measure a 30cm x 30cm square, then add 1.5cm seam allowance around the edge.
Trim the fabric leaving excess around the edges. In the bottom right corner measure up 2”, this will be where you embroidery will start.
Transfer the embroidery design onto the fabric using an erasable fabric pen.
Gather all threads and needles. For all of the stitches use 3 strands of the embroidery thread.


We will begin with the Stem Stitch.
Start at the base, bringing the needle up through the fabric and back through a short distance along the line. Bring the needle back up through the fabric about halfway between, to the side of the stitch.
Insert the needle back through, at the same distance as the first.
Repeat until the length is fully stitched.


Now it's time to create your French knots.
First, Stem stitch the bases.
Bring the needle up at the base of the shape. Wrap the thread twice around the needle and insert back into the fabric. Pull through holding the thread tight.
Repeat for all dots.


Next you will create the Fish Bone Stitch.
Stem stitch the base. Bring the needle up at the top of the leaf shape, insert back in just below.
Bring the needle back up just next to the top, insert back in just under the stitch.
Move over to the other side and repeat.
Continue and fill the shape, alternating sides until you get to the bottom.
Repeat for the other leaves.


Next you will create your Satin Stitch.
Bring the needle up at the centre of the flower and insert directly across. Pull the thread all the way through.
Bring the needle back up, very close to the first stitch, again insert directly across.
Repeat until you have filled the centre, then repeat for the other flowers.


Now create your Chain Stitch.
Do one small stitch, then bring the needle up a short distance above, and thread under the stitch.
Pull through and insert the stitch back through at the same point above.
Pull through, then thread the needle through the last looped stitch.
Repeat the stitches until you have completed the full pumpkin.


Next you will create your star.
Bring the needle up at one point and insert straight across.
Repeat for the other points.


When the stitches are complete, remove from the hoop and remove the pen marks carefully, leaving the stitch lines.
Proceed to cut around the napkin edge.
Fold up 0.5cm of the seam allowance and press.
Then fold over 1cm seam allowance and press.
Stitch around all four edges of the napkin, use stitch length 3 (or similar) on your machine.
Press well and fold your napkin.


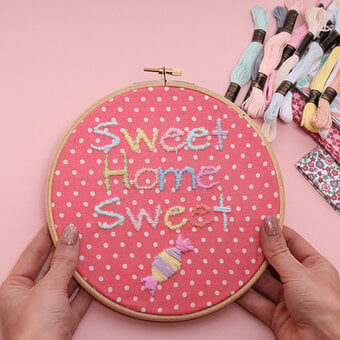
Download and print the embroidery template.
Cut a piece of fabric approx 8” x 8”, then use a good light source and an erasable fabric pen to trace the design onto the fabric.
Place into the 6” Hoop.
Gather all threads and needles. For all of the stitches use 3 strands of the embroidery thread.

Let's start with a Stem Stitch.
Start at the base, bringing the needle up through the fabric and back through a short distance along the line.
Bring the needle back up through the fabric about halfway between, to the side of the stitch.
Insert the needle back through, at the same distance as the first.
Repeat until the length is fully stitched and knot at the back.


Next we will create our Lazy Daisy!
Bring the needle up through the fabric at the centre of the flower, insert back through next to this, creating a loop. With the loop loose, bring the needle back up through the end of the petal. Pull the loop tight and insert the needle back though over the loop.
Repeat for the rest of the petals and flowers.


Next create your Back Stitch!
Start at the base, bringing the needle up through the fabric and back through a short distance along the line.
Bring the needle back up the same distance above and insert back through so that the lines join.
Repeat along the line and for the leaves.


Now create your French Knots!
Start by stem stitching the bases.
Bring the needle up at the base of the shape.
Wrap the thread twice around the needle and insert back into the fabric. Pull through holding the thread tight.
Repeat to fill the shapes.


Now create your Fish Bone Stitch!
Stem stitch the base.
Bring the needle up at the top of the leaf shape, insert back in just below. Bring the needle back up just next to the top, insert back in just under the stitch.
Move over to the other side and repeat.
Continue and fill the shape, alternating sides until you get to the bottom.


As above, follow the guide to fill in the pumpkins.
Outline the pumpkin centres using back stitch.


Next you will create your Woven Flowers!
Start by Fish Bone Stitching the four leaves.
Add 5 straight stitches to the centre of the circle, meeting in the middle. Bring the needle up just off the centre.
Loop over and under each of the straight stitches. Go round and round until you have filled the shape.
Repeat for the second flower.


All that is left is to add the final touches to your hoop.
When the stitches are complete, remove the pen marks.
Remove from the hoop and trim the excess fabric so that you have approx 1.5” around the hoop size. If you have a sewing machine handy, use the longest stitch setting and do a gather stitch. If not, simply do a running stitch all the way round, leaving strands to be able to pull.
Place back into the hoop.
Pull the gather strands tight and tie off to finish the back of the hoop.


Discover how to create this stunning felt leaf garland that will bring Autumn into your home and make it feel cosy, warm and inviting.

Craft with us at our workshops

Related Products