How to Make a Face Covering Pouch
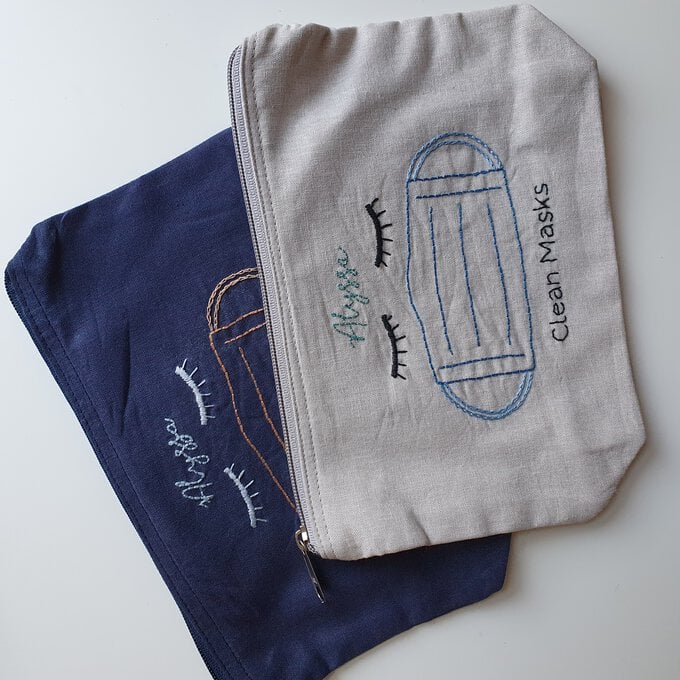
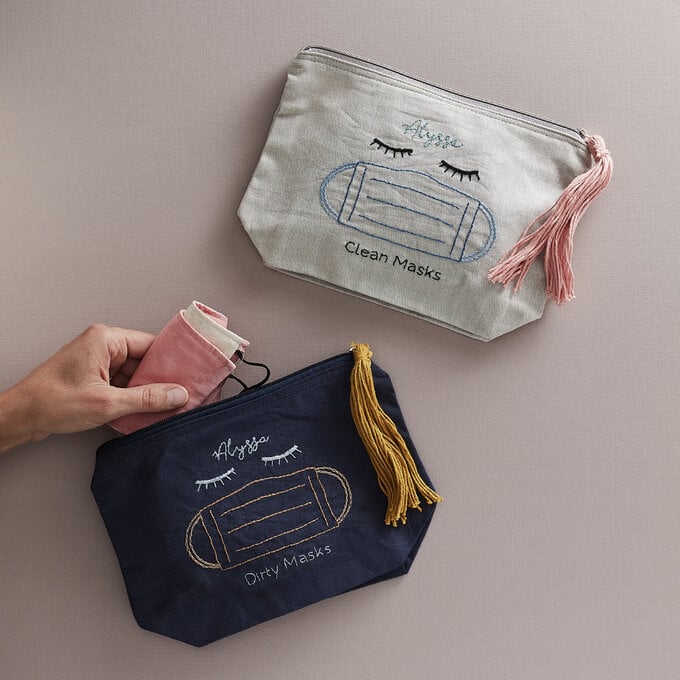
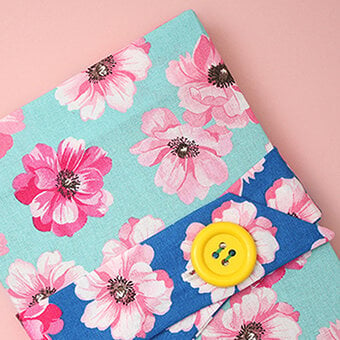
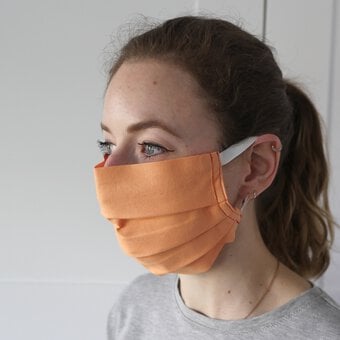
If you're looking for the perfect accessory to hold your masks or face coverings, why not create your own handy pouch? Keep your clean and dirty masks separated and safe with these embroidered pouches! You can even personalise with unique colour choices or by adding your name.
Use our handy Stitch Guide
Project and instructions by Kathi Smith.
You will need
Subtotal
Is $ 7.49
Subtotal
Is $ 4.49
Subtotal
Is $ 14.00
Subtotal
Is $ 4.49
Subtotal
Is $ 6.49
Subtotal
Is $ 6.49
Subtotal
Is $ 2.49
Subtotal
Is $ 2.49
Subtotal
Is $ 2.49
Subtotal
Is $ 2.49
Subtotal
Is $ 2.49
Subtotal
Is $ 2.49
Subtotal
Is $ 2.49
How to make
You will also need a printer and paper
For this design, you have the option to add your own name. To do this, open a word document, type your chosen name (I used the font Esteh which can be found on most font websites), resize to font size 60, and print.
Download and print the "Clean and Dirty Masks" template and transfer both onto Magic Paper using a pencil, lining up your chosen name with the “Name Here”.
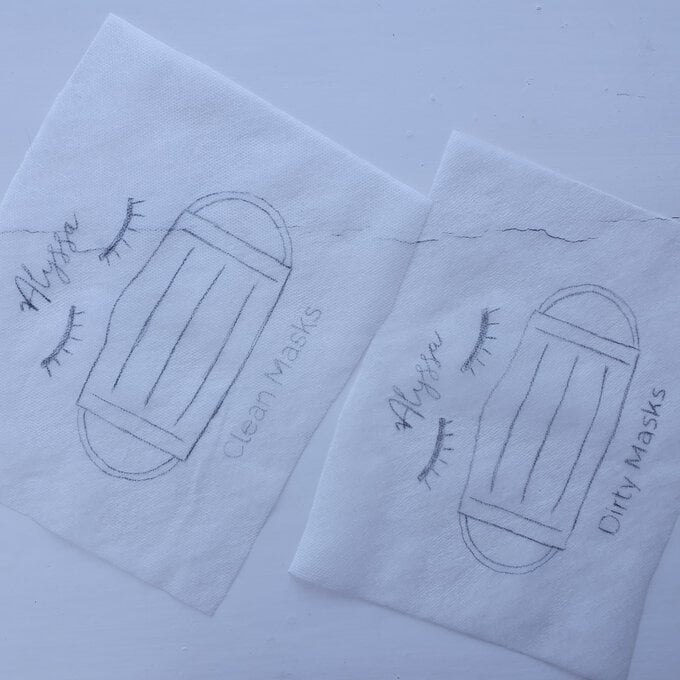
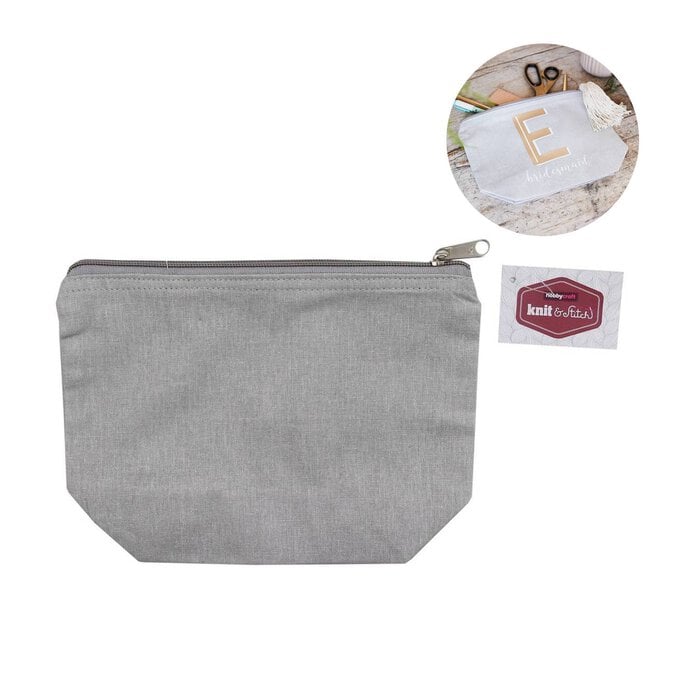
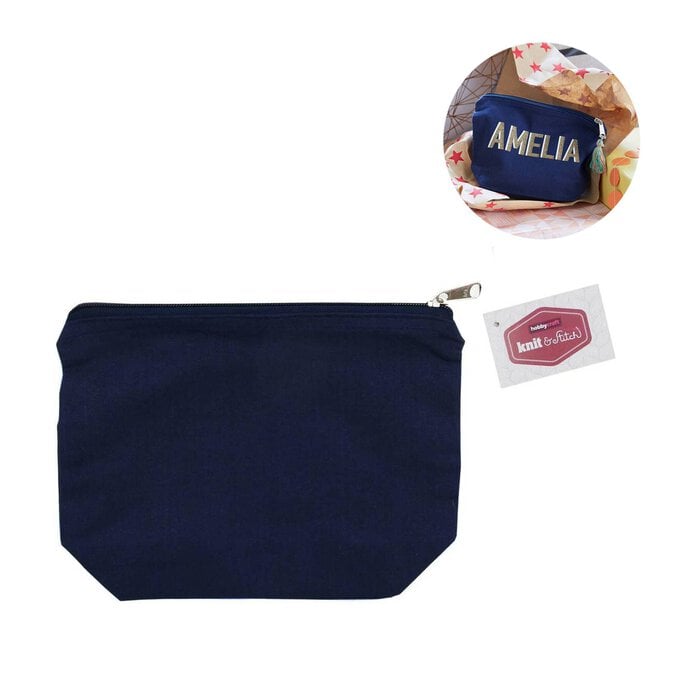
Place the Magic Paper onto each of the pouches. We used grey for clean and navy for dirty.
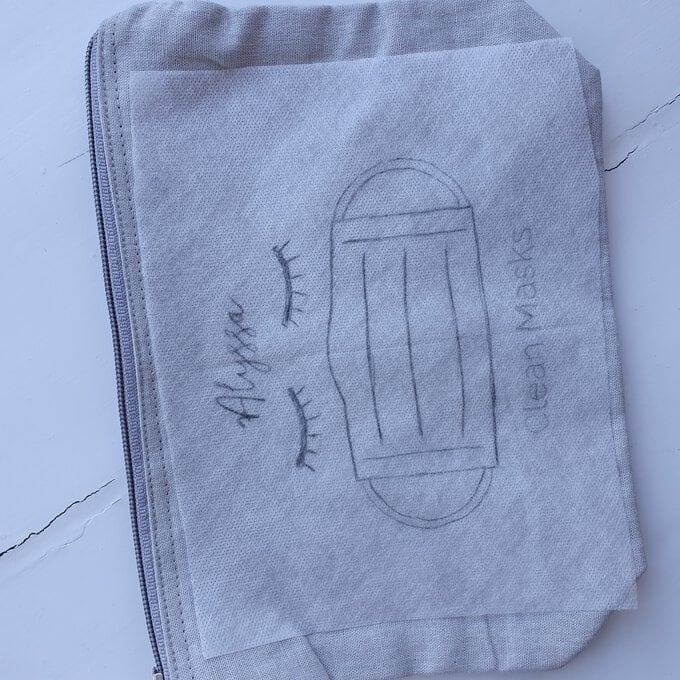
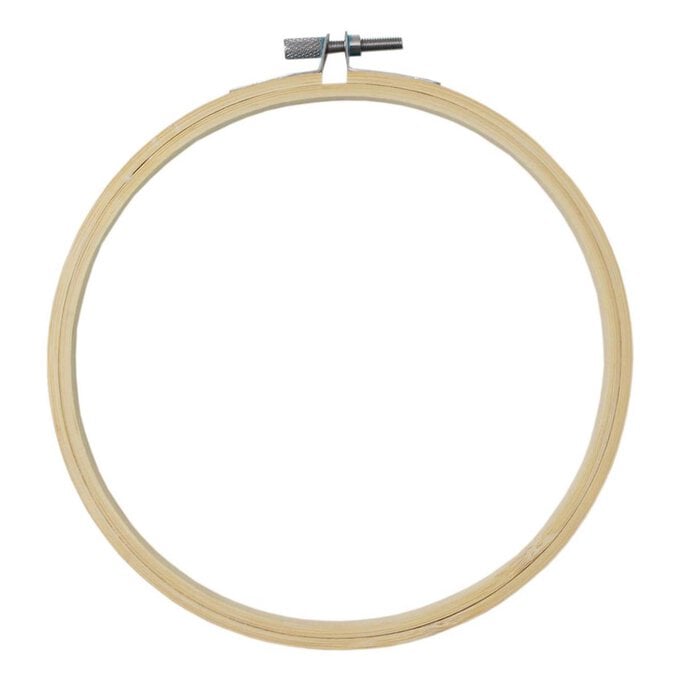
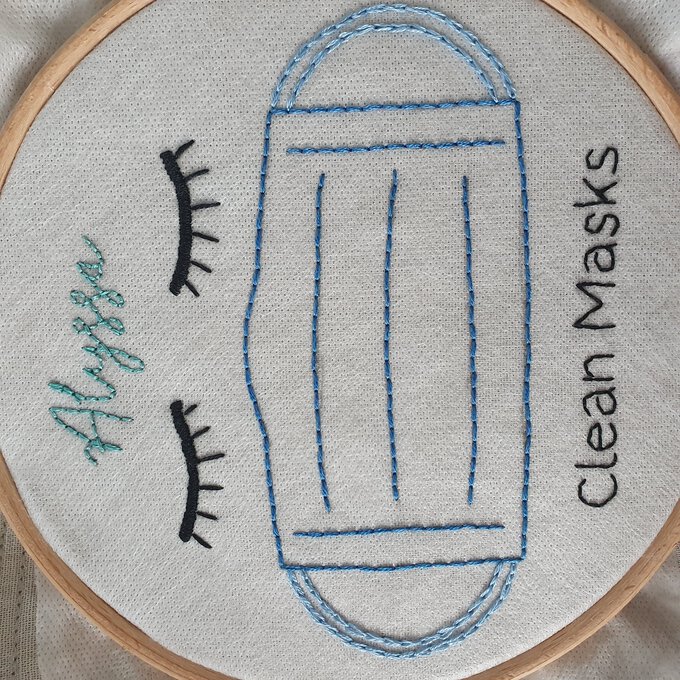
Place a 6” hoop around the Clean Masks design, cut a length of the black thread (DMC 310) and divide the thread so that you have one set of 2 strands and one set of 4 strands.
Stitch 'Clean Masks' text using backstitch.
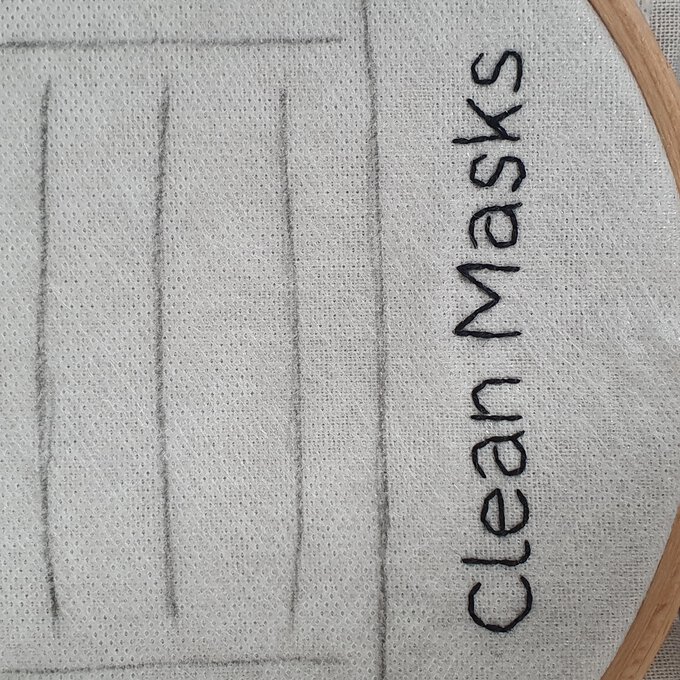
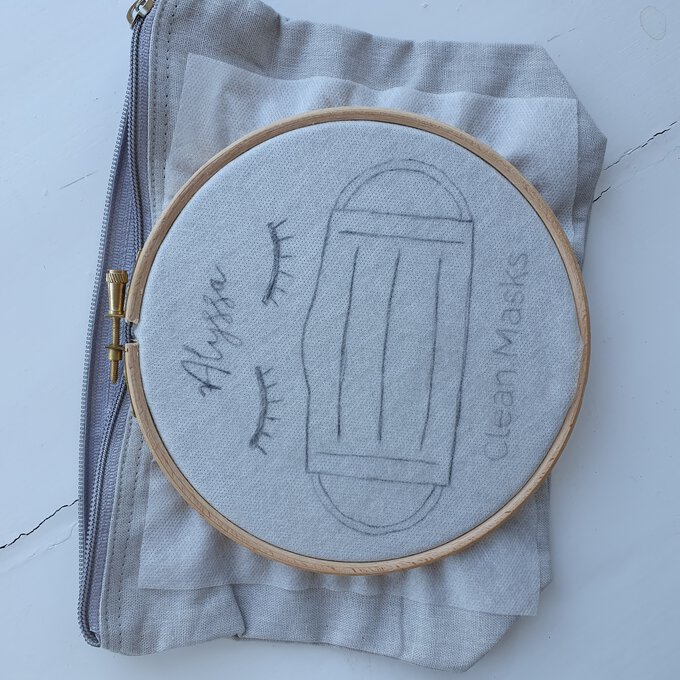
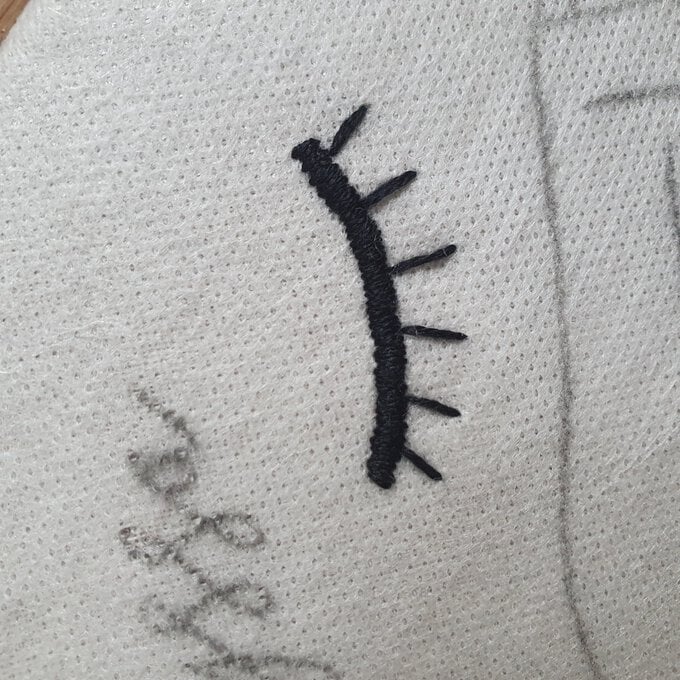
Use the black thread again to satin stitch the eyelash lines; use three strands of thread for this.
Add an individual straight stitch for each eyelash.
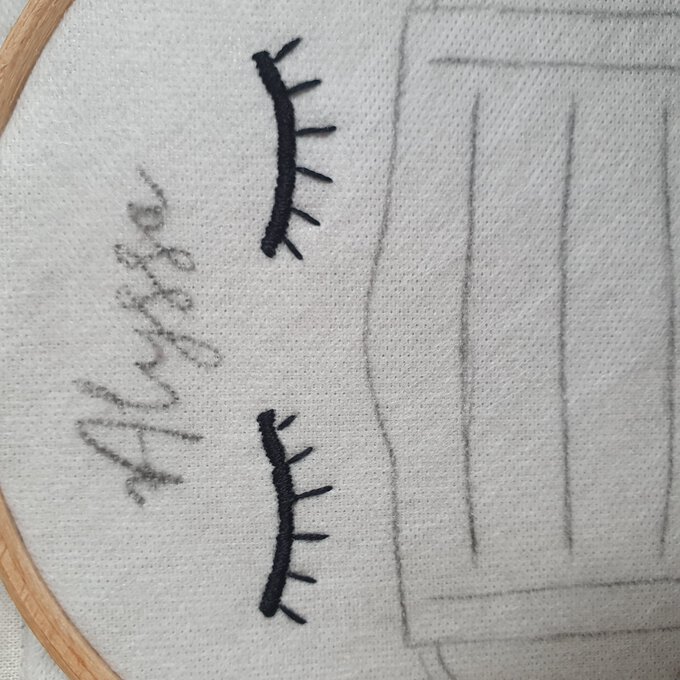
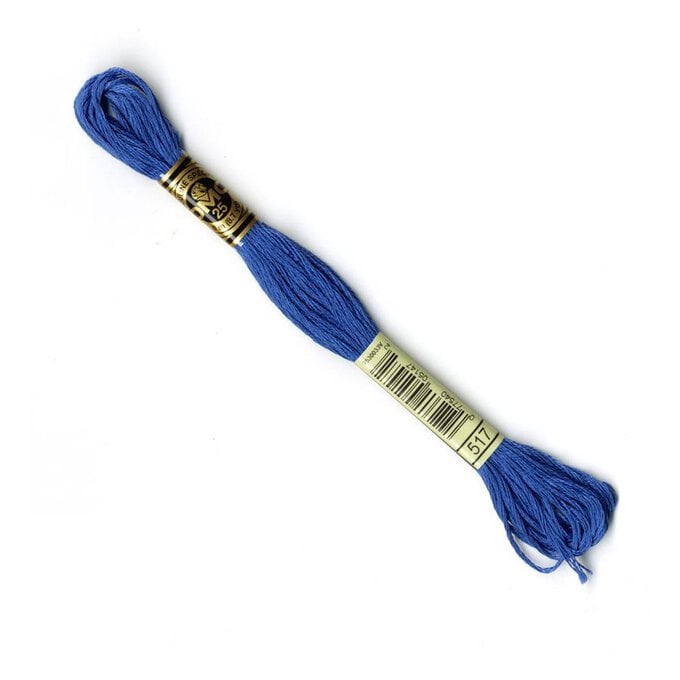
Cut a length of the darker blue thread (DMC 517) and divide into two sets of three strands.
Stitch the mask outline and inner lines using backstitch.
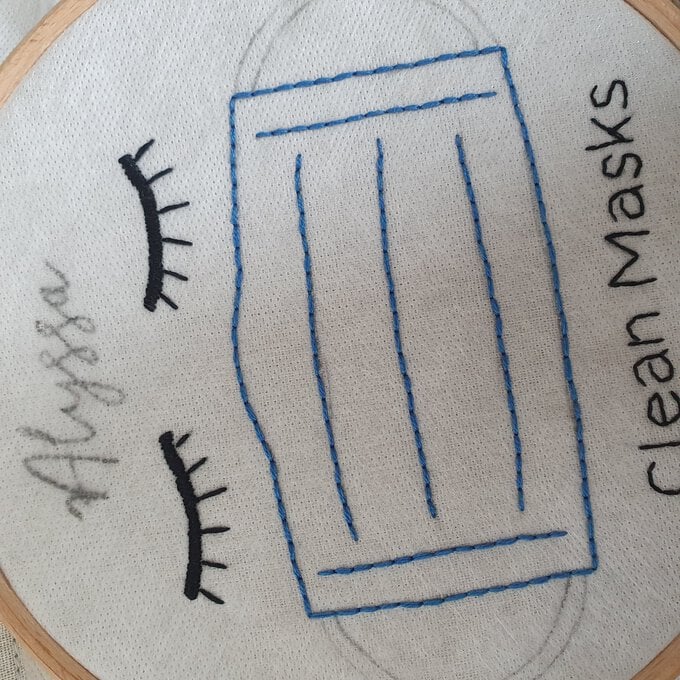
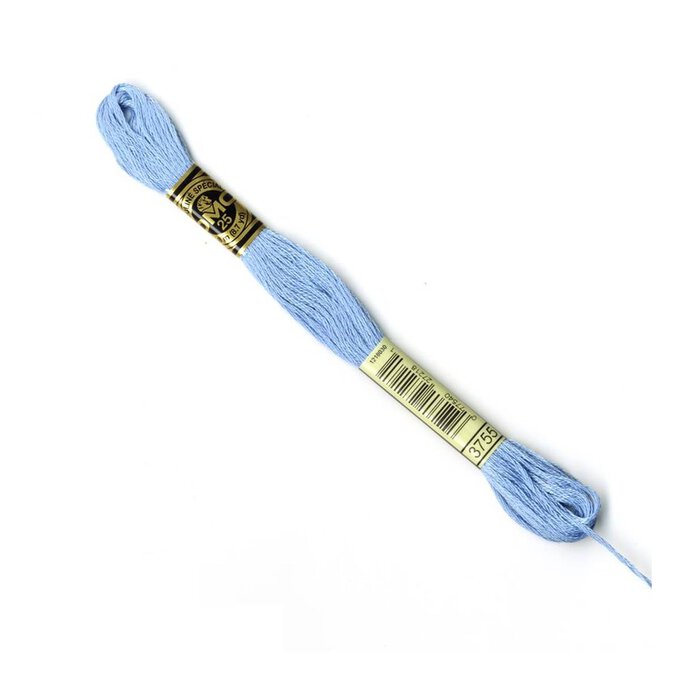
Cut a length of the lighter blue thread (DMC 3755) and divide so that you three sets of two strands.
Chain stitch the outlines of the mask elastics.
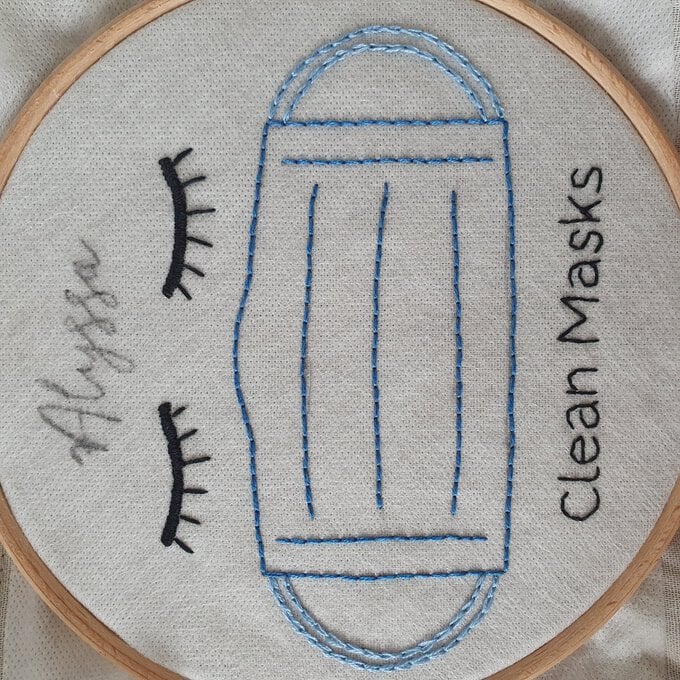
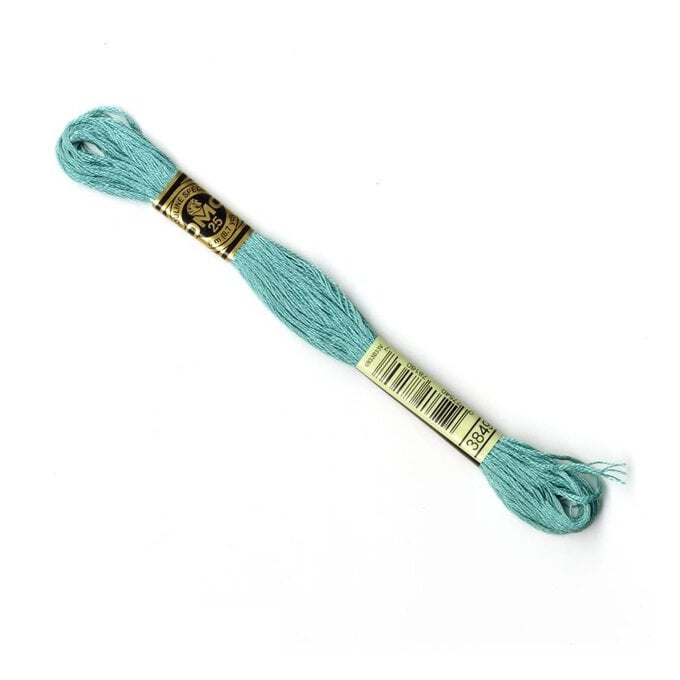
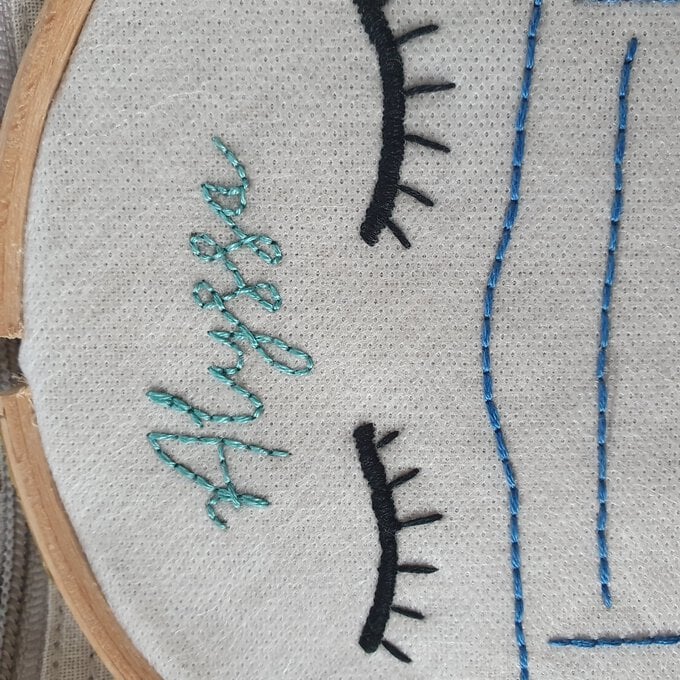
Cut a length of the green thread (DMC 3849) and divide into two sets of three strands.
Stitch the name using backstitch.
Take the design out of the hoop.
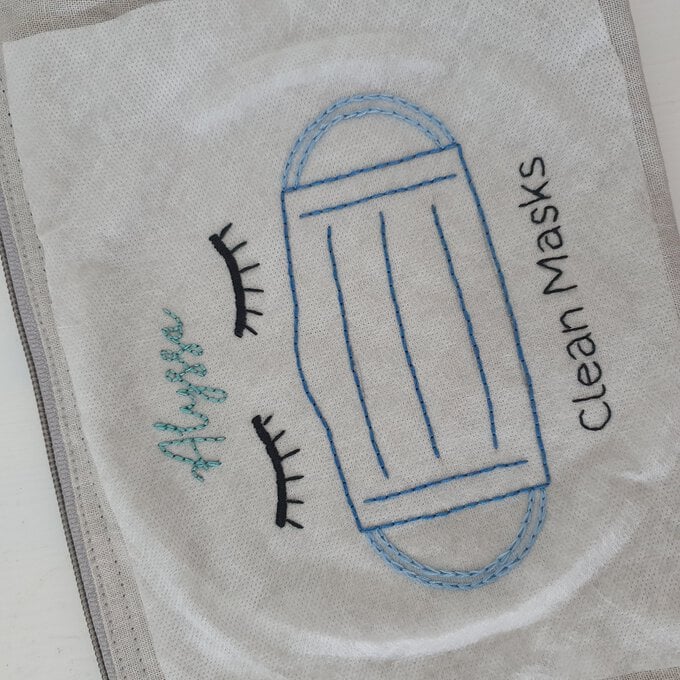
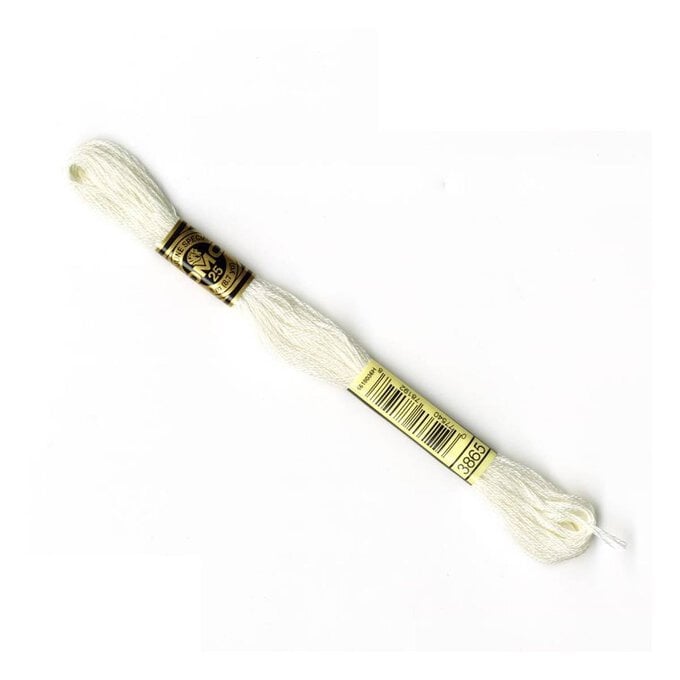
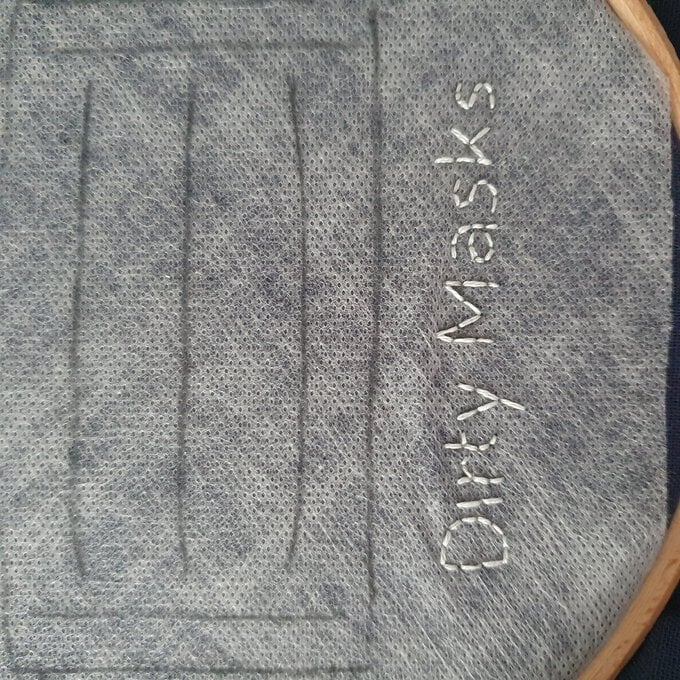
Place the 6” hoop around the Dirty Masks design, cut a length of the cream thread (DMC 3865) and divide the thread so that you have one set of 2 strands and one set of 4 strands.
Stitch 'Clean Masks' text using backstitch.
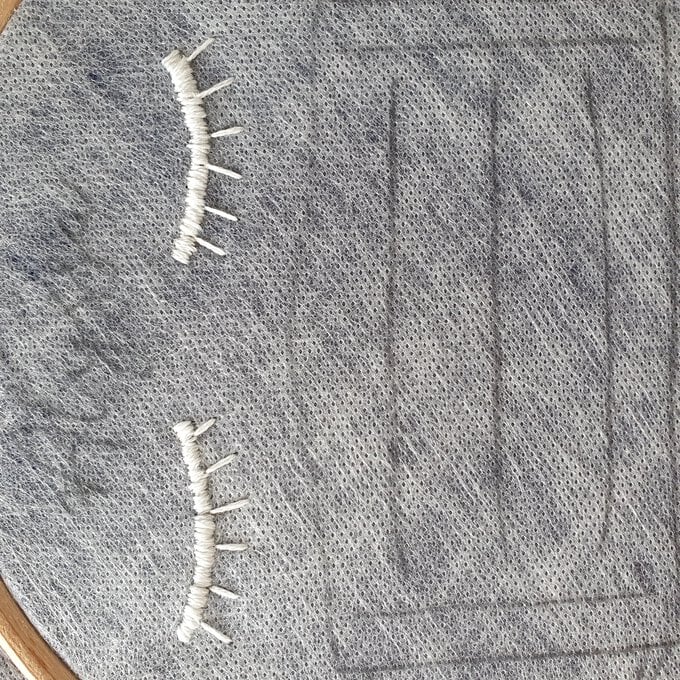
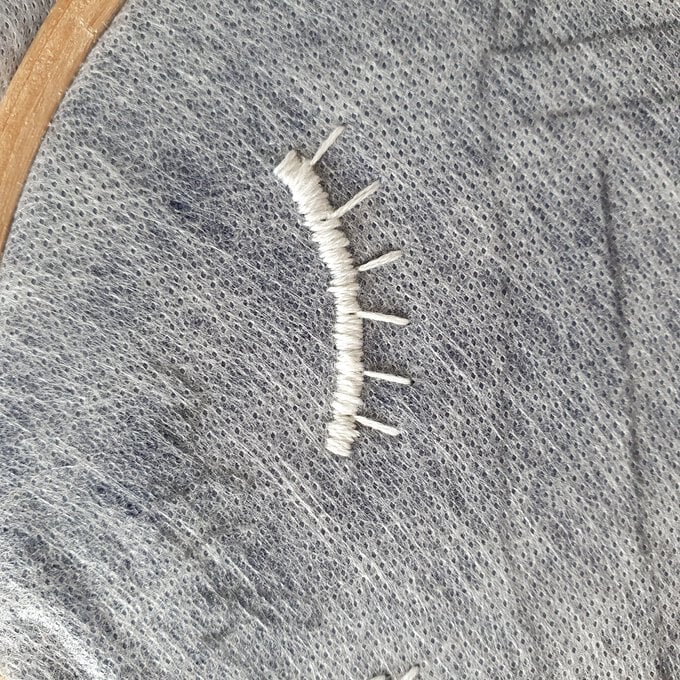
Use the cream thread again to satin stitch the eyelash lines; use three strands of thread for this.
Add an individual straight stitch for each eyelash.
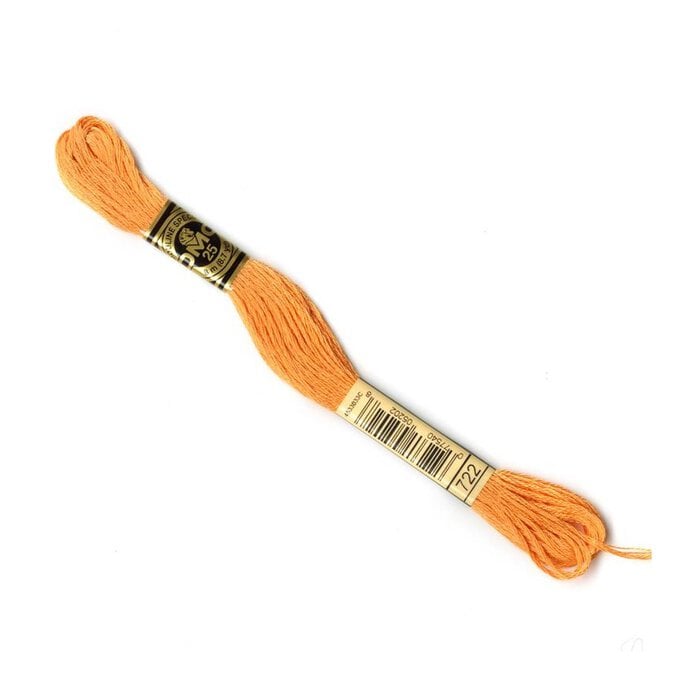
Cut a length of the darker orange thread (DMC 722) and divide into two sets of three strands.
Stitch the mask outline and inner lines using backstitch.
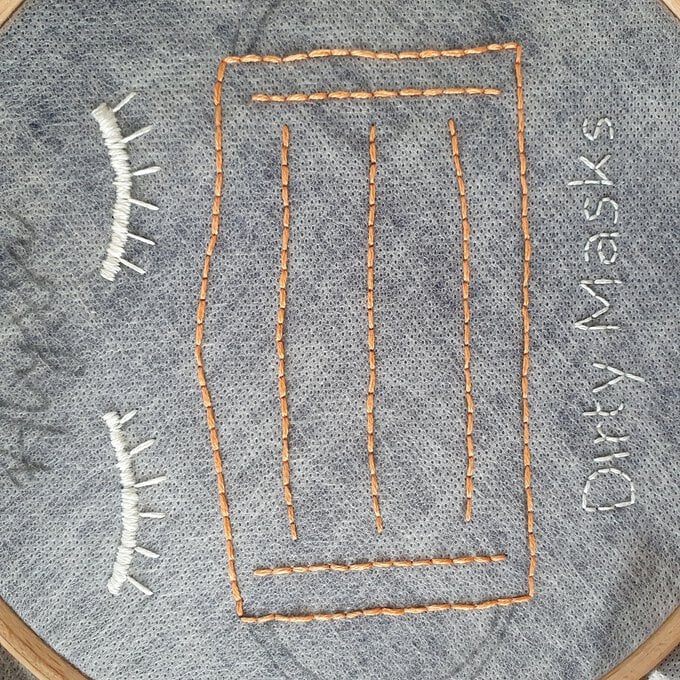
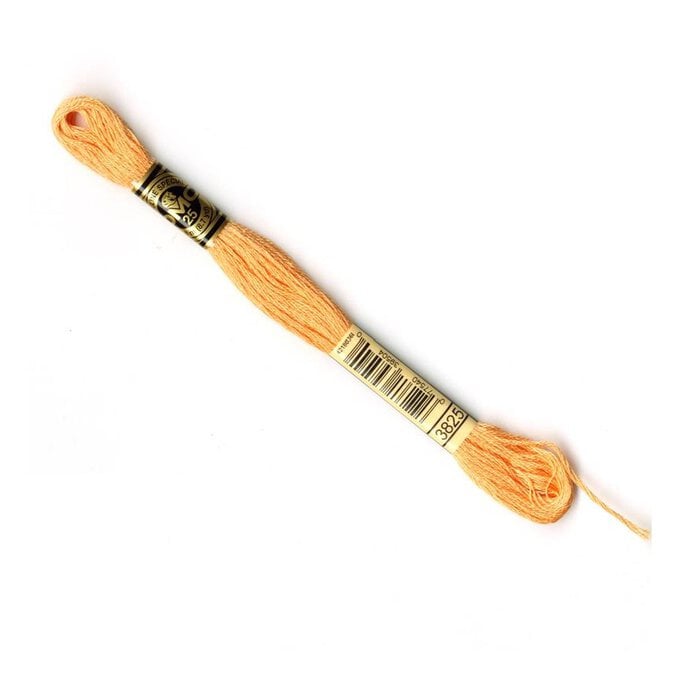
Cut a length of the lighter orange thread (DMC 3825) and divide so that you have three sets of two strands.
Chain stitch the outlines of the mask elastics.
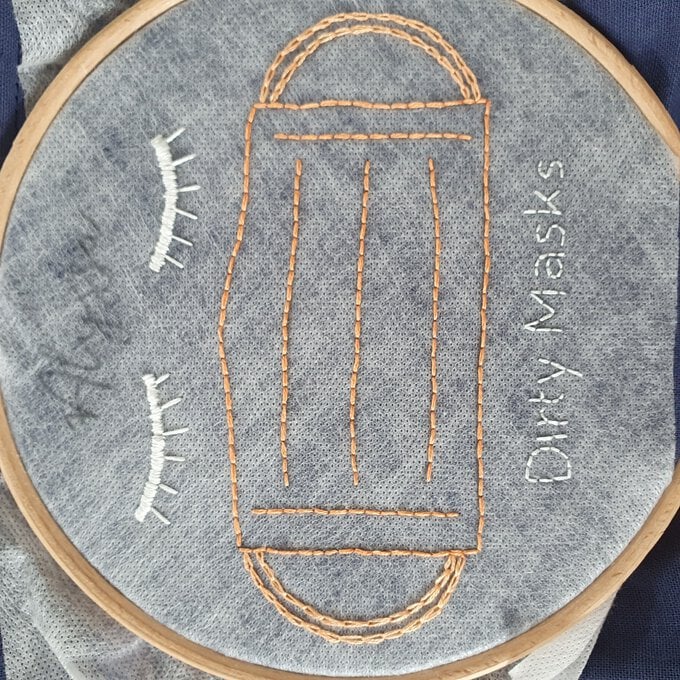
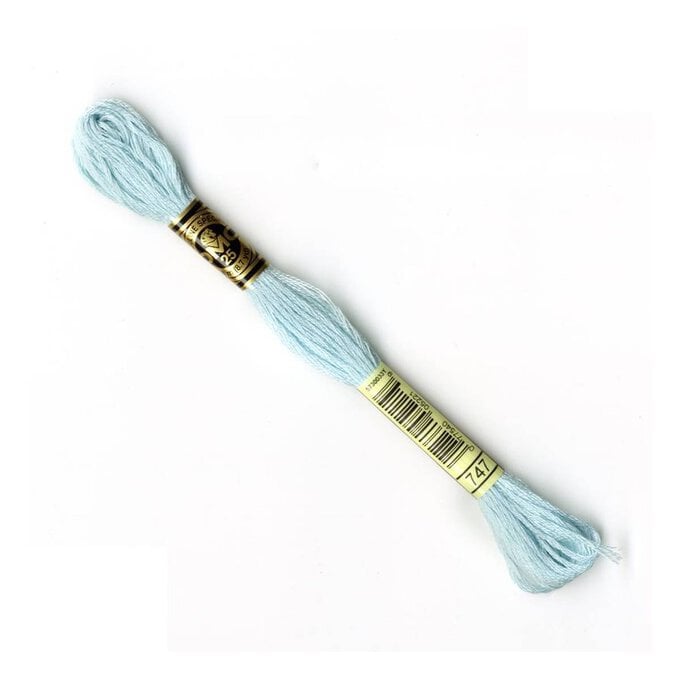
Cut a length of the light blue thread (DMC 747) and divide into two sets of three strands.
Stitch the name using backstitch.
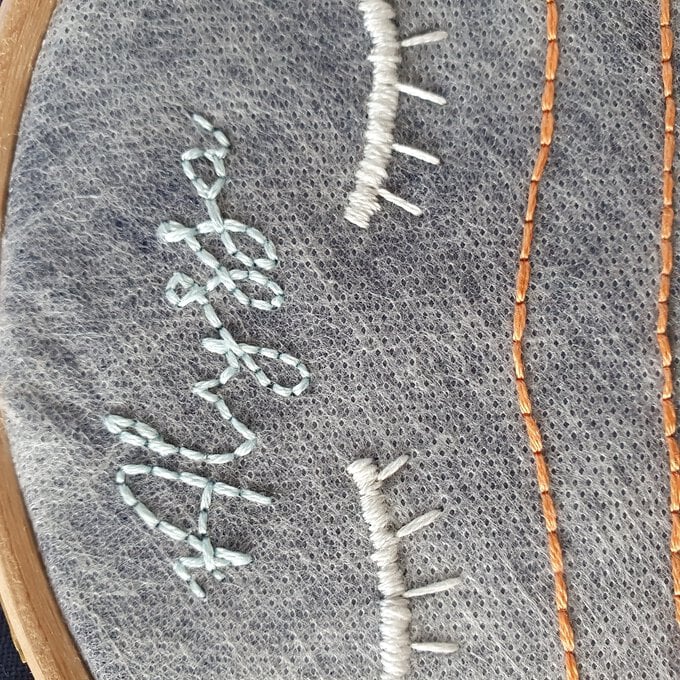
Take the design out of the hoop.
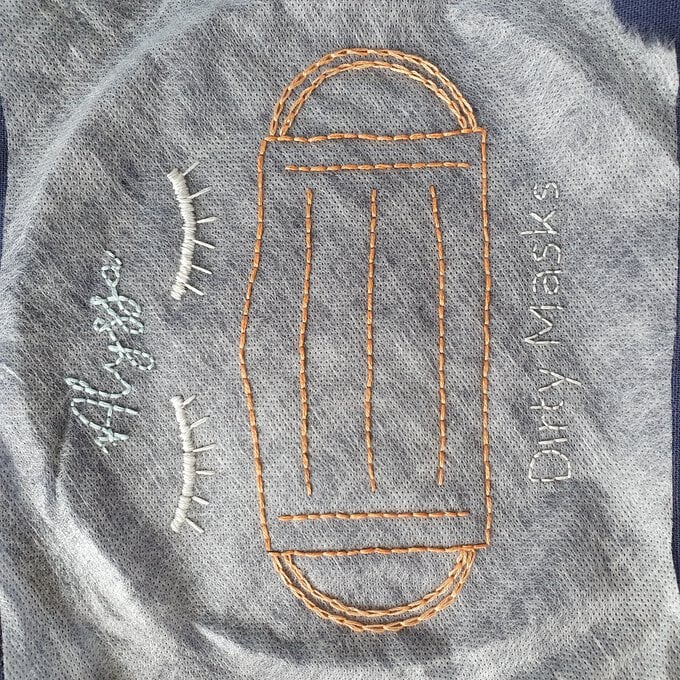
Wash away the Magic Paper with warm water and leave to dry.
