Skip to Content (Press Enter) Skip to Footer (Press Enter)

How to Make a Personalised Rustic Bridesmaid Hamper

Level
Beginner
Time
1 hour
Budget
1

Create something incredible for your girl gang to make them feel extra special in the run up to your big day. This bridesmaid hamper utilises the gorgeous new grass hamper, shades of kraft brown and elegant brush lettering to add a personalised touch.

You will need

Is $ 7.49 , was $ 11.00

Spend over £70 on Cricut for FREE Hat Press when added to basket
Quantity: 1

Subtotal

Is $ 7.49 , was $ 11.00

Is $ 8.49

Quantity: 1

Subtotal

Is $ 8.49

Is $ 7.49 , was $ 12.00

Quantity: 1

Subtotal

Is $ 7.49 , was $ 12.00

Is $ 7.49

Quantity: 1

Subtotal

Is $ 7.49

You’ve viewed 2 of 4 products

Total:

How to make

Step-1

Use your pencil to write out your letters, if you find it easier use a ruler to create equal space between the lines. Don't worry about the pencil marks as you can rub them out at all the end.
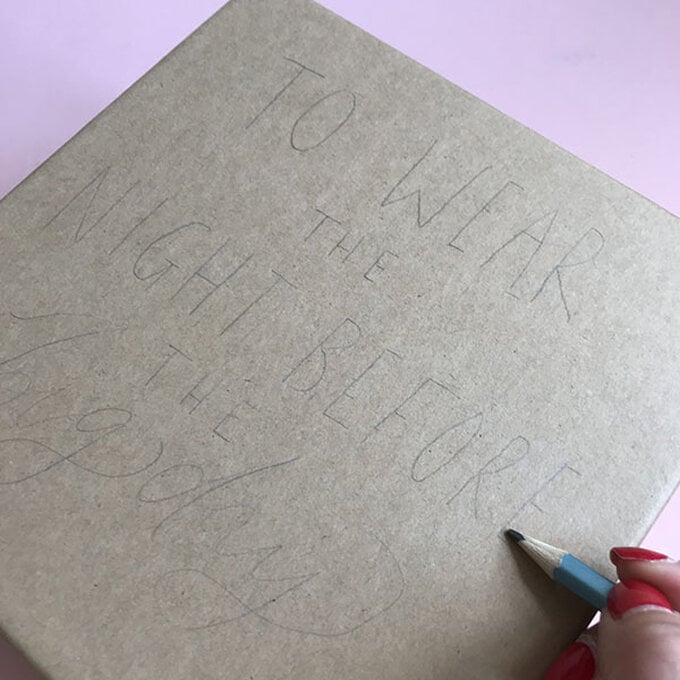
grass-bridesmaid-hamper-box1.jpg?sw=680&q=85
Step-2
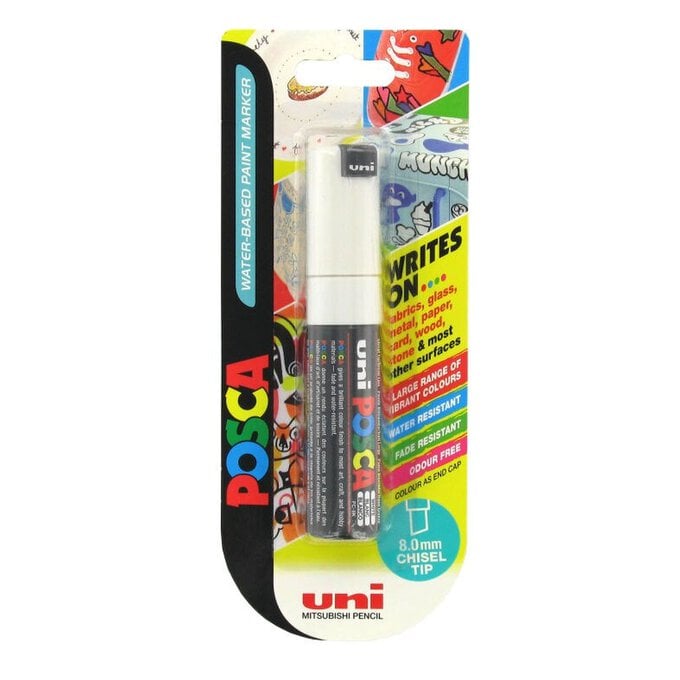
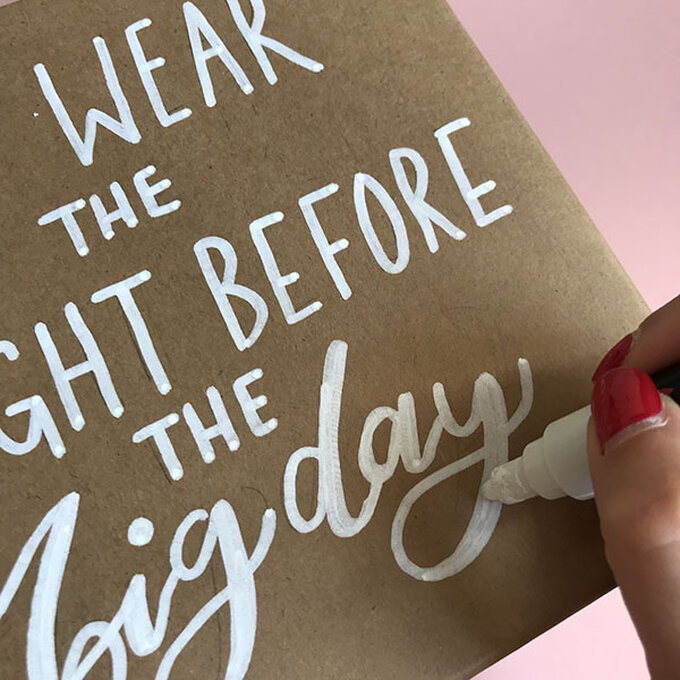
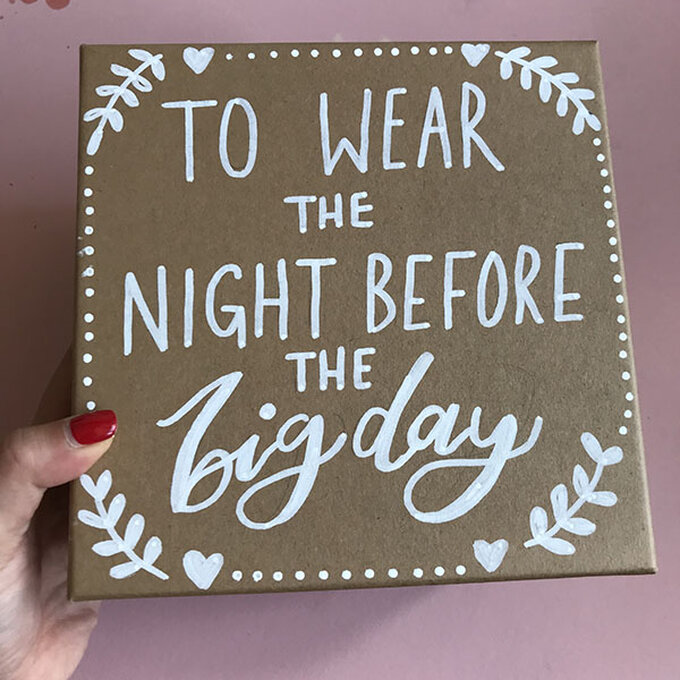
Using the posca pen work over your pencil lines, I have used a mix of capitalised simple lettering that just uses one stroke of the paint pen and then a calligraphy style at the bottom. For this style I used the pen to write out the letters in one stroke and then worked thick lines down the letters to create a contrast in the strokes.
grass-bridesmaid-hamper-box2.jpg?sw=680&q=85
Step-3
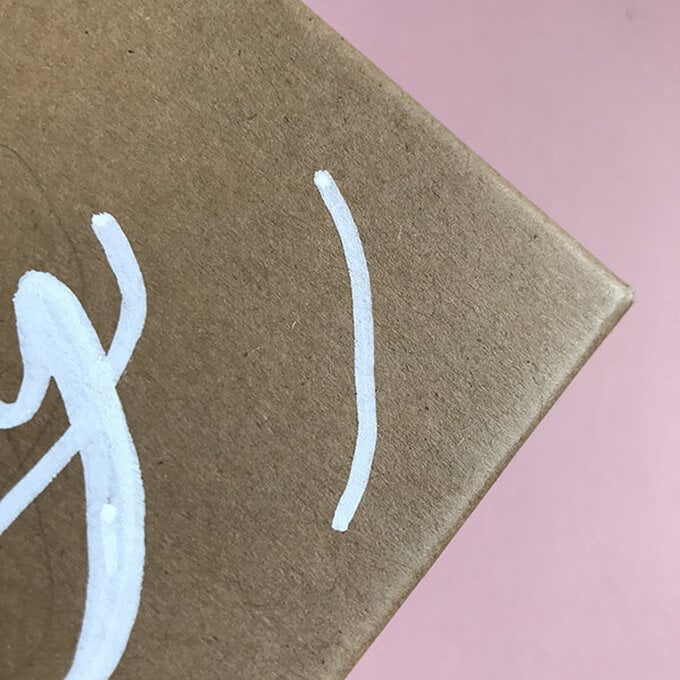
Create foliage by drawing a single line curving around the corner of the box
grass-bridesmaid-hamper-box3.jpg?sw=680&q=85
Step-4
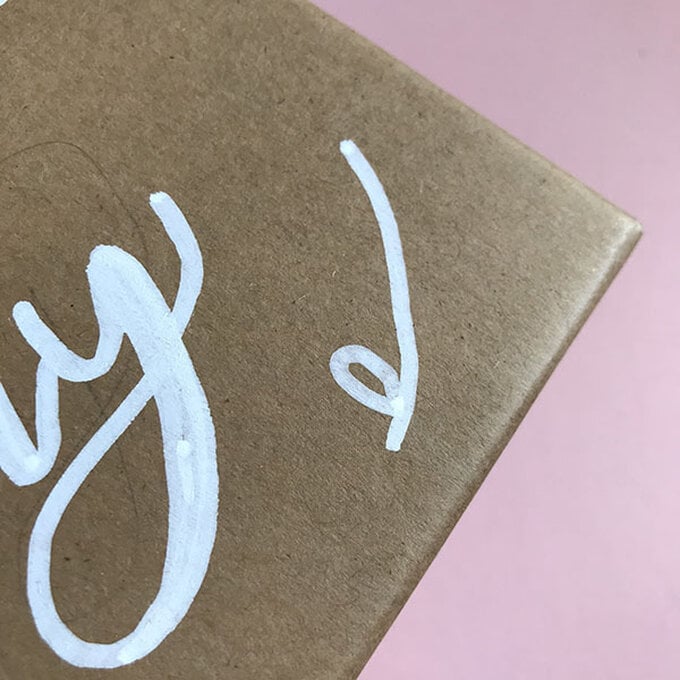
Add tear drop shapes from the bottom of the line. If you find it easier colour them in as you go or you can draw them all out before colouring them in. Again if you find it easier use your pencil to rough out the lines before using the posca pen.
grass-bridesmaid-hamper-box4.jpg?sw=680&q=85
Step-5

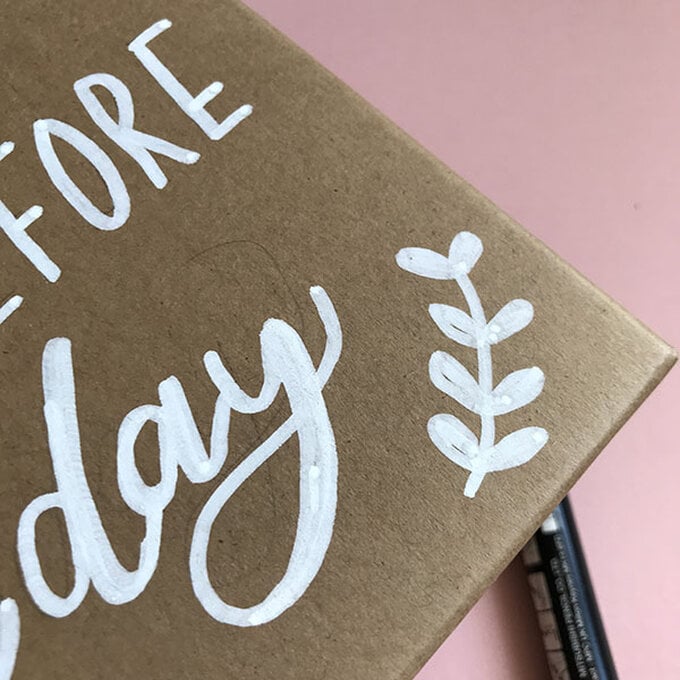
Once your leaves are coloured you can repeat these in each corner of the box
grass-bridesmaid-hamper-box5.jpg?sw=680&q=85
Step-6

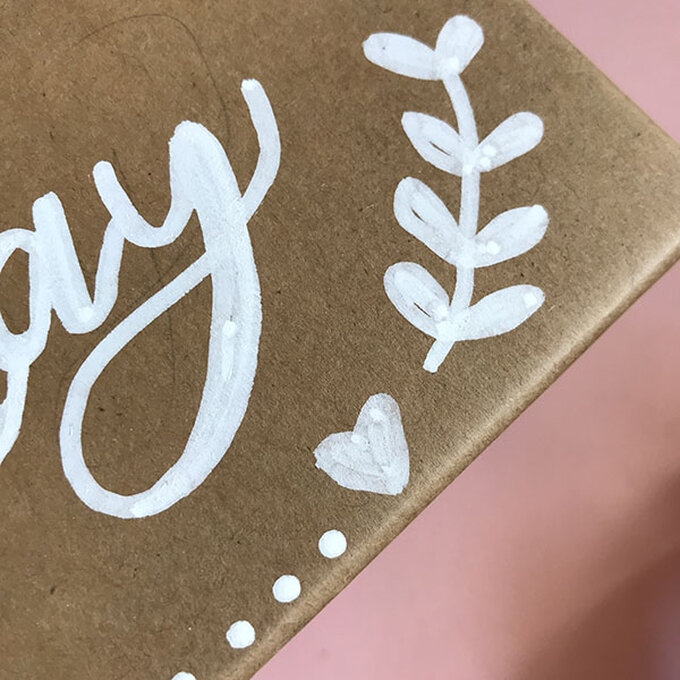
Add small hearts on the bottom of the stems before adding dots to create a border around the box.
How to Make a Seed Envelope Step-1

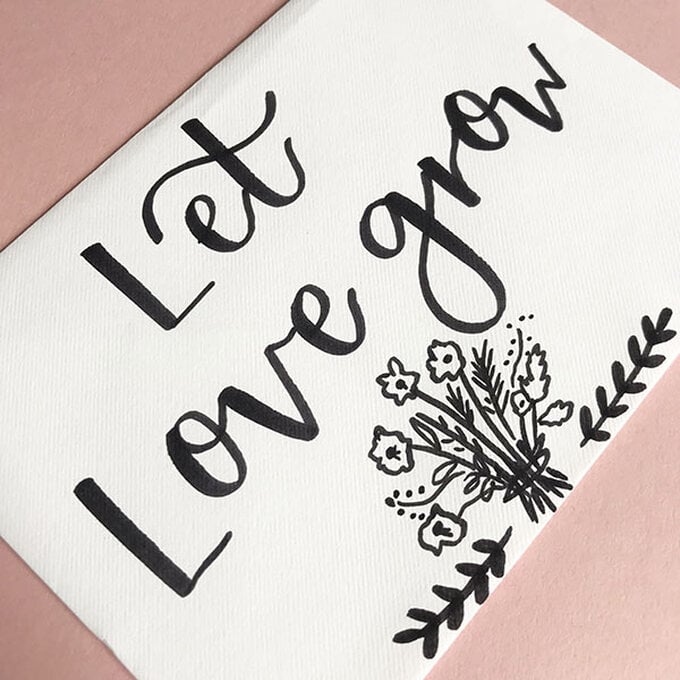
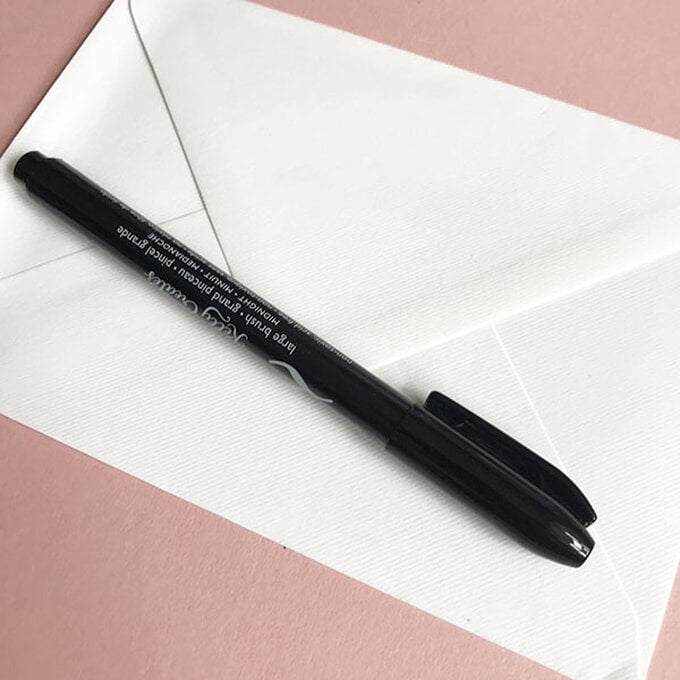
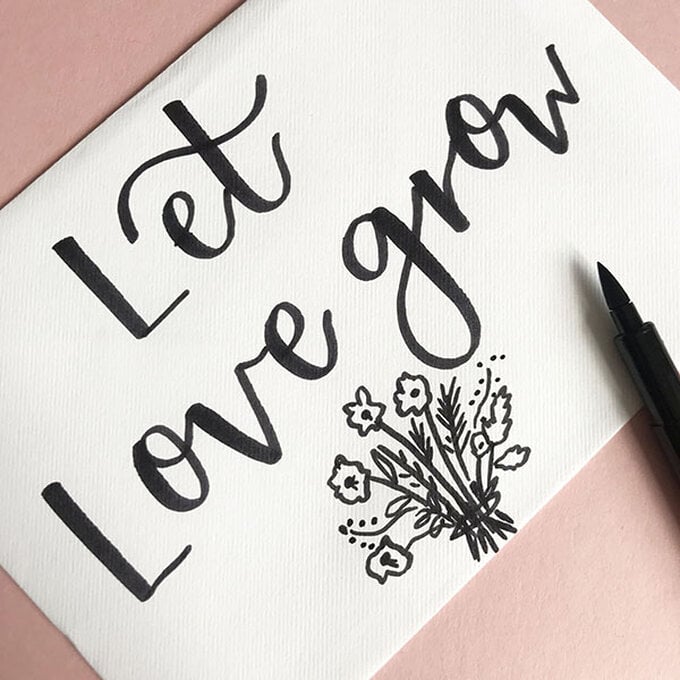
Using the Kelly creates brush pen write on to the front of the envelope, to create a calligraphy style try pushing harder on the pen on the downward strokes and lifting the pressure on the upward strokes to create some movement between the contrasting lines.
grass-bridesmaid-hamper-glass1.jpg?sw=680&q=85
Step-2
Using the same pen create simple floral illustration by using lines and abstract shapes to create flower heads. Don’t be too worried about them looking exactly like florals, this style lends itself to shapes rather then exact details.
grass-bridesmaid-hamper-glass2.jpg?sw=680&q=85
Step-3
Add a foliage border at the bottom to match up with your PJ box and pop a few flower seeds into the envelope for your bridesmaids to plant in their gardens, you never know you might be able to use them at the wedding.
grass-bridesmaid-hamper-glass3.jpg?sw=680&q=85
How to Make a Popcorn Jar Step-1

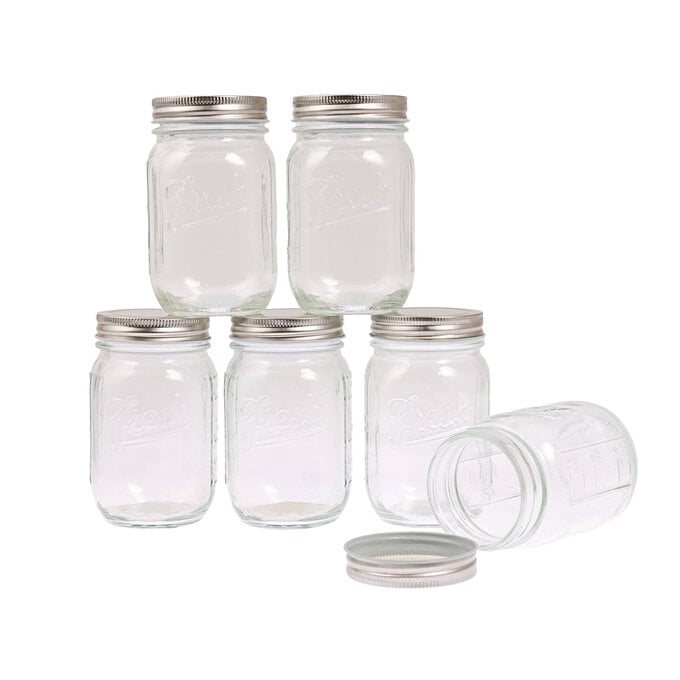
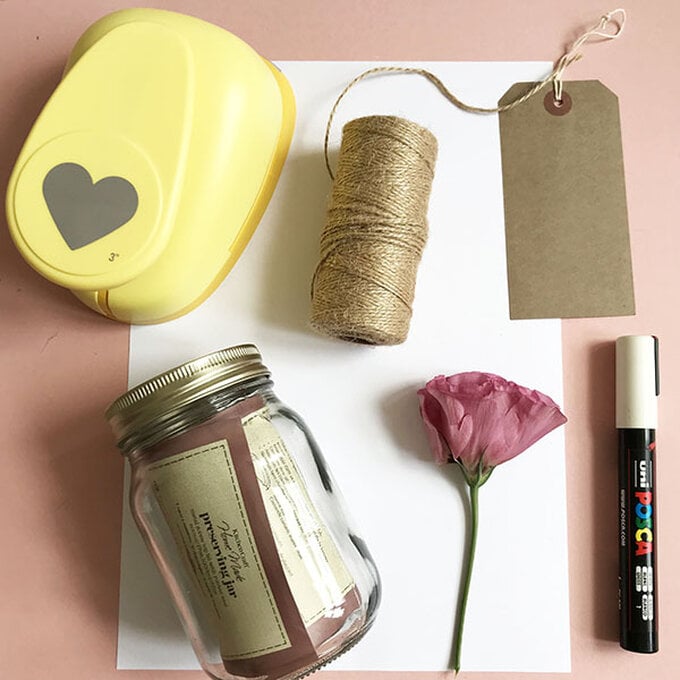
Wash out your kilner jar and dry. Fill with popcorn and screw on lid.
grass-bridesmaid-hamper-glass1-1.jpg?sw=680&q=85
Step-2
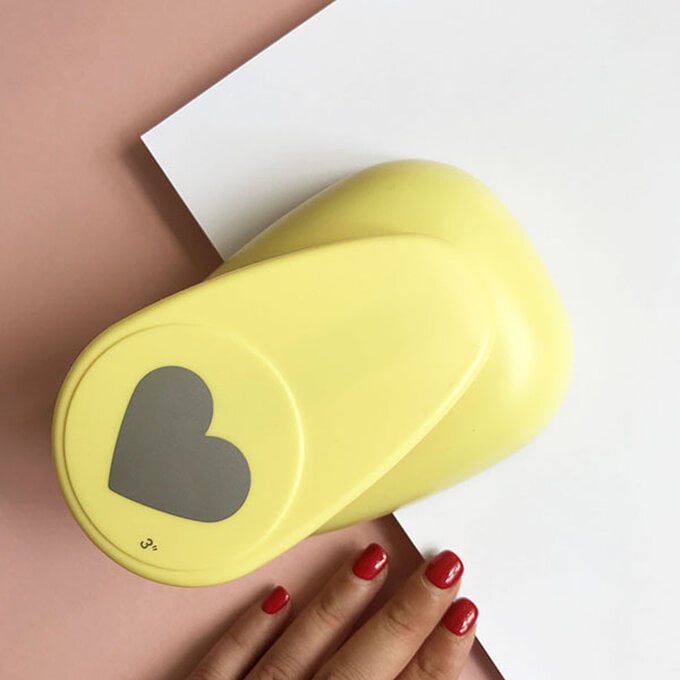
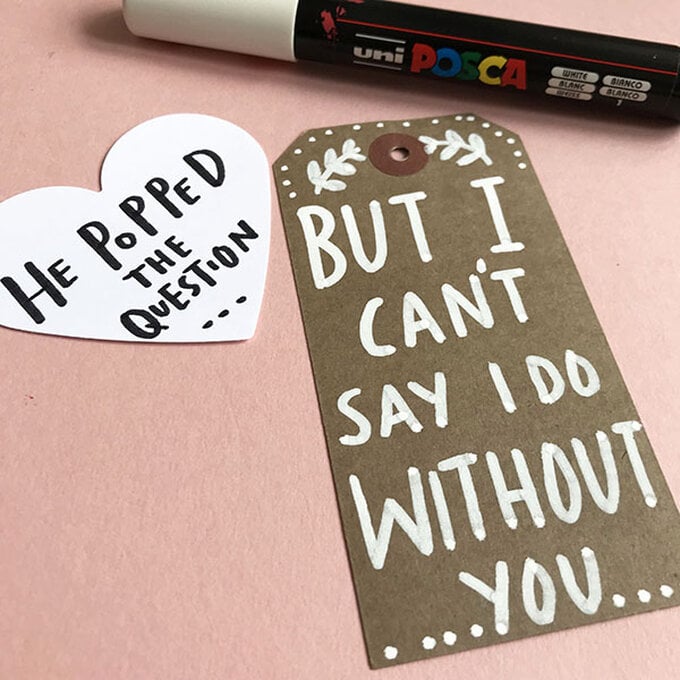
Using your hear punch, punch a heart out of the white card.
grass-bridesmaid-hamper-glass3-1.jpg?sw=680&q=85
Step-4

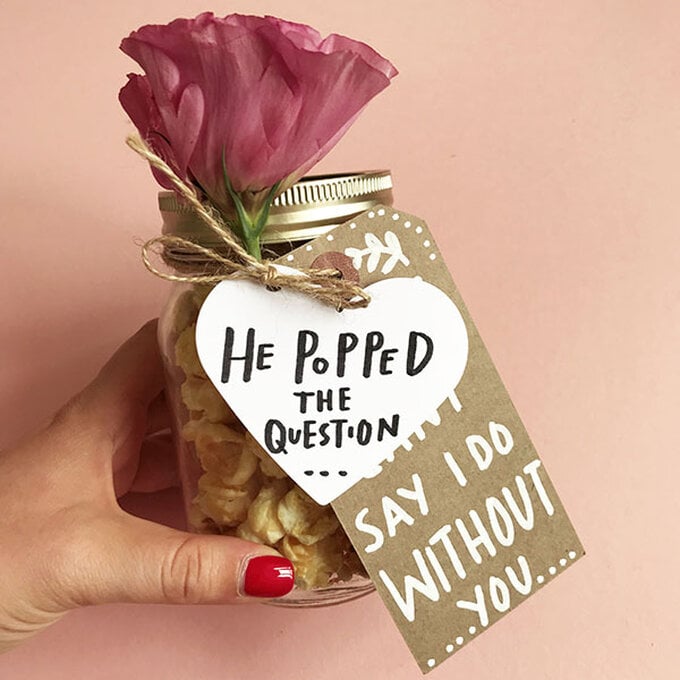
Using the twine attach the tags to the jar and add a sprig of foliage or floral for a rustic look.
How to Make a Personalised Glass Step-1

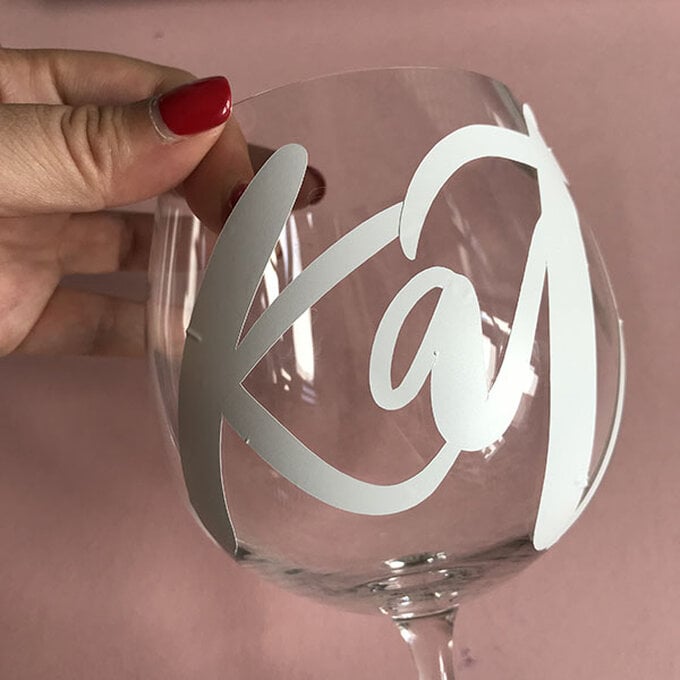
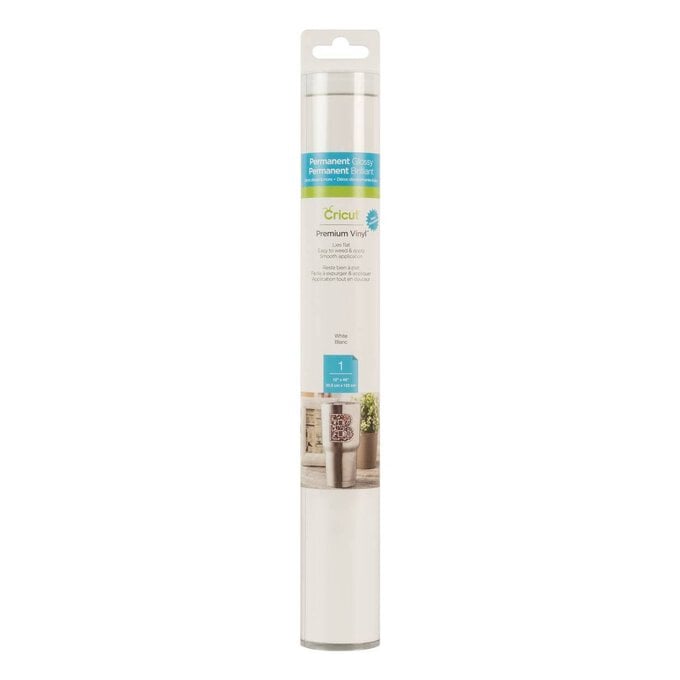
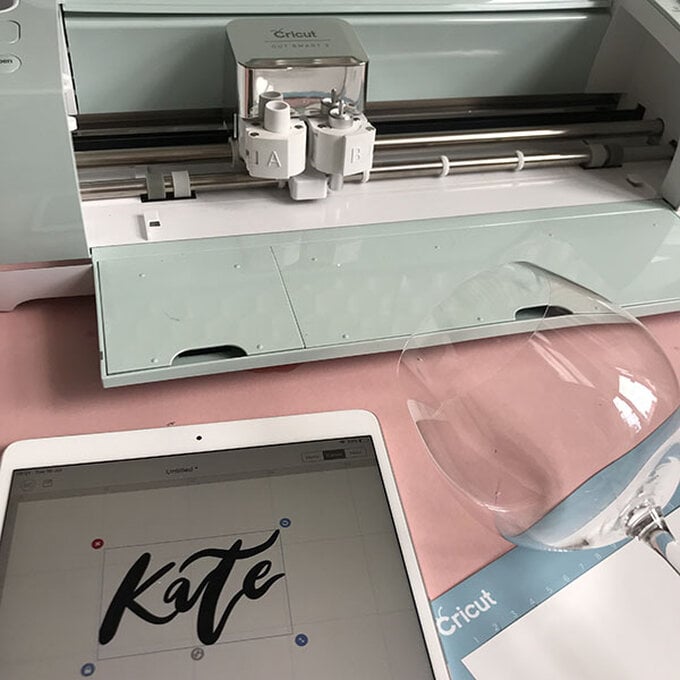
Load your design onto the circuit design space, you won't need to flip your design for this vinyl as it can be pressed on to the glass. We used a the white vinyl as it will show up well on glass even when there is a drink in it.
grass-bridesmaid-hamper-glass1-2.jpg?sw=680&q=85
Step-3
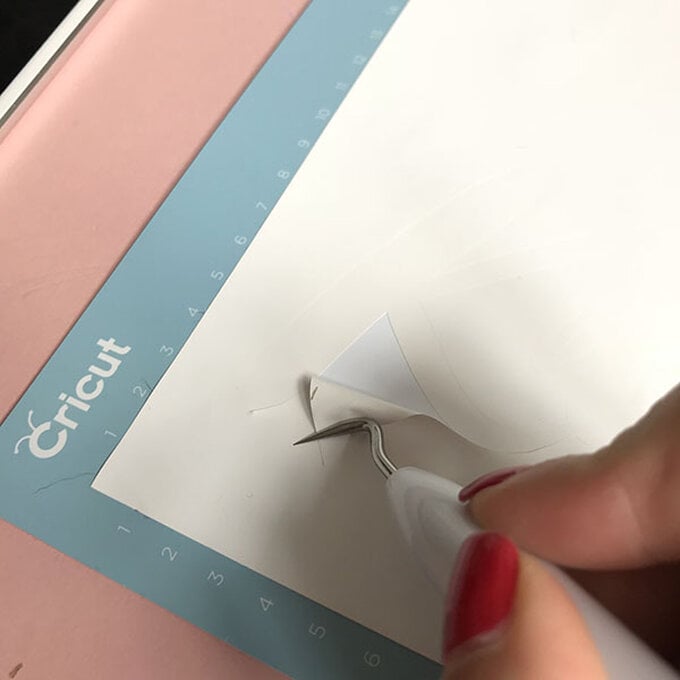
Once your design is cut then pull back the excess vinyl so you are left with the design on the board.
grass-bridesmaid-hamper-glass3-2.jpg?sw=680&q=85
Step-3
Stick on to the glass and voila the perfect personalised gin glass.
grass-bridesmaid-hamper-glass5-1.jpg?sw=680&q=85
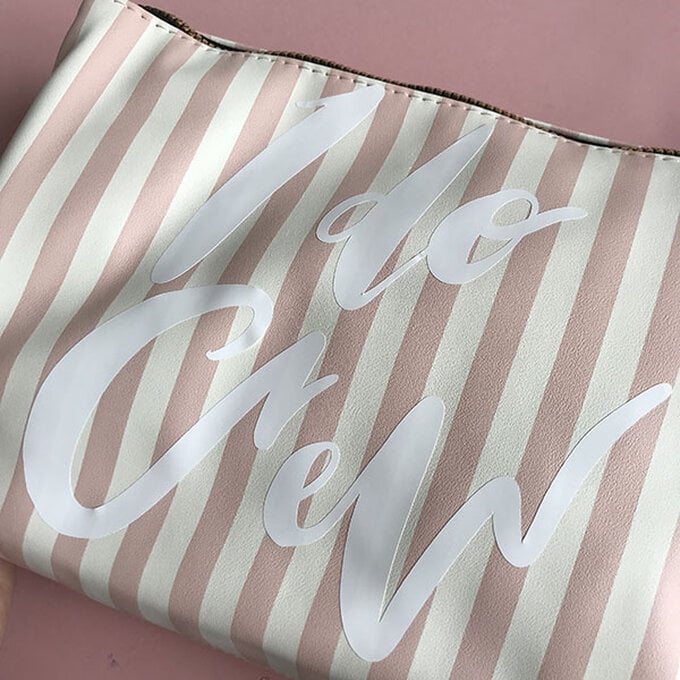
How to Make an I Do Crew Makeup Bag Step-1

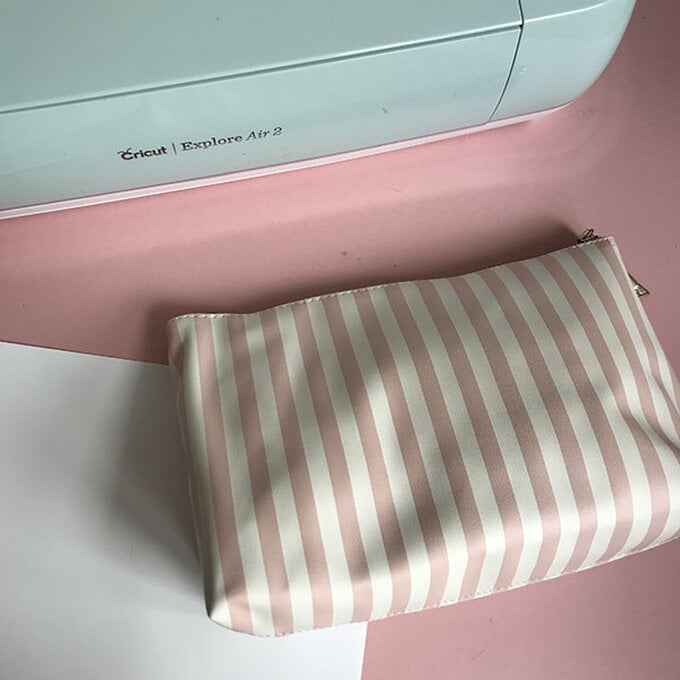
Wipe down your make up bag so that it is clean and ready for the vinyl to be applied
grass-bridesmaid-hamper-glass1-3.jpg?sw=680&q=85
Step-2

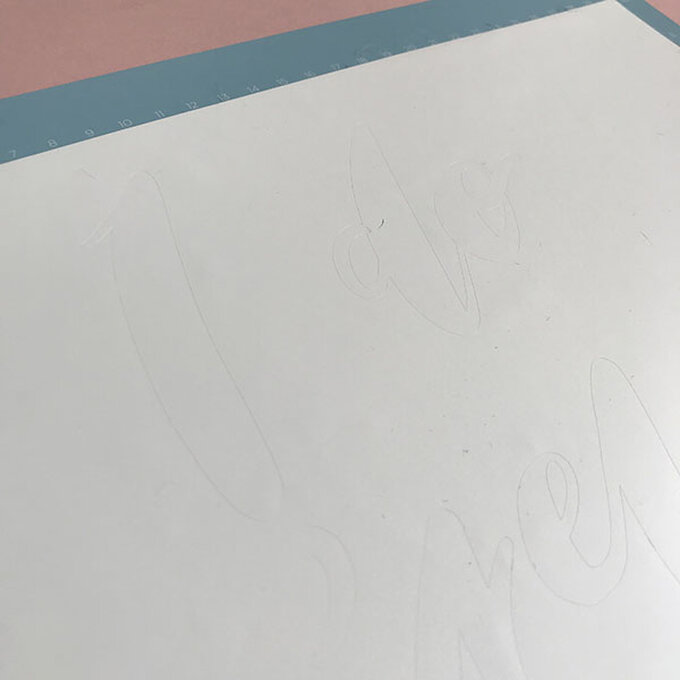
Load your design on to the cricut space and make sure it is at the correct size for you bag
grass-bridesmaid-hamper-glass2-3.jpg?sw=680&q=85
Step-3

Print onto the vinyl and apply on the bag by pressing firmly down
grass-bridesmaid-hamper-glass3-3.jpg?sw=680&q=85
  • bvseo_sdk, dw_cartridge, 18.2.0, p_sdk_3.2.0
  • CLOUD, getReviews, 4ms
  • reviews, product
  • bvseo-msg: Unsuccessful GET. status = 'ERROR', msg = 'Not Found.'; Unsuccessful GET. status = 'ERROR', msg = 'Not Found.';

Related Products

Top