How to Make a Pop-Up Card for Mother's Day
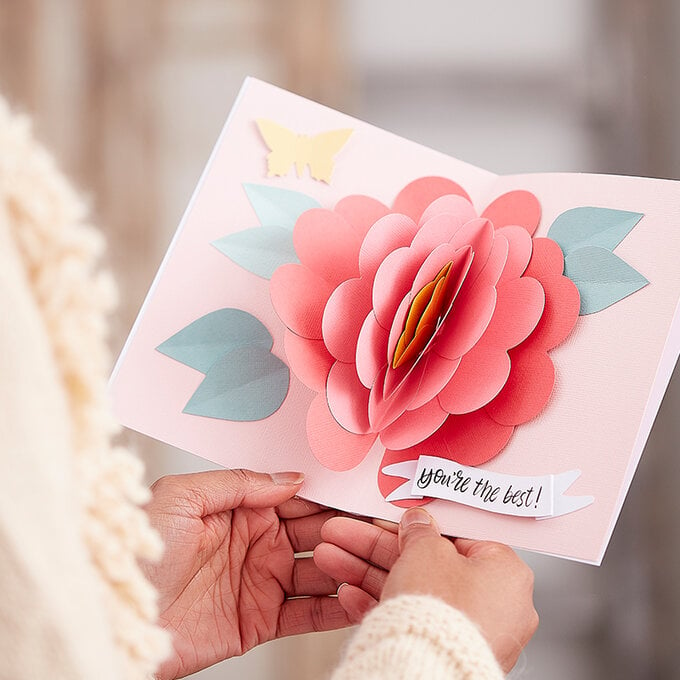
Show your appreciation for your mum by creating this beautiful pop-up card for Mother's Day. Perfect for beginner papercrafters, this stunning handmade Mother's Day card design can be created with just a few basic crafting supplies.
Customise the design with your mum's favourite colours to add a personal touch. Your mum will be so impressed by your crafting skills that she may want to frame the design and keep it forever!
Project and instructions by Sue Smith.
You will need
Subtotal
Is $ 4.49
Subtotal
Is $ 4.49
Subtotal
Is $ 12.00
Subtotal
Is $ 9.49
Subtotal
Is $ 20.00
Subtotal
Is $ 6.49
Subtotal
Is $ 4.49
Subtotal
Is $ 2.49
Subtotal
Is $ 7.49
Subtotal
Is $ 3.49
Subtotal
Is $ 17.00
Subtotal
Is $ 6.49
You Will Need
* Card - White, Red, Deep Pink, Pale Pink, Pale Yellow, Dark yellow, Pale Green, Sage Green
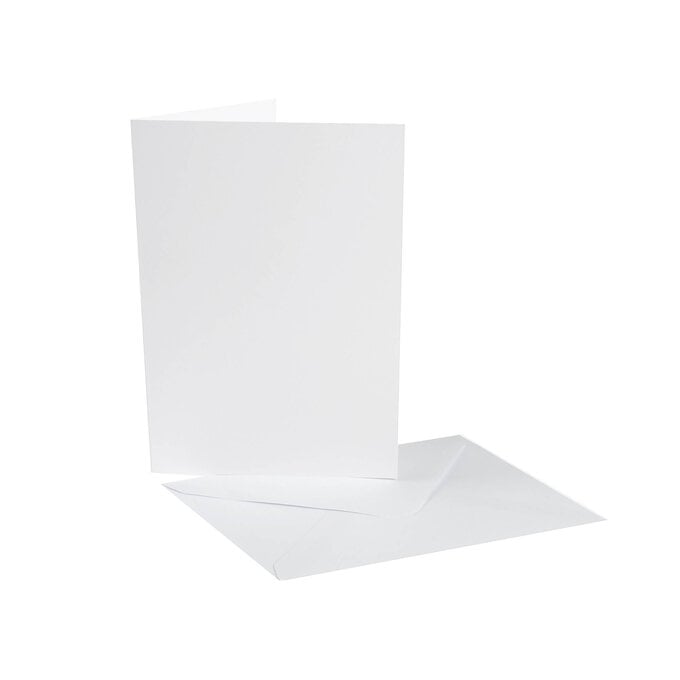
* 5 x 7" White Cards and Envelopes
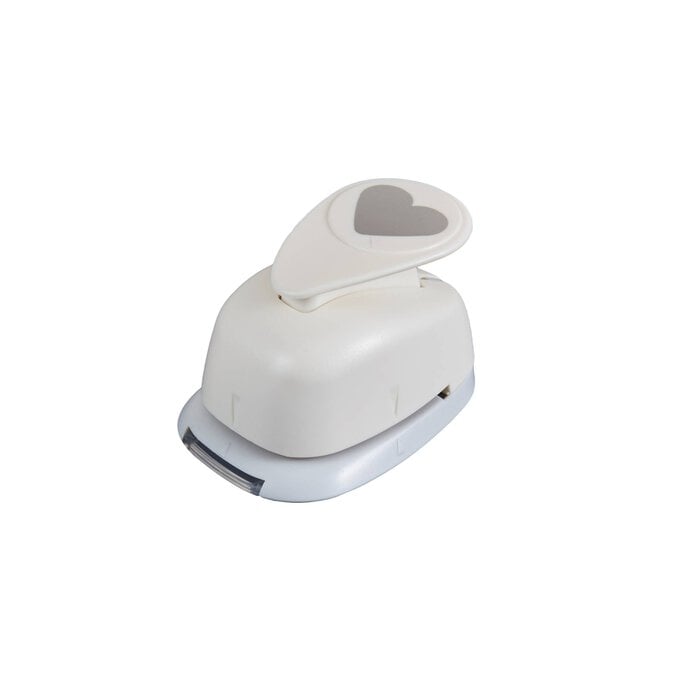
* Heart Craft Punch
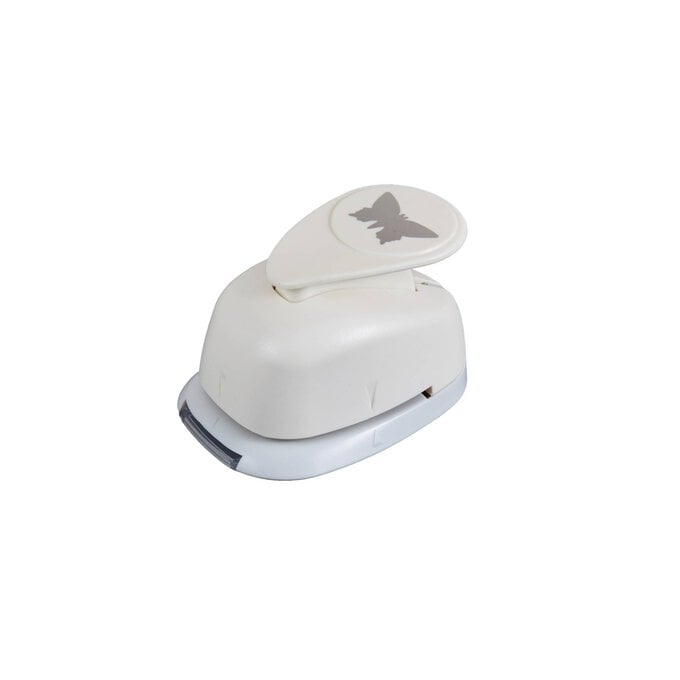
* Butterfly Craft Punch
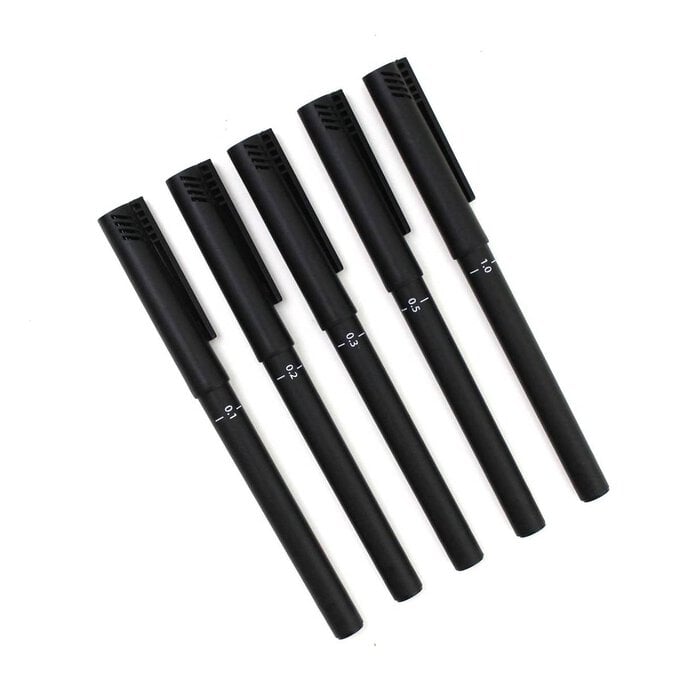
* Thin Black Brush Pen
* Hole Punch
* Twine
* Craft Knife
* Tacky Glue
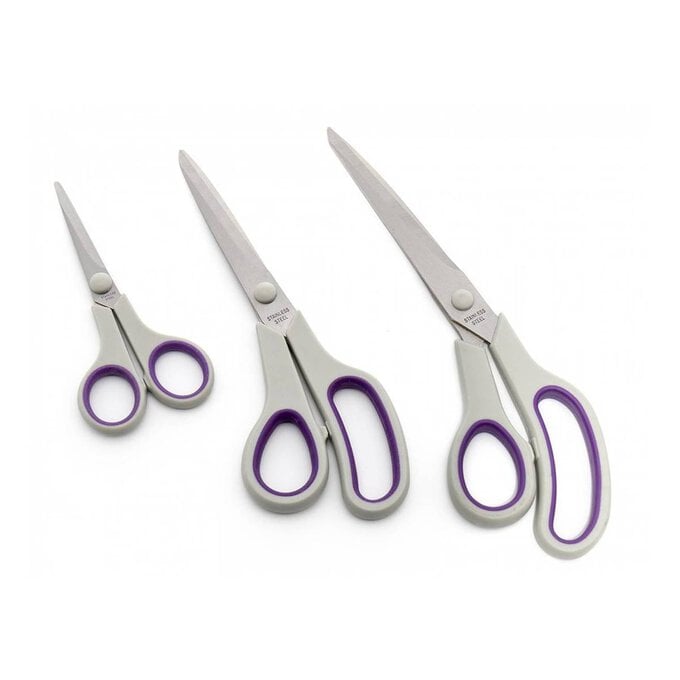
* Scissors
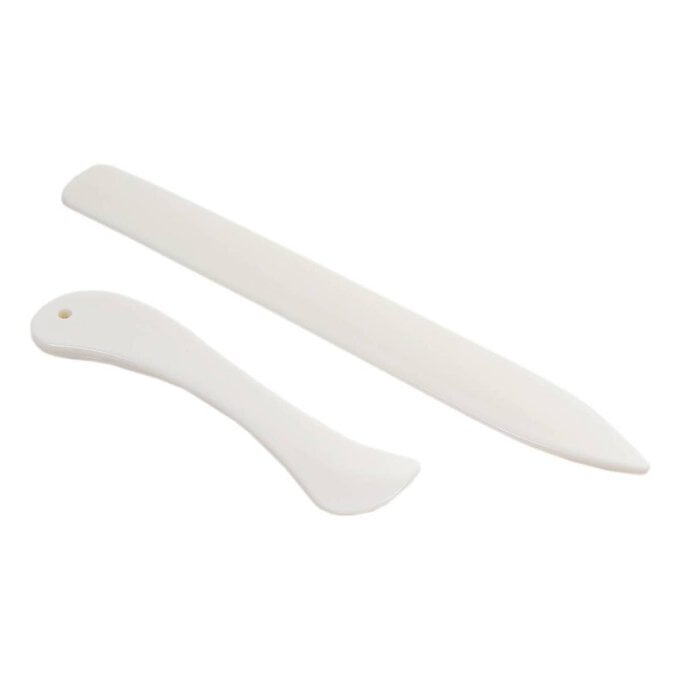
* Paper Creaser
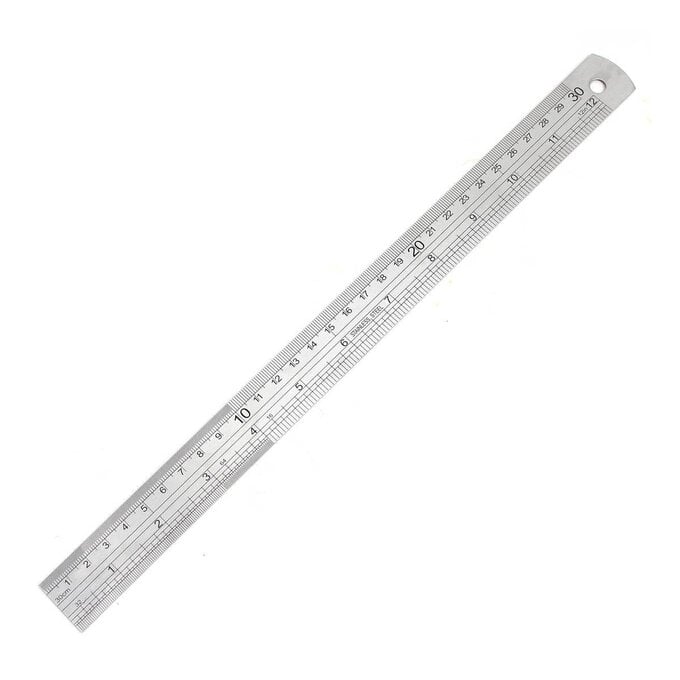
* Metal Ruler
* Pencil
* Eraser
Begin by selecting a collection of textured coloured card in seven colours. Choose a red sheet, a deep pink colour, a cool pale pink, a pale yellow, a dark yellow, a pale sage green, and a darker sage green.
Trim the pale pink sheet to fit the inside of a 5 x 7" white card blank. Fold in half to create an insert.
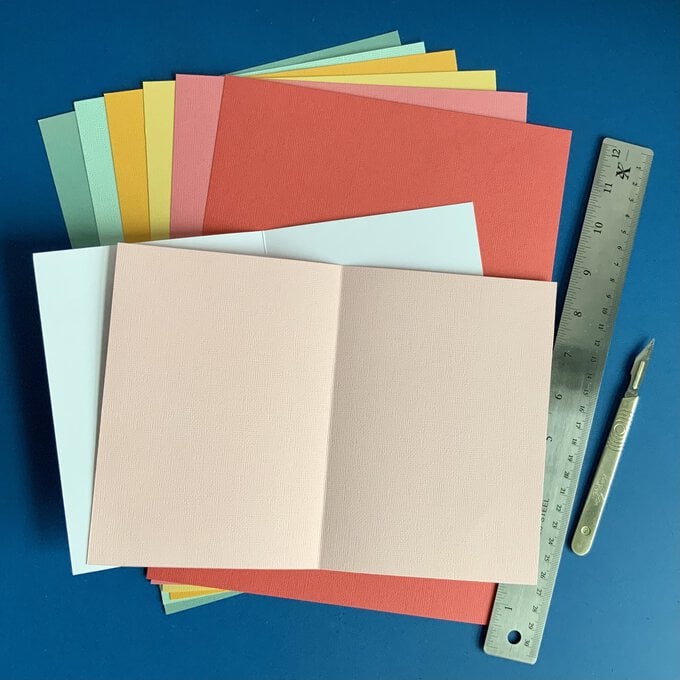
Apply a thin layer of tacky glue to half of the left-hand side of the insert nearest the fold line, from top to bottom. Place the folded insert into the fold of the half-opened card, glue uppermost. Slowly close flat the card blank, press down securely, and allow to dry.
When opening the card again, the insert will open out, with the right-hand side loose. Trim off a very thin strip down the left-hand edge of the insert to match the right-hand side as it allows the while card to show slightly.
Punch two white butterflies from smooth white card. Punch another two from the pale-yellow card. Apply a small amount of glue down the body of the white butterflies and fix the yellow on top. Gently crease and lift the yellow wings up.
Set these aside.
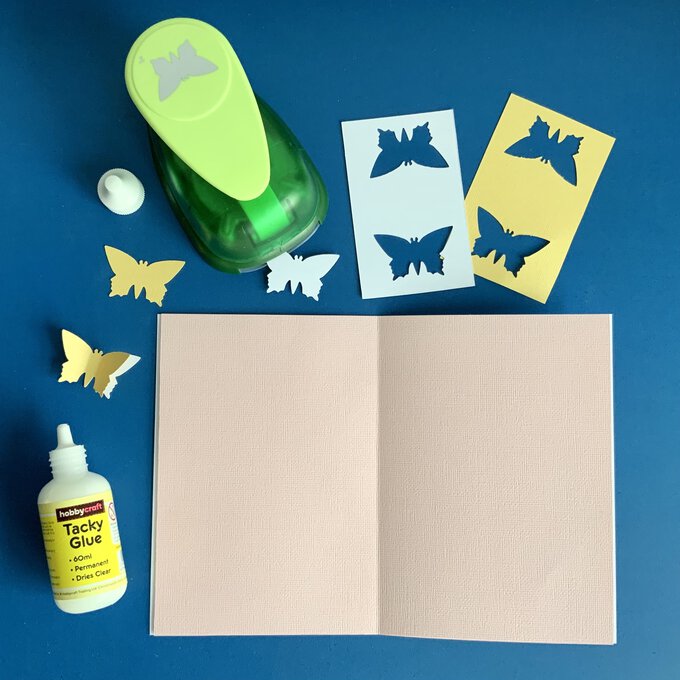
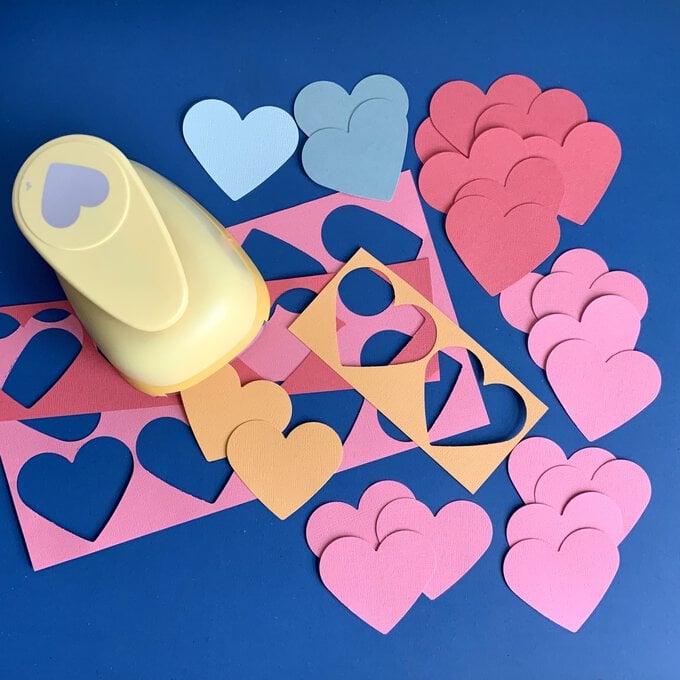
Now use the heart punch to punch several coloured hearts. Punch a single pale sage green heart. Punch two darker sage green hearts. Create a pile of seven red hearts. Two piles of four pink hearts. A pile of three pink hearts. Then finish with two dark yellow hearts.
Set these aside.
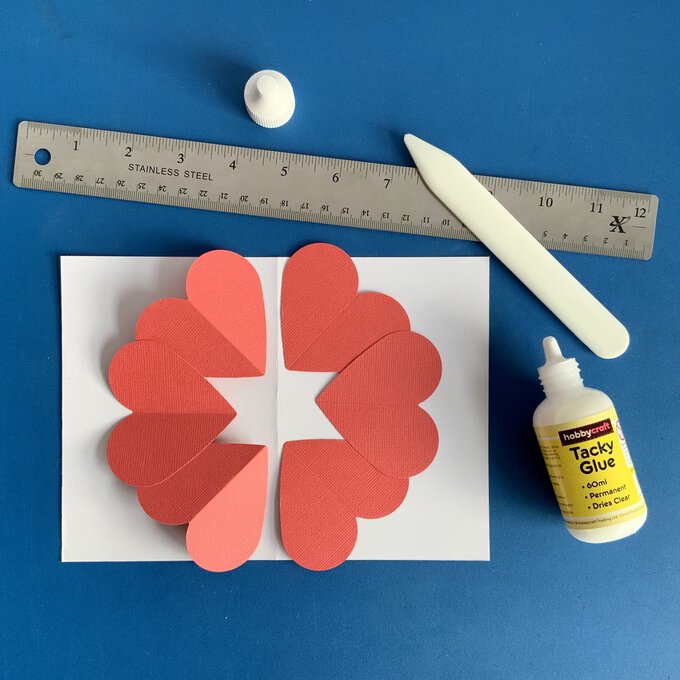
Create a template guide, by trimming a spare sheet of white copier paper in half widthways. Take one half, and fold this in half widthways. Unfold and use as a template.
Start creating the flower petal layers, from the outside working into the centre.
Use a bone folder to score six red hearts down the centre.
Place two hearts, fanning outwards, to the right-hand side of the fold line. One at the top just sitting above the template, and one at the bottom position. Apply a little area of glue on the inner most sides of both hearts. Fix a third heart centrally on top, sitting towards the right creating a nice arch shape of petals.
Repeat for another three red hearts to make two semicircles.
Once the glue has dried, valley fold the two middle hearts, and mountain fold all the other hearts.
Set this first ring of petals aside.
Take a pile of four pink hearts and score each one down the centre.
Position the hearts fanning outwards onto the template. Apply a thin line of glue to the inner most edges of the top and bottom heart, towards the right-hand side. Fix on top the centre heart, overlapping them slightly. Allow the top and bottom heart to tilt slightly toward the right but keeping the points on the template fold line.
Apply glue in the same way for the left-hand side of the petals. To fix the last heart in place, pick the petals up to create a shallow cone. Before the glue dries, make sure the petal circle can fold flat in half from top to bottom, using the heart score lines.
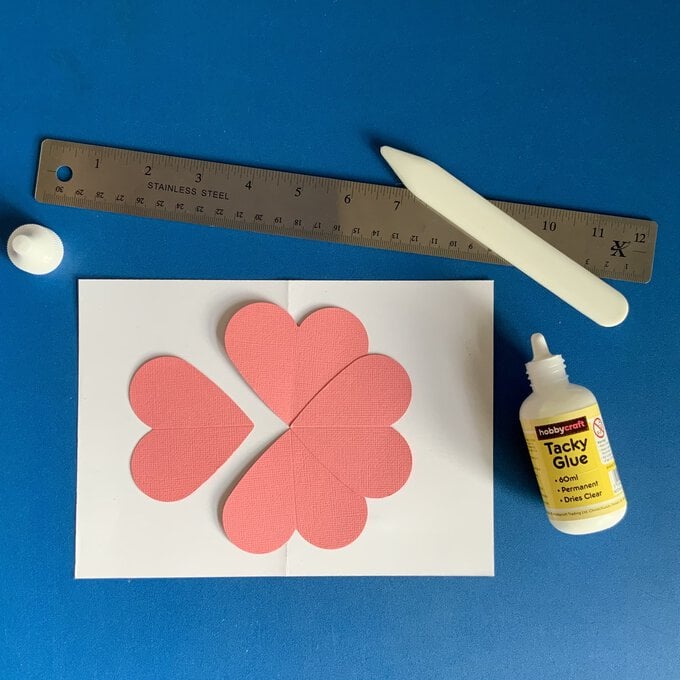
Bring back in one of the red petal semicircles, to check that it sits nicely behind the pink petals.
Also fold the circle of pink petals in half the other way and crease. Fold the petals back to the original position and cut a small semicircle hole at the tips of the hearts.
Set this second petal layer aside.
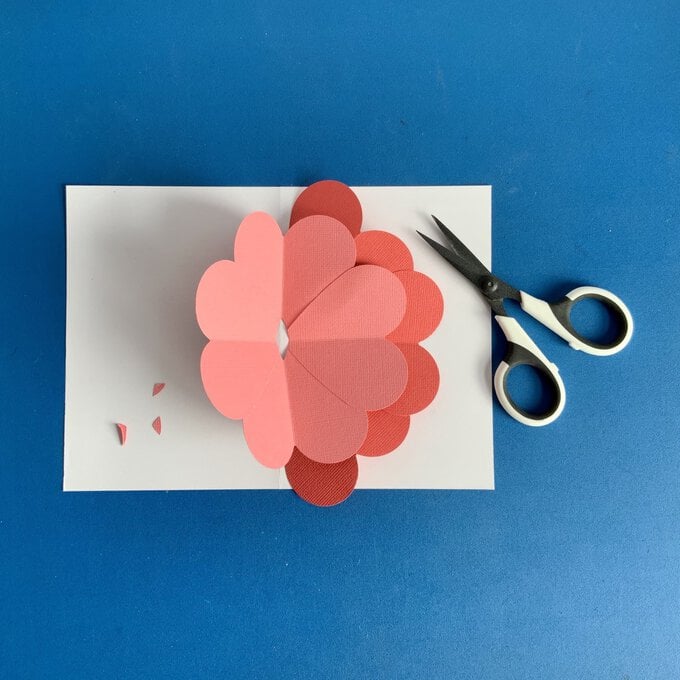
Take another pile of four pink hearts, and cut each one in half, down the centre.
Snip away two tiny triangular pieces just up from the bottom point, creating a small gluing tab at the base of the petal. Repeat for a second petal.
Cut off the bottom point from four more petals, at a similar level matching the first two petals.
Score and fold the last two petals in half lengthways. Snip the points off to match.
Apply glue in the same way as before to overlap two flat petals behind the central petal with the gluing tab. Also glue on either side the folded petals, overlapping on top. Before the glue dries completely, use the template fold line to sit the petals fanning out evenly, creating a steeper cone shape to the previous petal layer.
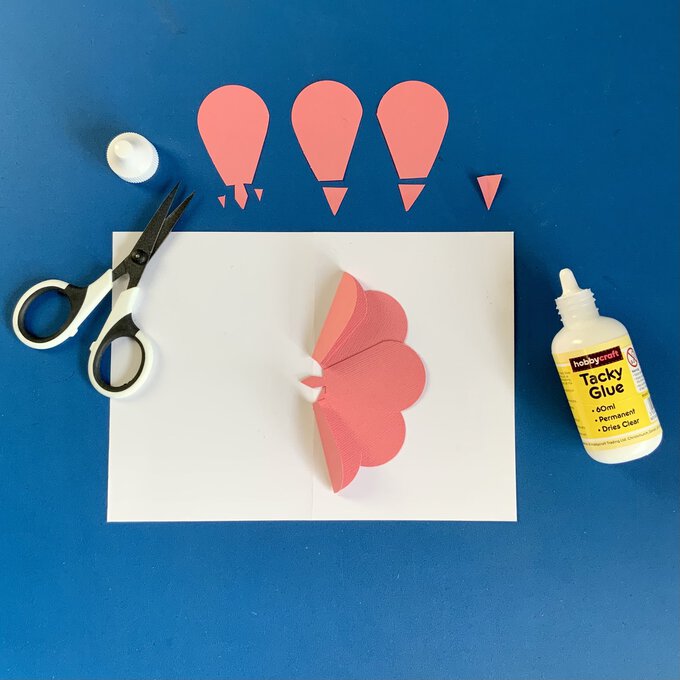
Complete the petal ring by gluing the other petals on the left-hand side in the same way. The petals can be fixed in place whilst the ring is folded in half, matching the other side.
When the glue is completely dry, snip away a tiny bit more from either side of the semicircle hole to elongate it slightly. This allows the petal layer to sit a bit deeper within the previous petal layer. The two tabs need to protrude down through the bottom hole of the previous petal layer.
Set this third petal layer aside.
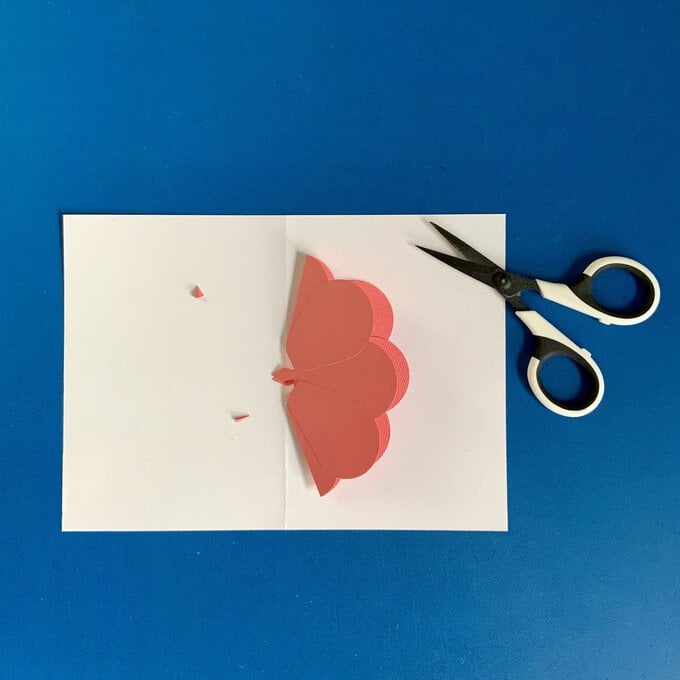
To make a fourth petal layer, take the pile of three pink petals.
Cut each heart in half lengthways.
Score and fold two petals. Cut off a slightly larger piece from the bottom than the previous petal ring.
Glue two petals together, slightly overlapping, crossing over the points at the base. Position these with the points sitting over the template fold line.
Glue in place the two folded petals, again overlapping either side of the prepared two central petals. Fan the folded petals out slightly, keeping the lower end of the fold tight up against the edge of the other petals at the template fold line.
Snip away any card from the folded petals if they overlap onto another petal. This reduces the bulk of the flower.
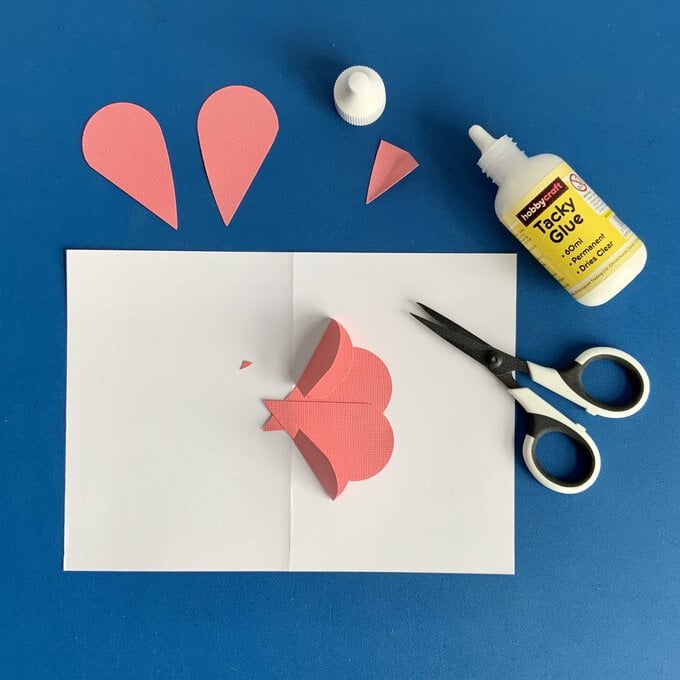
Snip around two of the crossed points to create two gluing tabs sitting side by side. Repeat for the other crossed points on the other side of the flower ring.
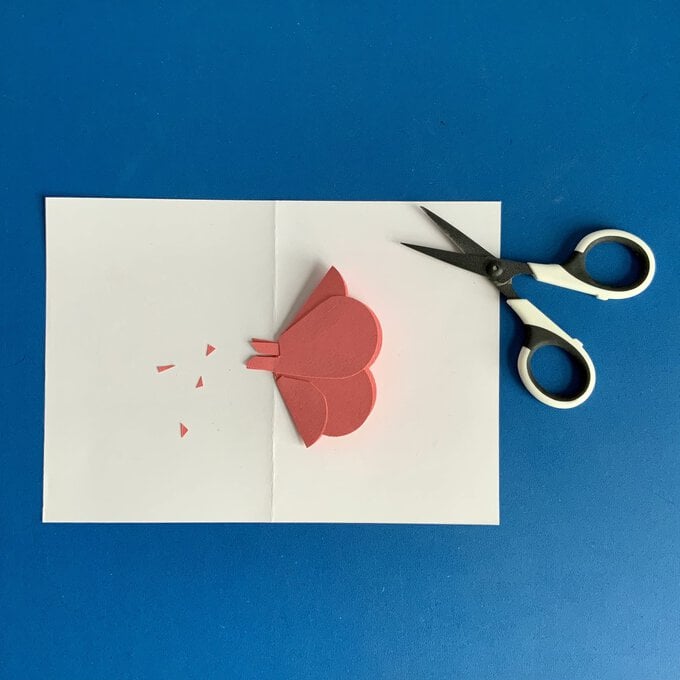
Work with the two yellow hearts now, again cutting these in half down the centre.
Cut away a thin piece from either side of two of the petals, making them thinner in shape.
Score and fold the remaining two petals. Cut an even deeper piece away from the bottom than the previous petal ring.
Position one of the slimmer petals further over the template fold line. Glue in place the two folded outer petals, so they sit behind the central petal. Fan these out as before, keeping the lower end of the fold tight up against the edge of the central petal at the template fold line.
Snip away any overlapping card from the two folded petals.
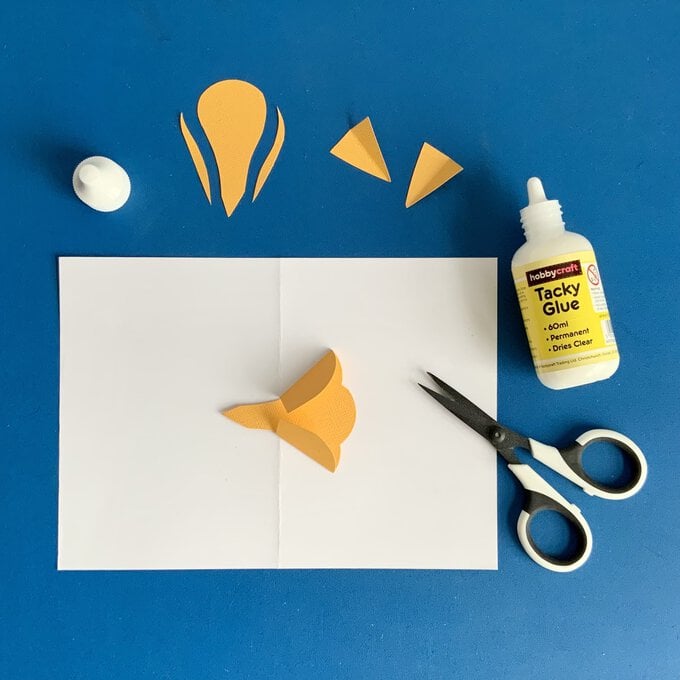
Glue in place the last petal to complete this smaller petal ring. Again, cut away any overlapping card to reduce the bulk.
Cut away the pointed base of the two central petals to create gluing tabs.
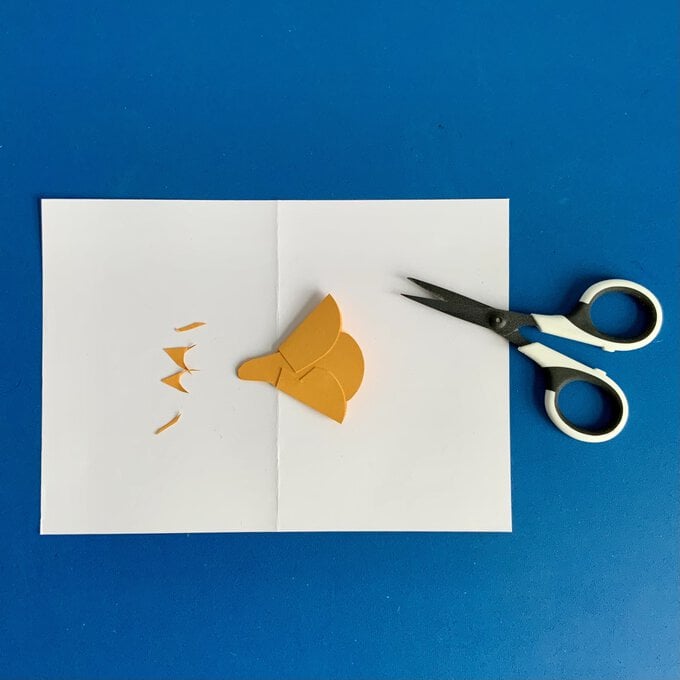
Use the last red heart to create stamens for the centre of the pop-up flower.
Cut away two triangular pieces either side of the pointed base, to make a gluing tab.
Cut away the top section of the heart in a curve shape. Create lots of fine snips into the top curve of the stamen piece. Continue all the way across the top curve.
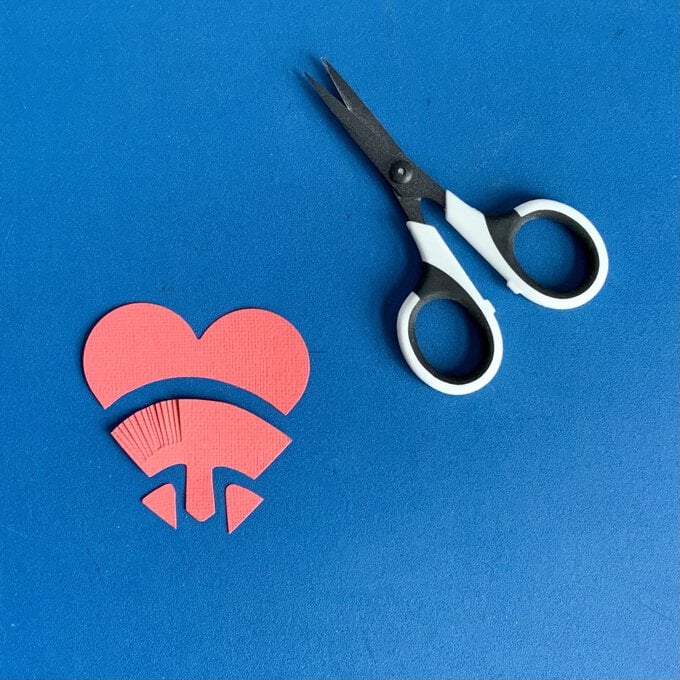
Roll the curved section up into a spiral, and glue to fix in place.
Gently tease out the stamens, curling them outwards.
Snip the edges of the gluing tab making it slightly thinner if needed.
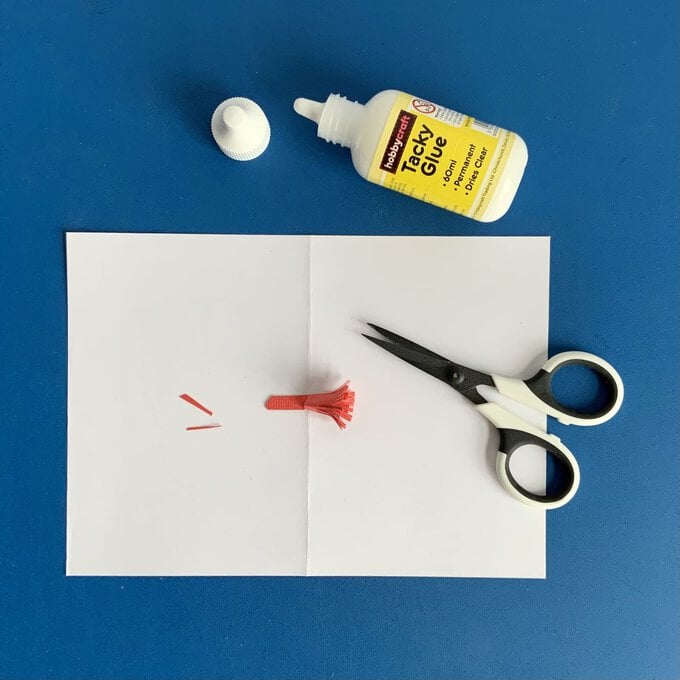
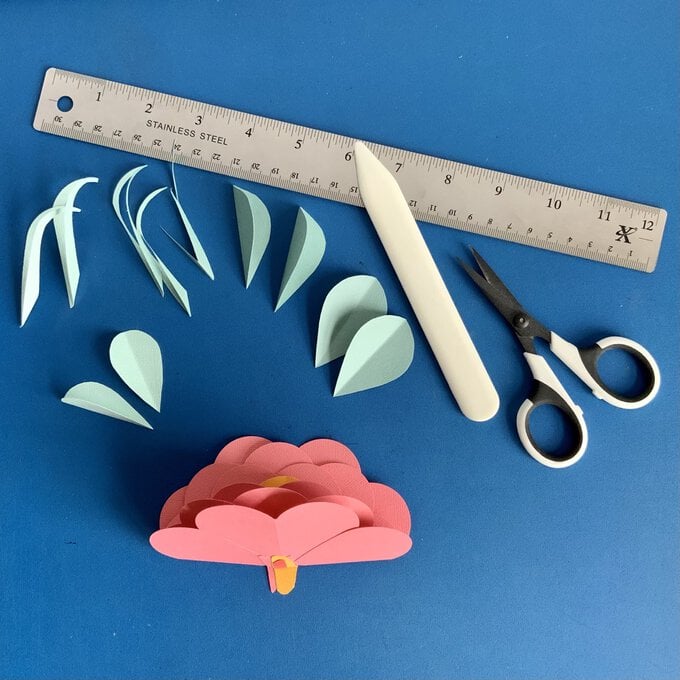
Begin to compile the pop-up flower. Leaving out the larger red petals for now, insert all the other prepared petals rings inside each other, including the red stamen piece.
Fold back each of the gluing tabs onto the outside of the largest pink petal ring. There should be equal tabs for both sides of the flower, apart from the last red stamen tab, which can be folded onto one side only. Apply glue and fix all the tabs in place, making sure each inner petal ring sits firmly down into the larger around it.
Prepare some green leaves using the remaining green hearts. Cut each one in half down the centre. Score and fold each leaf lengthways.
Whilst folded, re-cut the outer leaf shape to make them slightly smaller. Cut the two paler green leaves even smaller to look like younger, fresh leaves.
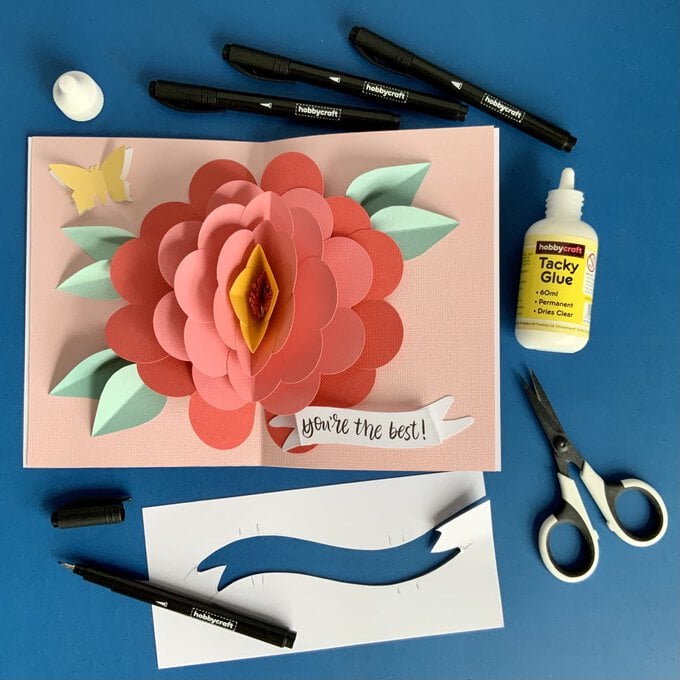
Begin to decorate the card insert, by gluing in place the prepared yellow butterfly, in the top left-hand corner.
Position the red petal semicircles near to the fold of the insert. Apply glue to the back of the bottom half of the lower heart on the right-hand semicircle and fix onto the insert. Repeat for the left-hand semicircle, applying glue to the top half of the upper heart.
Position the leaves in pairs, peeping out from under the red petals. Leave the lower right hand corner empty. Add glue to back of the lower half of each leaf and fix in place.
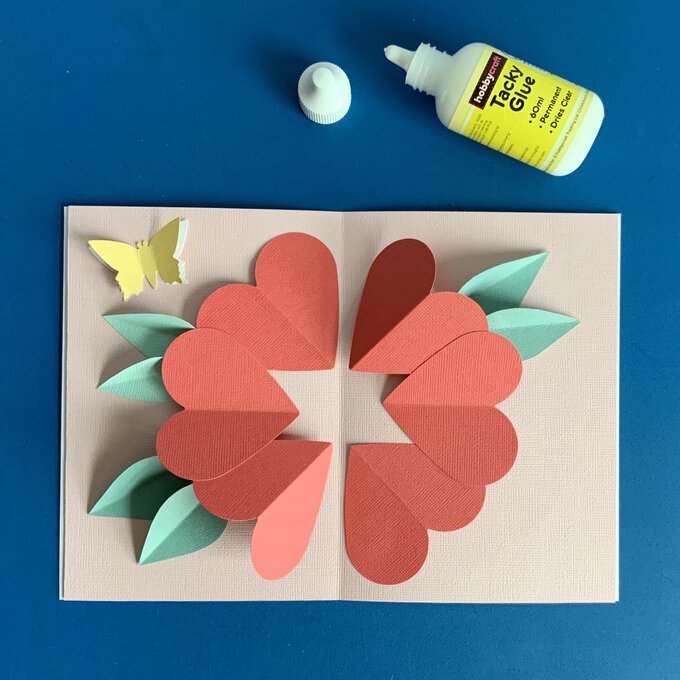
Apply glue to both sides of the prepared flower, over the base tab area only. Sit the flower well into the middle of the insert fold and close to press firmly. Leave closed for a while with a heavy book on top, allowing the glue to dry.
Test the pop-up flower by opening the card when completely dry. Fix the red petal layer to the underside of the largest pink petal ring. Apply glue to the textured surface, of the lower section, of the top petal, on the right-hand semicircle. Close the card to fix in place.
Repeat this for the other semicircle on the left-hand side, applying glue to the lower petal this time.
Sketch with a pencil and cut out a wavy fishtail banner from smooth white card measuring no longer than 140 mm in length.
Mark with a pencil two-fold lines about 10 mm apart, towards the ends of the banner. Score and fold the banner so that that middle section is raised.
Use one of the finer brush pens to brush letter a sentiment across the raised middle section of the banner.
Fix the banner in place down at the bottom right-hand corner on the insert. Apply glue to the fishtail ends only, making sure the banner can fold down flat when the card is closed.
The card insert is now completed.
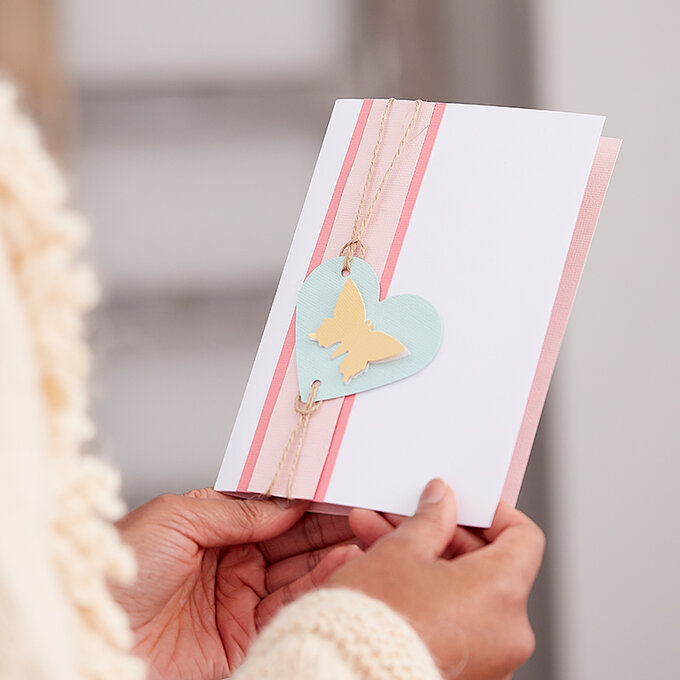
To create the front of the card, punch another pale sage green heart from textured card.
Use the anywhere hole punch to create a medium-sized hole at the top left-hand bulge of the heart. Add another hole at the pointed end of the heart.
Thread both holes with natural jute twine, leaving long tails.
Fix the prepared yellow butterfly onto the heart tag with tacky glue.
Trim a pale pink panel of textured card, measuring 30 mm wide, and the depth of the card front.
Trim another darker pink piece of textured card, measuring 40 mm wide.
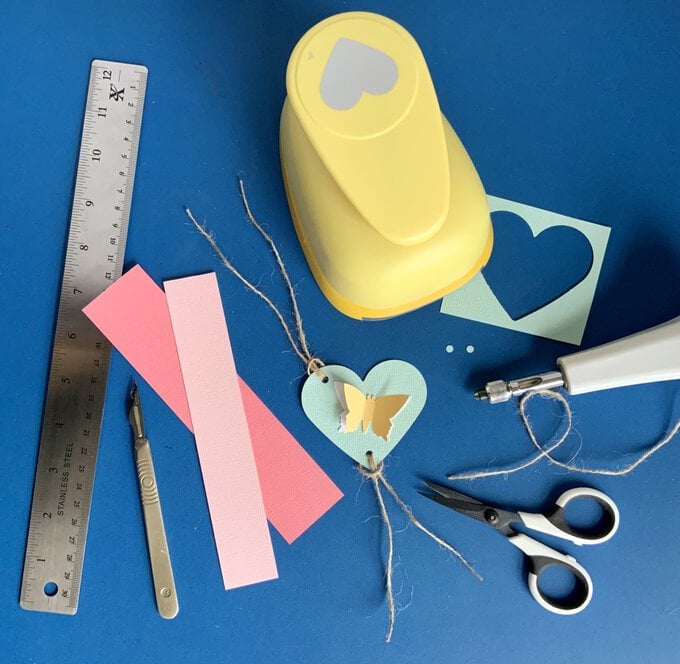
Fix the green heart tag onto the pale pink panel with a little glue. Placing it slightly lower than central.
Wrap the long twine ends over the pale pink panel and secure on the reverse. Trim the ends if necessary. Apply more glue and fix in place on top of the darker pink panel. Allow to dry.
Add more glue to the underside of the dark pink panel and fix onto the card front over towards the fold.
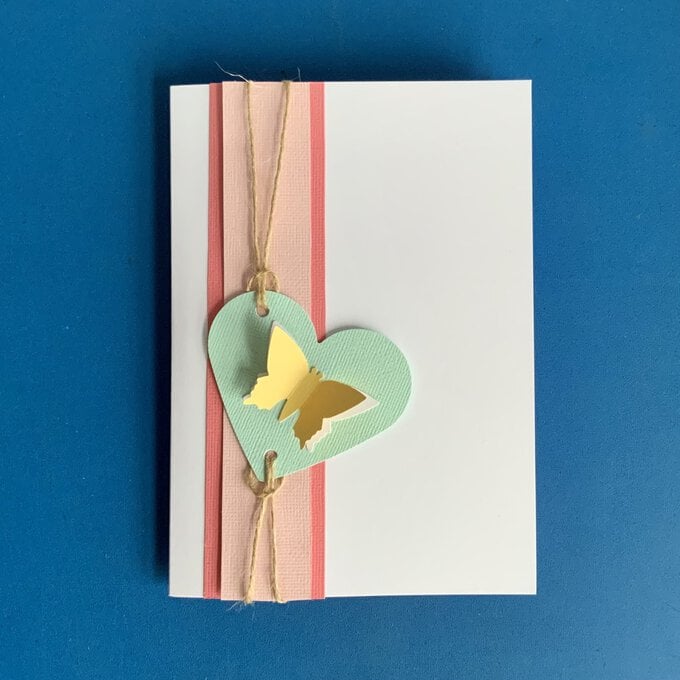
The Mother's Day pop-up flower card is now complete!
