How to Make a Quilled Floral Box Frame
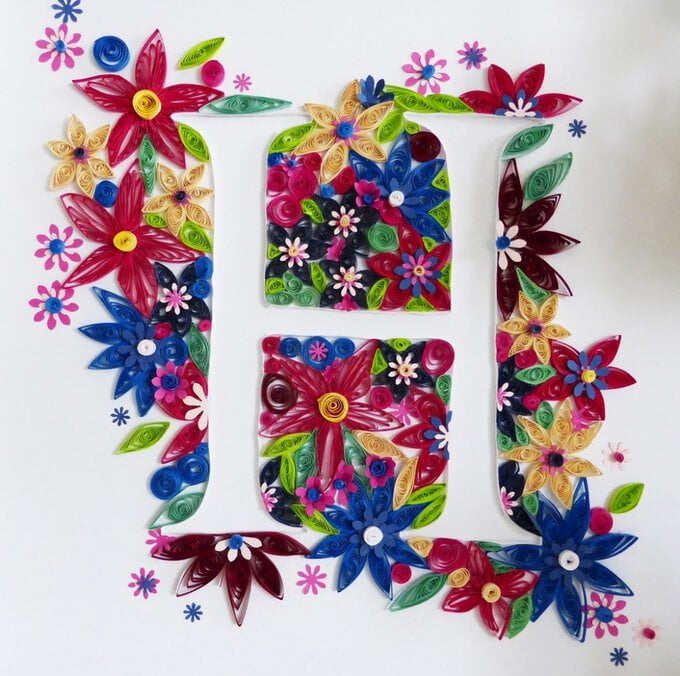
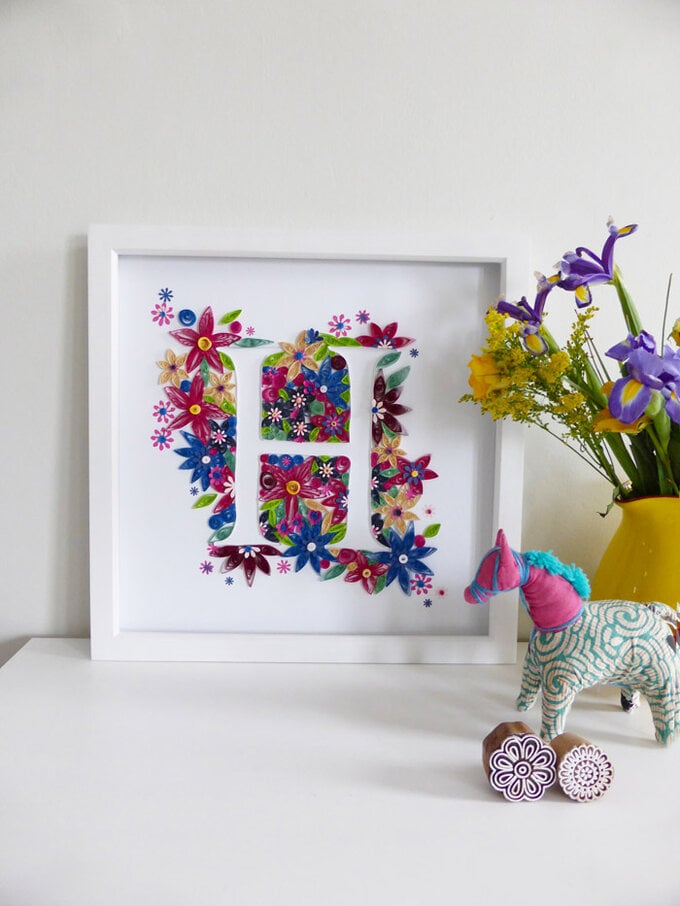
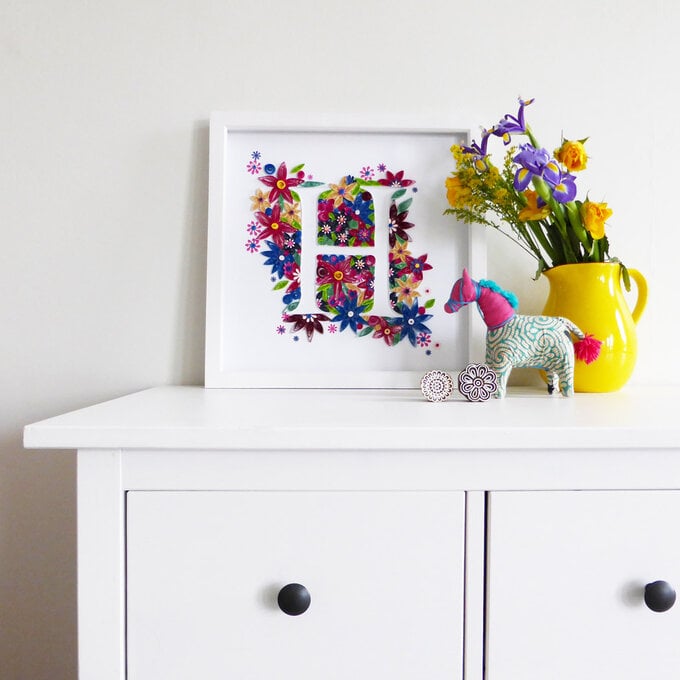
Hannah Read-Baldrey is a whiz when it comes to a bit of quilling! This stunning technique has been used to create a celebration of flowers in her beautiful quilled floral box frame project. Either use initials or spell out a word, perfect for a bedroom, living room or even wedding sign! Twitter: @couturecraft Blog: CoutureCraft.co.uk
You will need
Subtotal
Is $ 4.49
Subtotal
Is $ 8.49
Subtotal
Is $ 3.49
Subtotal
Is $ 20.00
Subtotal
Is $ 33.00
You Will Need
* A White Box Frame
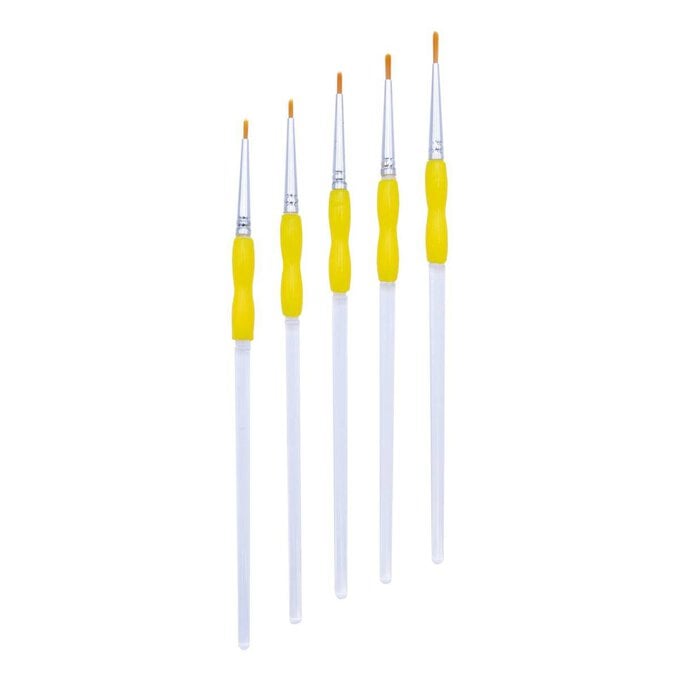
* Craft Brushes
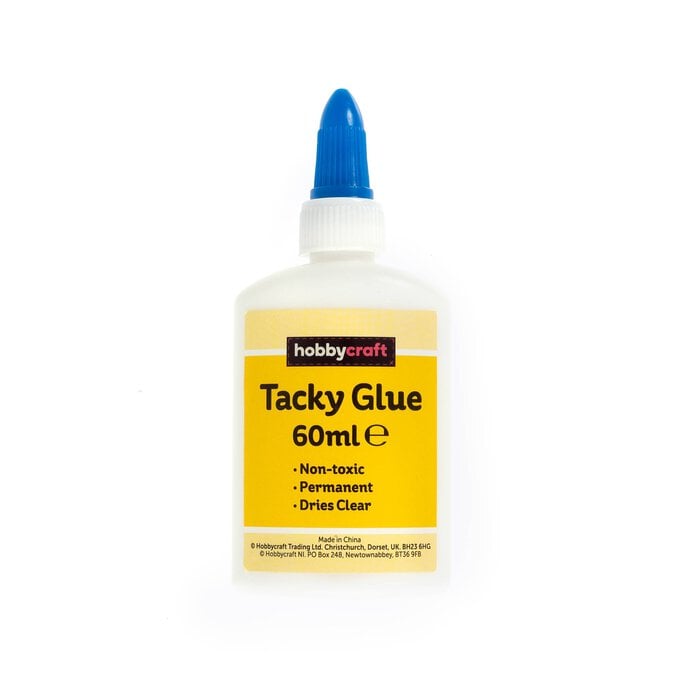
* Tacky Glue
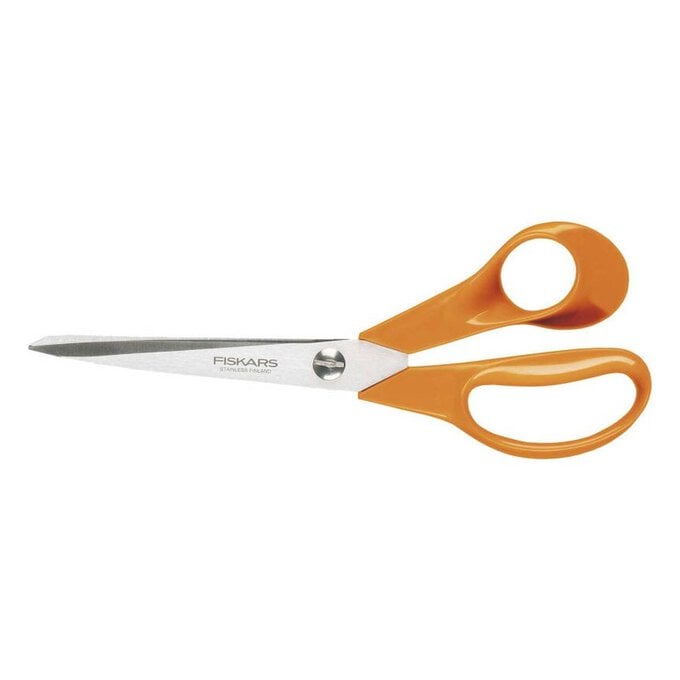
* Scissors
* Quilling Strips - Multicoloured & White
* Quilling Comb
How to make
To begin, decide on which word or letter you would like to spell out. You can either write this out freehand or scale up the letters on your computer and print out to a create stencil.
Cut the white card to the same size as the frame, you can use the back board of the frame as a guide.
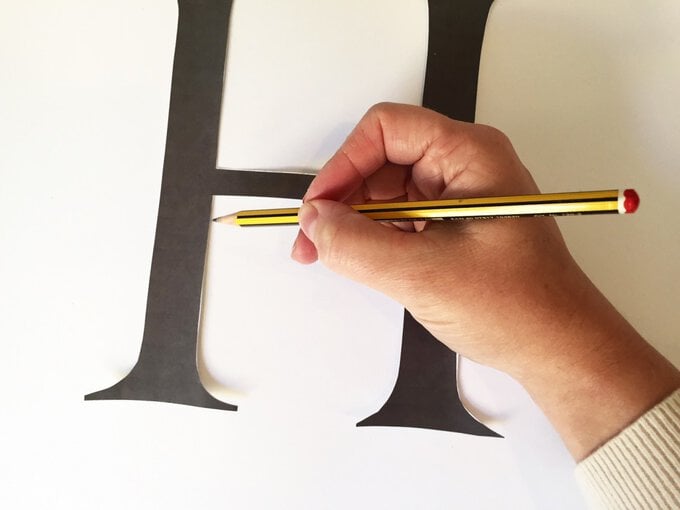
If you have printed out letters, cut around the outside and place on top of the card and trace around the outside with light pencil marks. Or write out words freehand.
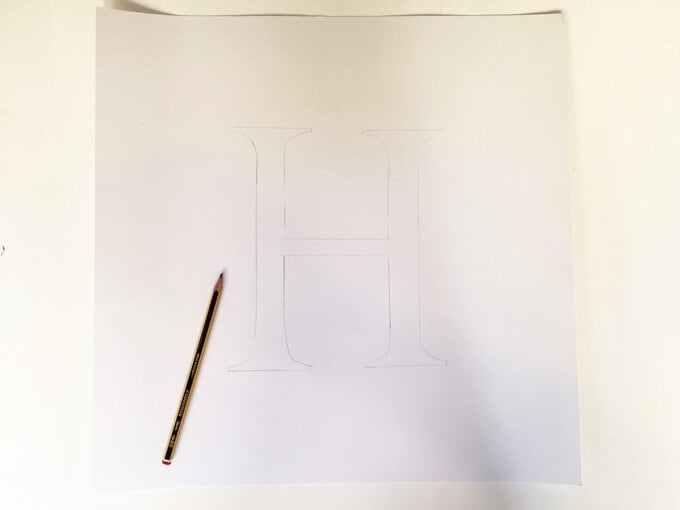
Next to create an outline around the letter/s, using the white quilling strips, paint a fine line of glue along the pencil mark and glue the strips upright along the lines. Once you have created the outline you can go around the lines again to strengthen and straighten them.
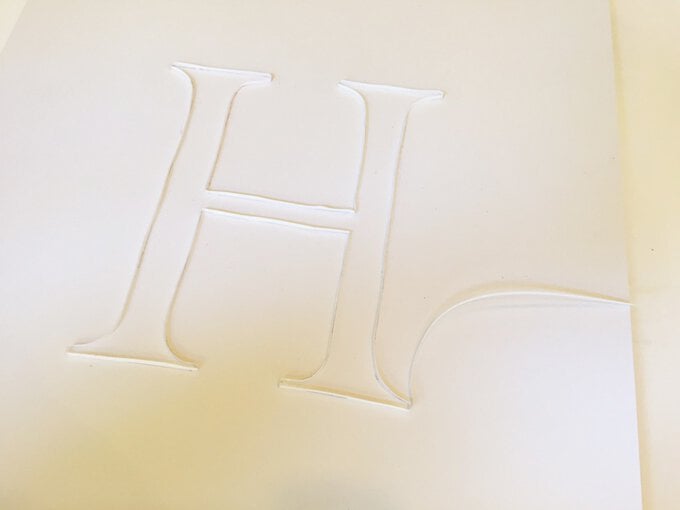
At this point it is good to use the Spray Mount to attach the card to the back board of the frame, to avoid warping when the flowers are added.
To create the flowers, there are two techniques of quilling flowers in this frame. The needle and comb techniques.
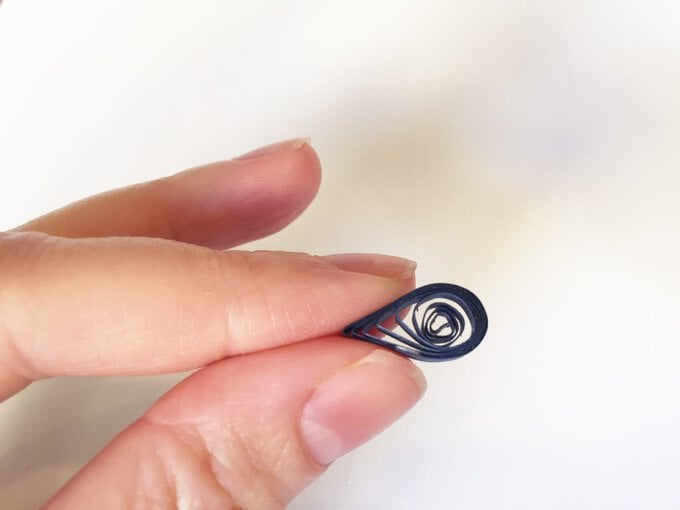
To create simple petals using the quilling needle, simply thread the end of the quilling strip through the slot on the needle and twist to create a tight spiral shape. Release the strip from the comb and loosen the spiral to the size you want it. Add a blob of glue at the end and secure. Pinch each end to create a petal shape. You will need around 5-6 of these petals to make a flower.
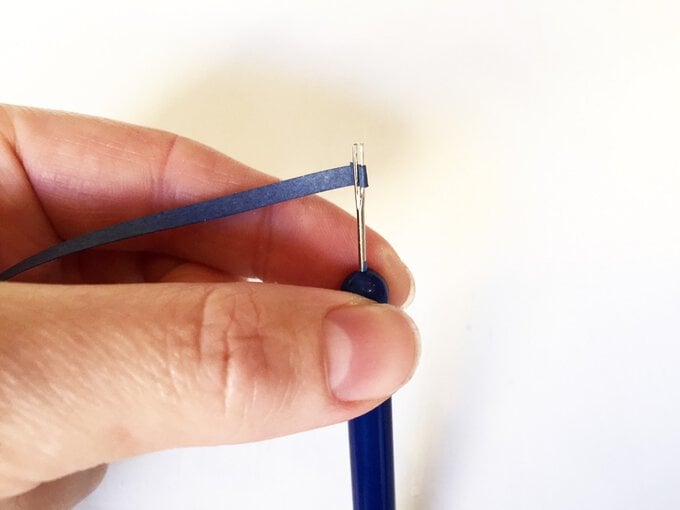
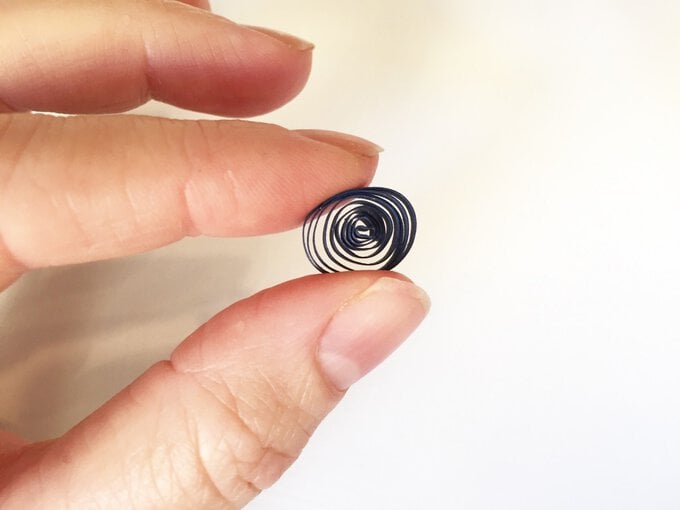
Glue the sides together and hold in place until secure.
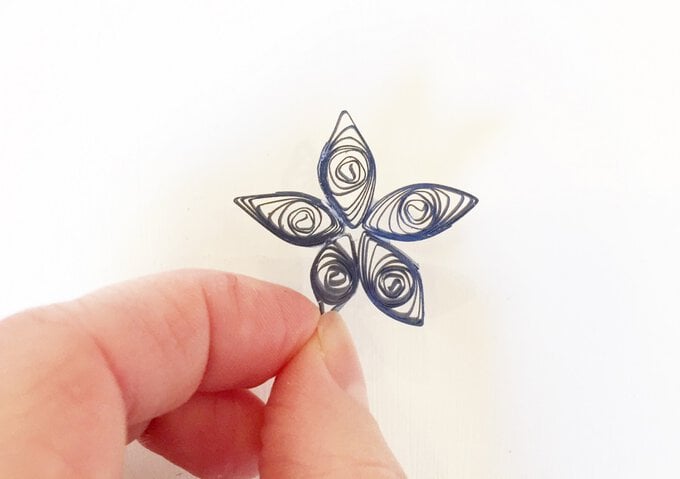
For the centre of the flower you can create another spiral from yellow quilling strips, again simply twist the quilling strip on the needle, you may not need a whole strip for this. Secure end with glue.
It looks extra pretty to add a few of the daisy punch cut outs before you add the yellow centre. You can make all sorts of variations in size and colour using this technique.
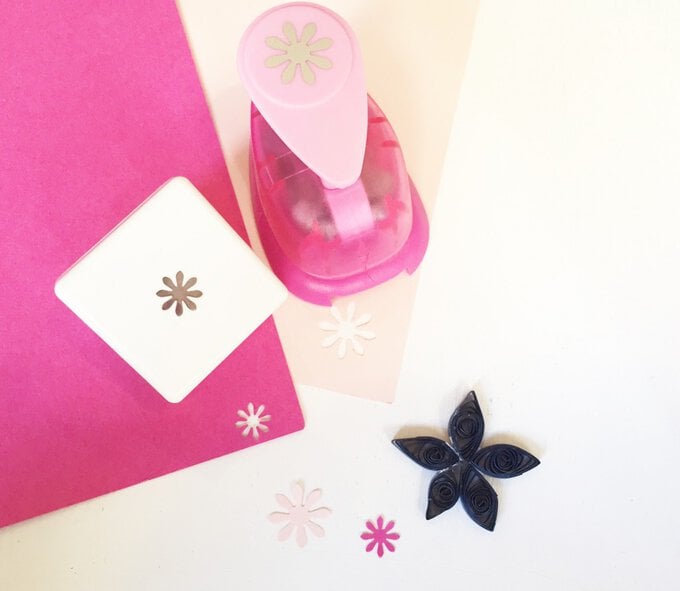
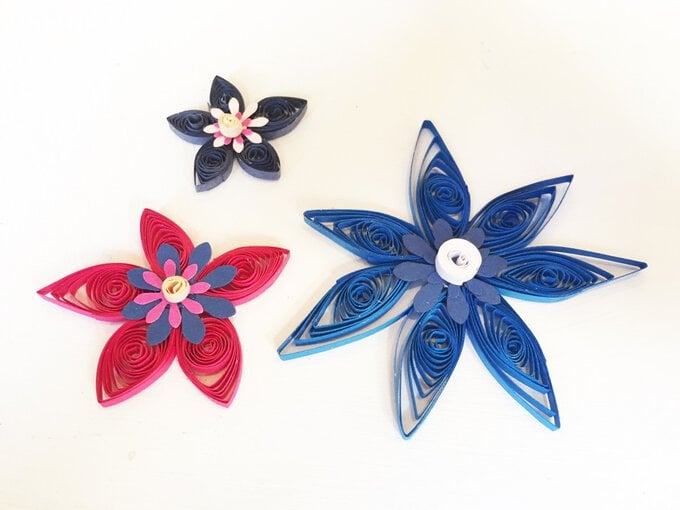
To create more complex petals using the quilling comb, fold the very end of the quilling strip then hook it into the middle of the quilling comb
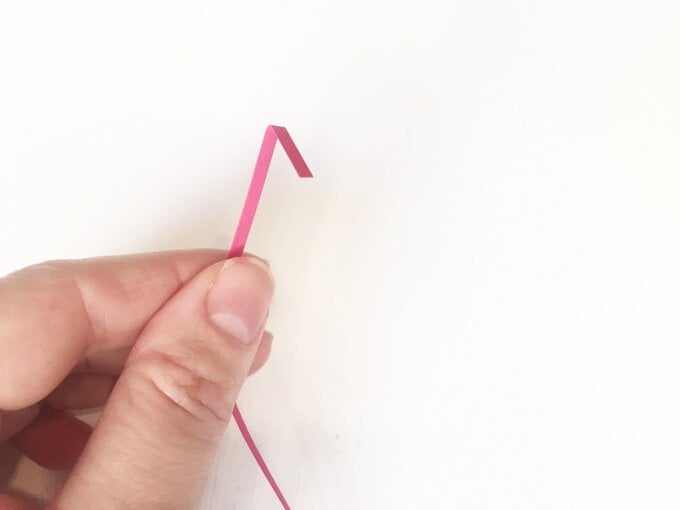
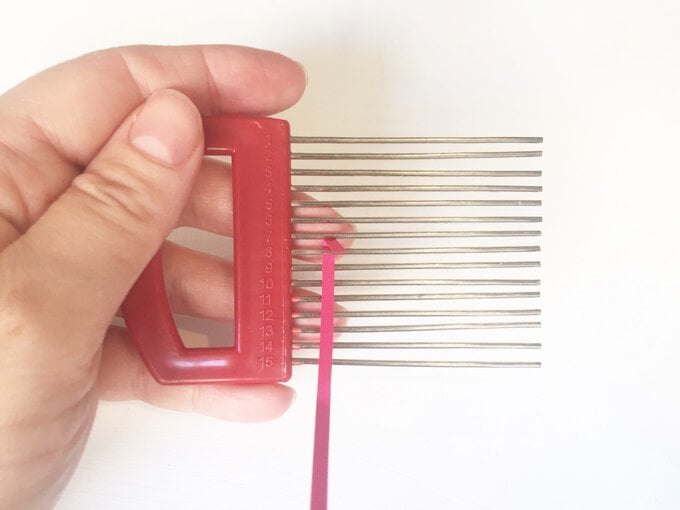
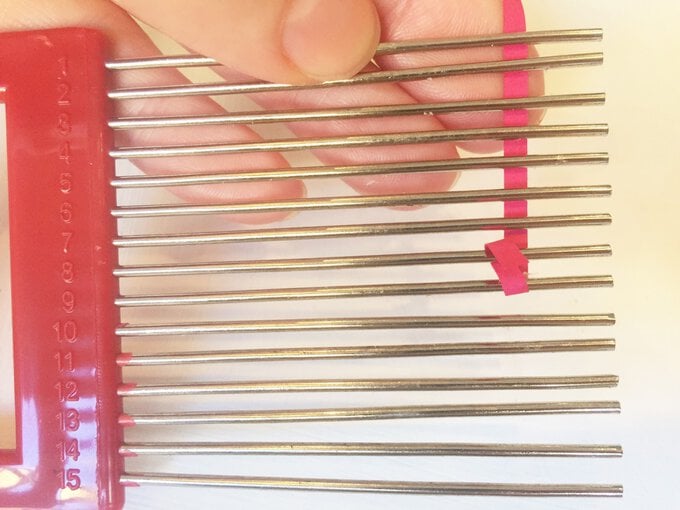
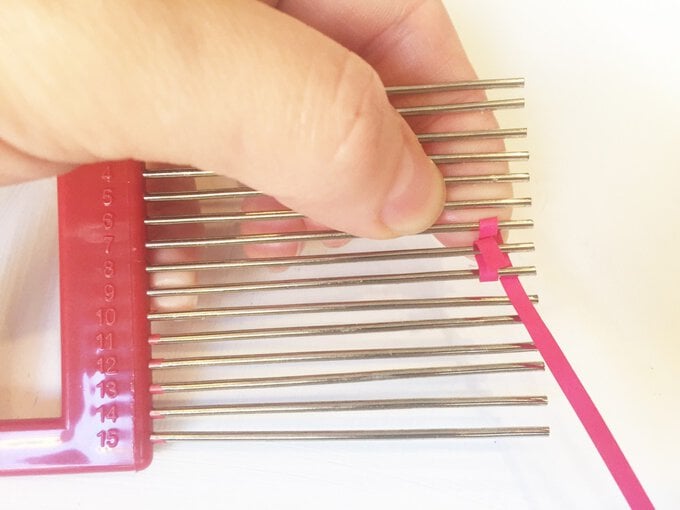
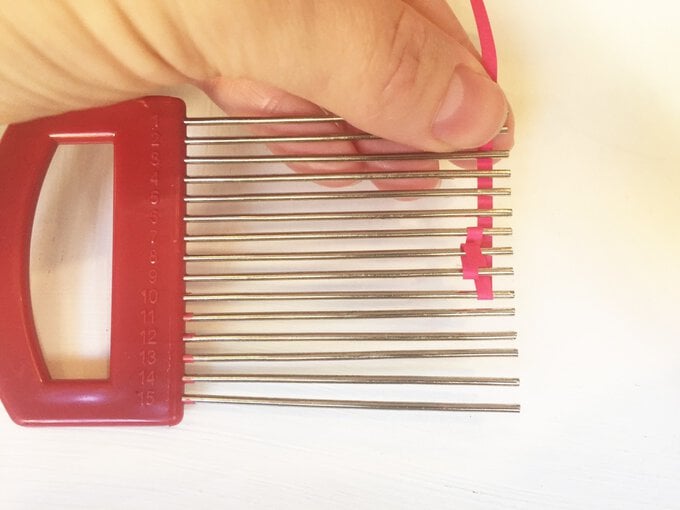
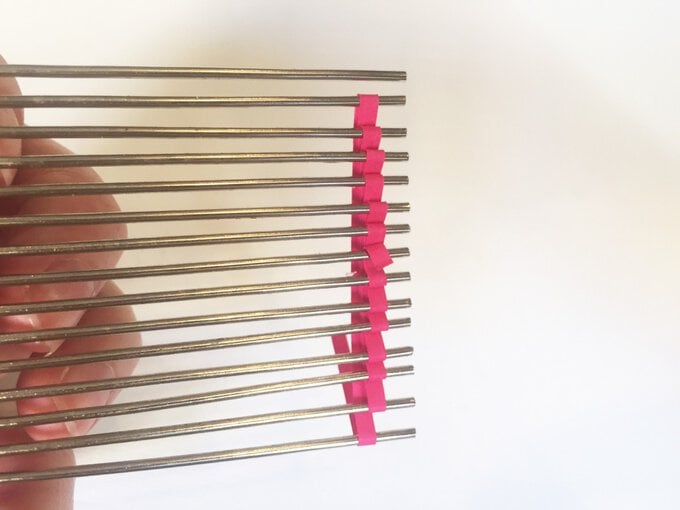
Turn comb over and make sure all strips are lined up one on top of each other, then remove from comb. Glue the open ends down.
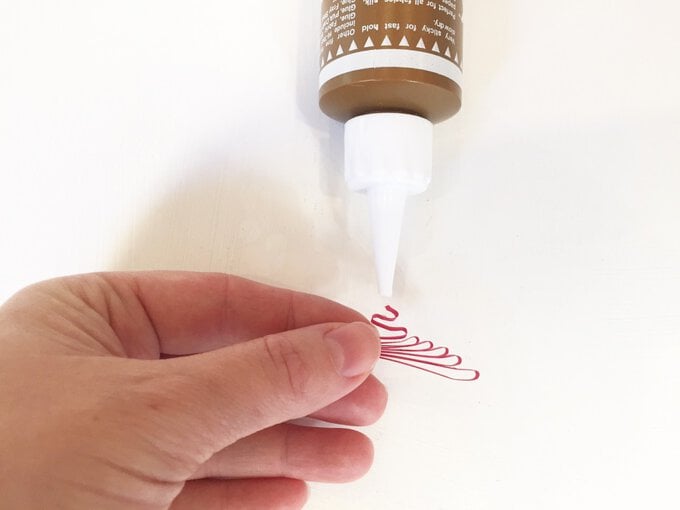
Fold the folded strip in half, so the longest loops are in the middle. The get a second piece of quilling paper and add a blob of glue at the end then wrap this around the folded strip. Pinch the top end to make a petal shape and continue to glue and wrap around a couple of times. Trim of a need end and glue down.
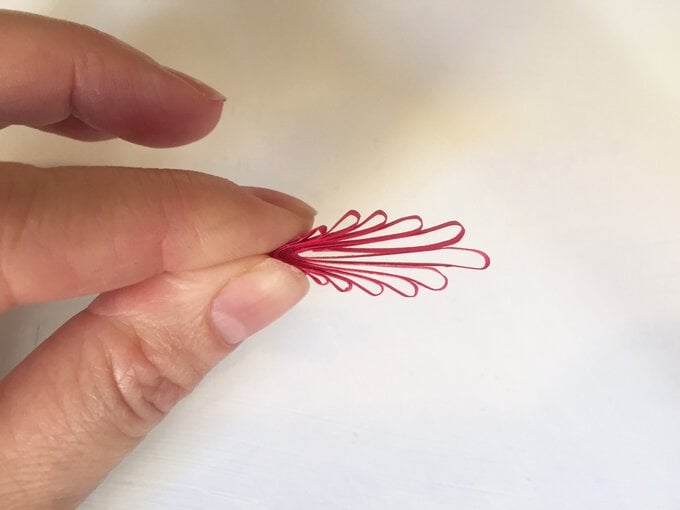
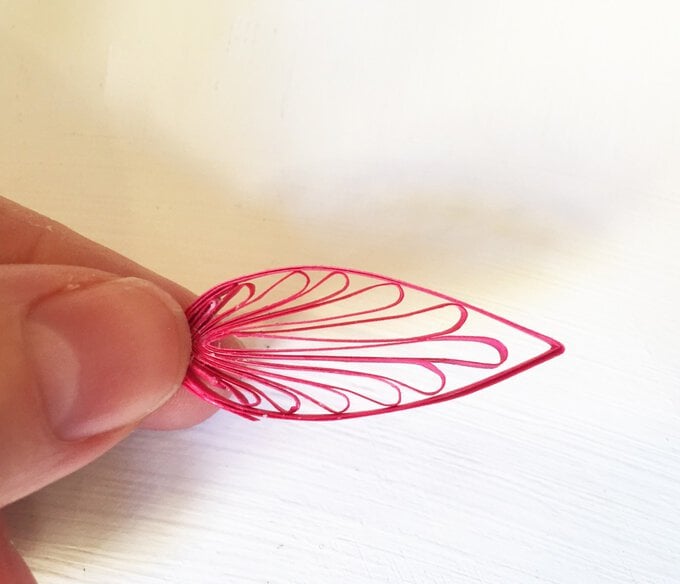
Repeat this process 5 times to create enough petals for a flower. Glue the sides together and hold in place until secure.
Again you can use the quilling needle to create the centre of the flower or also layer up with some daises.
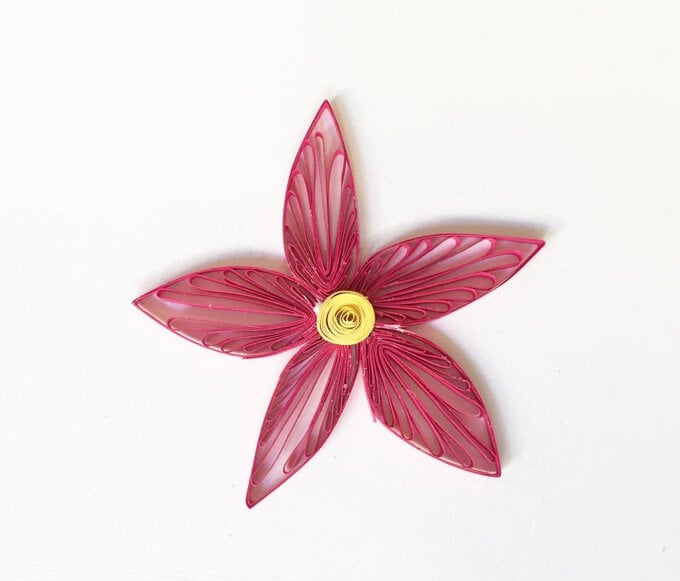
Its good to make the flowers in batches of design with your letter/s board in front of you so you know how many you need, you can keep adding and making flowers.
Surround your letter/s with the flowers gluing them in place and you can use the green quilling strips to fill in gaps or make leaves, using the quilling needle technique.
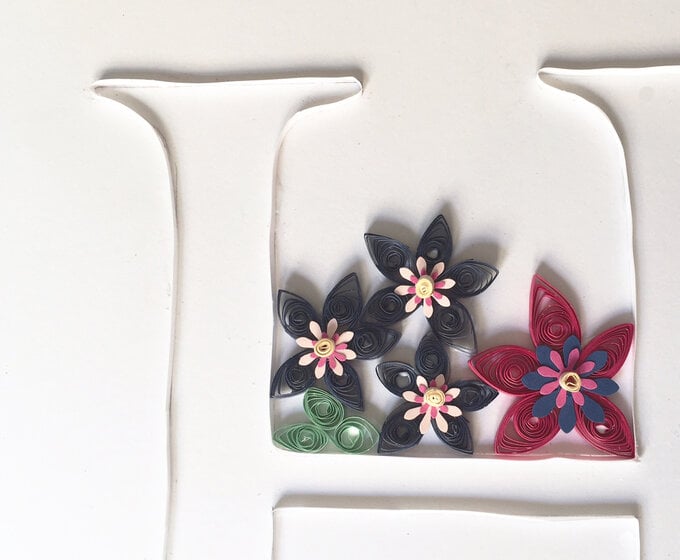
The daisy punches also make a lovely addition to the edges of the piece.
Once complete, allow the glue to fully dry and place the back board back into the frame.
Hang somewhere and enjoy the flower power!
