How to Make a Spring Punch Needle Portrait
If you're looking to impress all your friends with your punch needle skills, then this incredible punch needle project is just for you! Perfect for intermediate punch needle crafters, you'll be able to create a beautiful portrait using a collection of our favourite yarns.
This stunning statement piece is certain to make a delightful impact to your décor or can be created as a fantastic gift idea for someone special.
Project and instructions by Shikira from kre8iveshack
Discover more punch needle projects >
You will need
Subtotal
Is $ 8.49
Subtotal
Is $ 11.00
Subtotal
Is $ 5.49
Subtotal
Is $ 8.49
Subtotal
Is $ 12.00
Subtotal
Is $ 12.00
Subtotal
Is $ 26.00
Subtotal
Is $ 2.49
Subtotal
Is $ 2.49
Subtotal
Is $ 8.49
Subtotal
Is $ 8.49
You will also need:
* An iron
* Brown fabric for the skin tone
* Scissors
* Clear tape
How to make
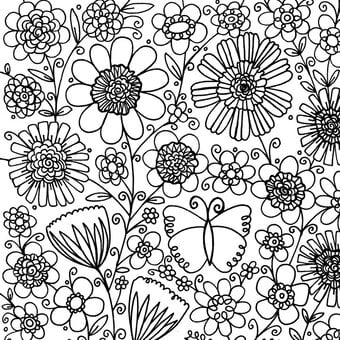
Print out the 2-page template plus additional face template. The main template is in 2 parts, tape the two halves together matching the lines of the drawing. Use a fabric pen to trace over the lines of the whole image.
Top tip: Be careful of where you stick your tape because you will need to remove it easily so you can iron the paper. You don't want melted cello tape on your iron.
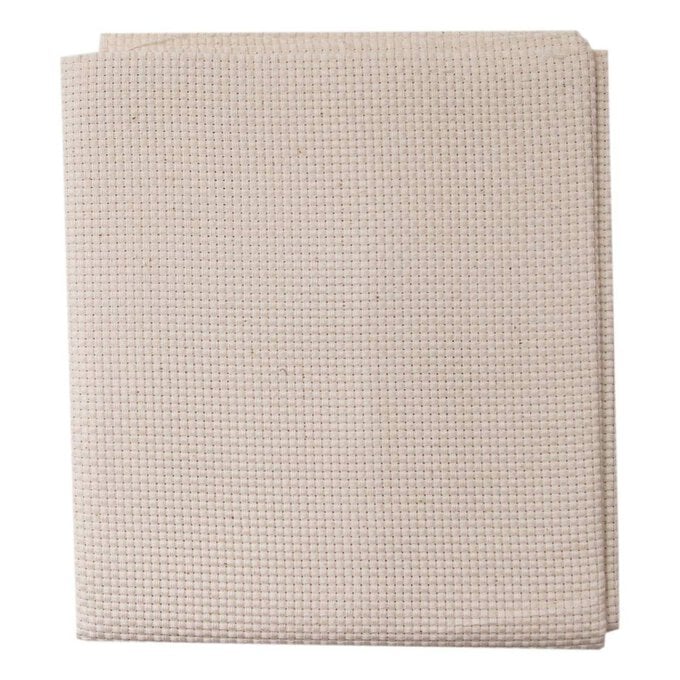
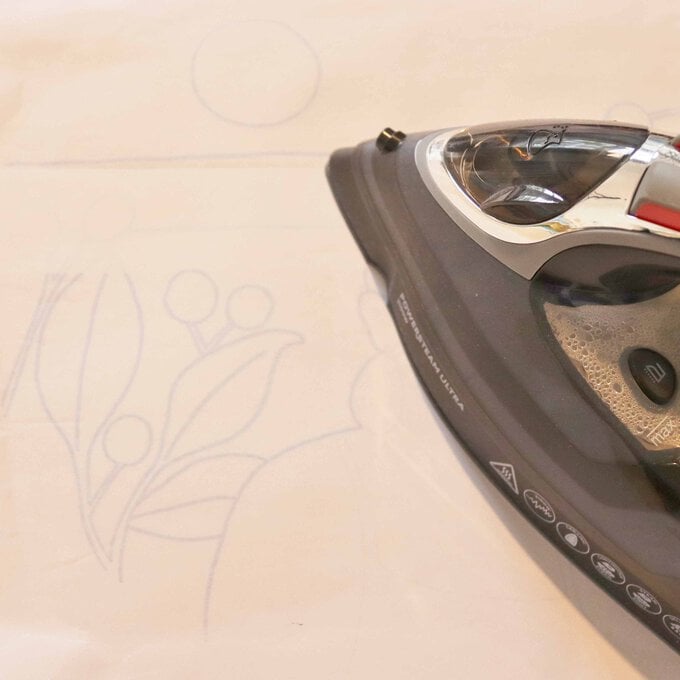
Cut a piece of Binca cloth using your 12-inch embroidery hoop as a guide. You want the size to be an inch or two bigger than your hoop. Place the whole image template face down onto the centre of the Binca cloth, then iron the paper to transfer the image onto the fabric.
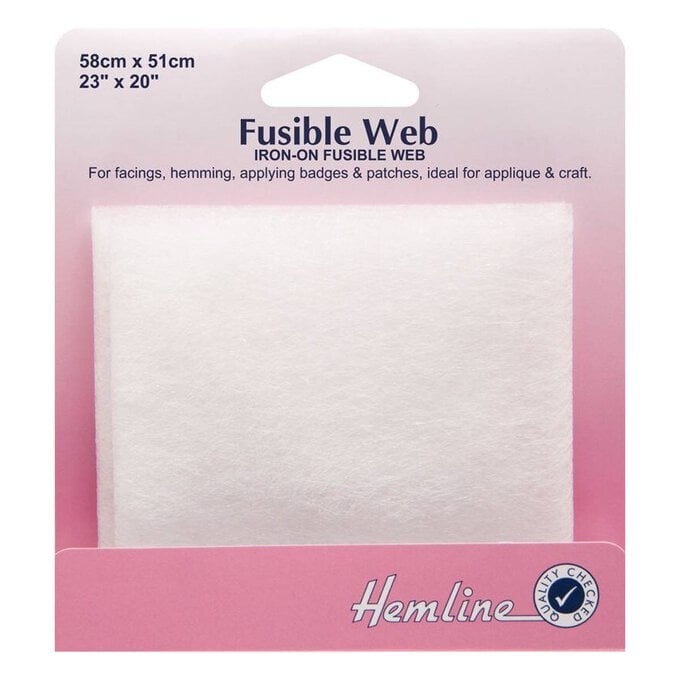
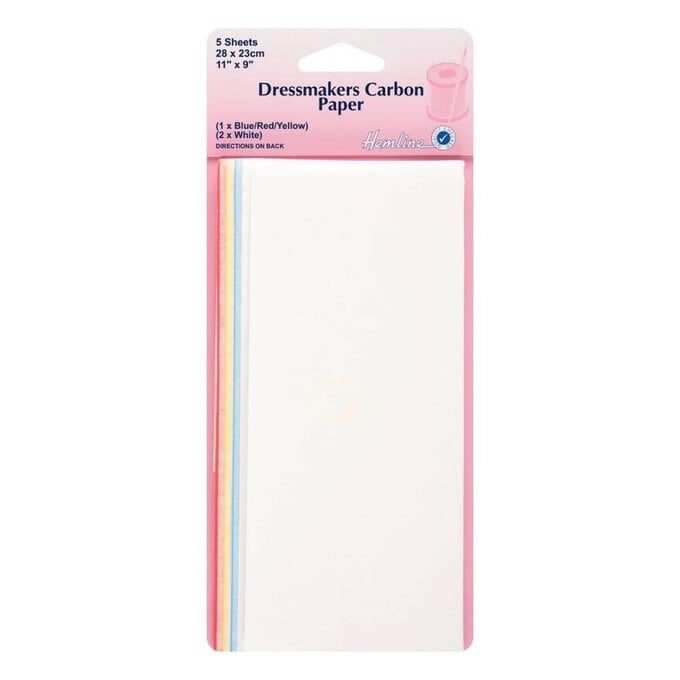
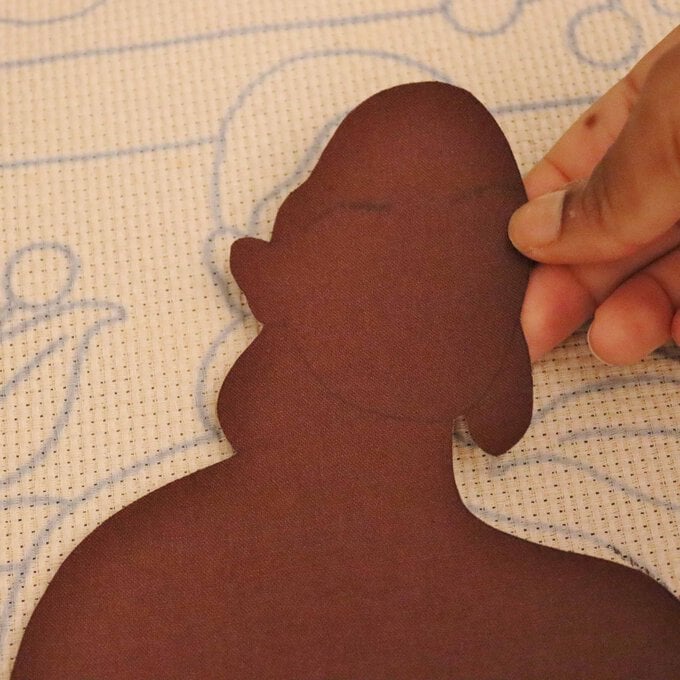
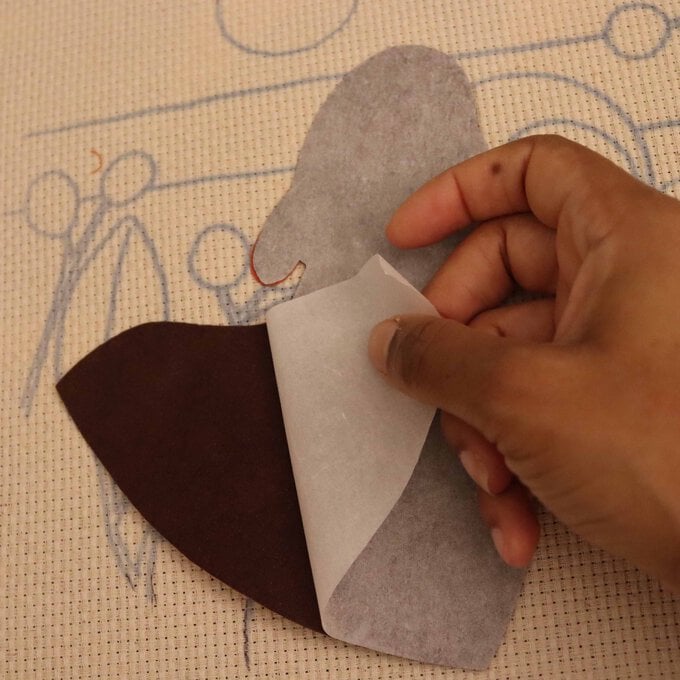
With the additional applique face template. Use carbon paper to transfer the outlines and face details onto the brown fabric. For this brown fabric you'll need to attach some Fusible web to the back.
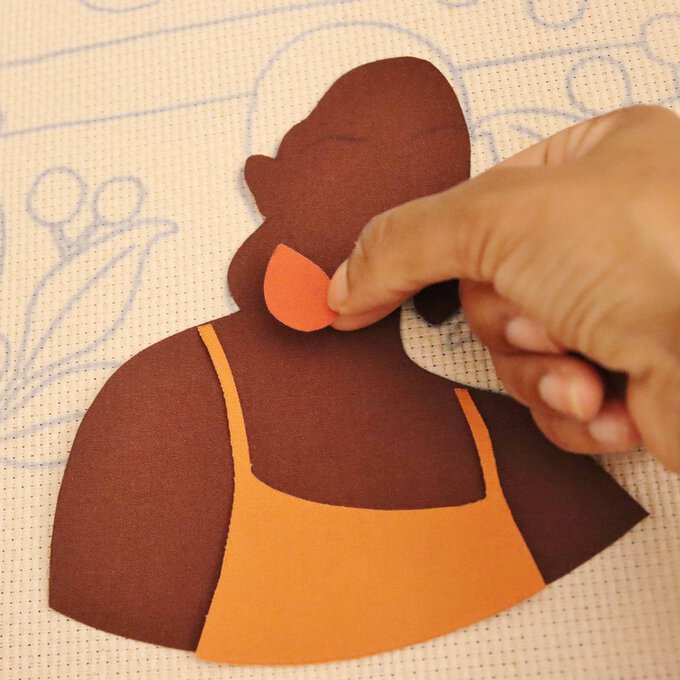
Onto a bright orange fabric re-trace around the same template but this time tracing out the Vest top only. Repeat this step for the earrings too using a pink fabric. Repeat by adding fusible web to the backs of these pieces.
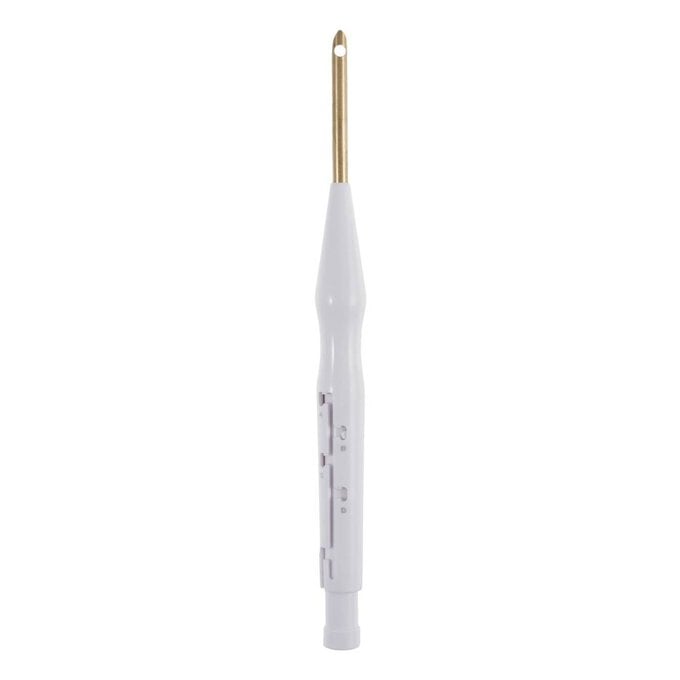
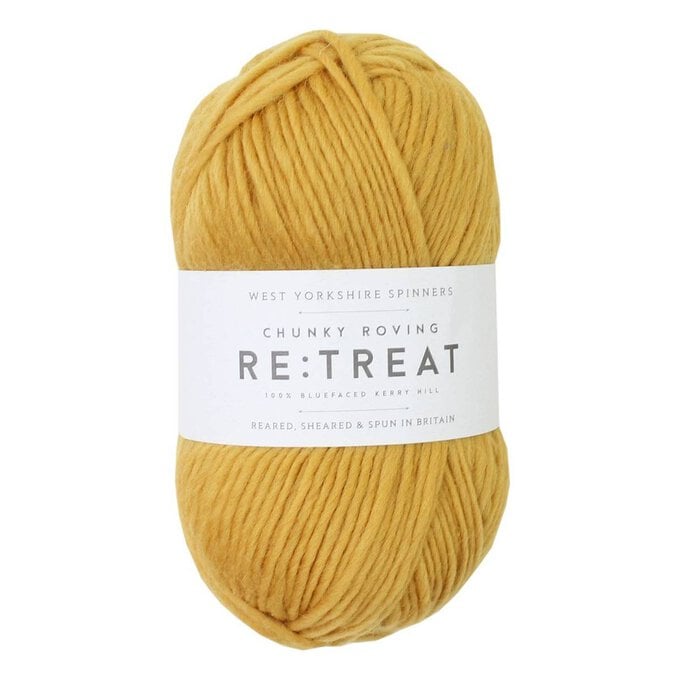
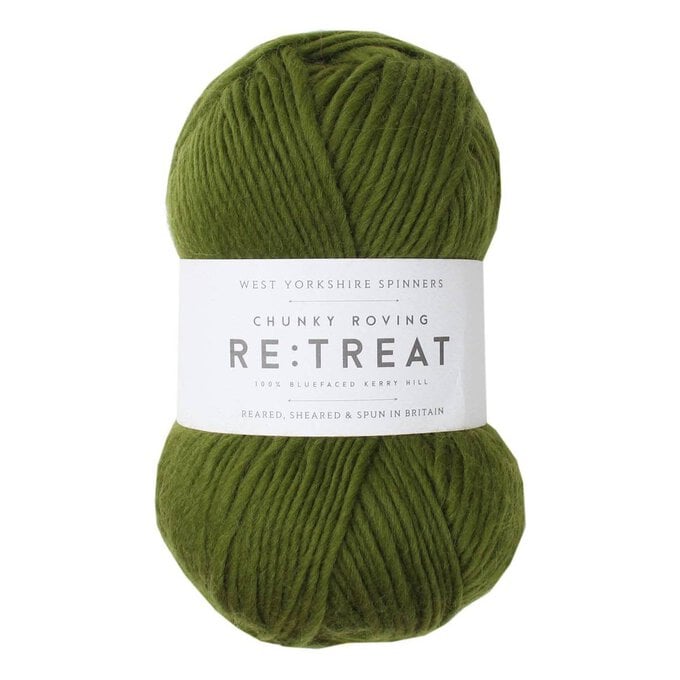
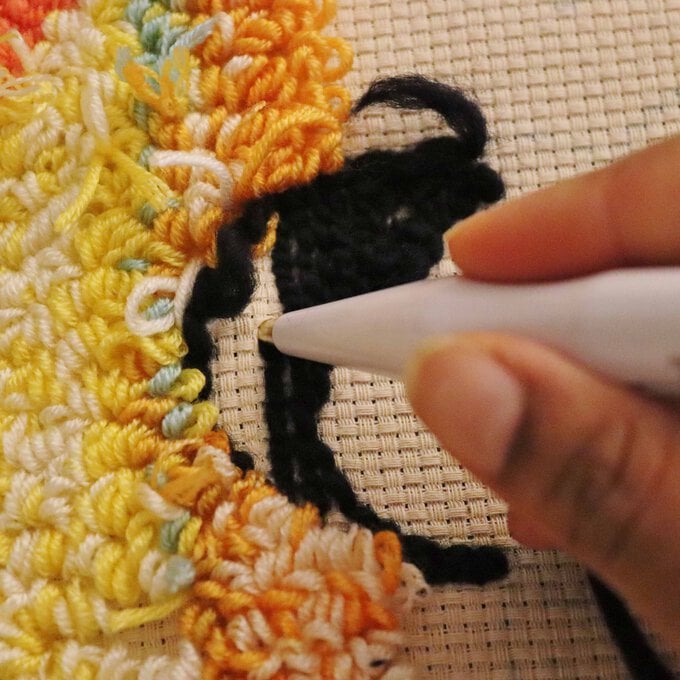
Adjust the punch needle to stitch length D which is the shortest loop. Thread the needle with West Yorkshire Spinners Chunky Roving RE:TREAT in colour Black. Now stitch the outline of the hair from the wrong side of the hoop making the loops appear on the right side of the design. Trim any excess threads to tidy.
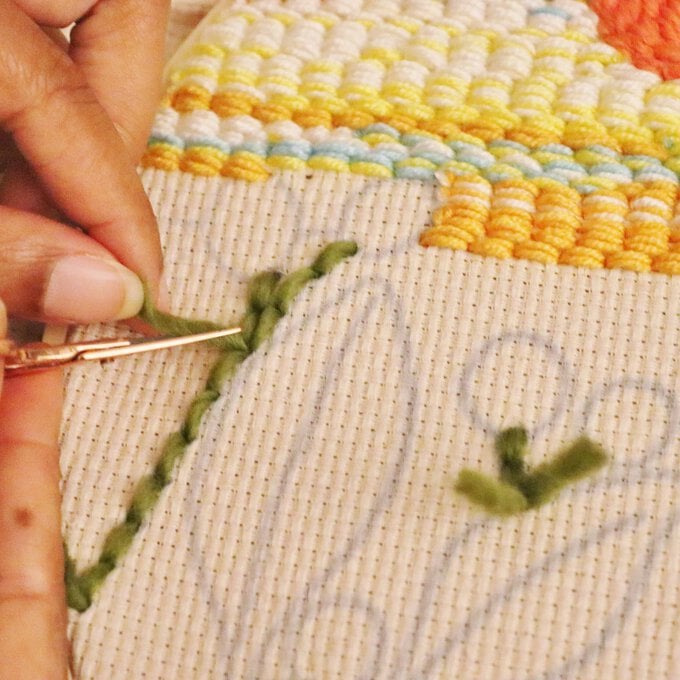
Next use West Yorkshire Spinners Chunky Roving RE:TREAT colour Serene (Green), and Stitch the stems to each of the circular flower buds. You can readjust to stitch type C.
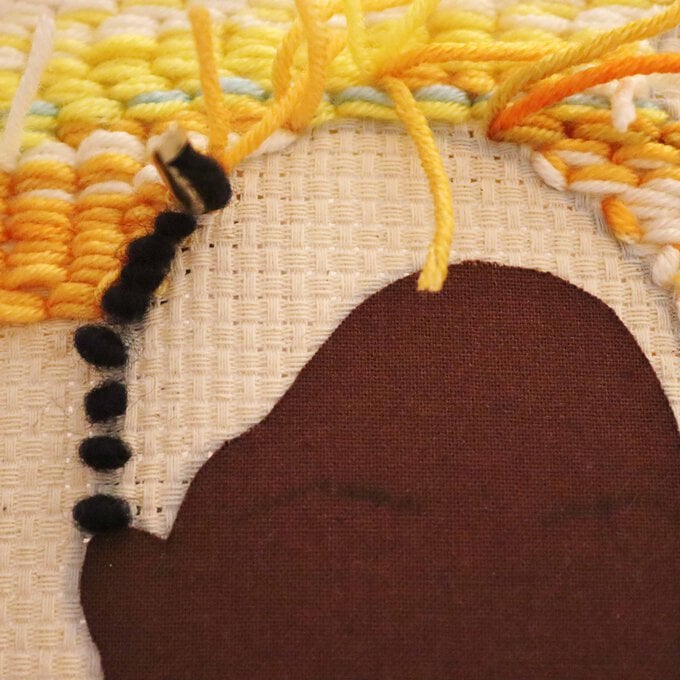
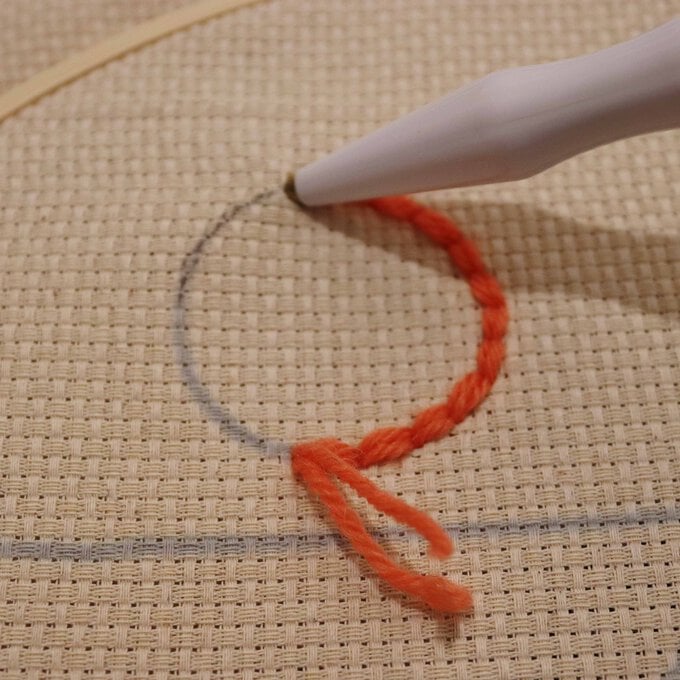
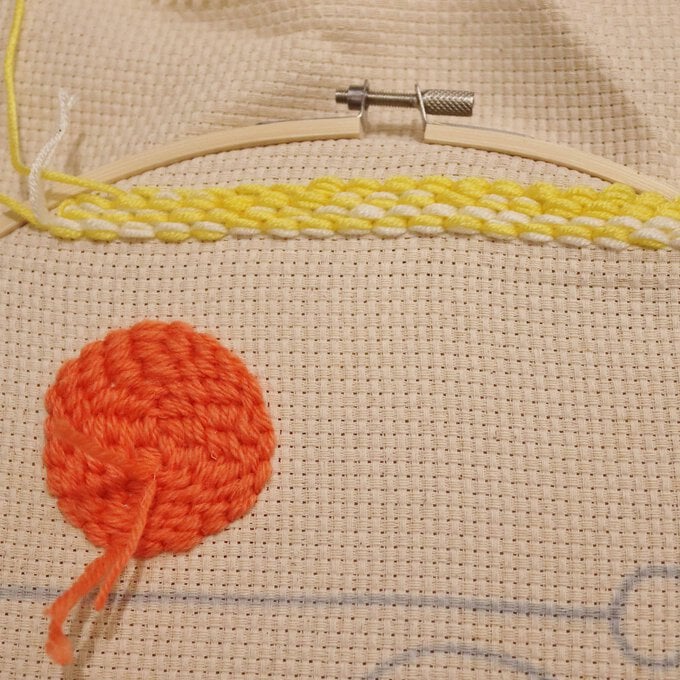
Thread your punch needle with 2 extra-long strands of The Women's Institute Home Grown yarn in colour Coral. Stitch flat stitches to fill the sun. Your needle should be positioned at stitch type C.
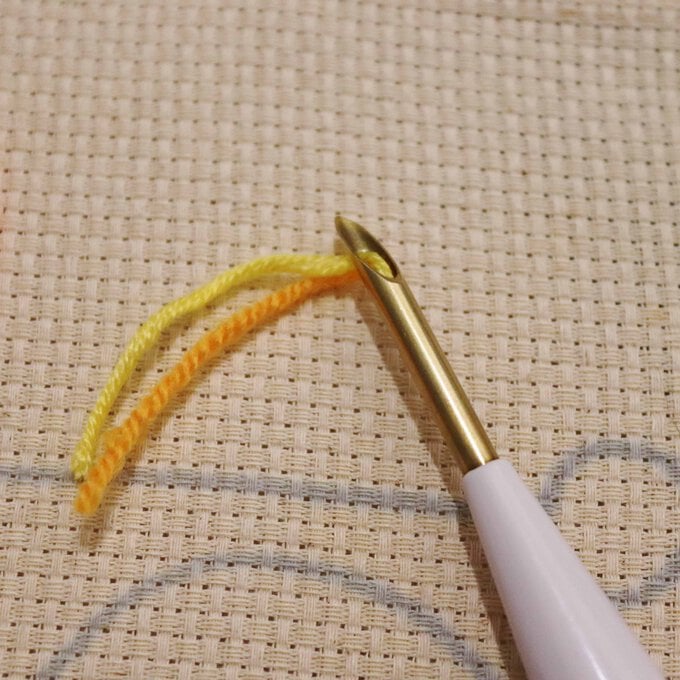
Once the sun is complete, thread your punch needle with 2 long strands of The women's Institute Orange Mix yarn. Ensure your punch needle tool is on stitch type C. You're going to stitch flat stitches in long rows to fill the sky. Snipe off excess yarn to tidy.
Top tip: With this multi dyed yarn I stuck with the areas which are mostly oranges, yellow and white. I only added a small amount of blues and greens. If my yarn had too much of a colour I didn't want in the design, I would just cut that off and start my yarn and the next colour I desired.
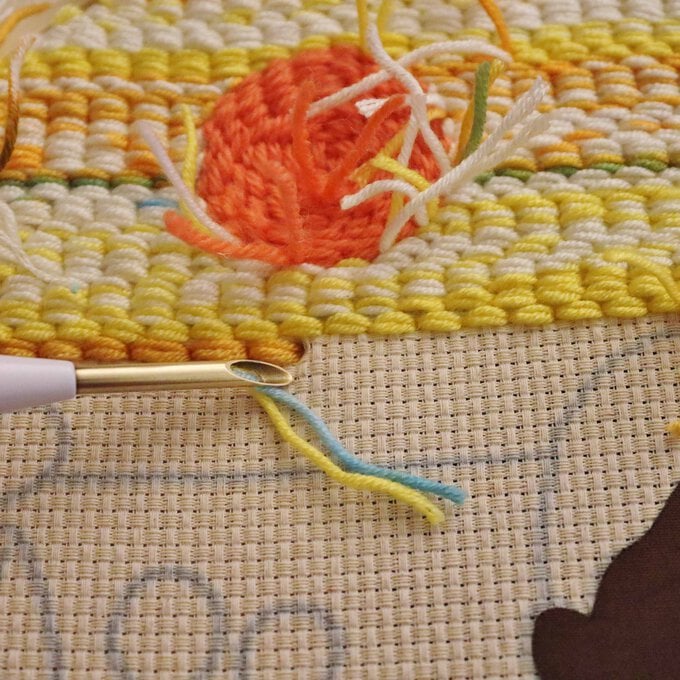
Now thread the needle with Hayfield Bonus Chunky in Colour Light Natural and fill the outer spaces with flat stitches.
Using West Yorkshire Spinners Chunky Roving RE:TREAT colour Mellow. Adjust your needle to stitch type D. From the wrong side of the hoop, stitch loop stitches into those circle buds in the same way that you did the hair in step 10. The loops need to be visible on the right side of the design.
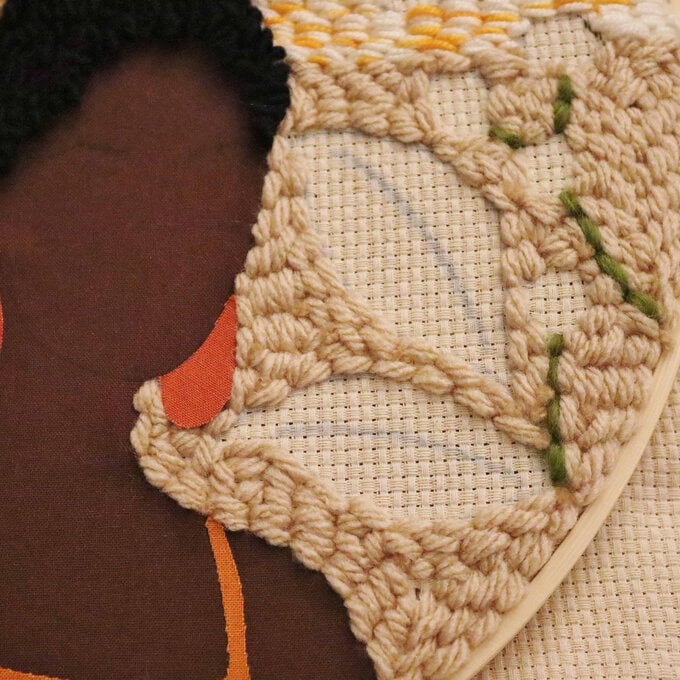
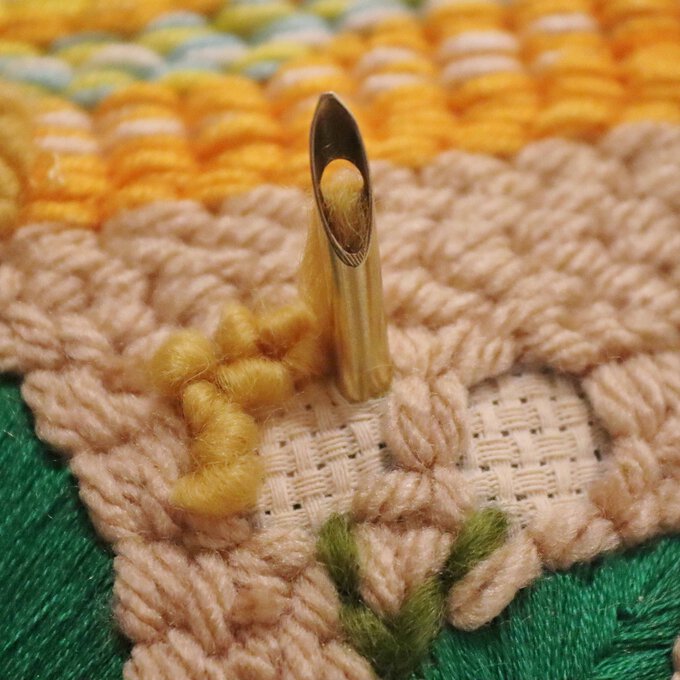
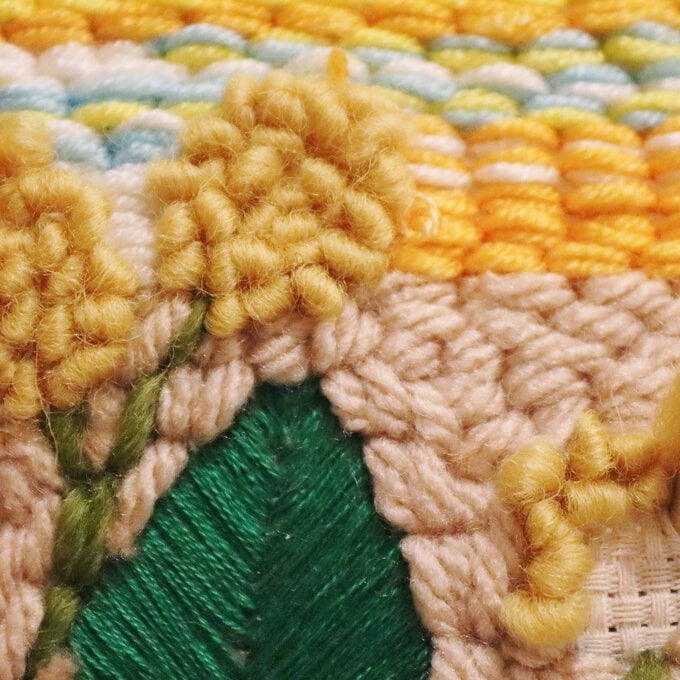
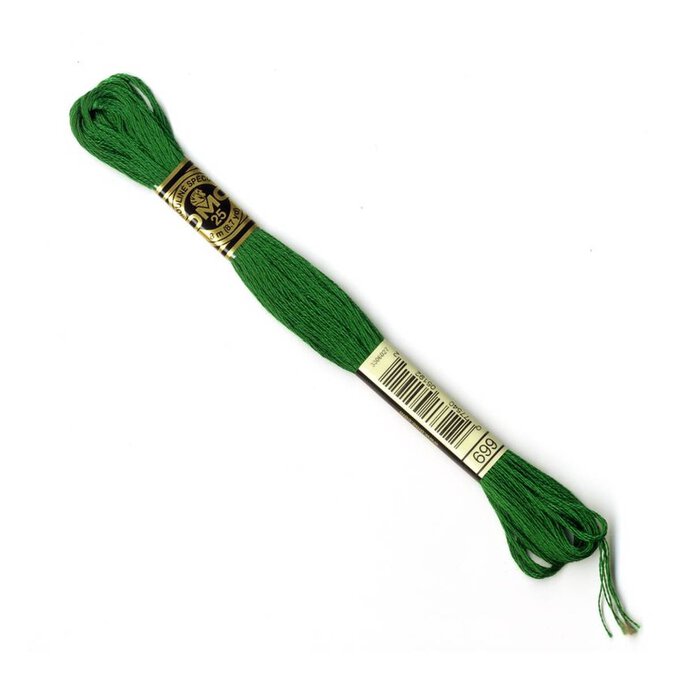
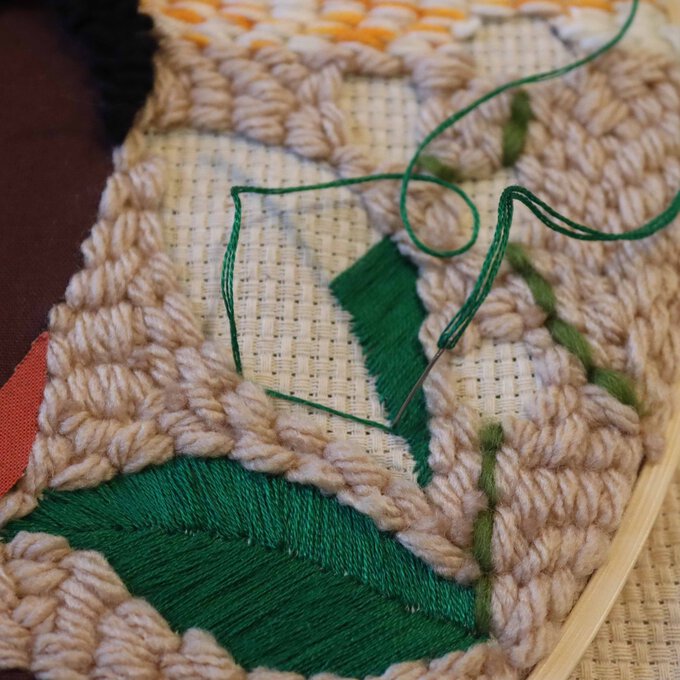
Using a satin stitch and DMC thread 699, stitch up the leaves. Begin on one half of the leaf stitching at an angle before doing the same to the other side.
Finish off by stitching a normal satin stitch to represent the stems of those leaves.
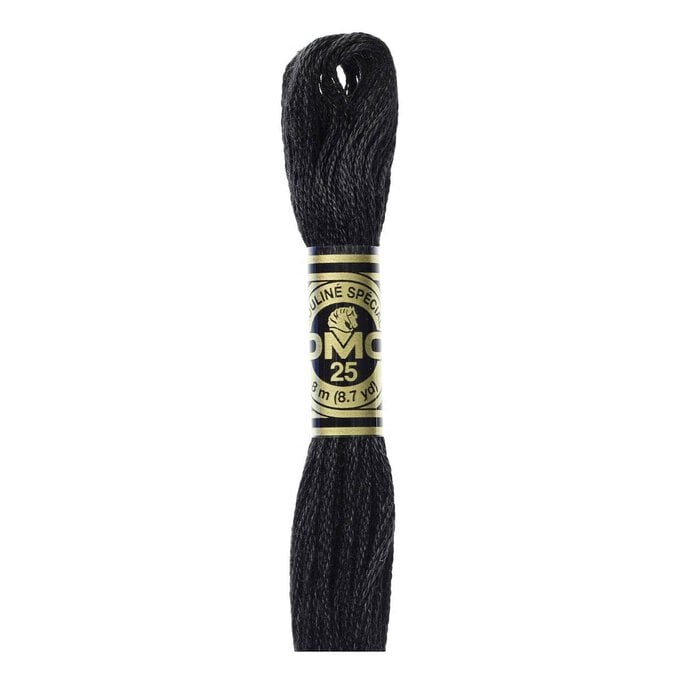
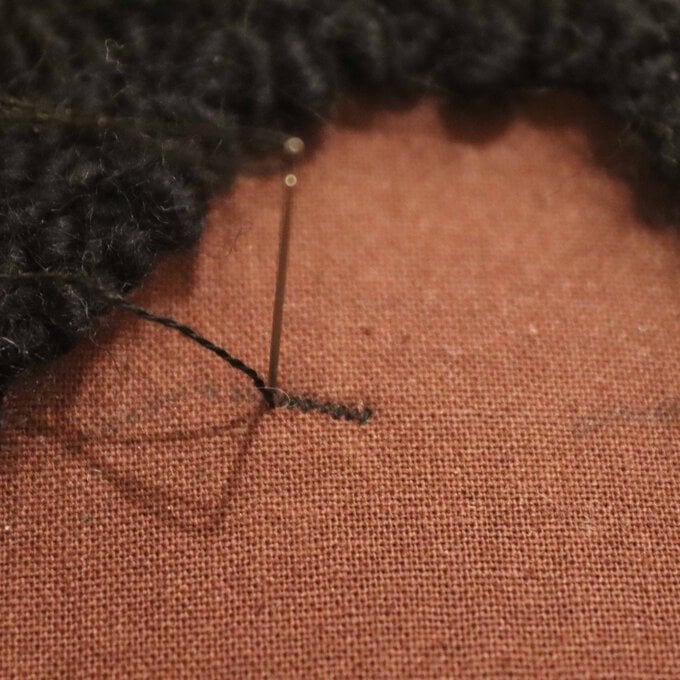
Finish off the lady's face using 1 strand of DMC 310 and a split stitch to stitch the jaw line up to the ear and use tiny hair like stitches to fill in the brows.
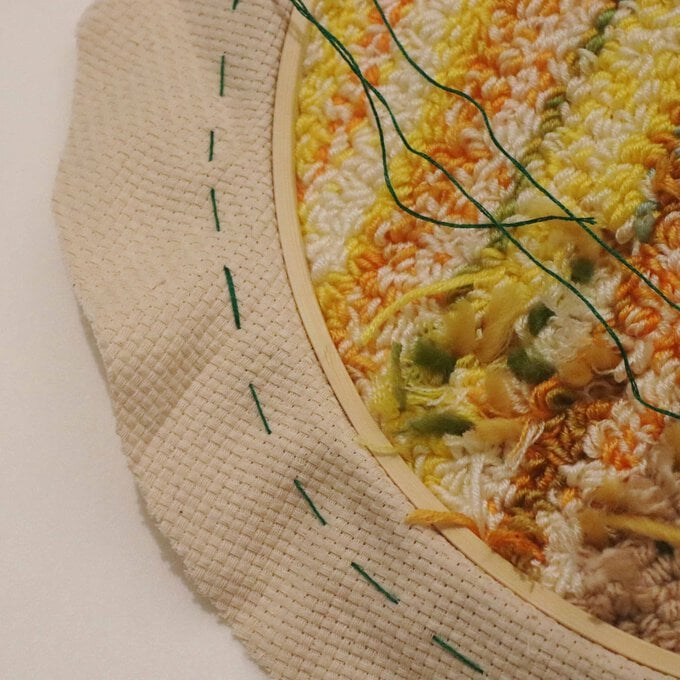
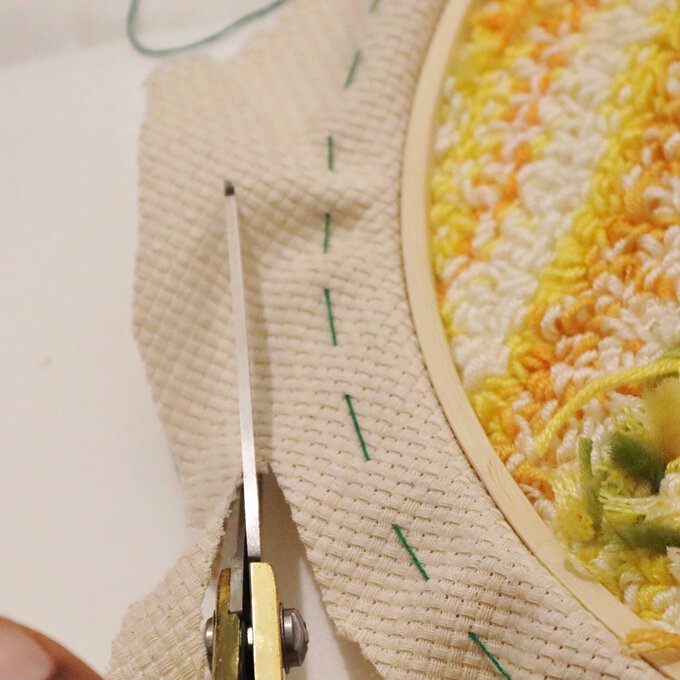
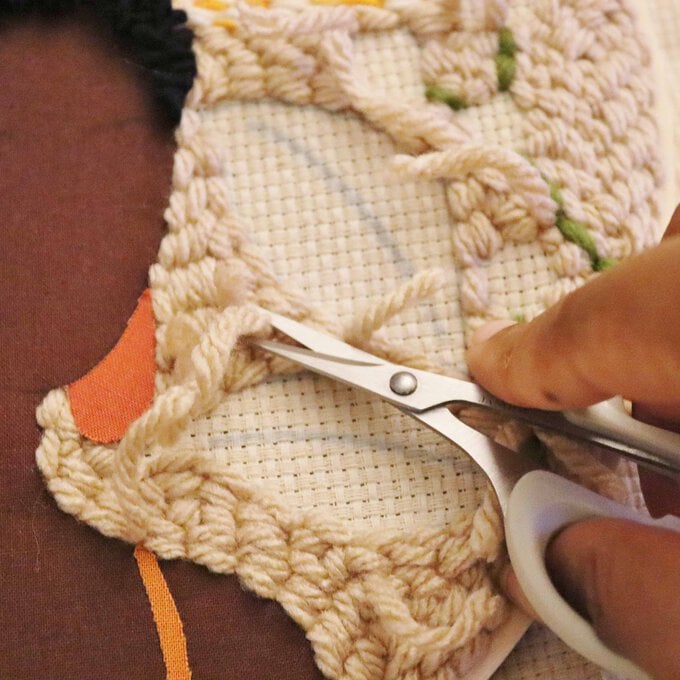
Cut away excess fabric around the hoop leaving about an inch of fabric. Flip the hoop over to the wrong side. Get any embroidery thread and stitch a running stitch all the way around the hoop.
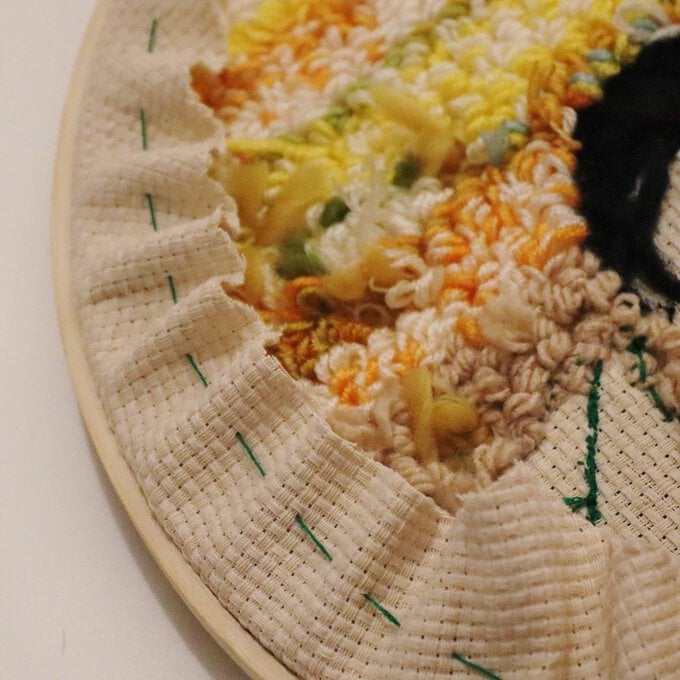
Pull the thread to gather the fabric into the back of the hoop so it's neatly tucked away. Knot the thread to secure and the embroidery is now complete, ready to display!
