Skip to Content (Press Enter) Skip to Footer (Press Enter)

How to Make a Winter Wonderland Play Tent

Level
Intermediate
Time
1+ days
Budget
30+

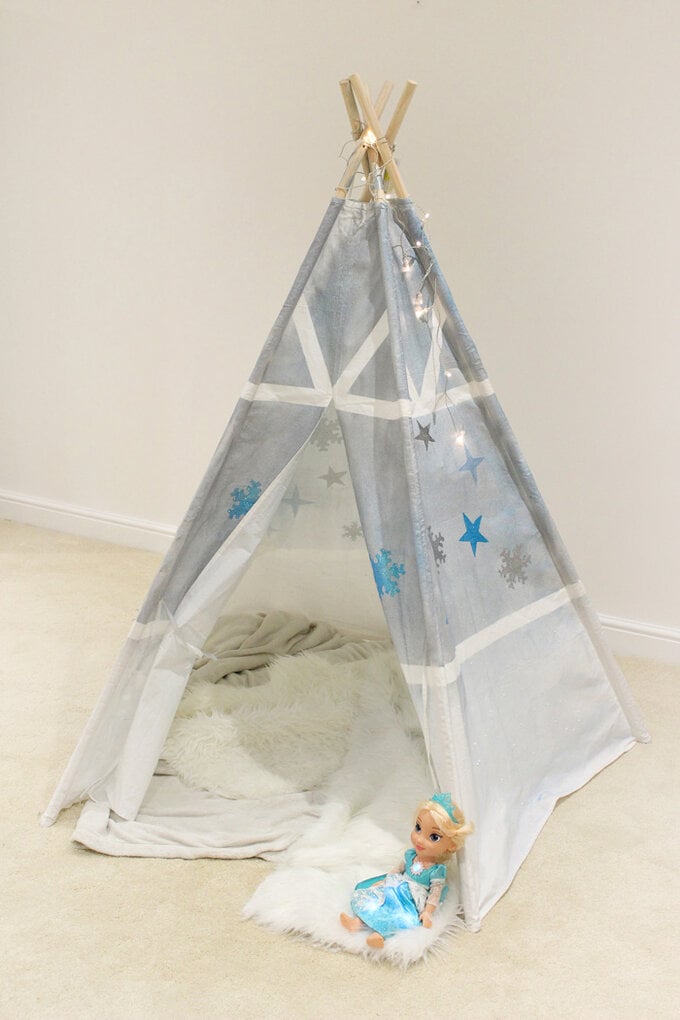
Frozen fever is still going strong, so when we were thinking of a design for one of our white play tents, our first thought was a winter wonderland! Build your very own ice palace to put in a corner of your home - the little ones will love it.

Designed by the lovely folks over at I Love to Create

You will need

Is $ 11.00 , was $ 14.00

Quantity: 1

Subtotal

Is $ 11.00 , was $ 14.00

Out of stock

Is $ 15.00

Low stock only 3 left

Quantity: 1

Subtotal

Is $ 15.00

Is $ 6.49

Quantity: 1

Subtotal

Is $ 6.49

Out of stock

Is $ 3.49

Quantity: 1

Subtotal

Is $ 3.49

Out of stock

Is $ 3.49

Quantity: 1

Subtotal

Is $ 3.49

Out of stock

Is $ 3.49

Quantity: 1

Subtotal

Is $ 3.49

Out of stock

Is $ 3.49

Quantity: 1

Subtotal

Is $ 3.49

Out of stock

Is $ 3.49

Quantity: 1

Subtotal

Is $ 3.49

Out of stock

You’ve viewed 2 of 8 products

You’ve viewed 4 of 8 products

Total:

How to make

Step-1
Unpack and assemble your Hobbycraft tent in a clear area where you have space to get crafty and have fun!!
Step-2
Apply masking tape onto the tent to create cool effects that will reveal after painting. On ours we made a border near the bottom and near the top and then some fun designs at the very top.
Step-3
Take your Tulip Colour Shot – Blue – and apply a coat on each side panel of the tent. Once the paint is touch dry, take your Tulip Colour Shot – Silver – and a coat on each side panel of the tent.
Step-4
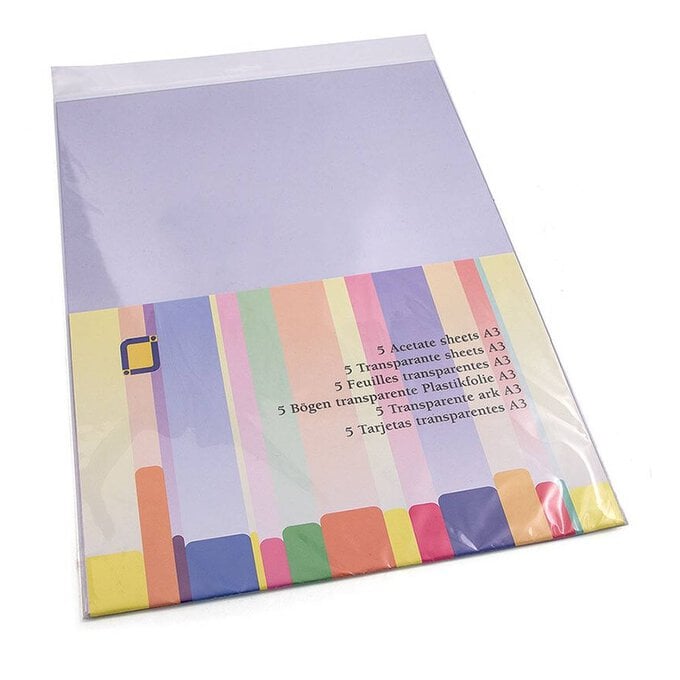
Now freehand or trace the shape of snow flakes and stars onto the acetate sheets and cut out.
Step-5

Apply some Hobbycraft Repositional Spray adhesive to one side of the acetate and then “stick” the acetate to the teepee where you want to stencil a star or snowflake. The apply Tulip Shimmer paint and remove your acetate stencil. To do the same with Tulip Fabric Glitter repeat the process with the acetate and then apply Tulip Glitter bond to the tent before shaking Tulip Fabric Glitter onto the Tulip Glitter Bond.
Step-6
Take the Tulip Spray Glitter Diamond and “spritz” a fine glitter frost effect all over the tent.
Step-7
Take your Tulip 3d Puffy White and have fun placing spots of paint all around the bottom panels of the tent. After a couple of hours after the Tulip 3d spots have dried take a regular hairdryer on a medium setting and direct the air flow on the Tulip 3d Puffy spots – you will then watch them puff up before your eyes!!
Step-8
Look out for some battery powered white lights and hang them on the top of the tent for super twinkle!!
  • bvseo_sdk, dw_cartridge, 18.2.0, p_sdk_3.2.0
  • CLOUD, getReviews, 5ms
  • reviews, product
  • bvseo-msg: Unsuccessful GET. status = 'ERROR', msg = 'Not Found.'; Unsuccessful GET. status = 'ERROR', msg = 'Not Found.';

Related Products

Top