Skip to Content (Press Enter) Skip to Footer (Press Enter)

How to Make an Origami Advent Calendar

Level
Intermediate
Time
1/2 day
Budget
10 - 30
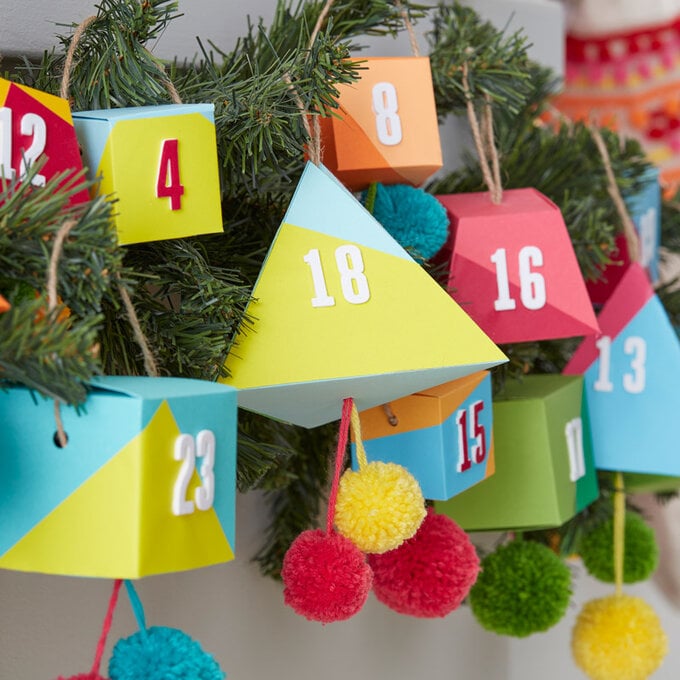
Why not try a less traditional advent calendar this Christmas? Origami is the papercraft trend of the moment, so we love this easy geometric origami advent calendar project, which can be filled with whatever you like - just grab some card and numbers, and you're away!

You will need

Is N/A

Quantity: 1

Subtotal

Is N/A

Out of stock

Is $ 1.49

Quantity: 1

Subtotal

Is $ 1.49

Out of stock

Is $ 5.49

Quantity: 1

Subtotal

Is $ 5.49

Out of stock

Is $ 11.00

Quantity: 1

Subtotal

Is $ 11.00

Is $ 6.49

Quantity: 1

Subtotal

Is $ 6.49

Out of stock

Is $ 329.00 , was $ 429.00

Quantity: 1

Subtotal

Is $ 329.00 , was $ 429.00

You’ve viewed 2 of 6 products

You’ve viewed 4 of 6 products

Total:

How to make

Step-1
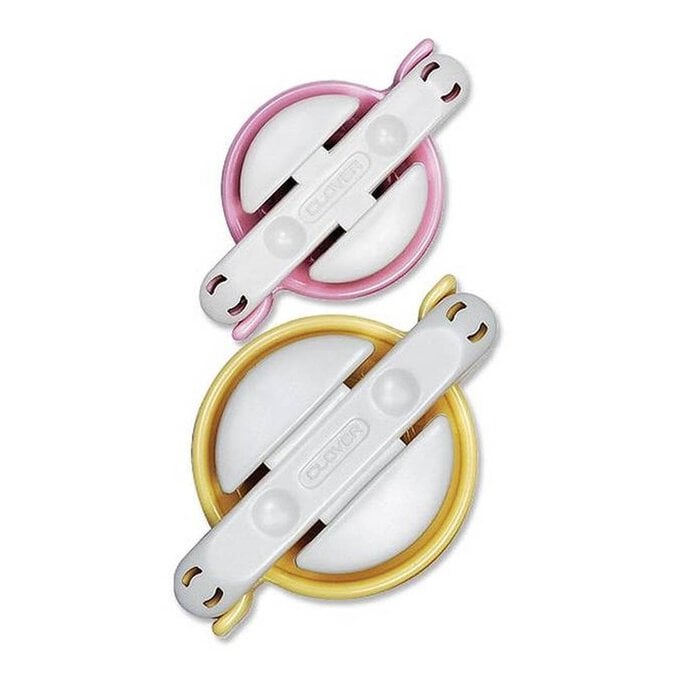
Start by making approximately 30 different sized pompoms from a variety of brightly coloured yarn. We used pompom makers, however you can also do it the old-fashioned way with two discs of cardboard. Make sure the tail threads of each pompom measure at least 20cms.
Step-2
Using your Cricut Explore Air, cut three different nets in a variety of sizes from brightly coloured cardstock, so that you have a total of 24.
Step-3
Apply contrasting coloured paperstock to the outside of each net to create an angular geometric design, using a glue stick to secure each piece in place.
Step-4
On two thirds of the nets, create a slit on the base panel so that the tail threads of pompoms can easily be threaded through and secured with a little masking tape on the inside. Pompoms can be threaded through individually or in pairs, tie a double-knot in the wool/yarn tail thread once it has been passed through the slit.
Step-5
Fold and secure, with double-sided tape, each of the tabs on the nets minus the one for the lid.
Step-6
Using your Cricut Explore Air or your favourite number dies, cut the numbers 1 to 24 from white cardstock, and then a duplicate set from white foam.
Step-7
Plan which of your Advent boxes are going to house an extra special treat and cut these numbers from a brightly coloured cardstock. Use a little tacky glue to secure the numbers on top of the duplicate foam ones, and then secure them centrally to each of the boxes.
Step-8
Take each box and create another slit, this time in the lid of the box. Fold a 20cm length of twine/wool/yarn in half, pass the loose ends through the slit and secure with a double knot inside the lid.
Step-9
Insert your sweet treat of choice into each of the boxes, and use a low tack adhesive to hold the lid shut.
  • bvseo_sdk, dw_cartridge, 18.2.0, p_sdk_3.2.0
  • CLOUD, getReviews, 6ms
  • reviews, product
  • bvseo-msg: Unsuccessful GET. status = 'ERROR', msg = 'Not Found.'; Unsuccessful GET. status = 'ERROR', msg = 'Not Found.';

Related Products

Top