How To Make Friendship Bracelets
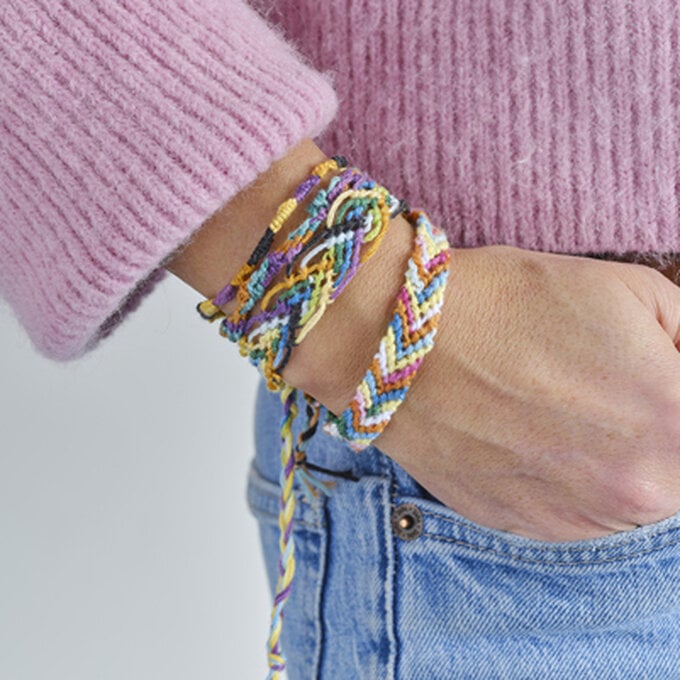
Friendship bracelets are super easy to make and are a great gift! There are lots of patterns to choose from or you can invent your own. They are made by making knots in a certain order, usually with different colours, and repeating the process.
Here are a few examples to get you started by learning the main techniques and a few patterns.
You will need
Subtotal
Is $ 2.49
Subtotal
Is $ 2.49
Subtotal
Is $ 2.49
Subtotal
Is $ 2.49
You Will Need
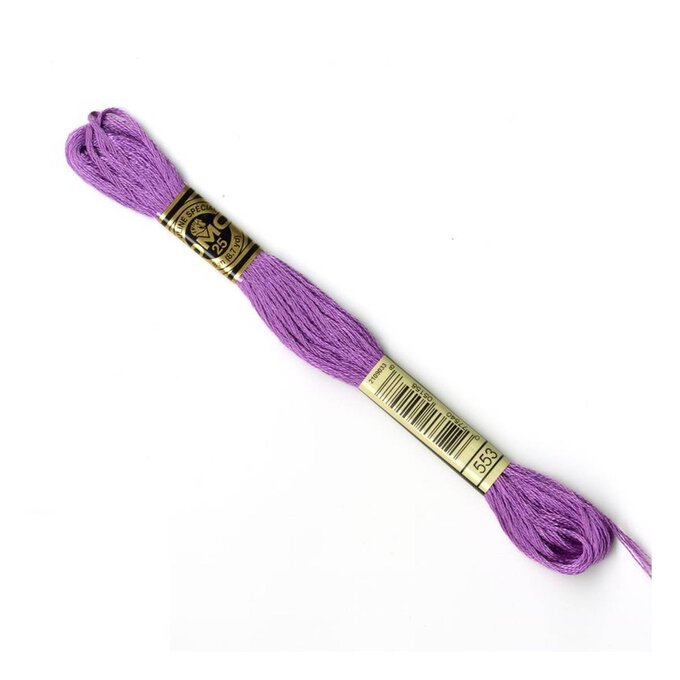
* Embroidery Threads in Various Colours
* Scissors
* Safety Pin and Cushion, or Tape and a Board/Piece of Card
* Pins (Optional)
How to make
Friendship bracelets can be made from any number of threads but usually between 4 and 10 threads are used. The more threads you use the thicker or wider the bracelet.
To begin your bracelet, first cut your threads to the same length (generally around 80cm). Then hold all the threads together at the top and fold them into a knot.
Now secure your threads by either taping the knot down on a board or piece of card, or by using a safety pin to attach it to a cushion.
Top Tip: You may want to continue pinning or taping it down as you go, in order to keep your bracelet secure as it grows.
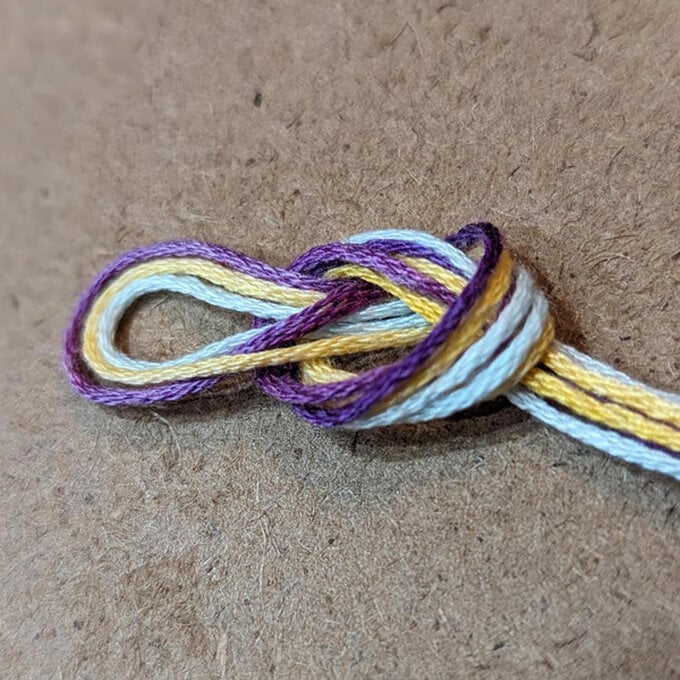
The forward knot is generally used when working your threads from the left to the right hand side. If you have two threads in different colours, the colour of the knot created will be the same as the colour of the thread on the left. Your threads will end up swapping places. This knot is also sometimes called the 4 knot, as this is the shape you see when you make it.
To make a forward knot, first select the two threads you wish to knot. Take the thread on the left and loosley take it over the thread to the right (creating the 4 shape) and then bring it underneath the right thread and up through the loop that you've just made. Pull the left thread gently upwards and to the right, whilst holding the right thread down tightly. The threads should now have swapped places and created your knot.
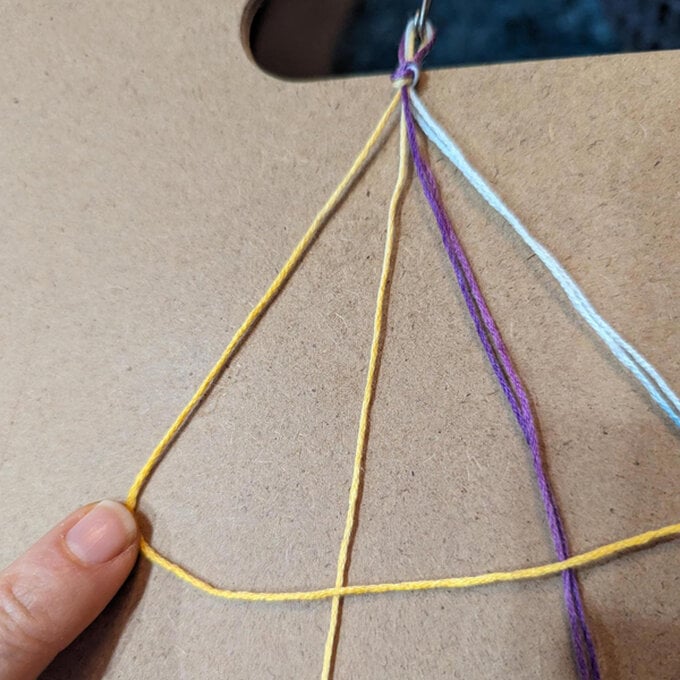
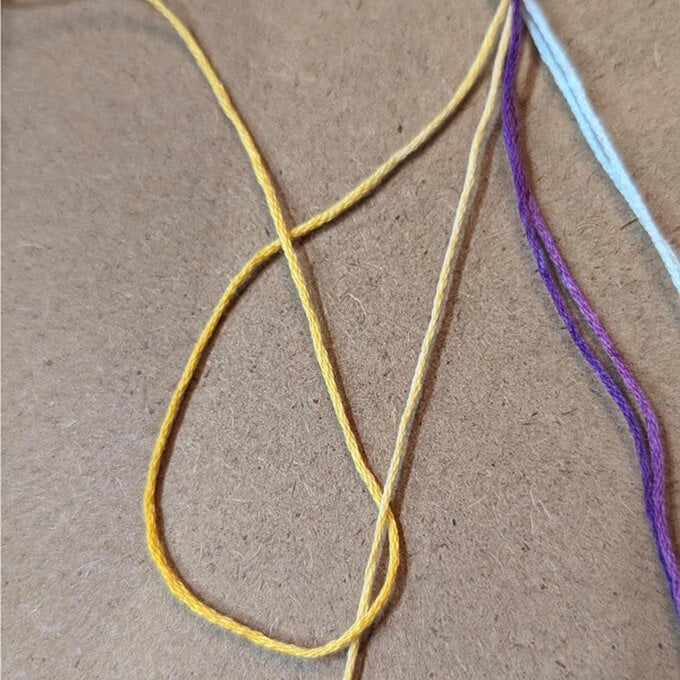
The backward knot is the mirror image of the forward knot and is generally used when working your threads from right to left. If you have two threads of different colour, the colour of the knot created will be the same as the colour of the thread on the right. Your threads will end up swapping places.
To make a backward knot, select the two threads you wish to knot. Take the thread on the right and loosley take it over the thread on the left (creating a backwards 4 shape) and then bring it underneath the left thread and up throught the loop that you've just made. Pull the right thread gently upwards and to the left, whilst holding the left thread down tightly. The threads should now have swapped places and created your knot.
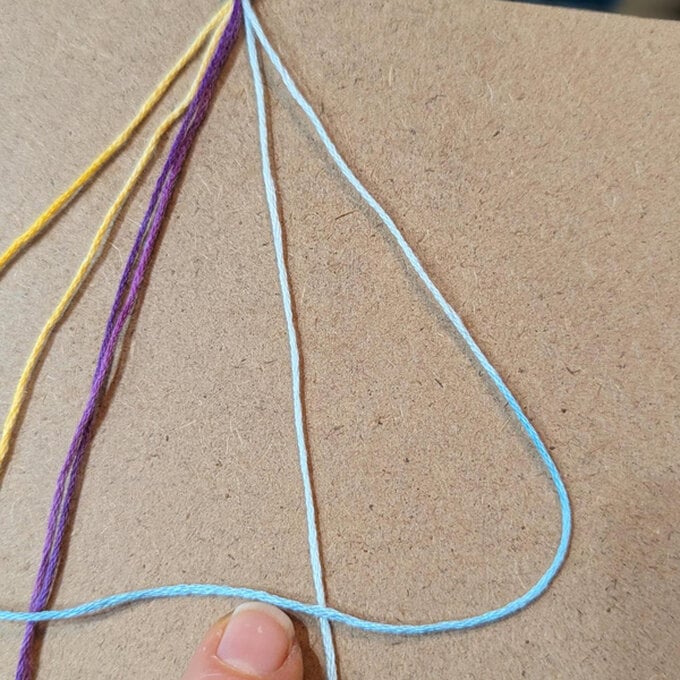
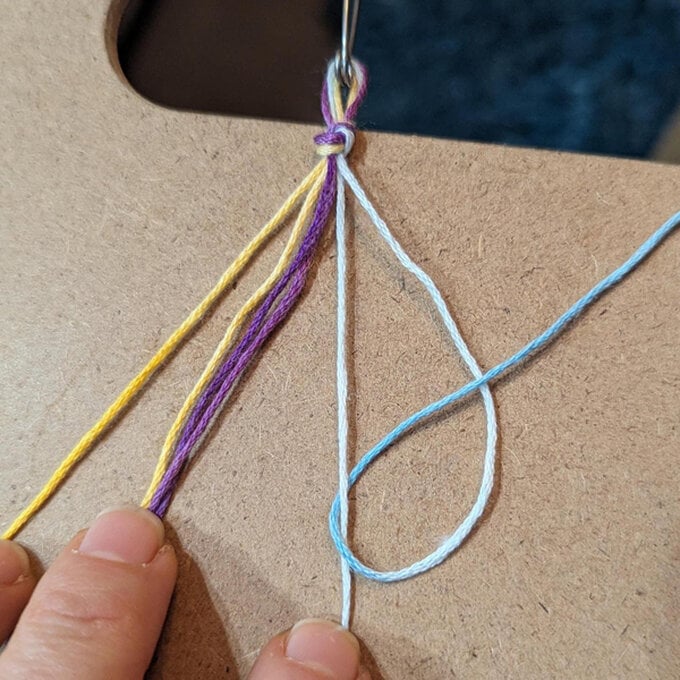
The braided bracelet is very simple to make and uses the forward knot technique throughout. The example uses two ombre threads (purple/black and yellow/orange) folded over to make four strands, but you can use as many threads as you'd like.
Once your threads are prepared as described above, pick one thread and do 8 forward knots over all the other threads held together. Now pick another colour and repeat the process until you have used all the threads once and then repeat the colour pattern.
When you are happy that your bracelet is long enough, tie the end into a knot. See below techniques on how to finish your bracelet.
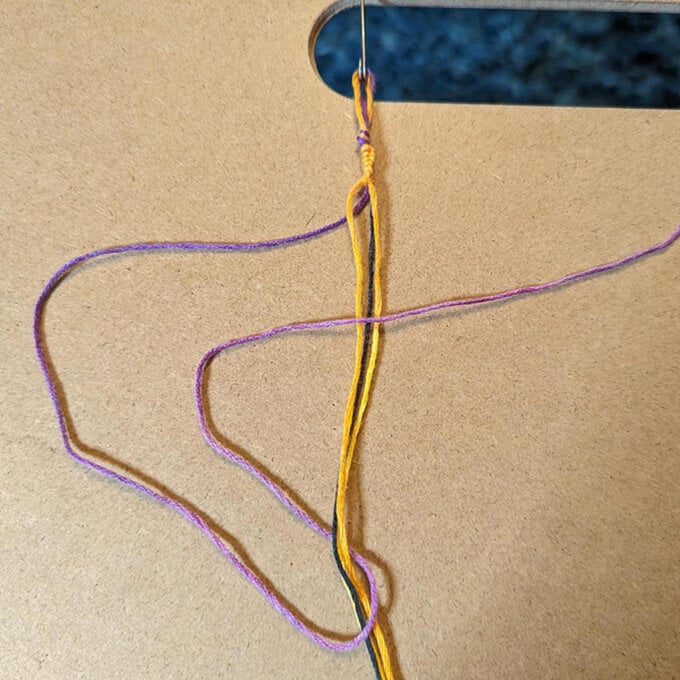
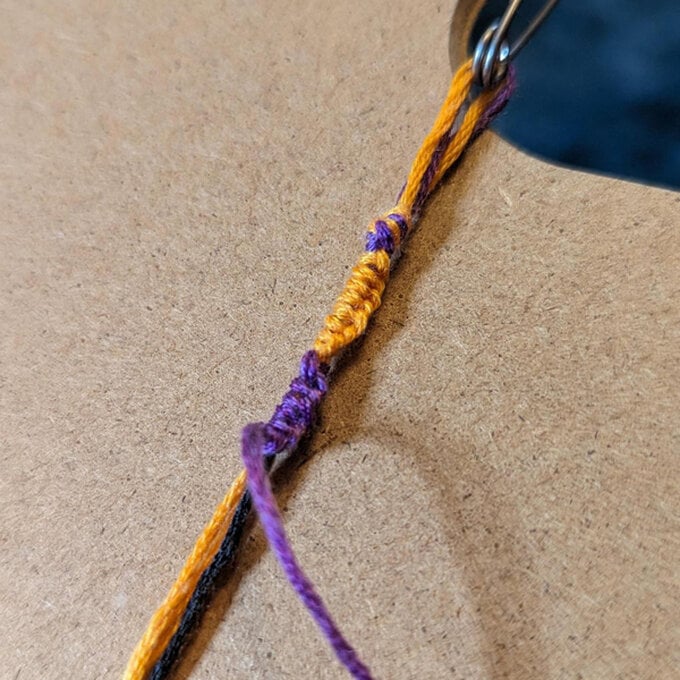
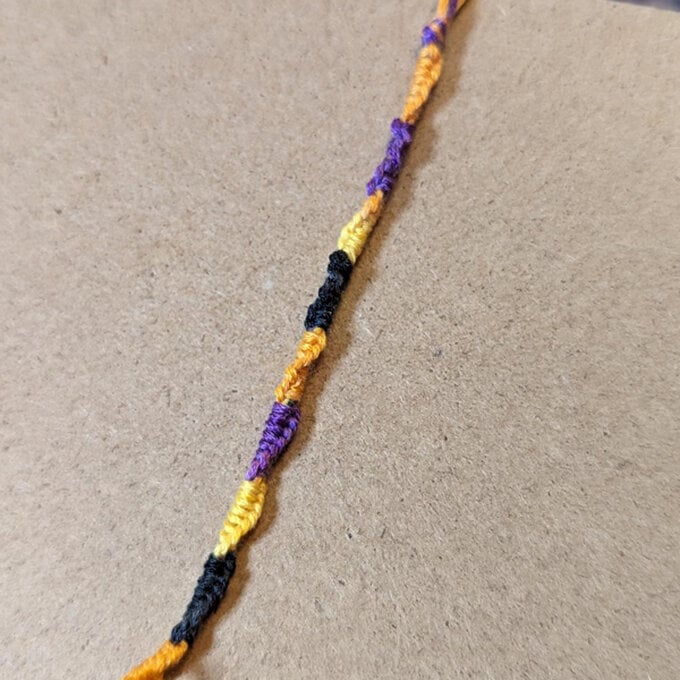
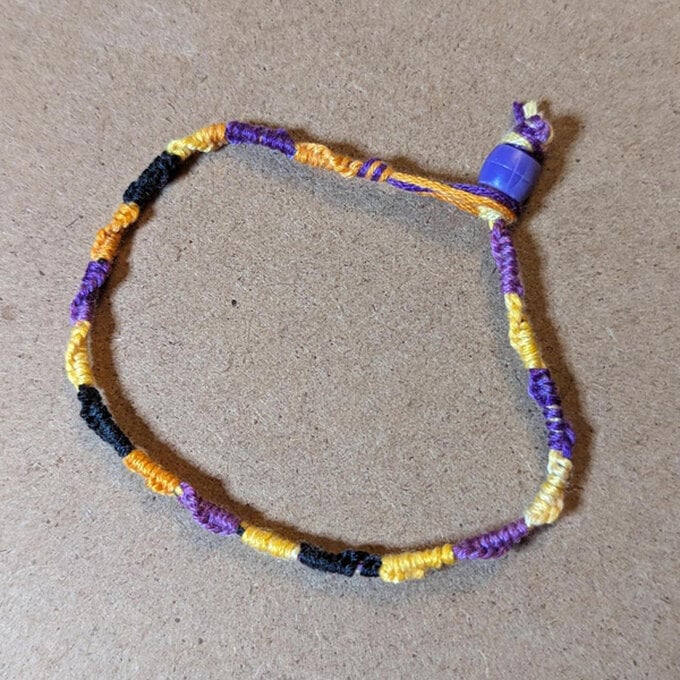
The stripe bracelet is also fairly straightforward and only uses the forward knot. This bracelet works best with at least three threads folded over to make six strands, as shown in the pictures.
Spread your threads out in the colour sequence you would like your stripes. Starting with the furthest thread on the left, make two forward knots over the thread immediately to the right of it. Your first thread will now have swapped places.
Using this same first thread make another two forward knots over the next thread. The thread will have swapped places again. Repeat the process all along the row of threads until your first thread becomes the furthest thread on the right.
Now start again with the thread on the left and do the same process of two forward knots along each thread until it reaches the far right of all the threads.
Keep repeating with all the threads until your bracelet is the required length. See below techniques on how to finish your bracelet.
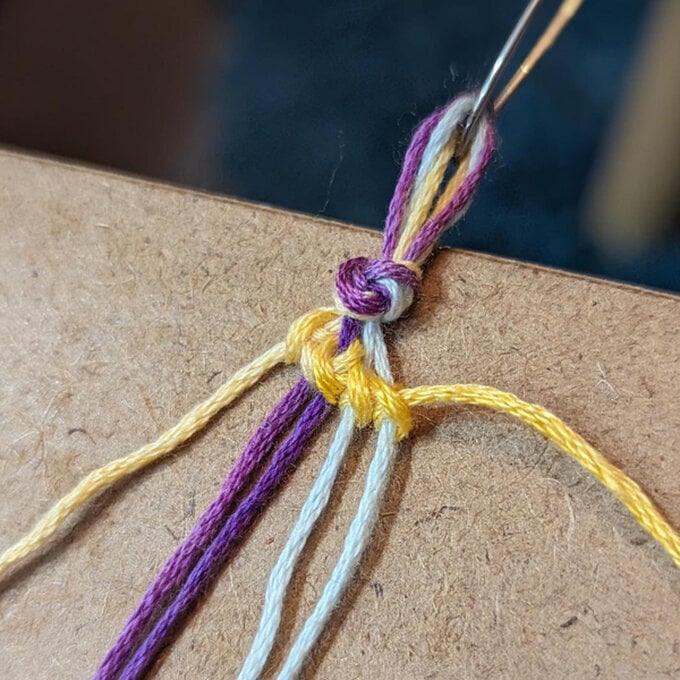
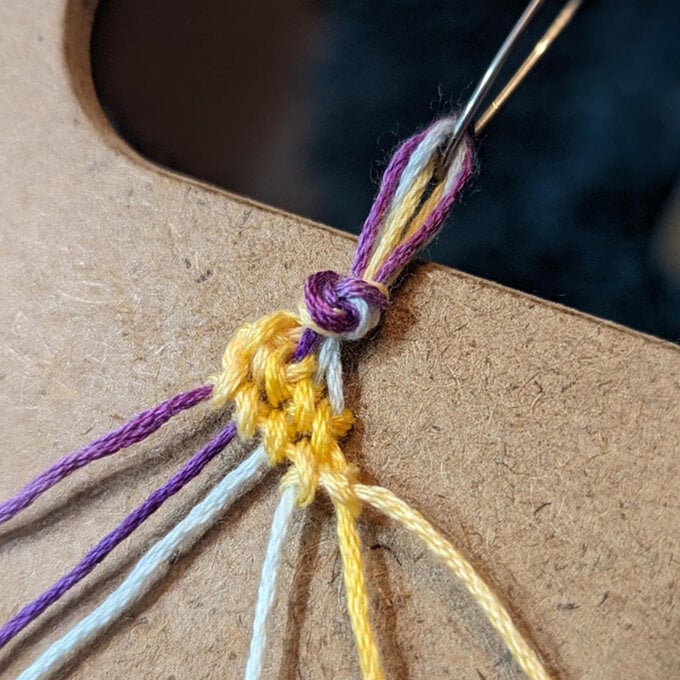
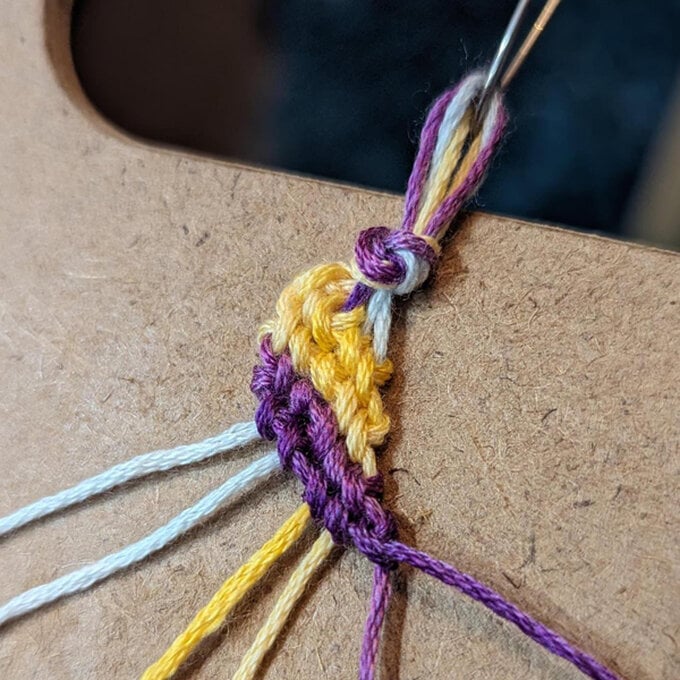
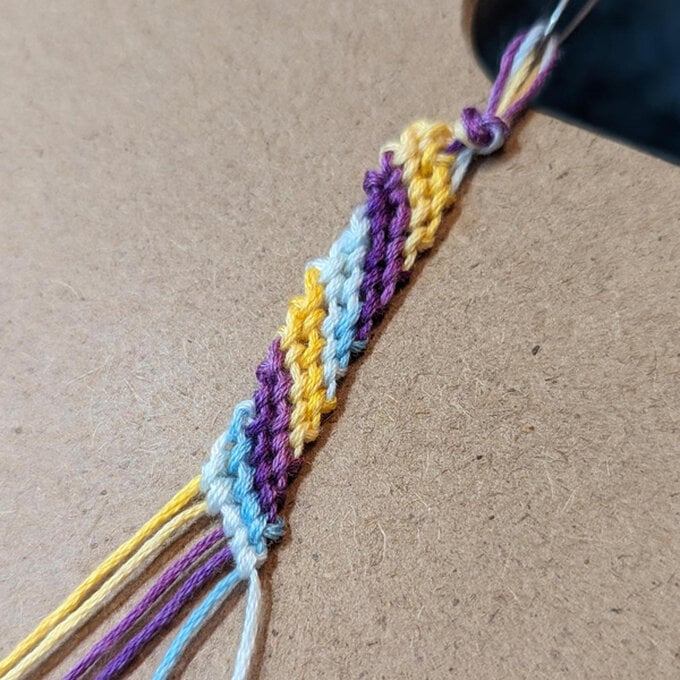
The chevron bracelet is an intermediate bracelet that creates a lovely pattern. The example uses four threads folded over to make eight strands.
Once your threads are prepared as described above, lay them out so from the central point the threads are a mirror image by their colour. Starting with the furthest thread on the left, make two forward knots over the thread immediately to the right of it. Repeat using the same first thread, knotting on the next thread to the right as it moves along the row until your thread reaches the middle point. At this point leave your thread in the middle.
Now, mirror the same process using your threads to the right of the middle point. Pick up the furthest right hand thread and make two backward knots over the thread immediately to the left of it. Repeat using the same first thread, knotting on the next thread to the left as it moves along the row into the middle point. Make a final two backward knots over the thread you previously moved over from the left. Stop when your thread is in the middle and to the right of the thread you previously moved to the middle point.
You should have both of the original outside threads of the same colour now in the middle. Repeat the process using the threads that are now on the outside.
Continue until your bracelet is the required length. See below techniques on how to finish your bracelet.
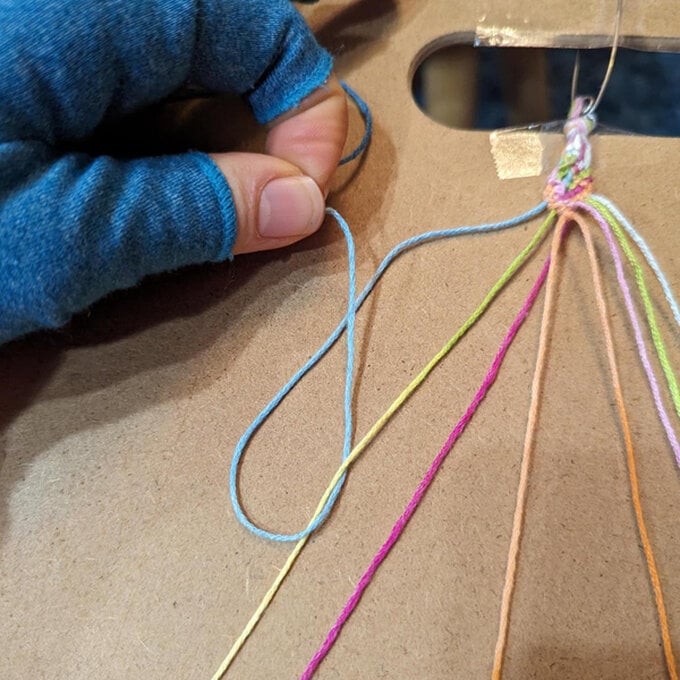
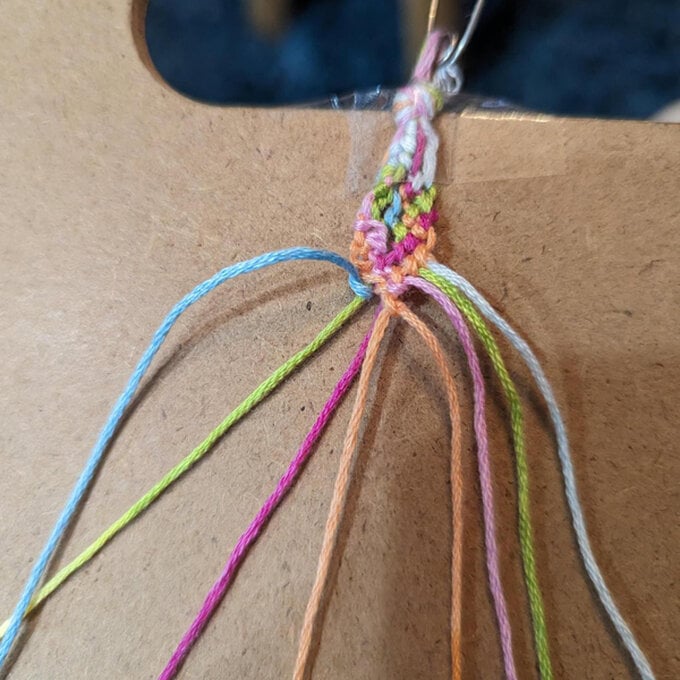
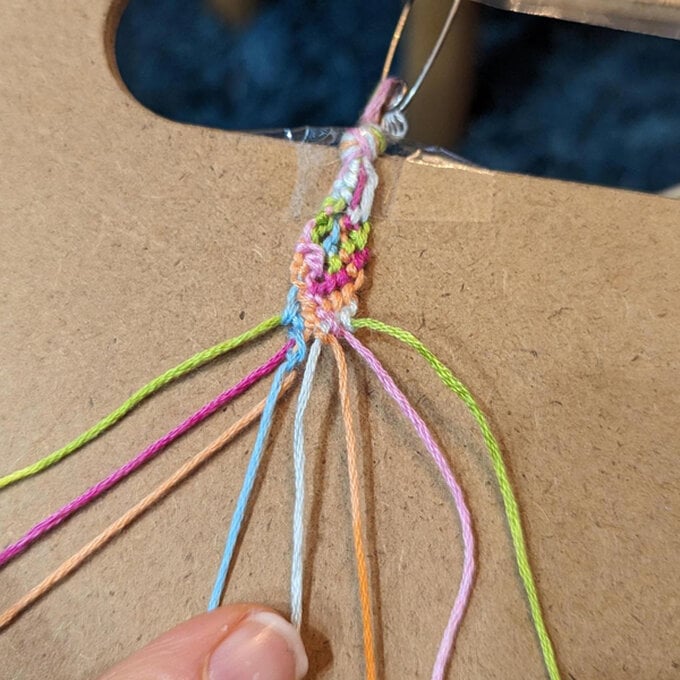
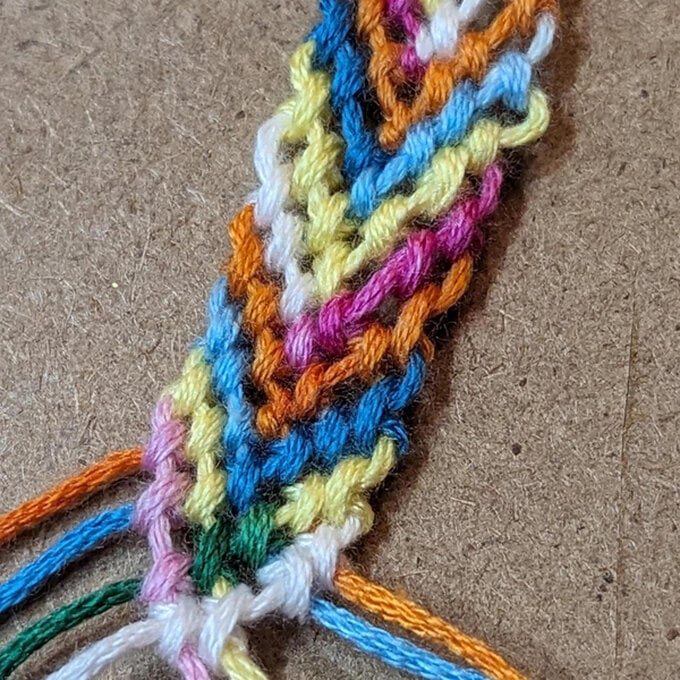
The leaves bracelet is a complex bracelet with beautiful results! As you follow the instructions in the following steps, use the diagrams below as a guide for how the threads move across each other in this bracelet.
The example uses four threads folded over to make eight strands - as illustrated in the first diagram - but we've also included a diagram for a bracelet using five threads folded over to make ten strands.
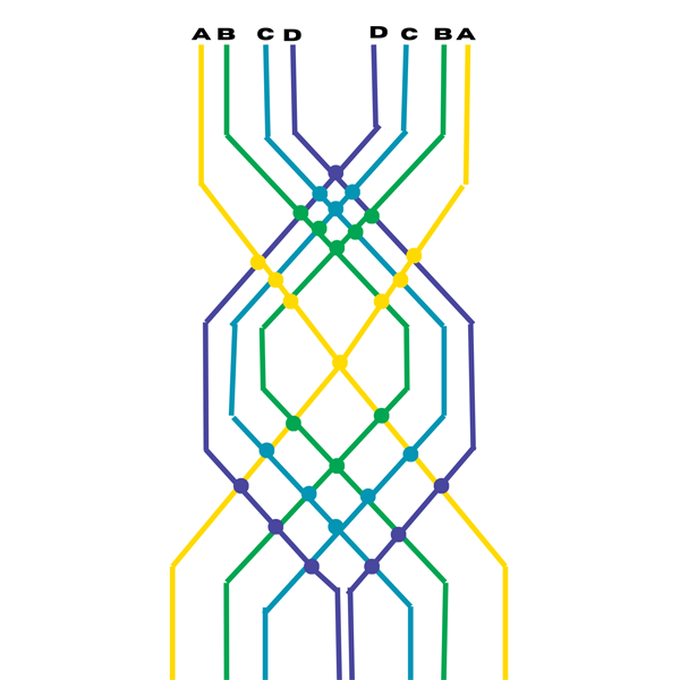
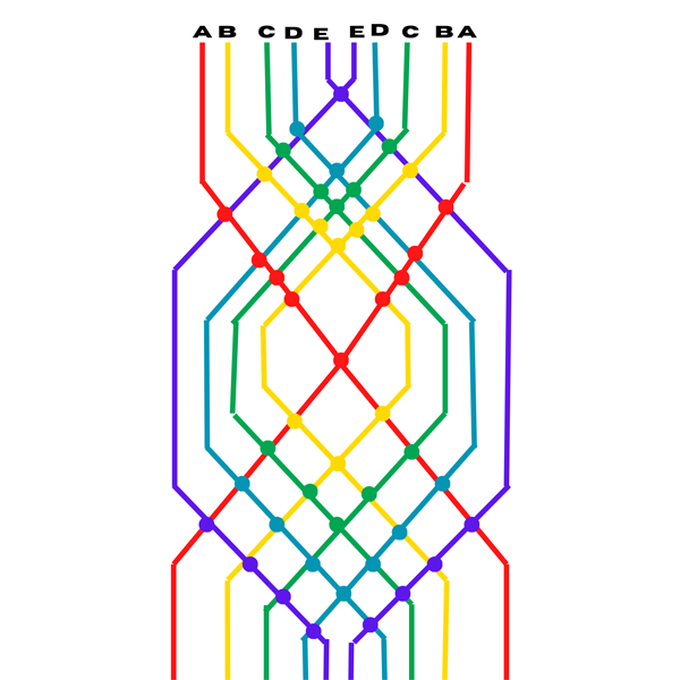
Once your threads are prepared as described above, lay them out so from the central point the threads are a mirror image by their colour.
Begin by taking D threads and make two backward knots with the right of the two threads over the left thread.
Taking the C threads. use the thread on the left, make two forward knots over the left of the D threads. With the C thread on the right, make two backward knots over the right of the D threads. The C threads should now be in the middle and the D threads are on either side. With the right of the C threads, do two backward knots.
Now move to the B threads, repeat the above process by moving both threads from their position by doing two forward knots, for the left thread, and two backward knots for the right thread until they are both in the middle. When they are both in the middle use the right one to do two backward knots over the left of the middle threads.
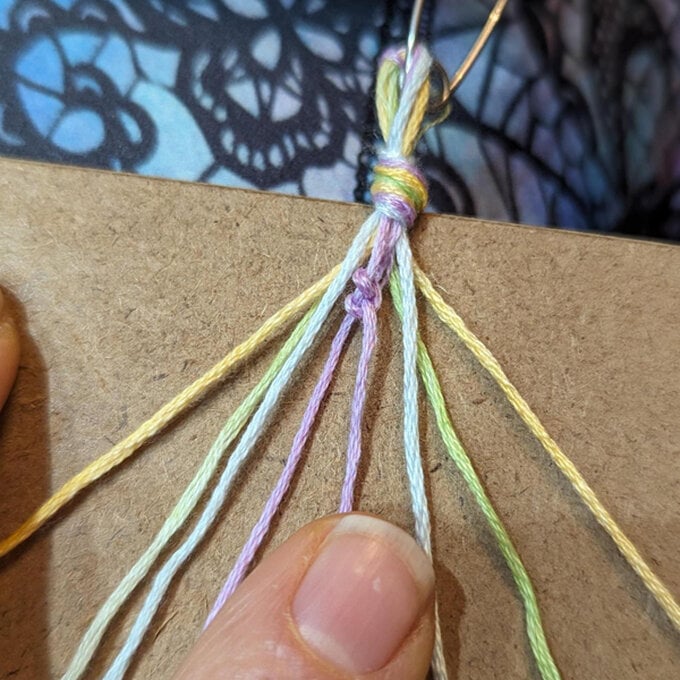
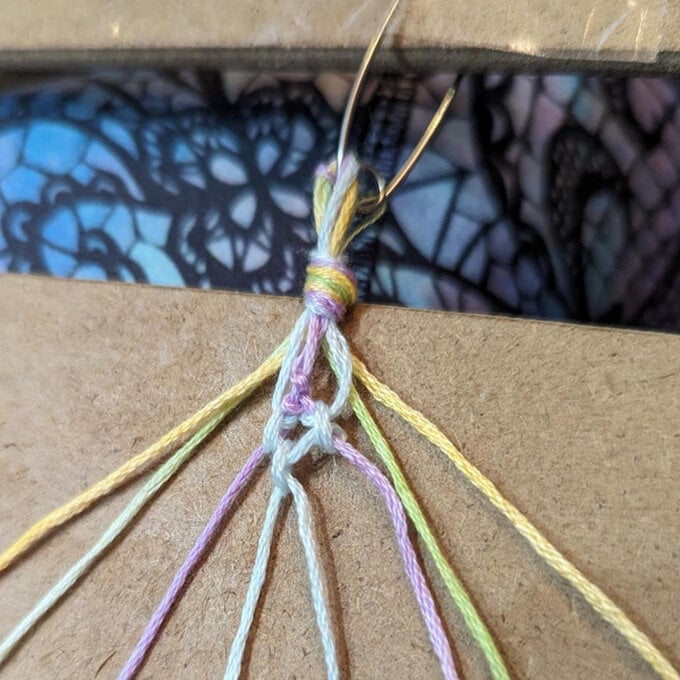
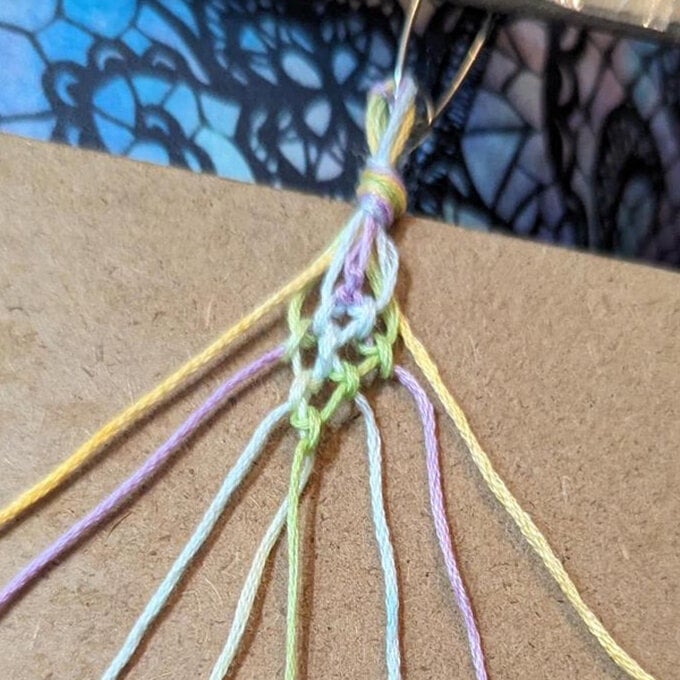
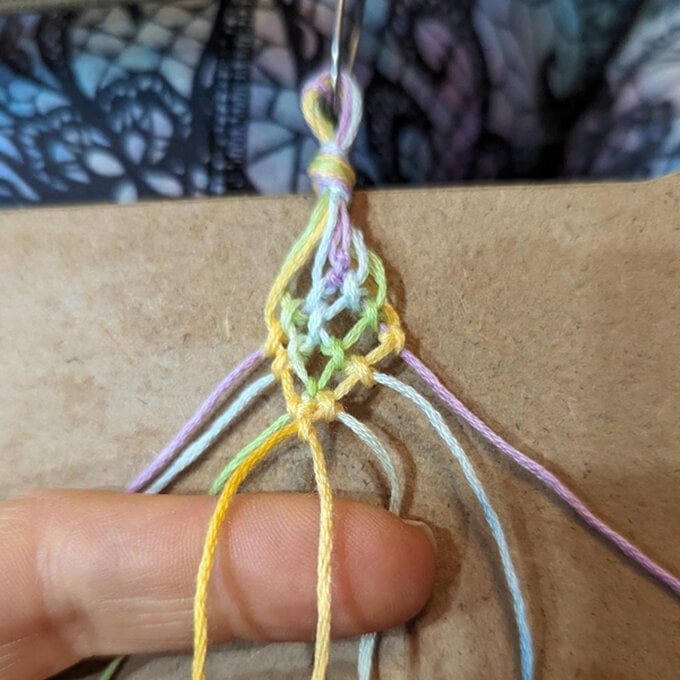
Repeat the process until you reach the desired length.
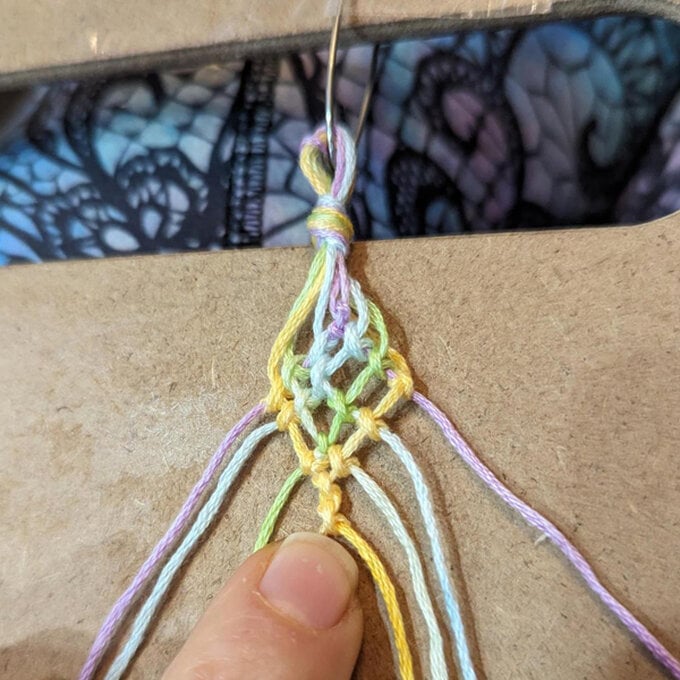
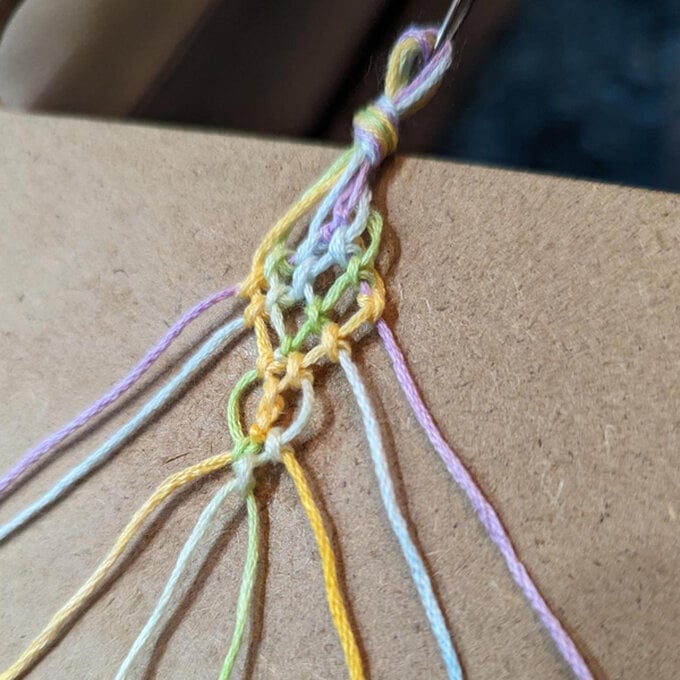
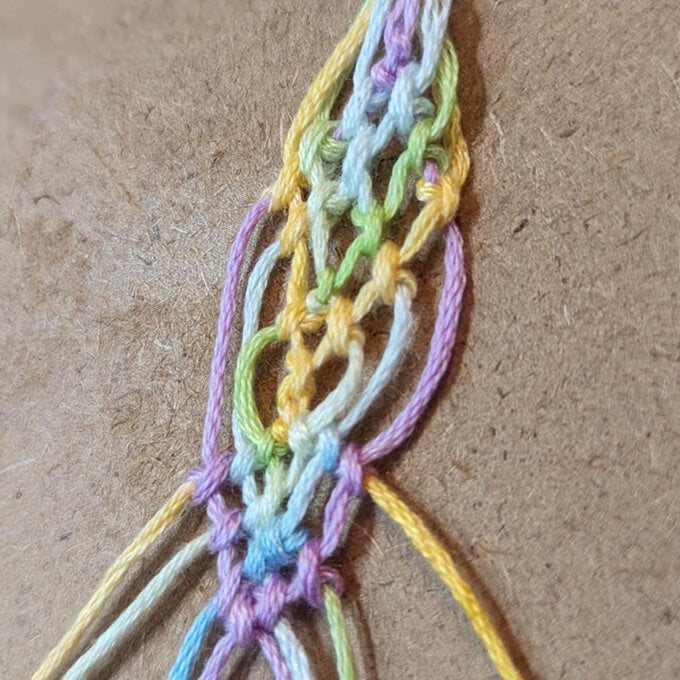
When starting the pattern again, ensure that you leave a small amount of slack on the outer threads so that the knots aren't bunched up. Refer to the images for guidance.
See below techniques on how to finish your bracelet.
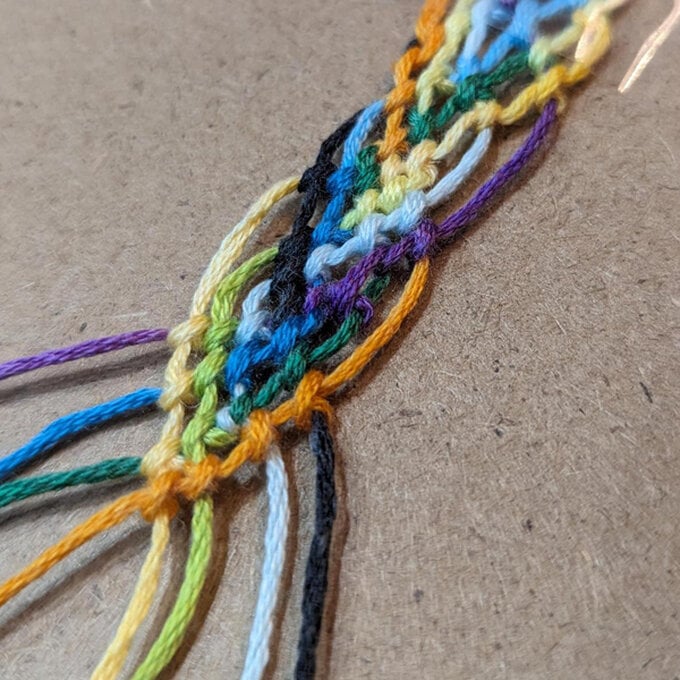
Knot: Tie both ends up with a knot and tie the ends of your bracelet together, trimming the ends to your desired length.
Bead: Before tying a knot you can add a bead to the end of your bracelet by feeding it through the threads at one end.
Plait: When you have finished your bracelet you can plait the ends (as you would hair) and then add a little knot at the bottom.
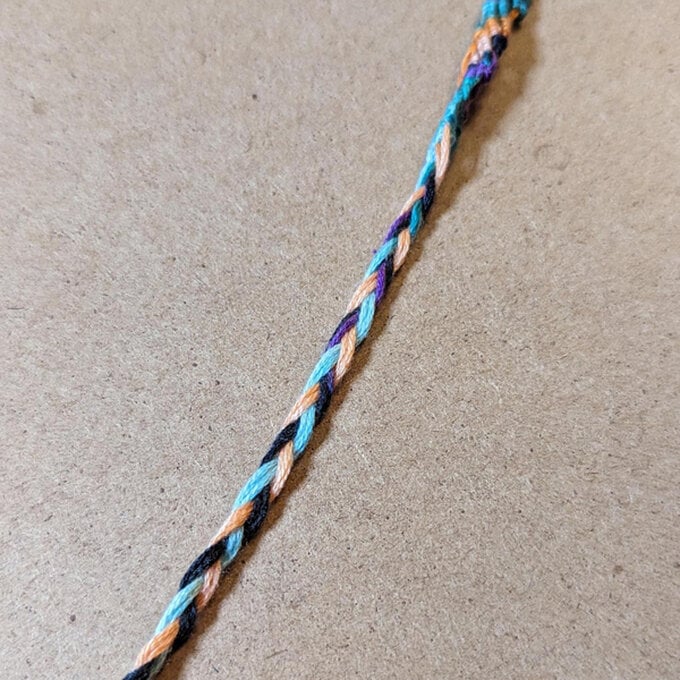
Your bracelets are now complete!
